
If you follow my projects you will know that most of my projects are made using recycled materials. I hate getting rid of any wood, but when my woodpile gets a bit big I use the scraps to make simple projects. And this is one of those projects. I wanted to make a wooden planter for my succulents.
This wooden planter can be made to the size you require, you just need to adjust the sizes of the wood.

How to make a wooden planter
**This post may contain affiliate links. Which means I earn a small commission on links used at no extra cost to you. Please see my disclosure policy for more information.**
Cut your wood
My scrap wood was stained and varnished, so I ran them through a thickness planer to clean the wood up. This is my most used machine in my workshop because I use recycled wood. It is so quick and easy, and the wood is cleaned up like new in seconds. Alternatively, you will need to sand your wood to clean it up.

I used the table saw to cut my wood into smaller lengths. If you set up a guide on your table saw as the picture below, this will make sure all your lengths are the same size.

I cut my wood to the following sizes for this wooden planter
- 20 x 410mm x 35mm x 20mm
- 20 x 300mm x 35mm x 20mm
- 4 x blocks for the legs
- 4 x 360mm x 90mm for the base

I predrilled holes into the middle of the wooden blocks about halfway down. If you have screws long enough to go through your blocks you don’t need to do this step.
")
Assemble the wooden planter
Start by attaching the 4 pieces of wood together for the base. You add some wood glue and use a nail gun to hold the wood in place while the glue dries. Next, you glue the 4 x 360mm x 90mm onto the frame. (like the image below. You can screw these in place from below to make sure the base stays in place. I used a nail gun to secure mine.

You can flip the base over and screw the legs into the base. I added glue for extra support here.

Once the base is done, this wooden planter is very easy to build. You line up the longer pieces with the shorter pieces in between them, making sure the outside is all lined up. Then you add so glue and use a nail gun to hold them in place. This step is repeated until all the wood is gone or you have achieved the height you want.

Stain and seal the wooden planter
Stain the wood which every colour you want and add 2 coats of outdoor varnish. I would recommend that you stain the wood before you put it together. I found this step very time-consuming.

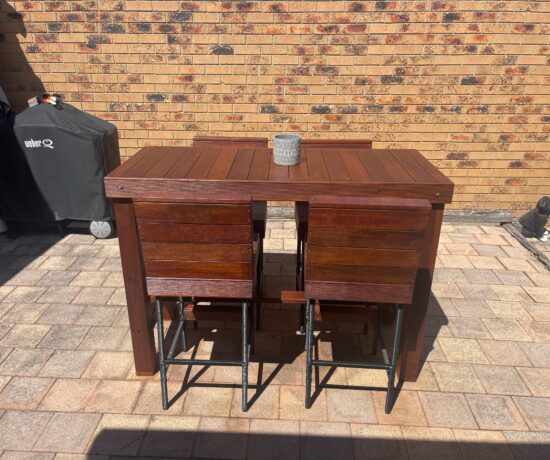
Add your plants
I don’t like to fill my wooden planters with lots of soil for succulents. Instead, you can add some stones to the base and fill the planter at least 3/4 full. You can now add your soil and succulents. This is a great way to get rid of all your scrap wood and you have a great wooden planter in the end.

")
More DIY planter ideas
This planter was made using pallet wood to make this tiered planter.

PVC Pipe photo planter, these will make an awesome gift.


If you are looking for any of the items used in this project, please consider using our links. By clicking on the links we will earn a small commission at no extra cost to you. Which helps us come up with new and exciting ideas to share with you.


No Comments