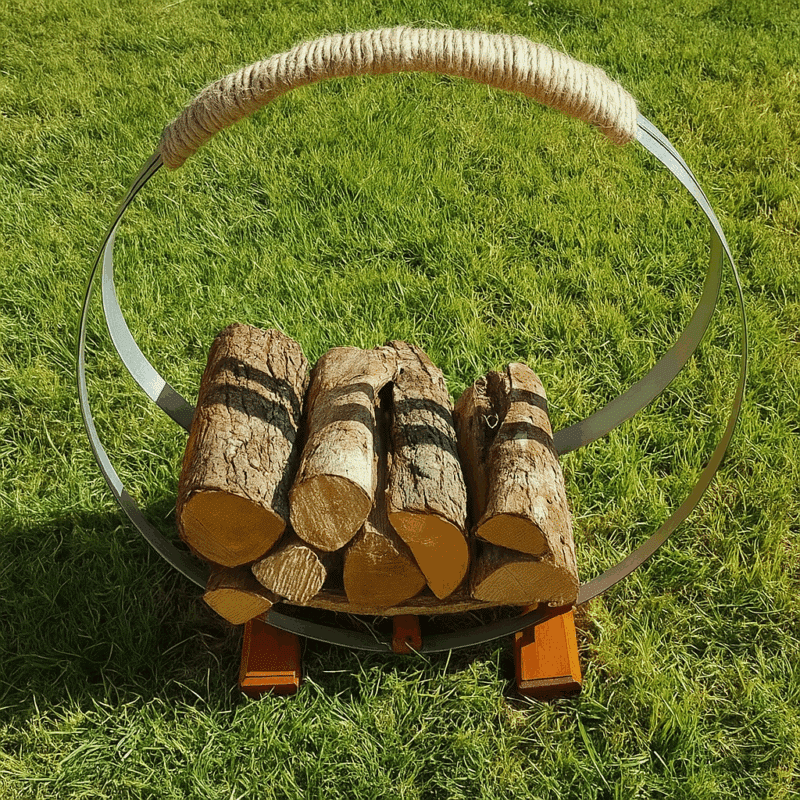
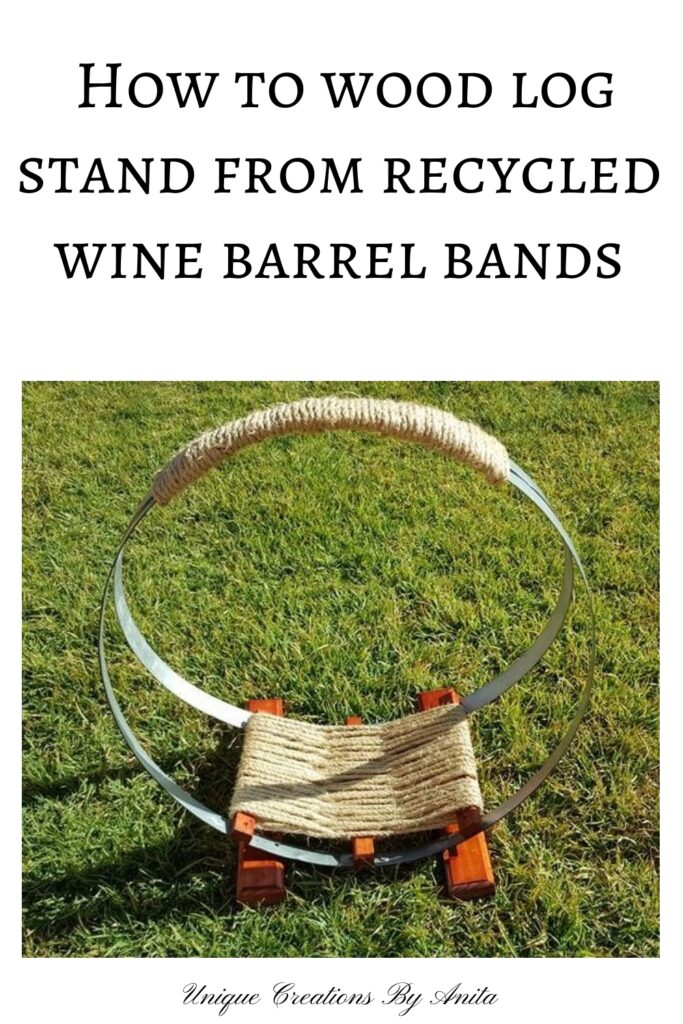
Want a functional way to store firewood with serious rustic charm? This DIY firewood stand uses old wine barrel rings, scrap wood, and sisal rope to create a unique statement piece for your home. It looks great beside a fireplace and doubles as practical indoor wood storage. If you’re like me and have spare barrel bands from previous wine barrel table builds, this is the perfect way to reuse them.
I didn’t want a garden ornament — I wanted something practical. Pinterest gave me ideas, but most people used the rings as sculptures or plant holders. I decided to make a firewood stand that would not only serve a purpose but also add a handmade touch to my living room.
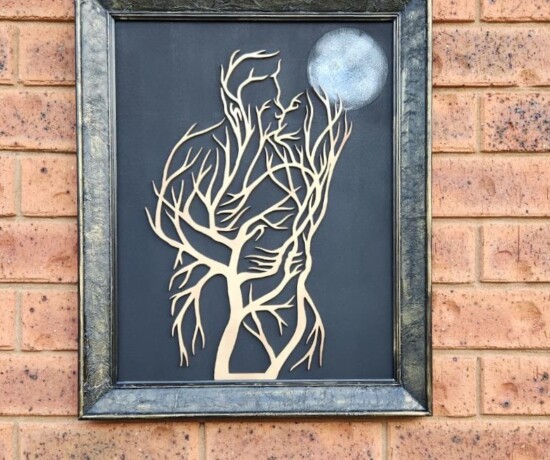
Before we dive into this tutorial, be sure to subscribe to my bimonthly newsletter to be the first to see my latest projects. You can also follow me on Pinterest and Facebook where I also include my unique mixed-media art projects.
How to make a firewood stand from wine barrel bands
**This post may contain affiliate links. This means I earn a small commission on links used at no extra cost to you. Please see my disclosure policy for more information.**
Materials Needed
- 2 x recycled wine barrel rings
- 3 x small scrap wood blocks
- 2 x longer timber pieces for the base
- Orbital sander and 180 grit sanding discs
- Chrome spray paint
- Sisal rope
- Wood stain (cedar tone)
- Clear oil-based polyurethane
- Hammer and chisel
- Screws and drill
- Round-over router bit
- Fishing line and a large needle
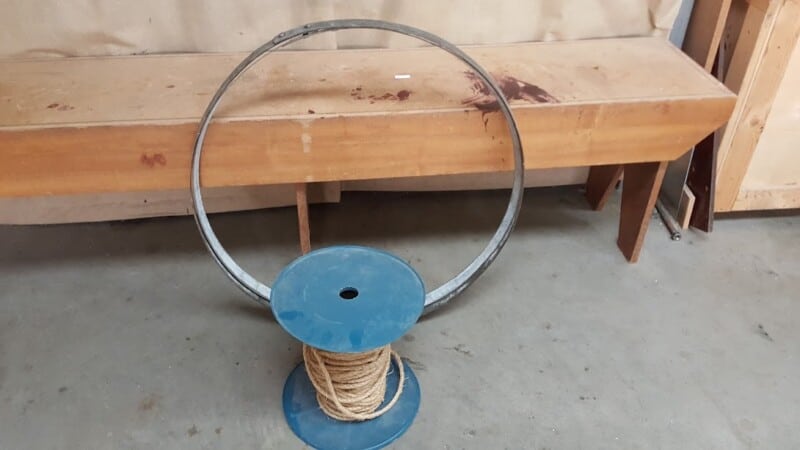
Step 1: Clean and Prep the Wine Barrel Rings
Old wine barrel bands are often dirty, rusty, or coated in residue. Start by sanding them down using an orbital sander and 180-grit discs. Focus on the outer surface, that’s what will be seen the most.
Wear gloves and a dust mask for protection while sanding. If your rings have sharp edges, lightly smooth them to prevent injury. The inner side of the rings doesn’t need to be perfect. Once firewood is stacked inside, the friction will naturally wear off any loose paint or rust.
Clamp the rings upright at this point to test different positions and see how they’ll fit into your finished frame.
Step 2: Build the Side Support Frame
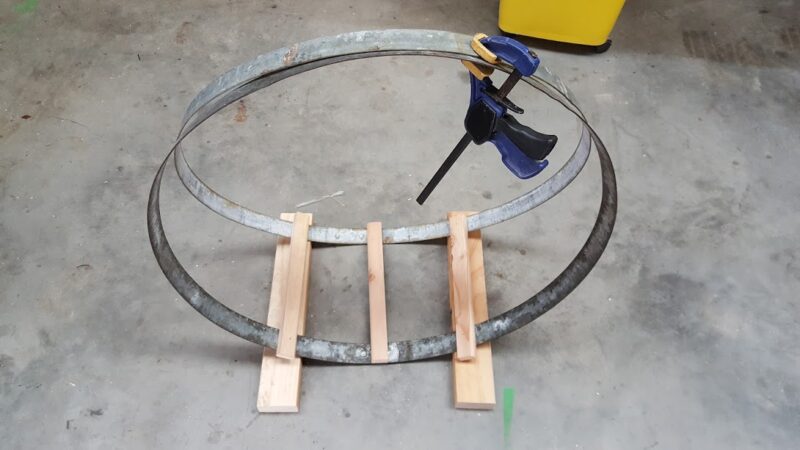
To keep the circular rings from rolling, you’ll need to create a stable frame. Measure the spacing between the rings and cut three short pieces of scrap wood to span the gap evenly. These will be your side supports.
Drill pilot holes into the wood and through the metal bands. This stops the wood from splitting when you screw them together. Use screws long enough to grip through both the band and wood, but not so long they poke through the other side.
Position one block near the top, one in the middle, and one at the base. This evenly supports the structure and helps keep the rings aligned.
Step 3: Cut and Shape the Base Supports

Next, cut two thick timber planks to serve as the main legs. These keep the stand stable when fully loaded with firewood. You want them wide enough to support the weight, but not so wide that they dominate the design.
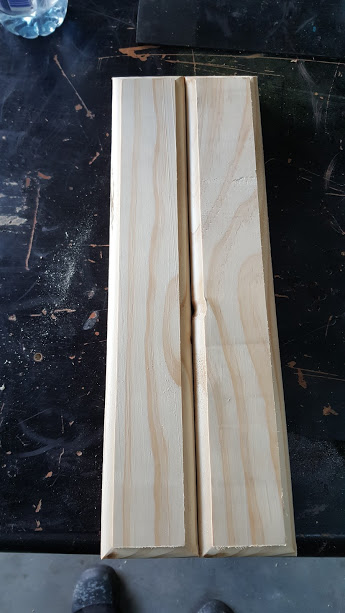
Use your orbital sander to smooth the edges, finishing again with 180-grit for a clean feel. For a more finished look, I used a round-over bit in my router to soften all corners and eliminate harsh edges. This step gives the project a more polished and intentional appearance.
Step 4: Carve Recesses for the Bands
Place the bands where they’ll sit on the base supports. Because barrel rings are never identical, measure each one individually. Use a pencil to mark where they touch the wood.

Using a hammer and chisel, carve shallow slots into the wood. These notches help the rings “lock in” and stop them from shifting side-to-side. Take your time with this part for a snug fit. It makes the final structure much sturdier.
Once the rings sit neatly in their grooves, you’re ready to stain and seal the timber.
Step 5: Stain and Seal the Timber
Stain the wood in your chosen tone. I used cedar, which adds warmth and contrasts nicely with the chrome ring finish. Apply stain evenly with a brush or rag, working in the direction of the grain.
Let it dry completely before applying a clear oil-based polyurethane. Use two coats for a durable finish that resists scratches and moisture from firewood. This will help your firewood stand last through many seasons.
Step 6: Paint the Barrel Rings
For a modern twist, I spray-painted the outer sides of the rings using chrome spray paint. You can use matte black or even copper, depending on your style. Make sure you spray outdoors or in a well-ventilated area.
Apply two light coats rather than one heavy coat to prevent drips. Allow them to dry fully before handling. Paint adds character while also protecting the metal from rust over time.
Step 7: Add the Sisal Rope Handle
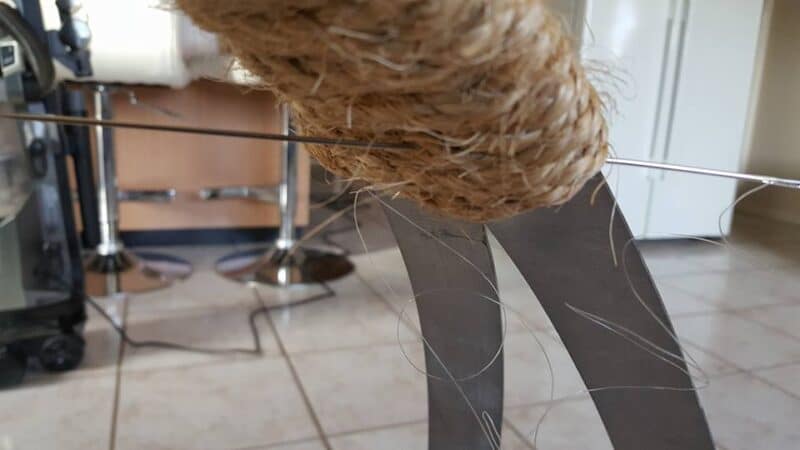
Measure how wide you want your handle area to be across the top. Cut a length of sisal rope, leaving some extra to work with. Starting from the outside of one ring, wrap the rope tightly around the top portion of the stand.
The rope acts as a handle and softens the metal edge for comfort. Instead of glue, which didn’t hold well for me, I used a large needle and fishing line to stitch the end of the rope into the previous loops. This method keeps it from unravelling and blends in better visually.
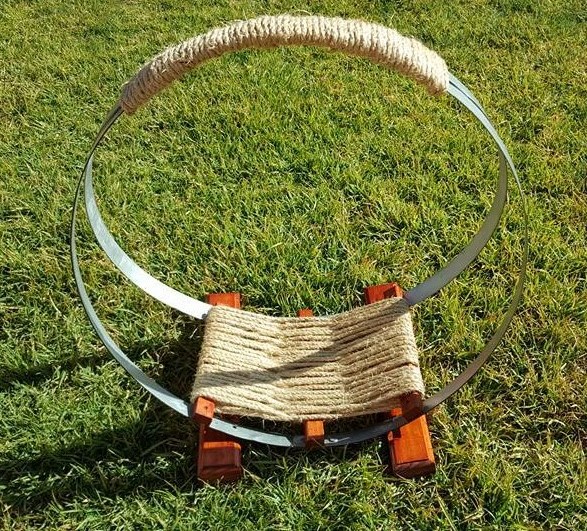
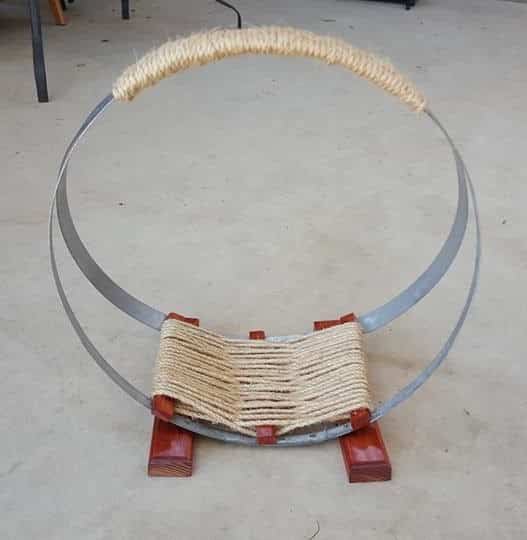
Step 8: Wrap the Base Supports with Rope
For added detail, wrap the rope around the lower wooden base. Start at one end and loop over and under each side of the legs in a criss-cross pattern. This detail adds texture and ties in with the top handle.
Secure the ends the same way, sew them into the previous row using a needle and fishing line. If you like a rustic, coastal, or industrial look, this rope accent really finishes the piece.
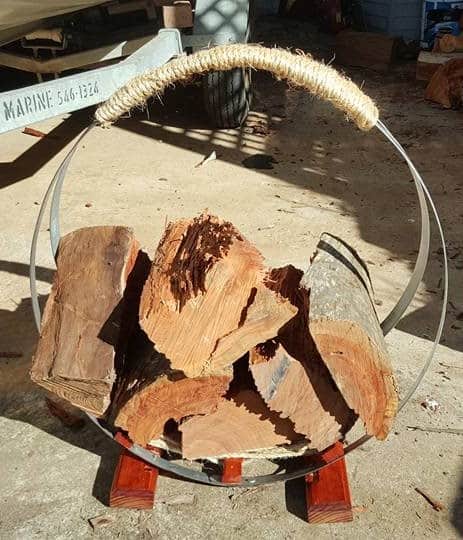
Step 9: Final Assembly
Reassemble the full structure. Align your bands into their chiseled notches and screw all the supports back in place. Double-check that everything is tight and level.
Once built, your stand should feel solid and secure. It’s now ready to be placed beside your fireplace. Load it up with split logs and kindling, and enjoy how it transforms your space.
More wine barrel projects
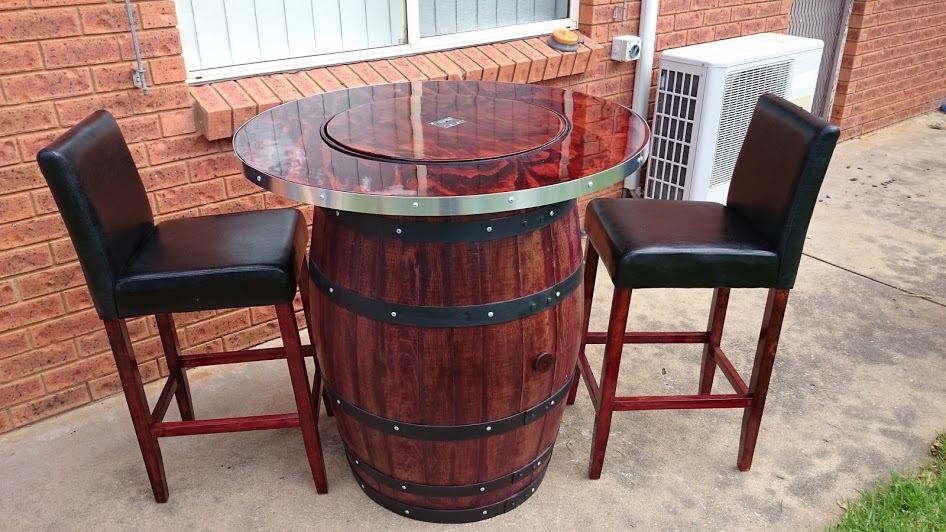
I built this unique table using a recycled wine barrel as the base and hand-carved a classic Greek key design into the timber tabletop.

I upcycled a wine barrel into a bar with a built-in wine bucket.

If you’d like to find any of the items used in this project, we’d greatly appreciate it if you used our affiliate links. These links provide us with a small commission at no extra cost to you, allowing us to continue creating and sharing more inspiring projects. We’d also love to hear your thoughts—feel free to leave a comment or share this post!


No Comments