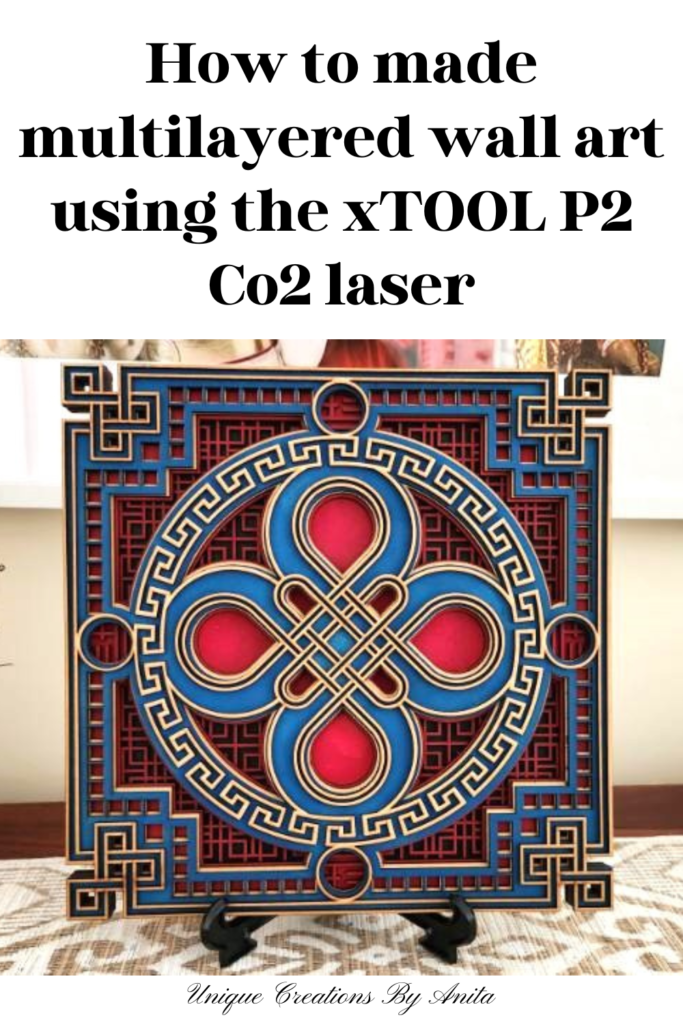
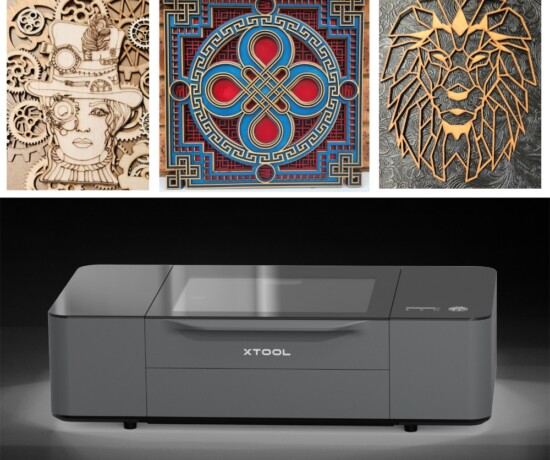
Artistic expression knows no limits, and technology is helping us push those boundaries even further. With the arrival of laser cutting machines, we can now create intricate, multilayered wall art that looks like it belongs in a gallery. In this tutorial, I’ll show you how to make multilayered wall art using the xTool P2 CO2 laser cutter. This was my very first project using the xTool P2, and it turned out perfectly—proving just how easy this laser machine is to use, even for beginners.
Whether you want to add a bold statement piece to your home, design personalised gifts, or explore ways to make money with laser cutting, this project is a fantastic starting point. If you haven’t yet read my review of the xTool P2 CO2 laser.
Before we dive into this tutorial, be sure to subscribe to my bimonthly newsletter to be the first to see my latest projects. You can also follow me on Pinterest and Facebook, where I also include my unique mixed-media art projects
How to Make Stunning Multilayered Wall Art with the xTool P2 Laser
**This post may contain affiliate links. This means I earn a small commission on links used at no extra cost to you. Please see my disclosure policy for more information.**
Materials Needed
- 3mm wood sheets (6 x 32cm x 32cm)
- xTool P2 CO2 laser cutter and engraver
- Acrylic paint in assorted colours
- Foam paint roller
- Wood glue
- Super glue
- Weights (or heavy books/objects)
- Design software (XCS Creative Space or Lightburn)
- Multilayered image SVG/DFX format (free files on Design Bundles or affordable ones on Etsy)
Design Your Artwork
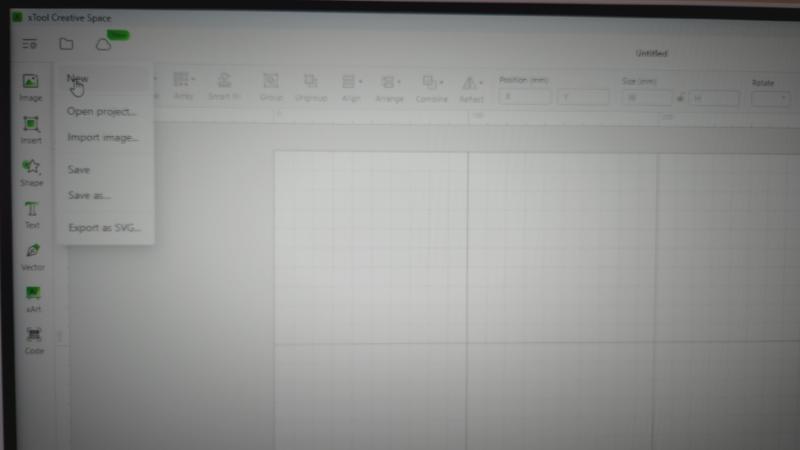
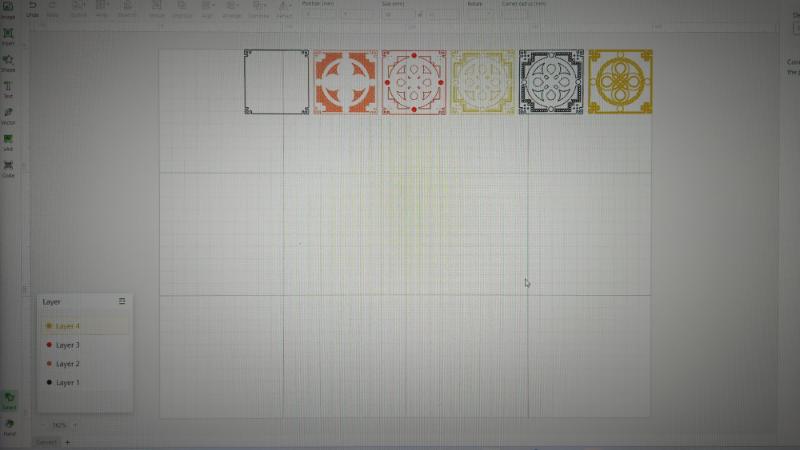
Open XCS Creative Space and start a new project.
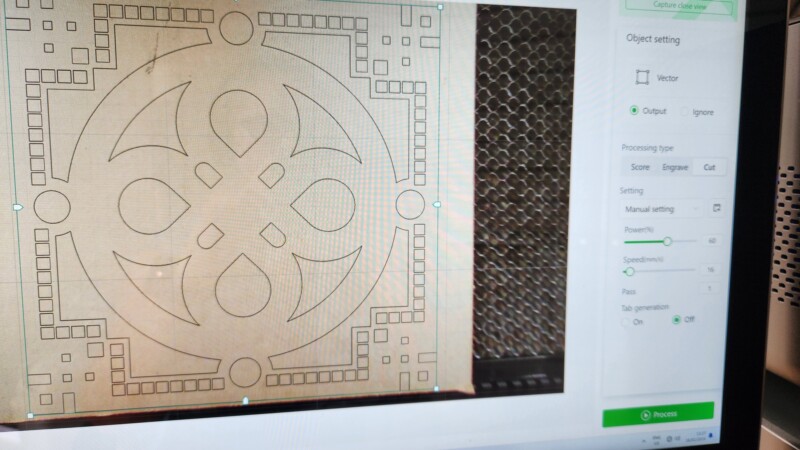
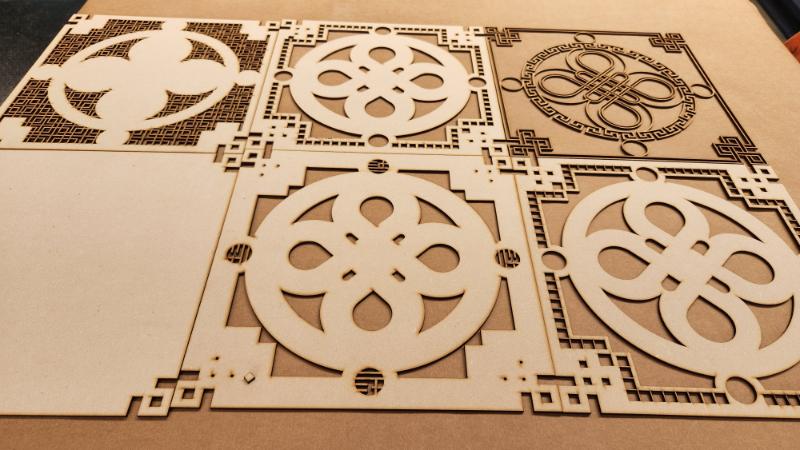
Import your chosen SVG or DFX file, and you’ll see multiple layers displayed. The top layer shows the unified image, while the lower layers break it down into the pieces you’ll cut.
The image in the middle is how the final image will look once all the layers are put together.
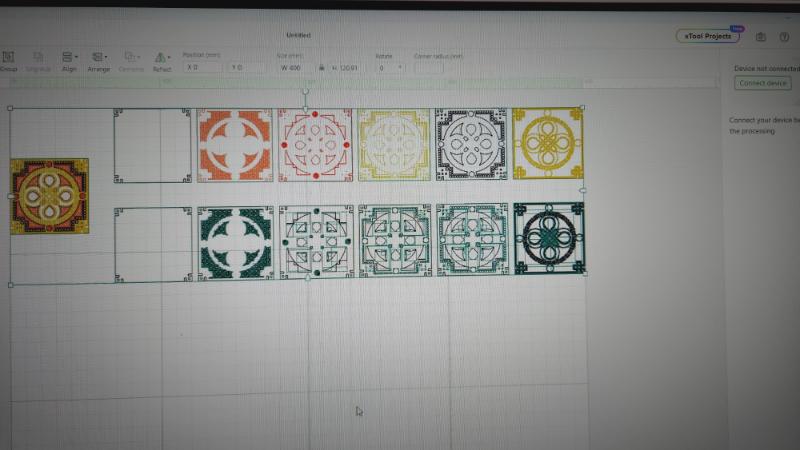
You can select the bottom row and the final image and delete them from your workspace.
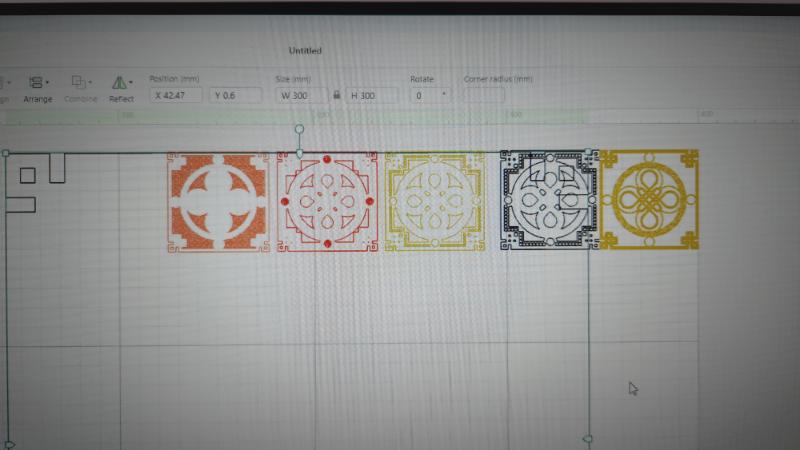
For this project, I need my final image size to be 300mm x 300mm square. You can adjust the image size at the top of the screen. The padlock icon in the middle of the two sizes can be unlocked to create a custom size.
Set up the xTool P2 laser
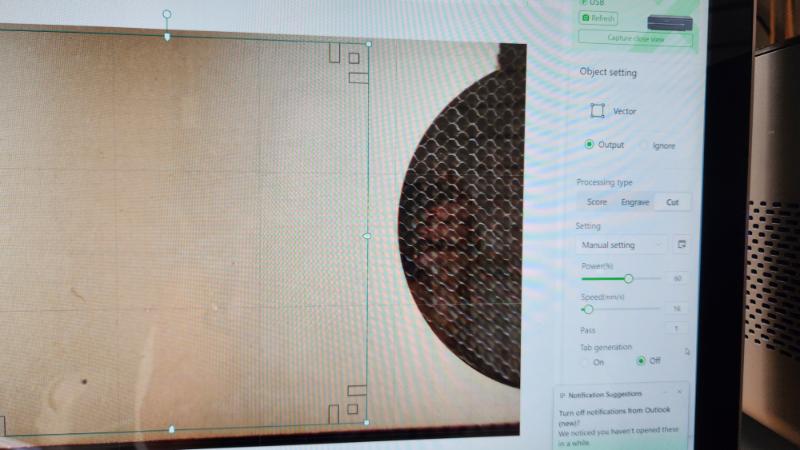
To begin, turn on your xTool P2 laser. Next, add the 3mm MDF to the inside of the laser machine. Since we will be cutting out numerous smaller pieces, it is recommended to use the honeycomb to prevent any small pieces from falling through and getting stuck. After that, click on the refresh button located at the top right-hand side of your screen. This will bring up the live view of your work.
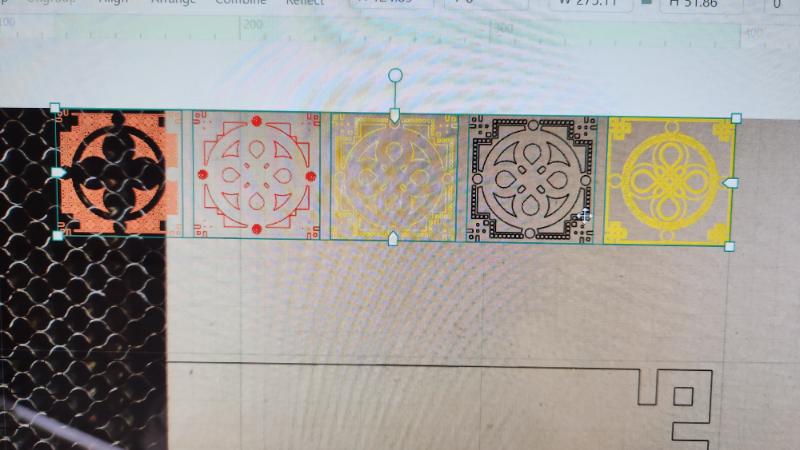
I started working with the first image from left to right. I found it more manageable to work with one image at a time. To do this, select the first image and move it away from the other images. Then, you need to inform the laser that you only want to cut the first image. You can now select all the other images and click the “ignore” button on the right-hand side of the screen. I moved the other images away from my work area.
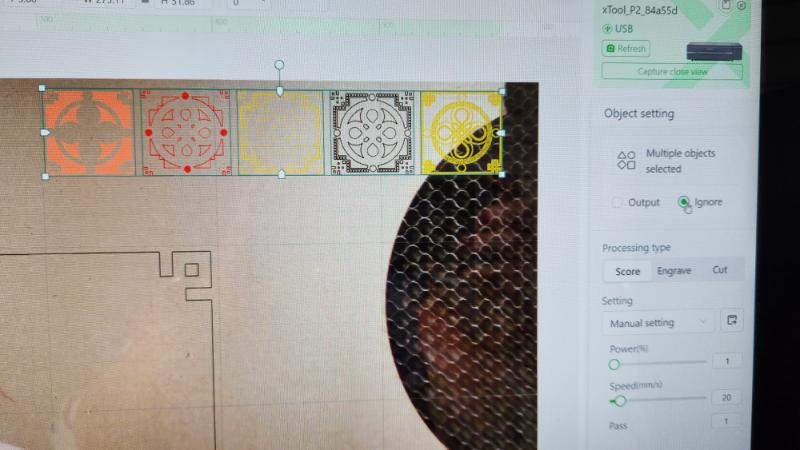
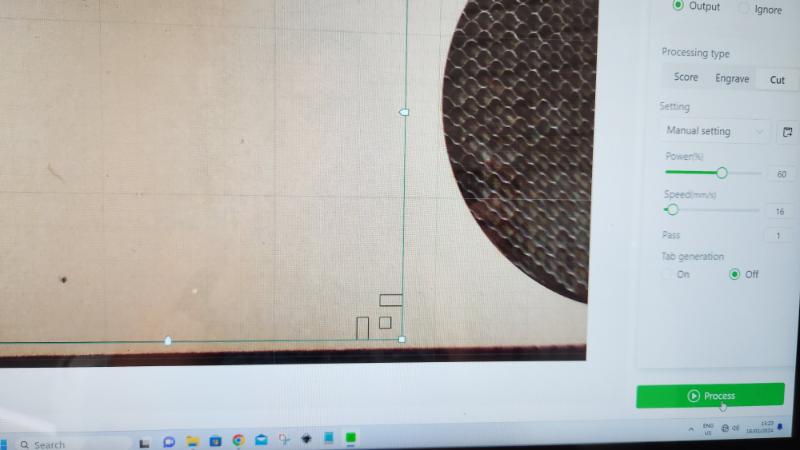
You can now accurately position the first image on your work area, select cut, and then use the output button on the right-hand side of the screen to instruct the laser to cut the image.
Add your laser cut settings.
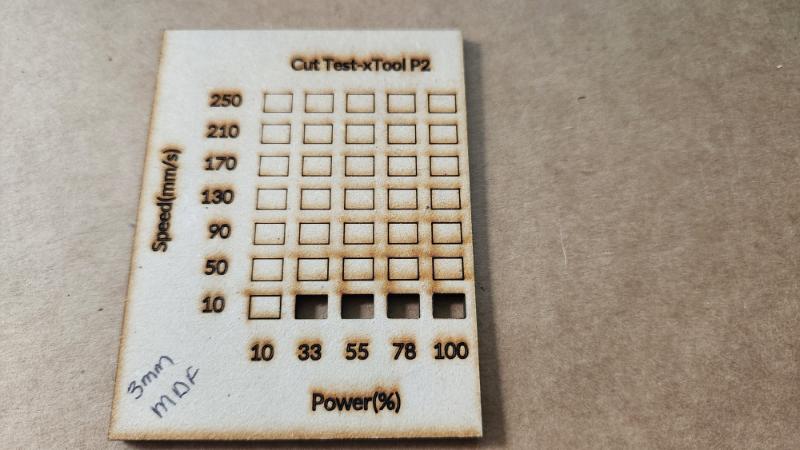
In order to achieve the best results with your materials, it is recommended to create test cards. For each type of material you use, prepare a test card that outlines the optimal power and speed settings. This will provide you with a helpful guide to ensure consistent results. If you haven’t created a test card yet, you can easily make one using the grid array function in XCS. You can access a tutorial on xTool’s YouTube page, along with other useful tutorials.
Once you have added your settings, you can click the process button, which will bring you to the preview screen. Press the start button on the laser, and it will start cutting out the design.
Repeat this step with each layer until you have cut out each design.
The laser is incredibly powerful and produces clean edges every time it cuts a design. The time taken to cut each layer was approximately 20 minutes.
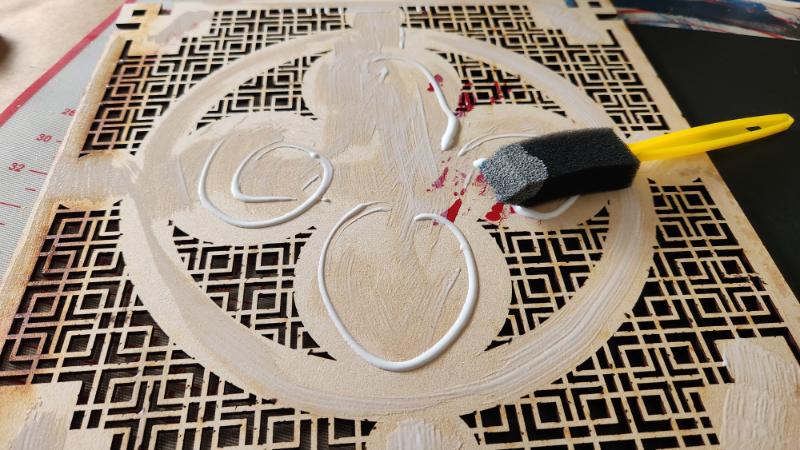
Painting your layered art
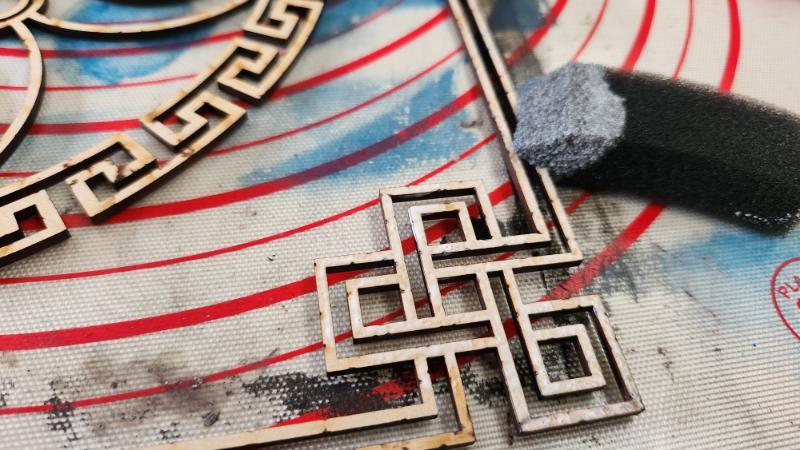
I painted the MDF layers with acrylic paint using a foam paint roller. First, I poured a small amount of paint into a tray and rolled the sponge roller in it. To remove the excess paint, I rolled the roller onto a plastic mat. Then, I applied the paint to each MDF layer with a light hand, avoiding pressing down too hard as it could cause the paint to run down the inside of the design. I only wanted the paint to stay on the surface area. I added 2 coats of paint to all the colored layers.

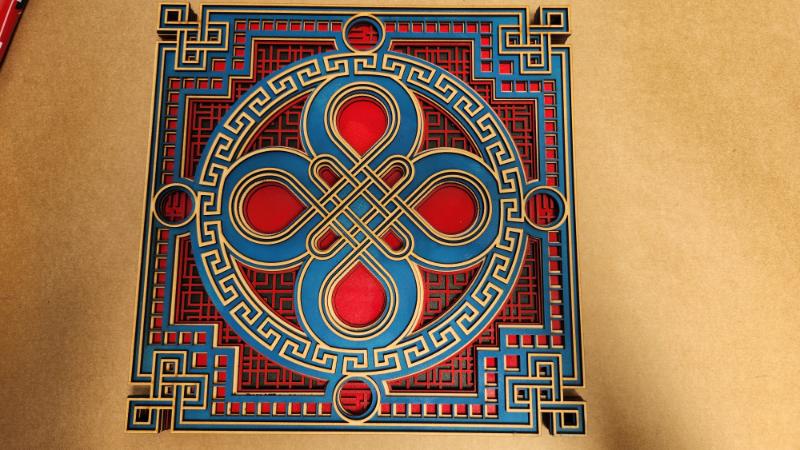
Before glueing the layers together, assemble the design to make sure you are happy with the colours.
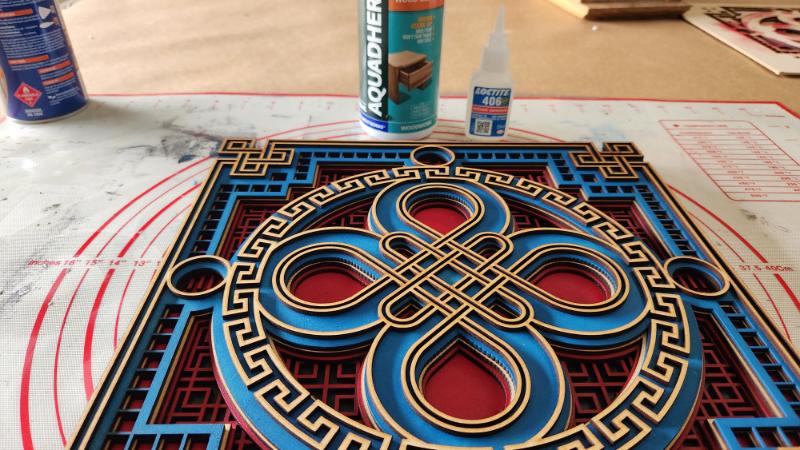
Glueing the multilayered wall art together
To glue the laser-cut layers together, I used a combination of wood glue and super glue.
I added some glue to the back of the MDF and spread it around with a sponge brush. It is important to make sure you get all the outside edges to make sure the design will not pull apart.
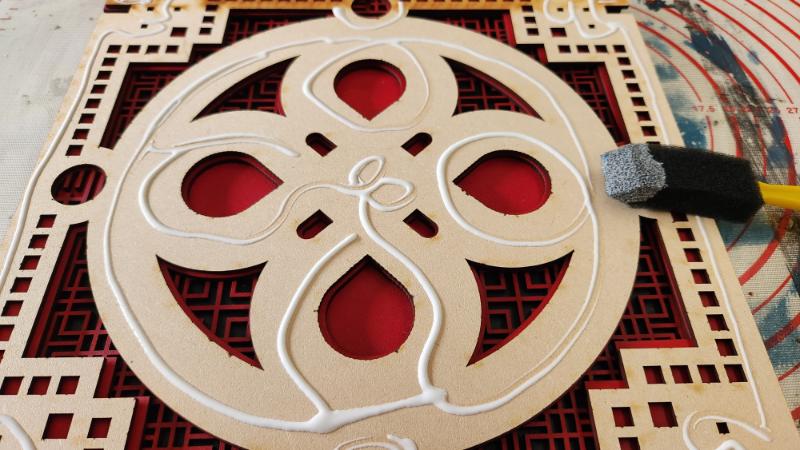
I applied wood glue to the MDF and spread it evenly with a sponge brush, paying extra attention to the outer edges to prevent the wall art from falling apart when hung.
I had difficulty using glue for the top layer of my design because it had many fine edges. The glue kept pooling around the sides of the design. Therefore, I switched to using super glue for the top layer. However, I encountered a challenge with the fast drying time of the super glue, which required me to work quickly.
To secure the layers together, apply pressure while the glue dries by adding some weight to the surface. You can use clamps depending on the intricacy of the design, but any heavy object will suffice.
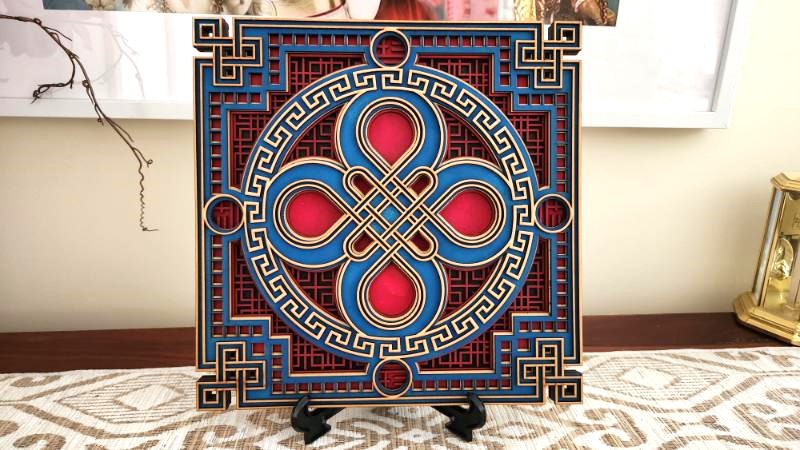
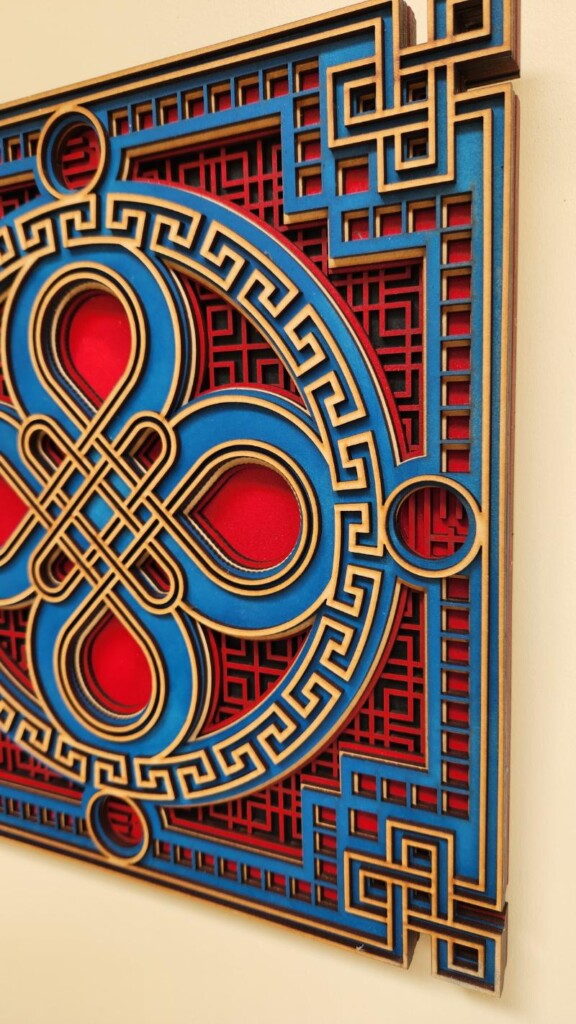
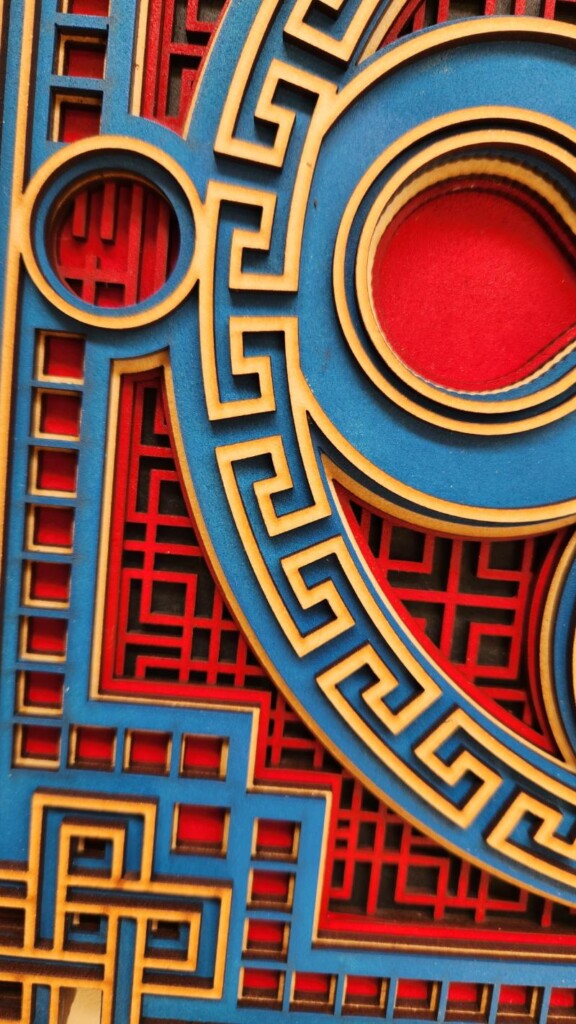
Close-up view of the multilayered wall art.
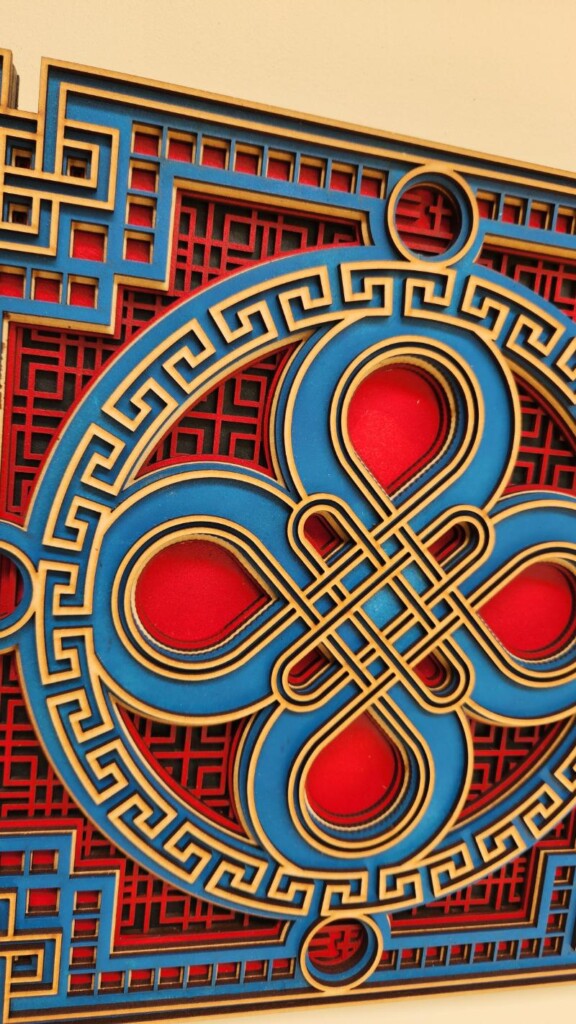
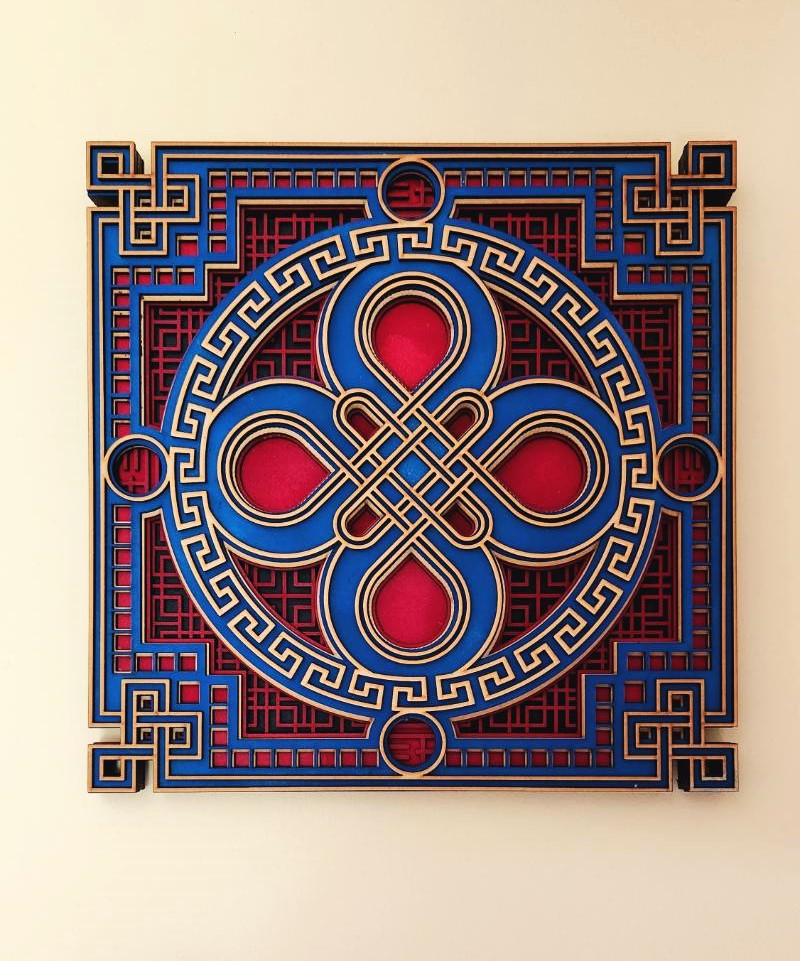
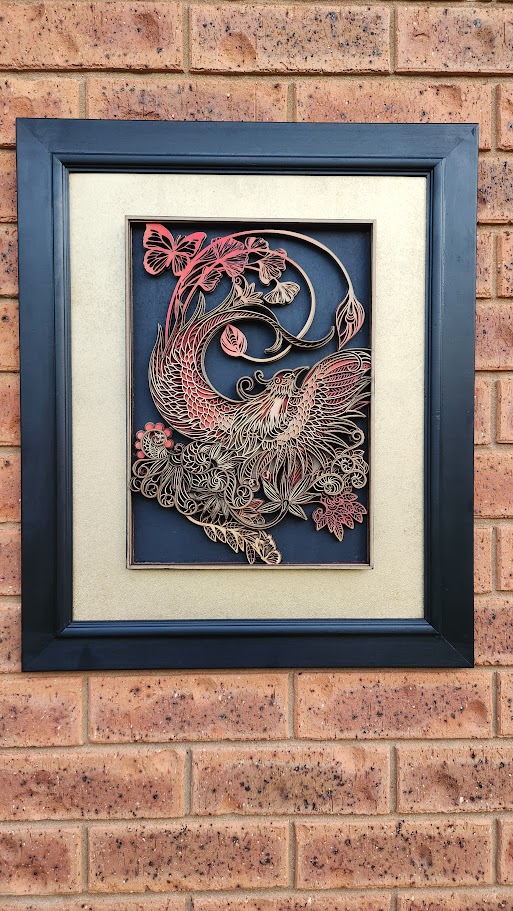
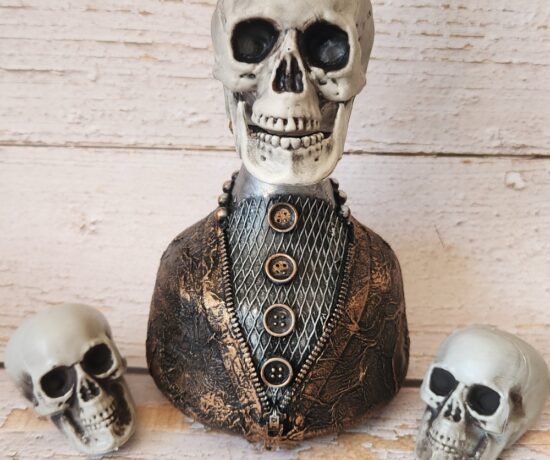
Here is another example of stunning wall art created with this laser.
More laser project ideas
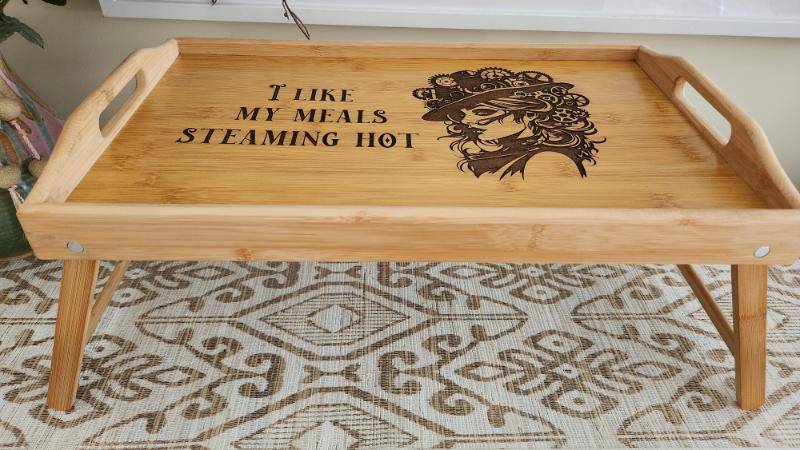
You can see how I made this steampunk dinner tray tutorial using this link.
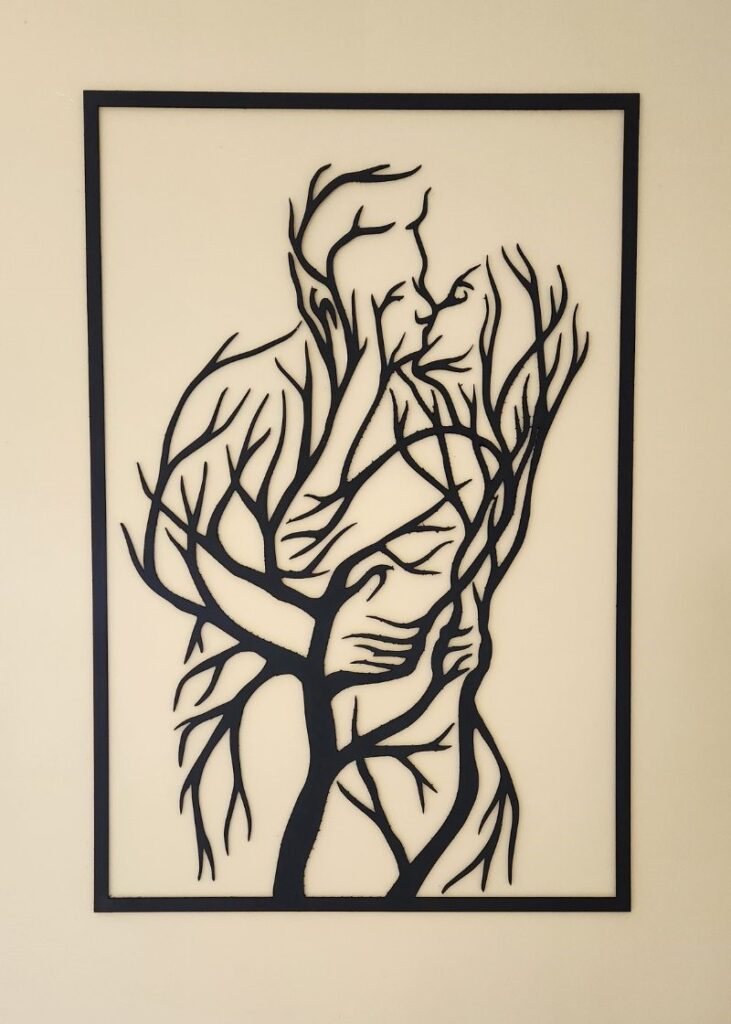
Large silhouette tree lover wall art.

If you’re interested in any of the items used in this project, we’d appreciate it if you used our affiliate links. Clicking these links earns us a small commission at no extra cost to you, helping us create more inspiring and exciting projects to share. We’d also love to hear your thoughts—feel free to leave a comment or share this post!
2 Comments
Michelle Leslie
March 12, 2024 at 1:38 amI’m blown away!!!!! Anita, this is abSooooooLutely gorgeous. Wow!! I have got to investigate this new toy of yours and I can’t wait to see what else you come up with.
Anita Holland
March 18, 2024 at 7:49 pmThanks Michelle, I really love this laser. So many ideas not enough time to play 🤣🤣