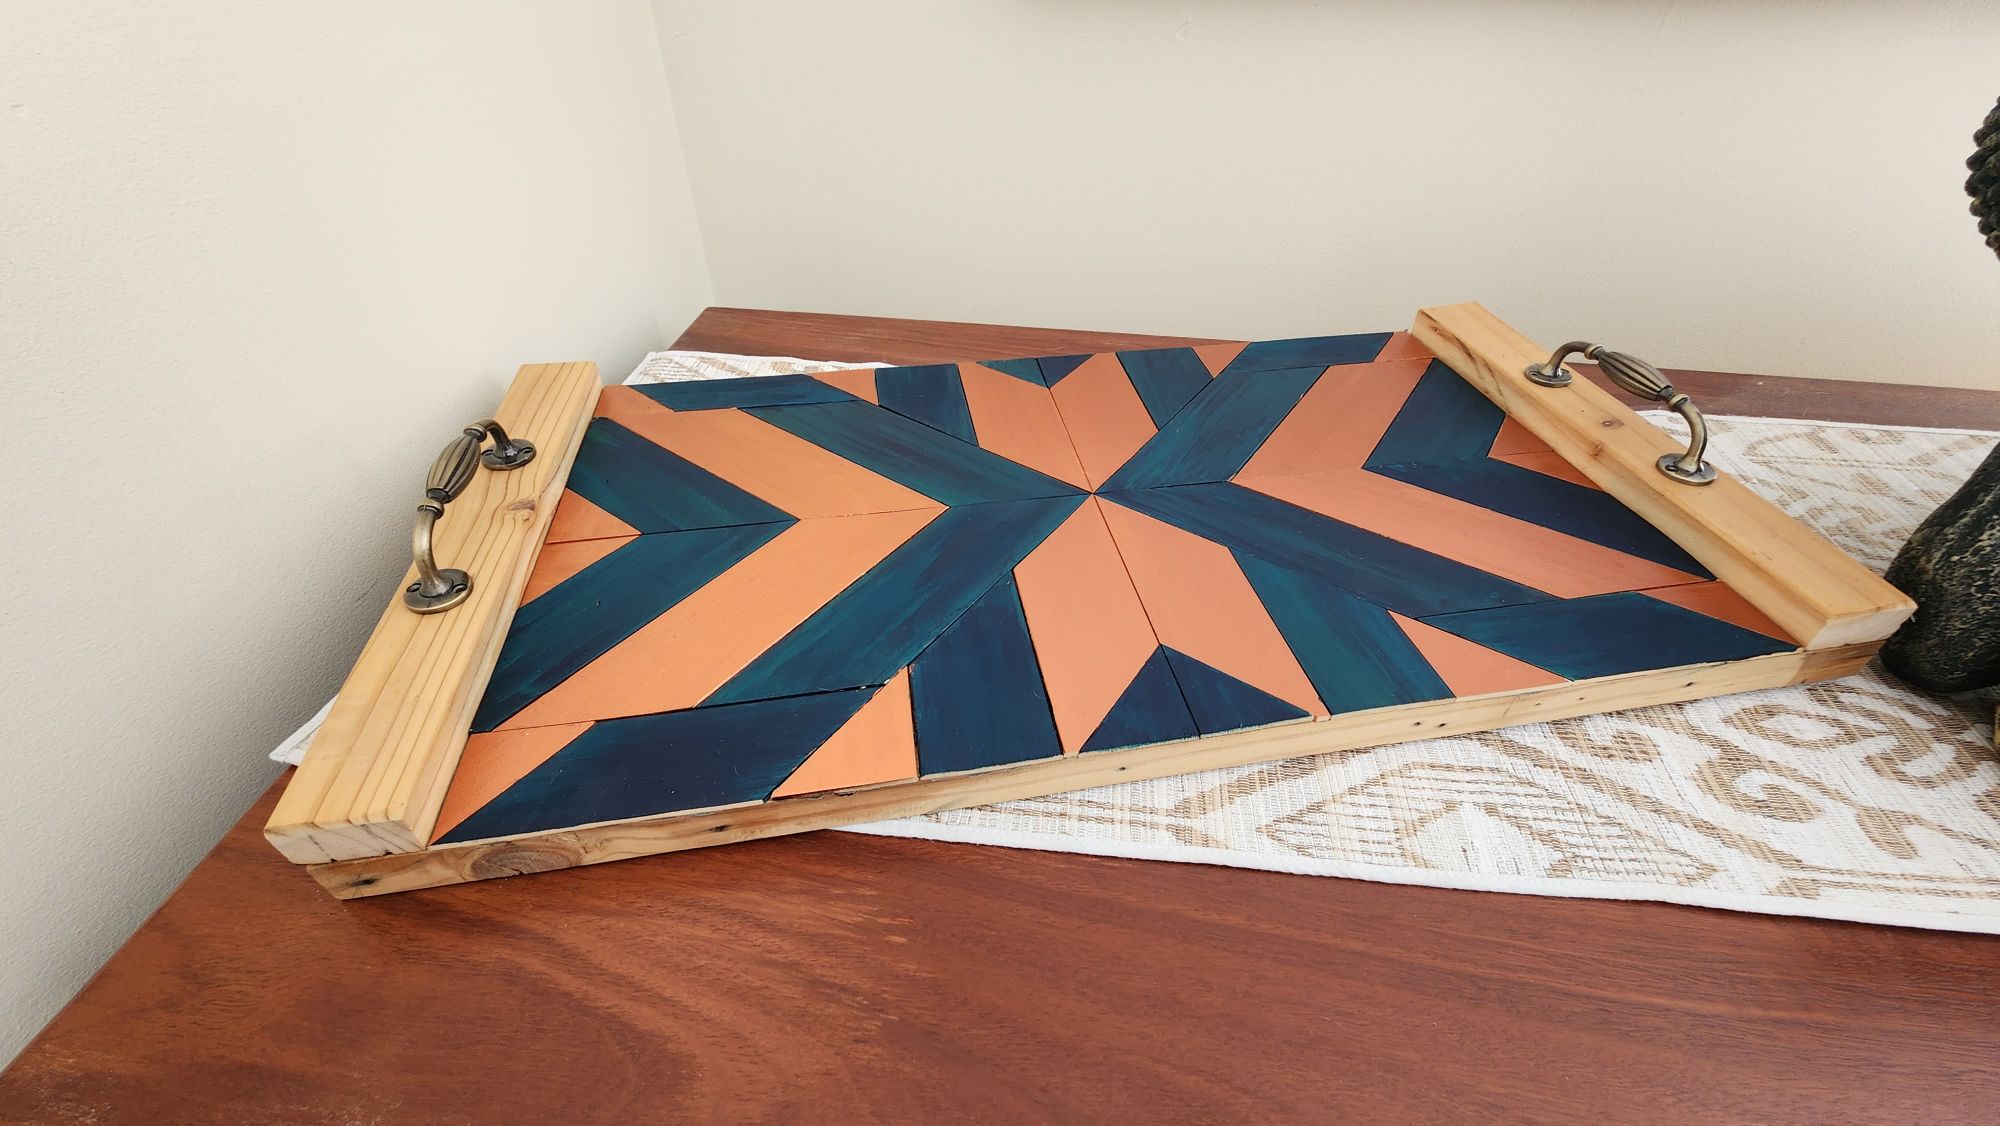
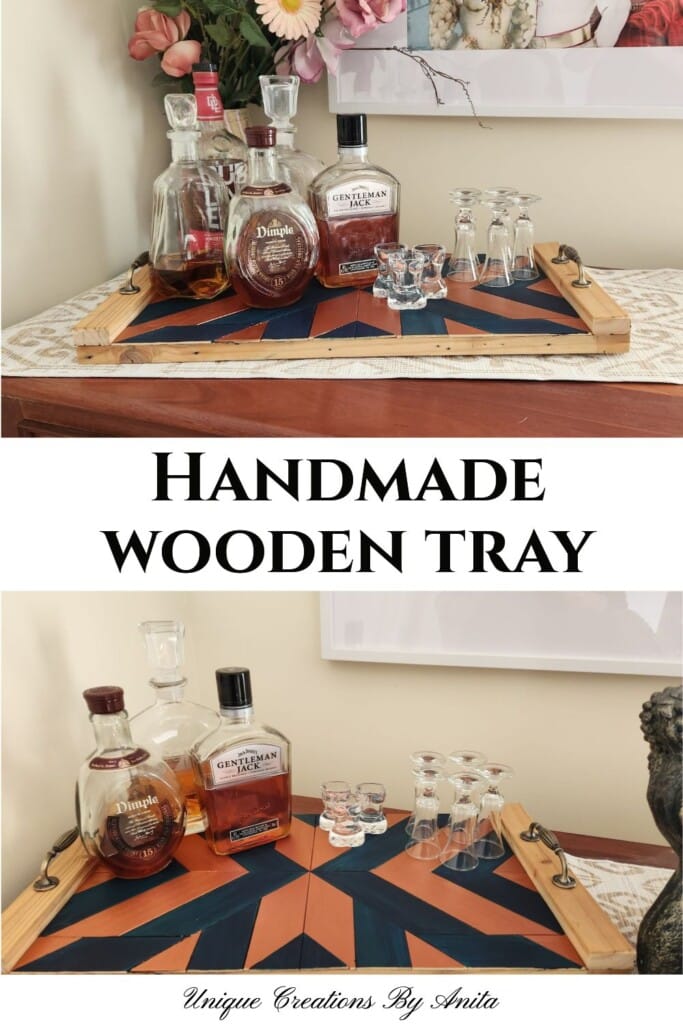
Looking for a fresh “Tray Chic” idea? This DIY Barn Quilt Tray from Recycled Blinds turns leftover timber and an old wooden blind into a bold, geometric serving tray you’ll use every day. I’m sharing the exact steps I followed—fast, thrifty, and easy to customise with your favourite colours.
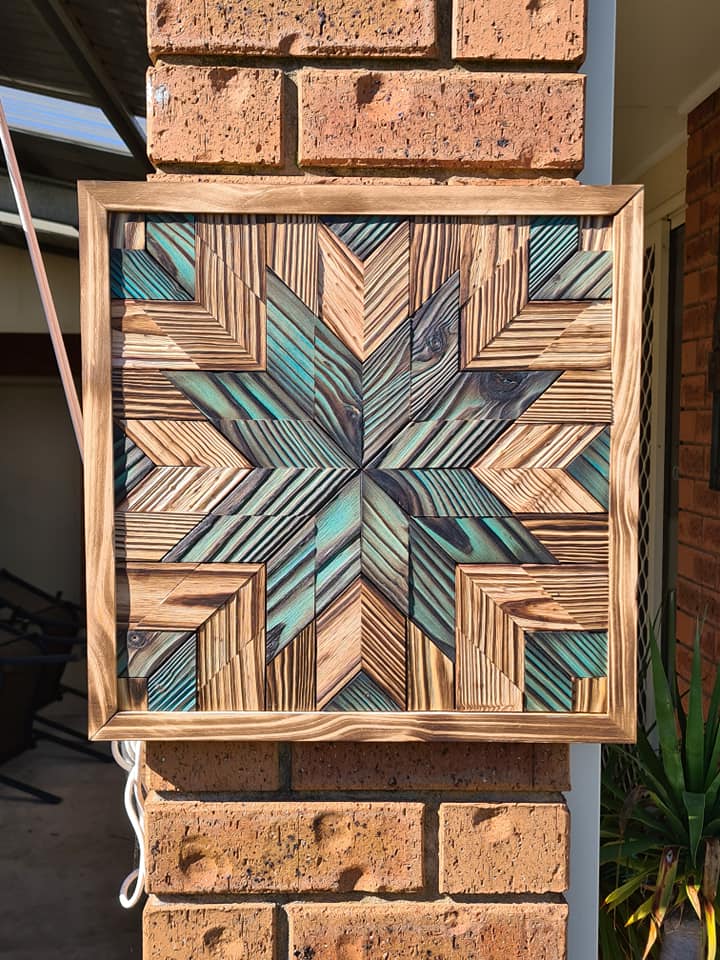
I love barn quilts. There’s a headboard in the spare room, a table outside, and several pieces of wall art. A tray felt like the natural next step. The pattern looks complex but builds like a jigsaw. Using blind slats keeps the pieces thin and uniform, so the design goes together quickly and cleanly.
Before we dive into this tutorial, be sure to subscribe to my bimonthly newsletter to be the first to see my latest projects. You can also follow me on Pinterest and Facebook, where I also include my unique mixed-media art projects
DIY Barn Quilt Tray from Recycled Blinds
**This post may contain affiliate links. This means I earn a small commission on links used at no extra cost to you. Please see my disclosure policy for more information.**
Materials needed
- Recycled tongue-and-groove boards (three at ~600 mm long x 90 mm wide)
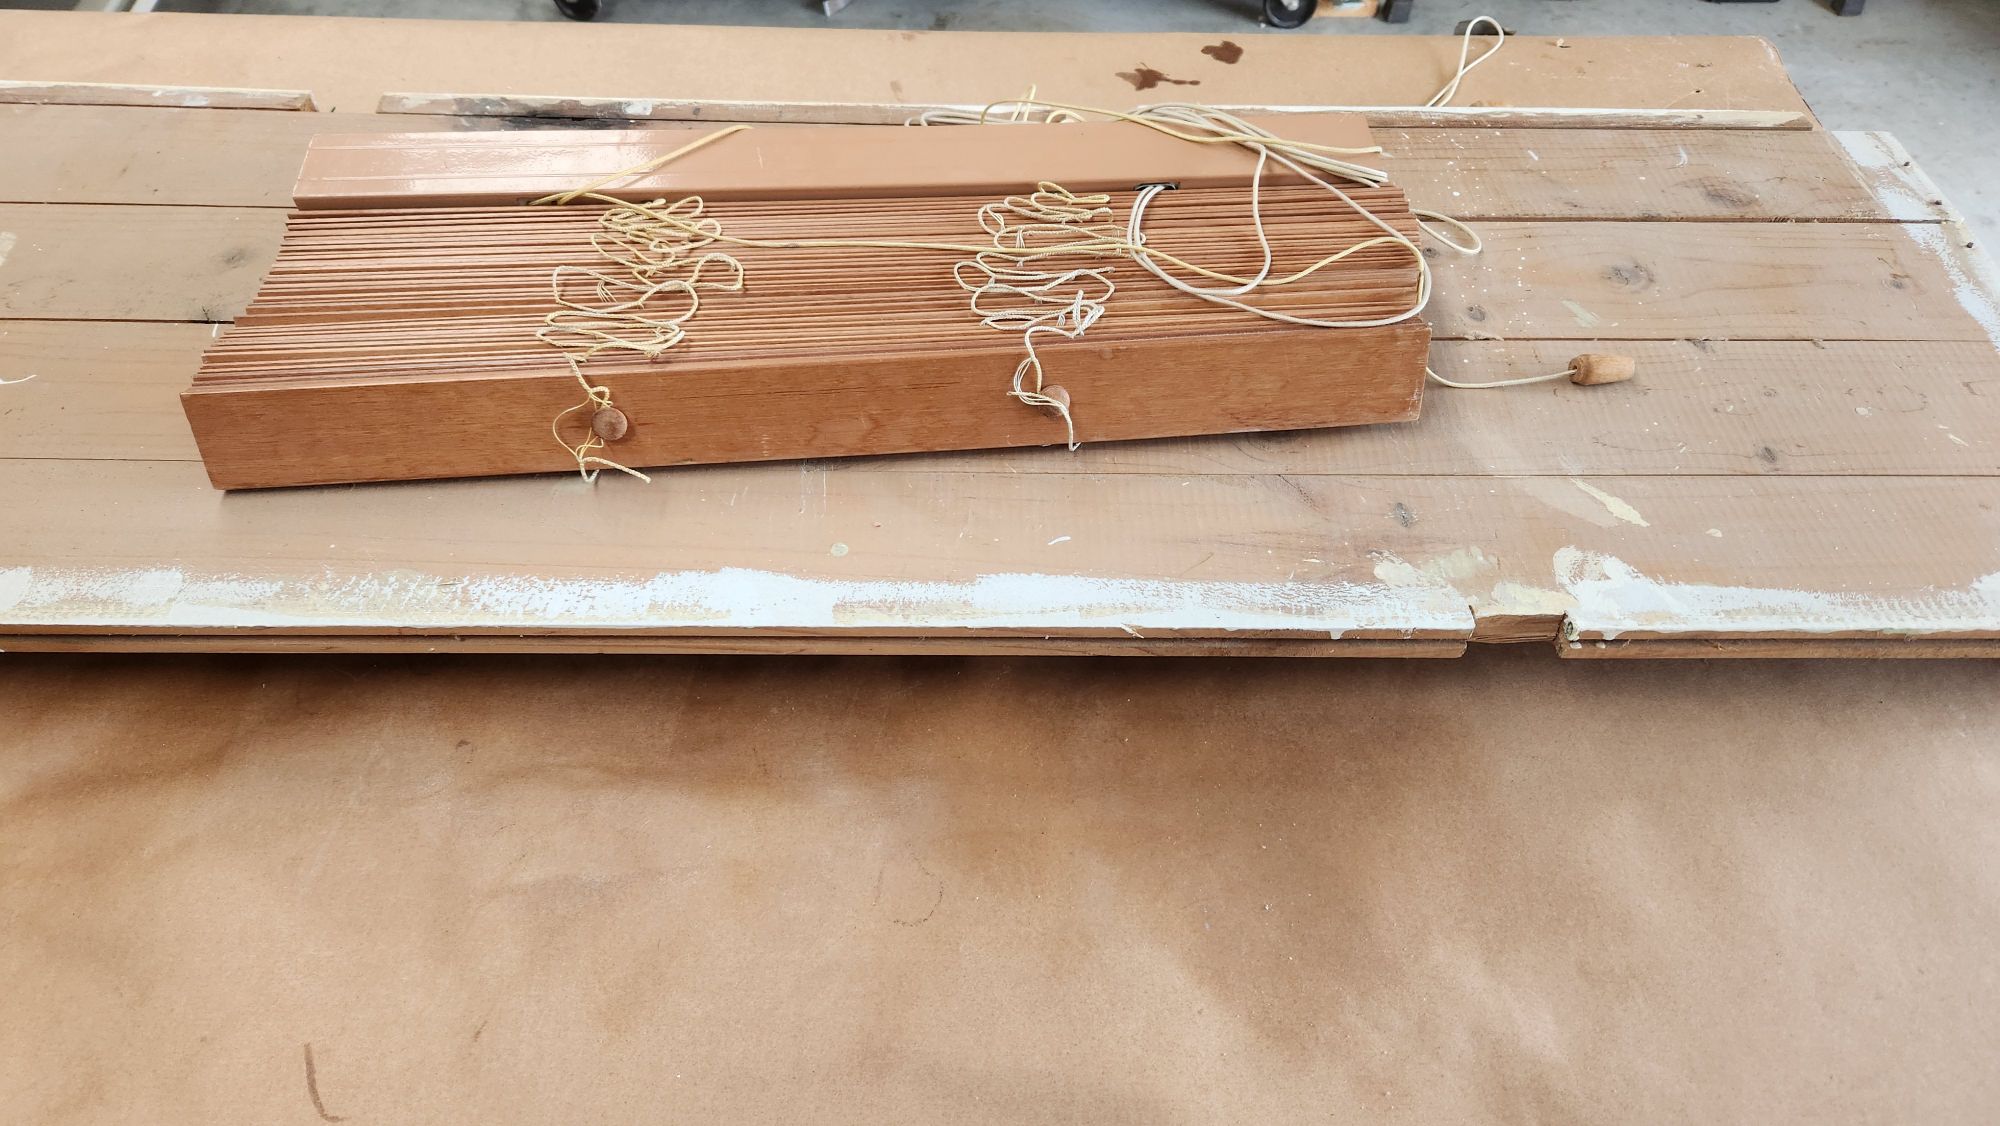
- Old wooden Venetian blind (slats become the quilt pieces)
- Wood glue
- Hot glue gun and sticks
- Screws and a countersink bit
- Clamps
- Mitre saw or handsaw with mitre box;
- Table saw (optional for straightening edges)
- Planer or orbital sander with 80/120/180-grit discs
- Bench sander (or sanding block) for tiny trims
- Acrylic paints or wood stain + brushes
- Ruler, square, pencil, measuring tape
- Pair of tray handles (top-mount or through-fixing)
- Safety glasses and hearing protection
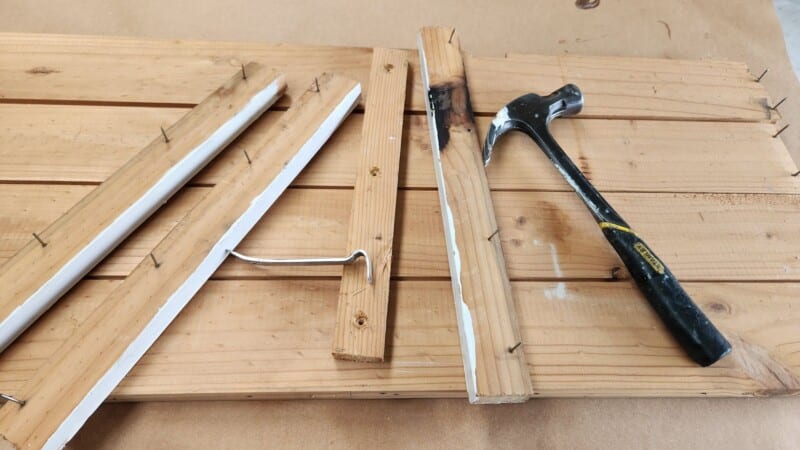
Prep the base
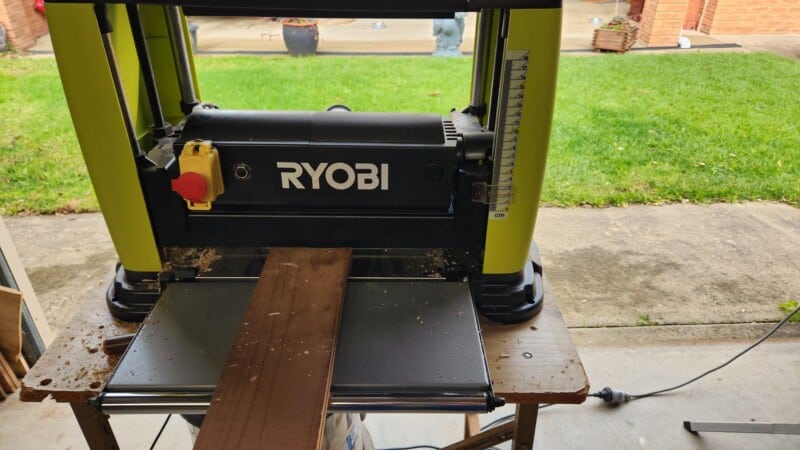
I salvaged a tongue-and-groove counter from a building site. I removed supports with a claw hammer, trimmed away any nails, and planed the faces clean. No planer? Sand to bare timber. Rip the outer tongues off the two outside boards for neat edges.
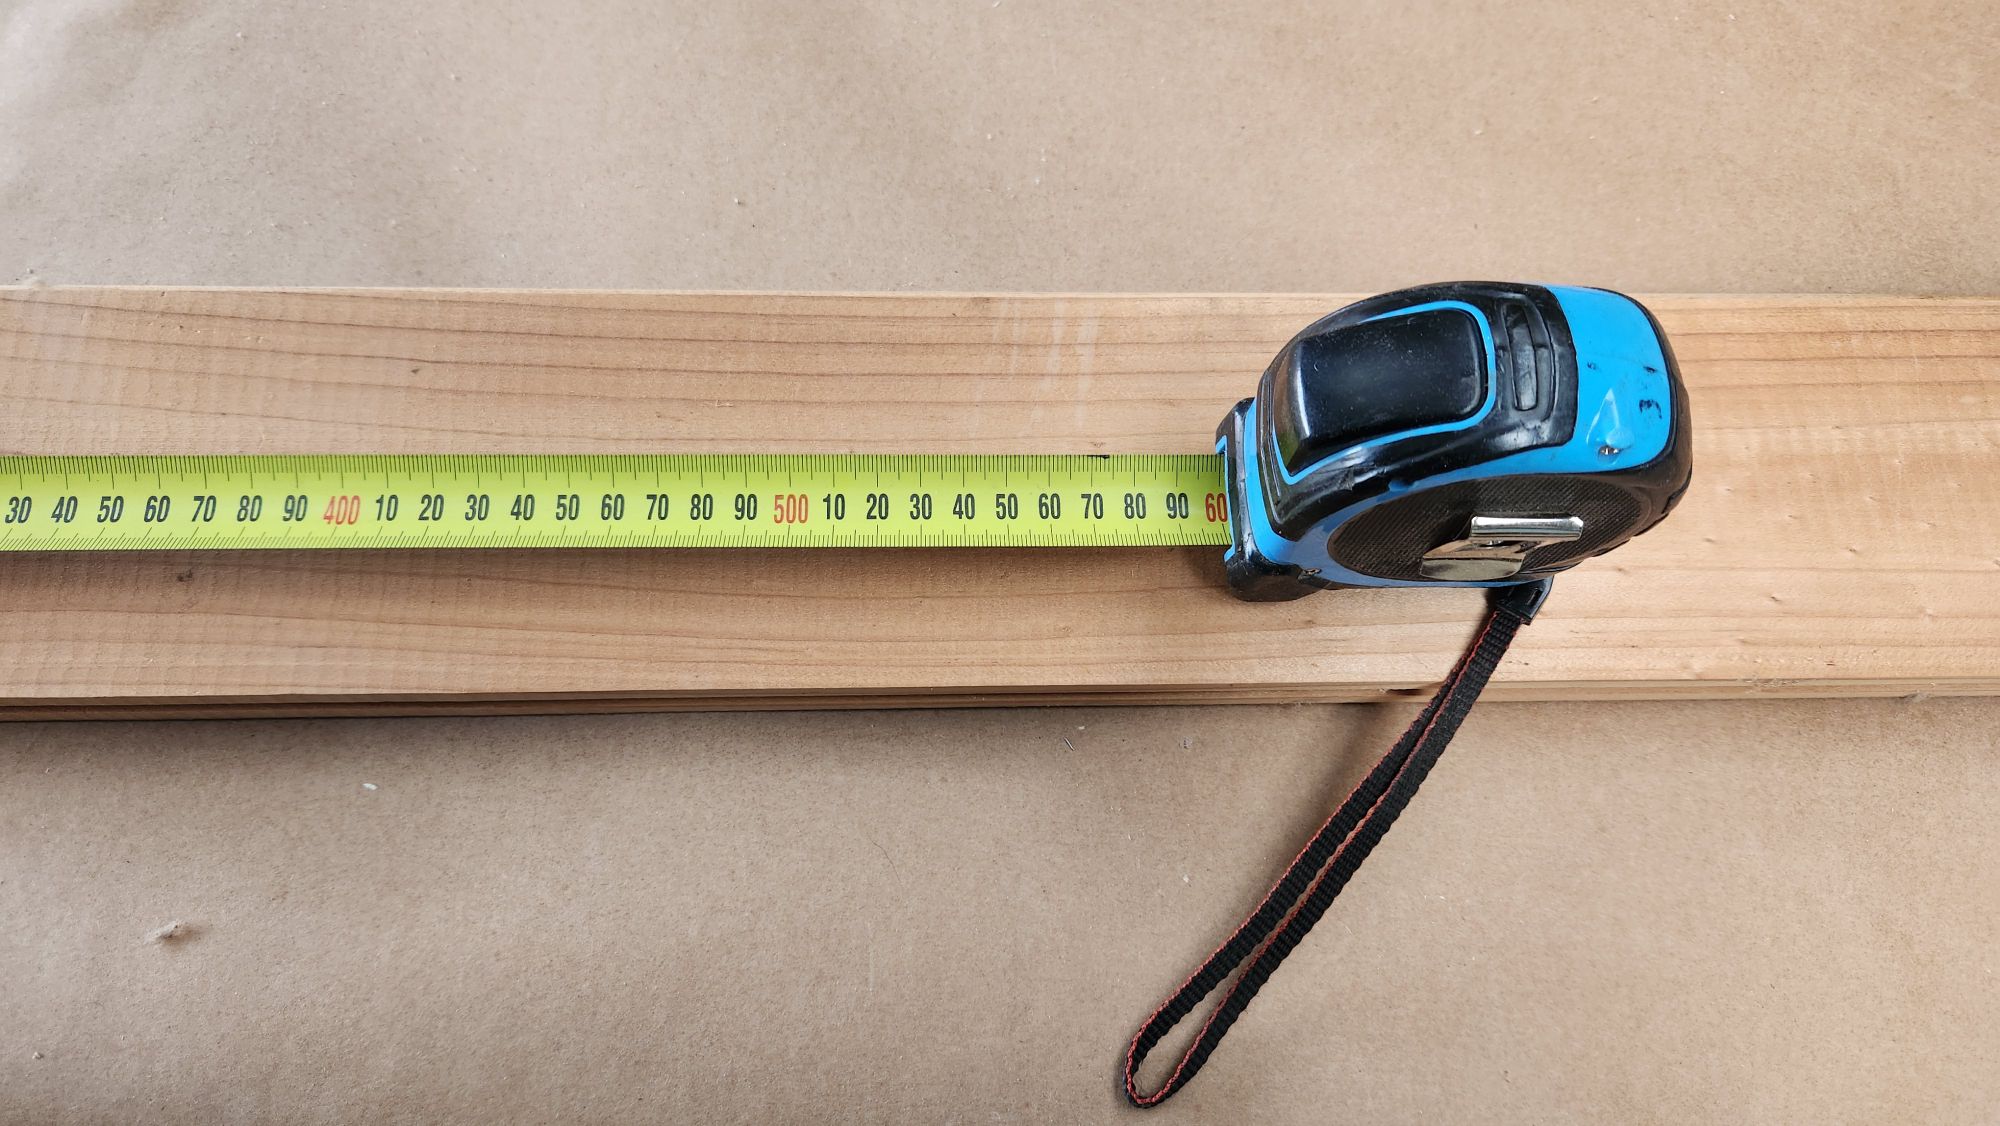
Cut three boards to about 600 mm long. Dry-fit the tongues and grooves so the panel lies flat.
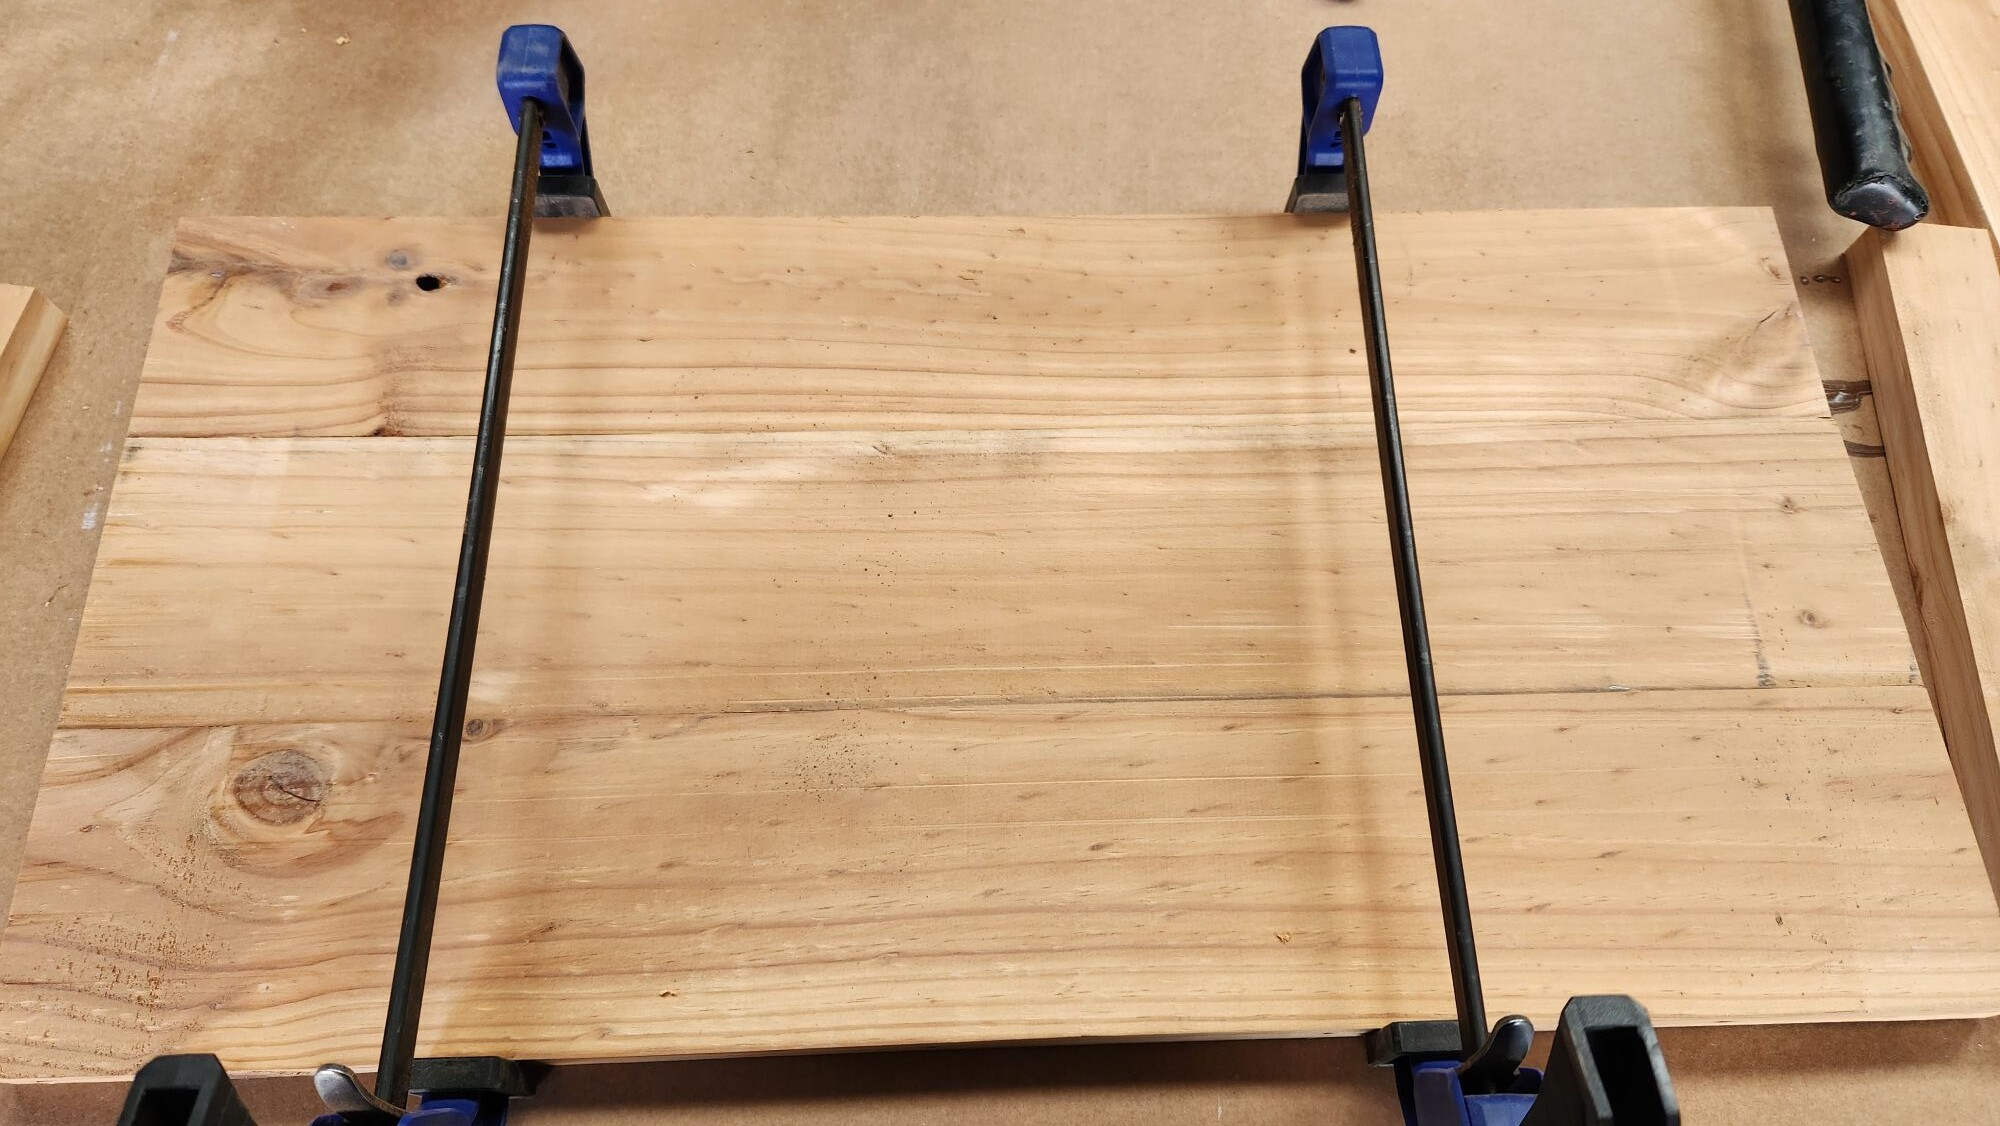
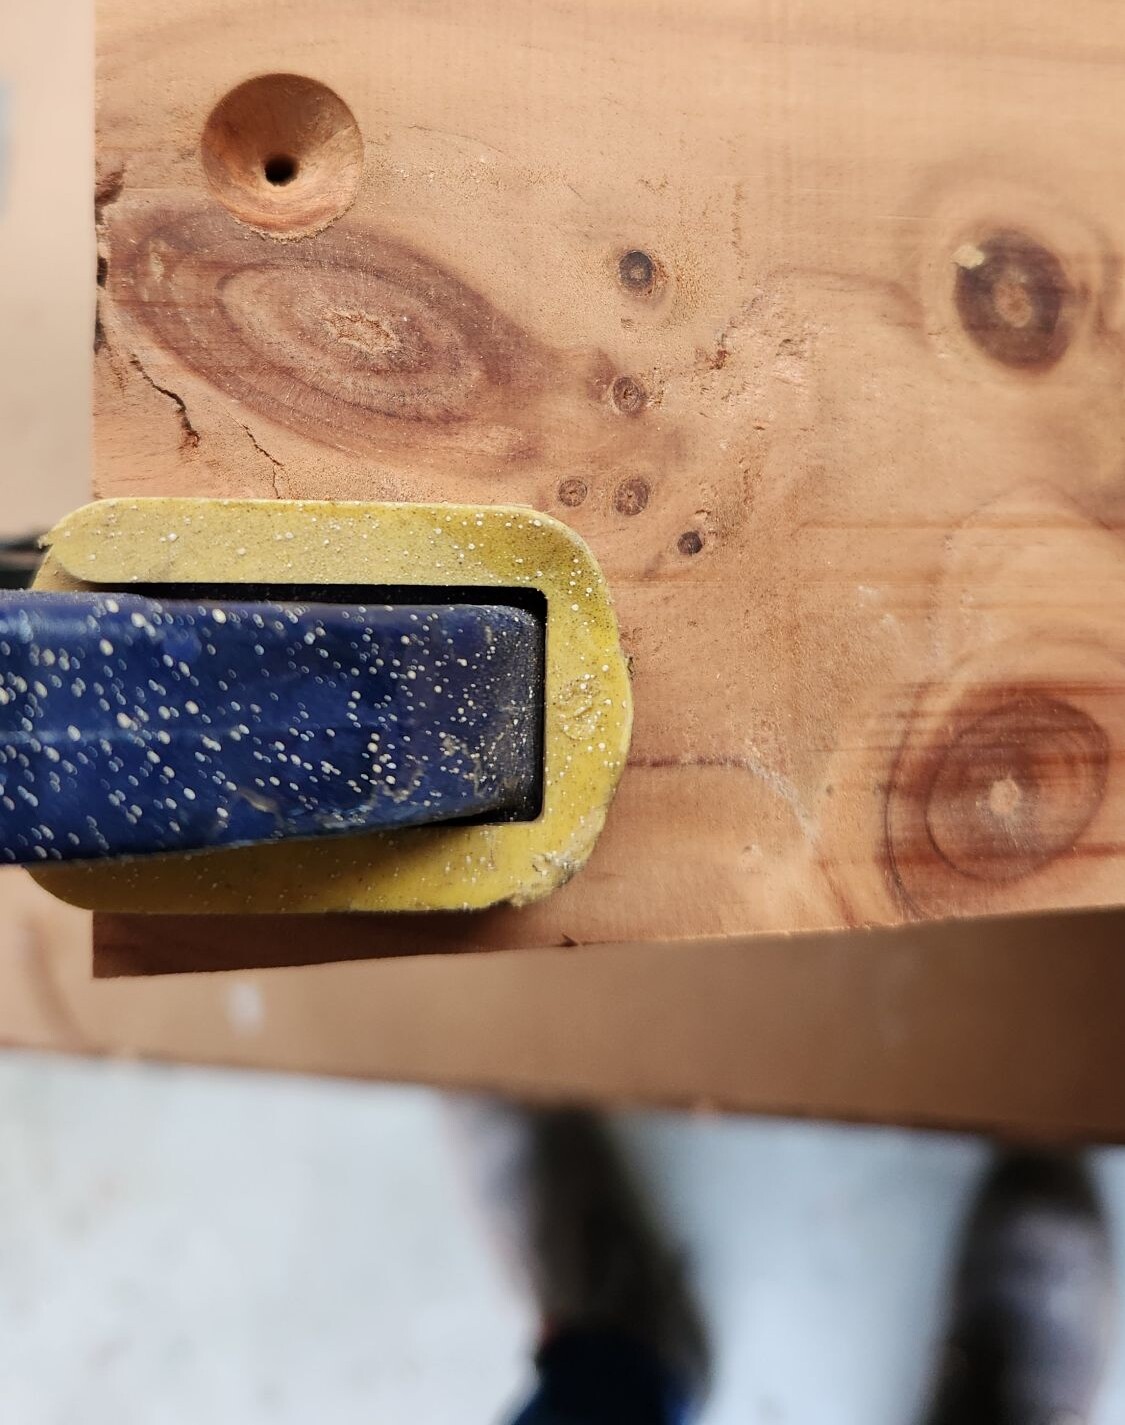
Glue up the tray blank
Run a thin bead of wood glue along the tongues and grooves. Clamp the panel tight. Cut two cross braces the width of the tray and pre-drill.
Countersink screws so the heads sit below the surface. This prevents scratches on your tabletop. Glue the braces on once the face work is done.
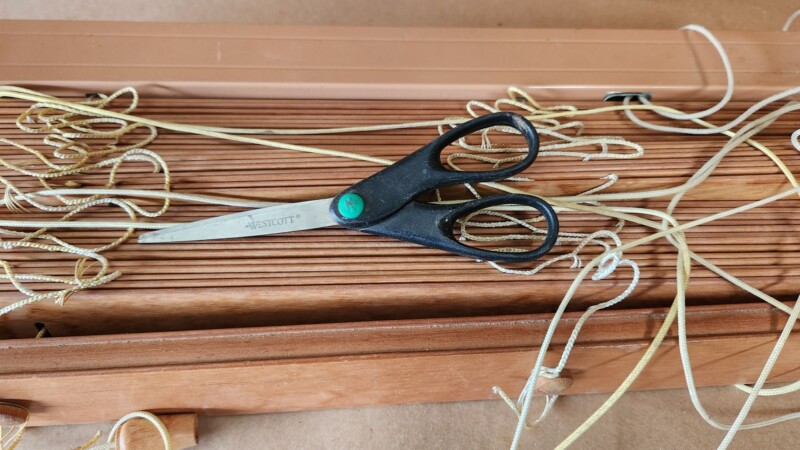
Turn blind slats into “quilt blocks”
Cut the cords from the blind and sort the slats.

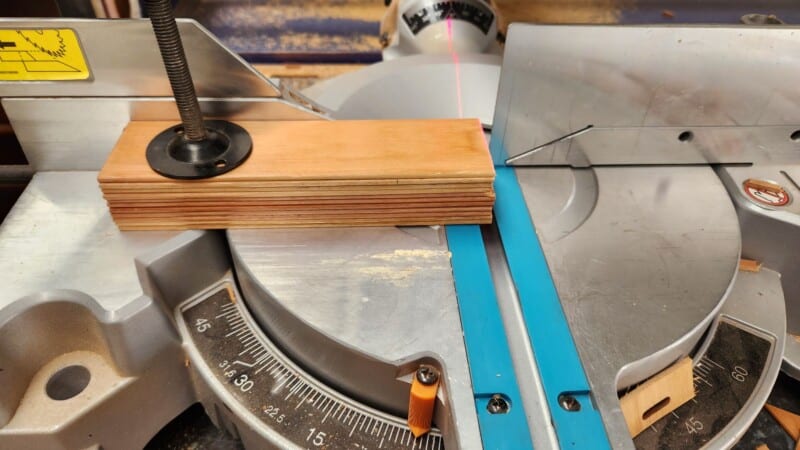
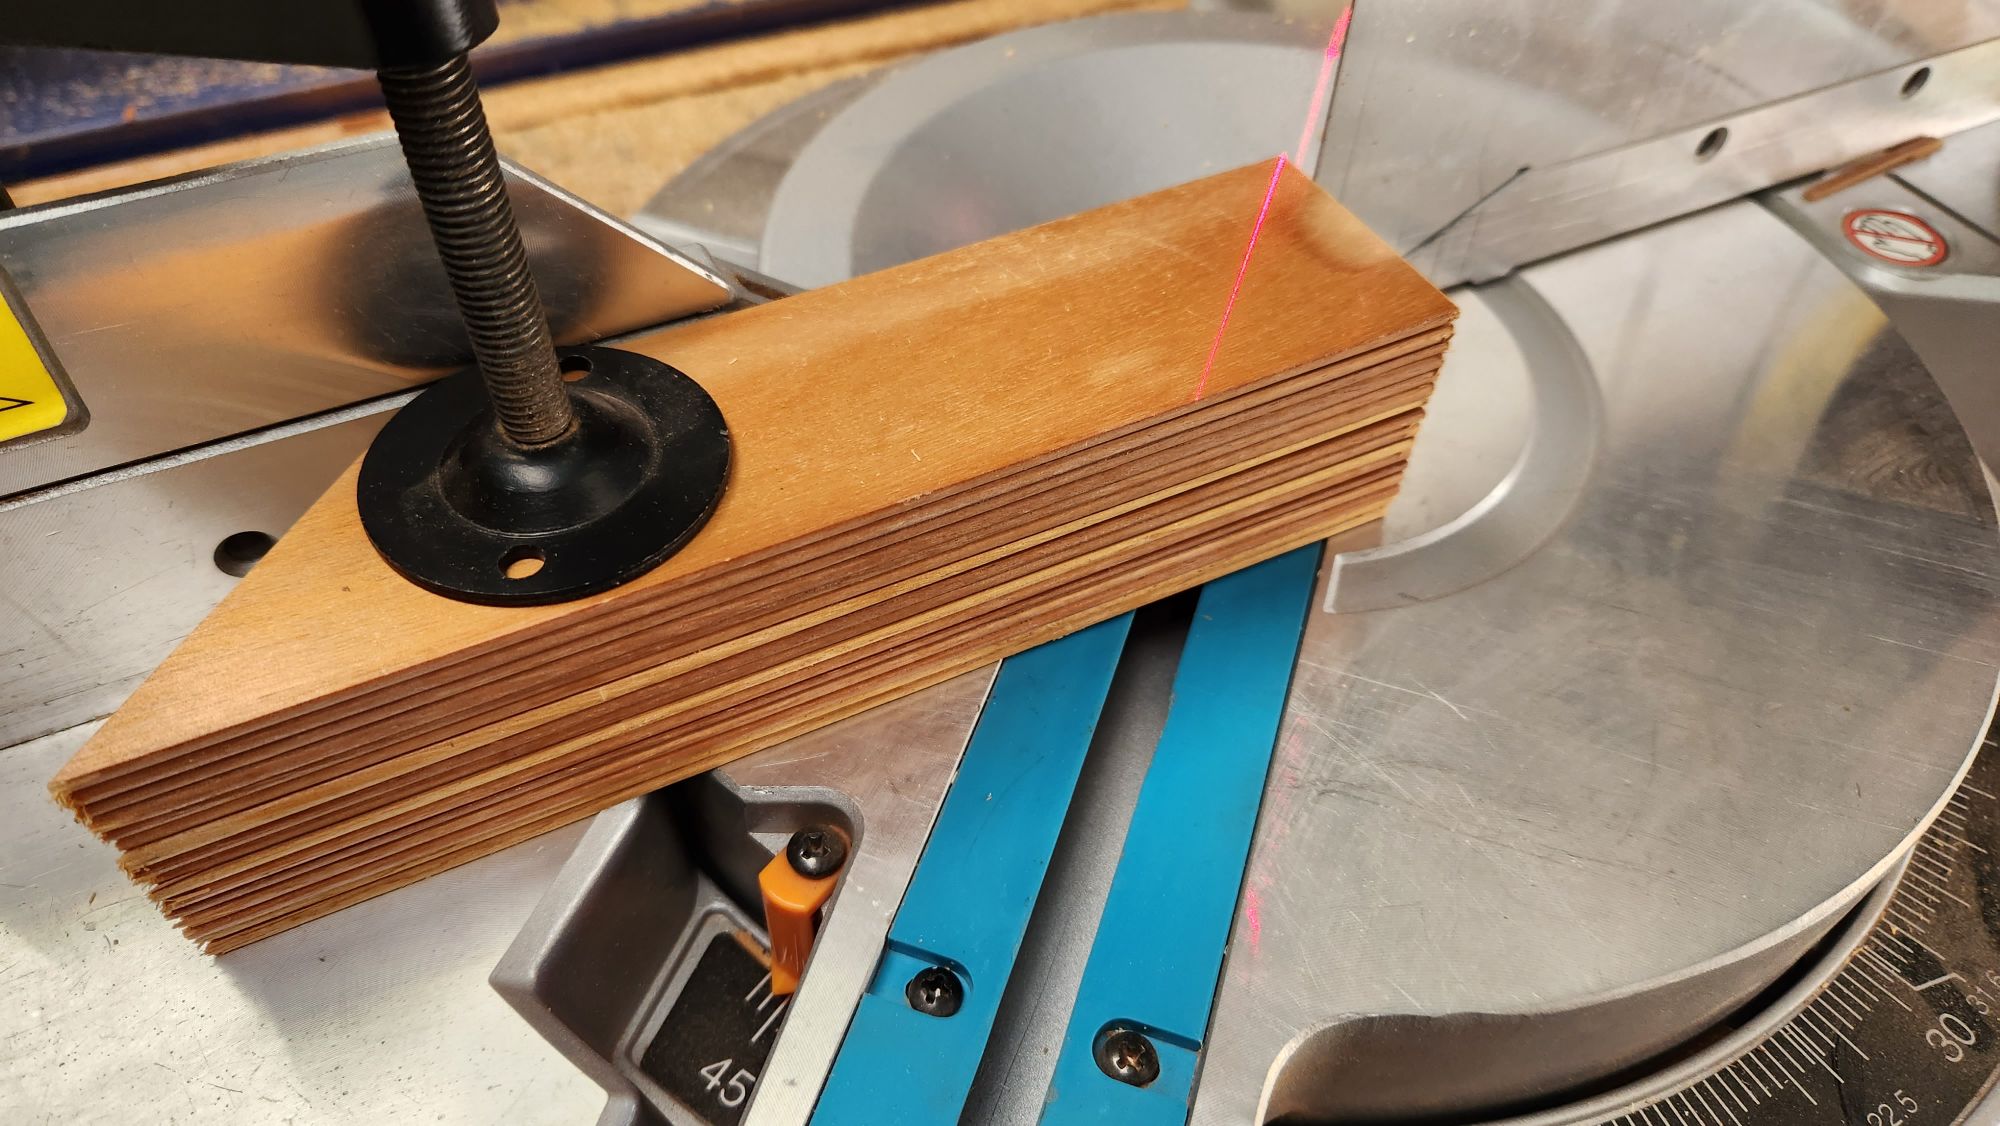
Square one end of every slat first. Stack a small bundle, clamp, and trim them together for uniform length. Set the saw to 45°.
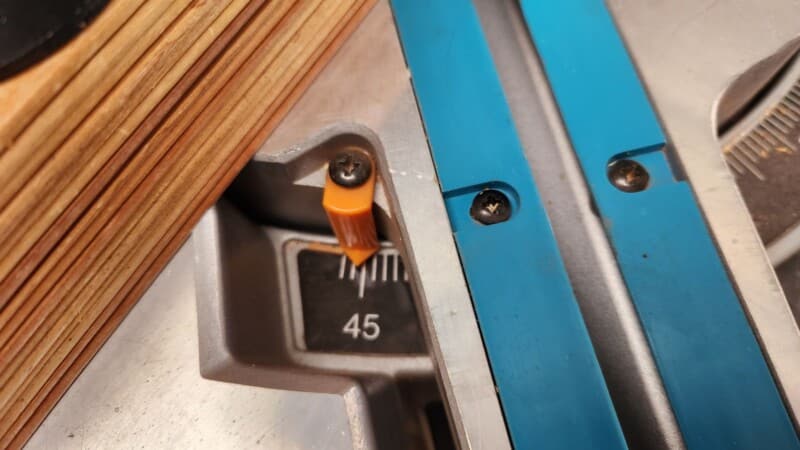
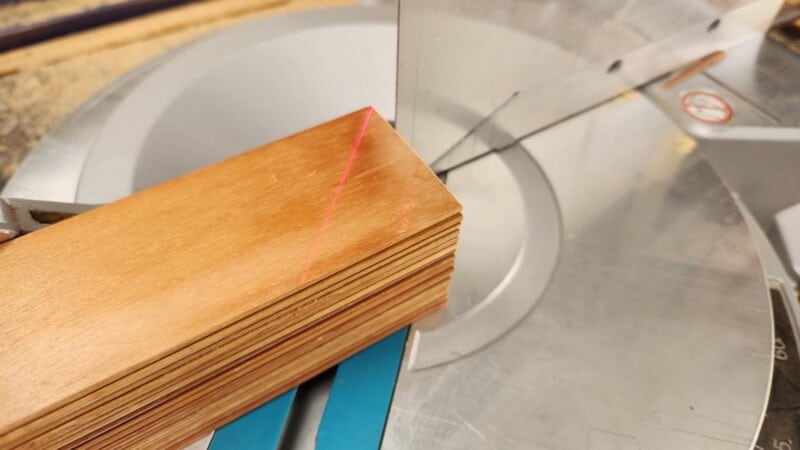
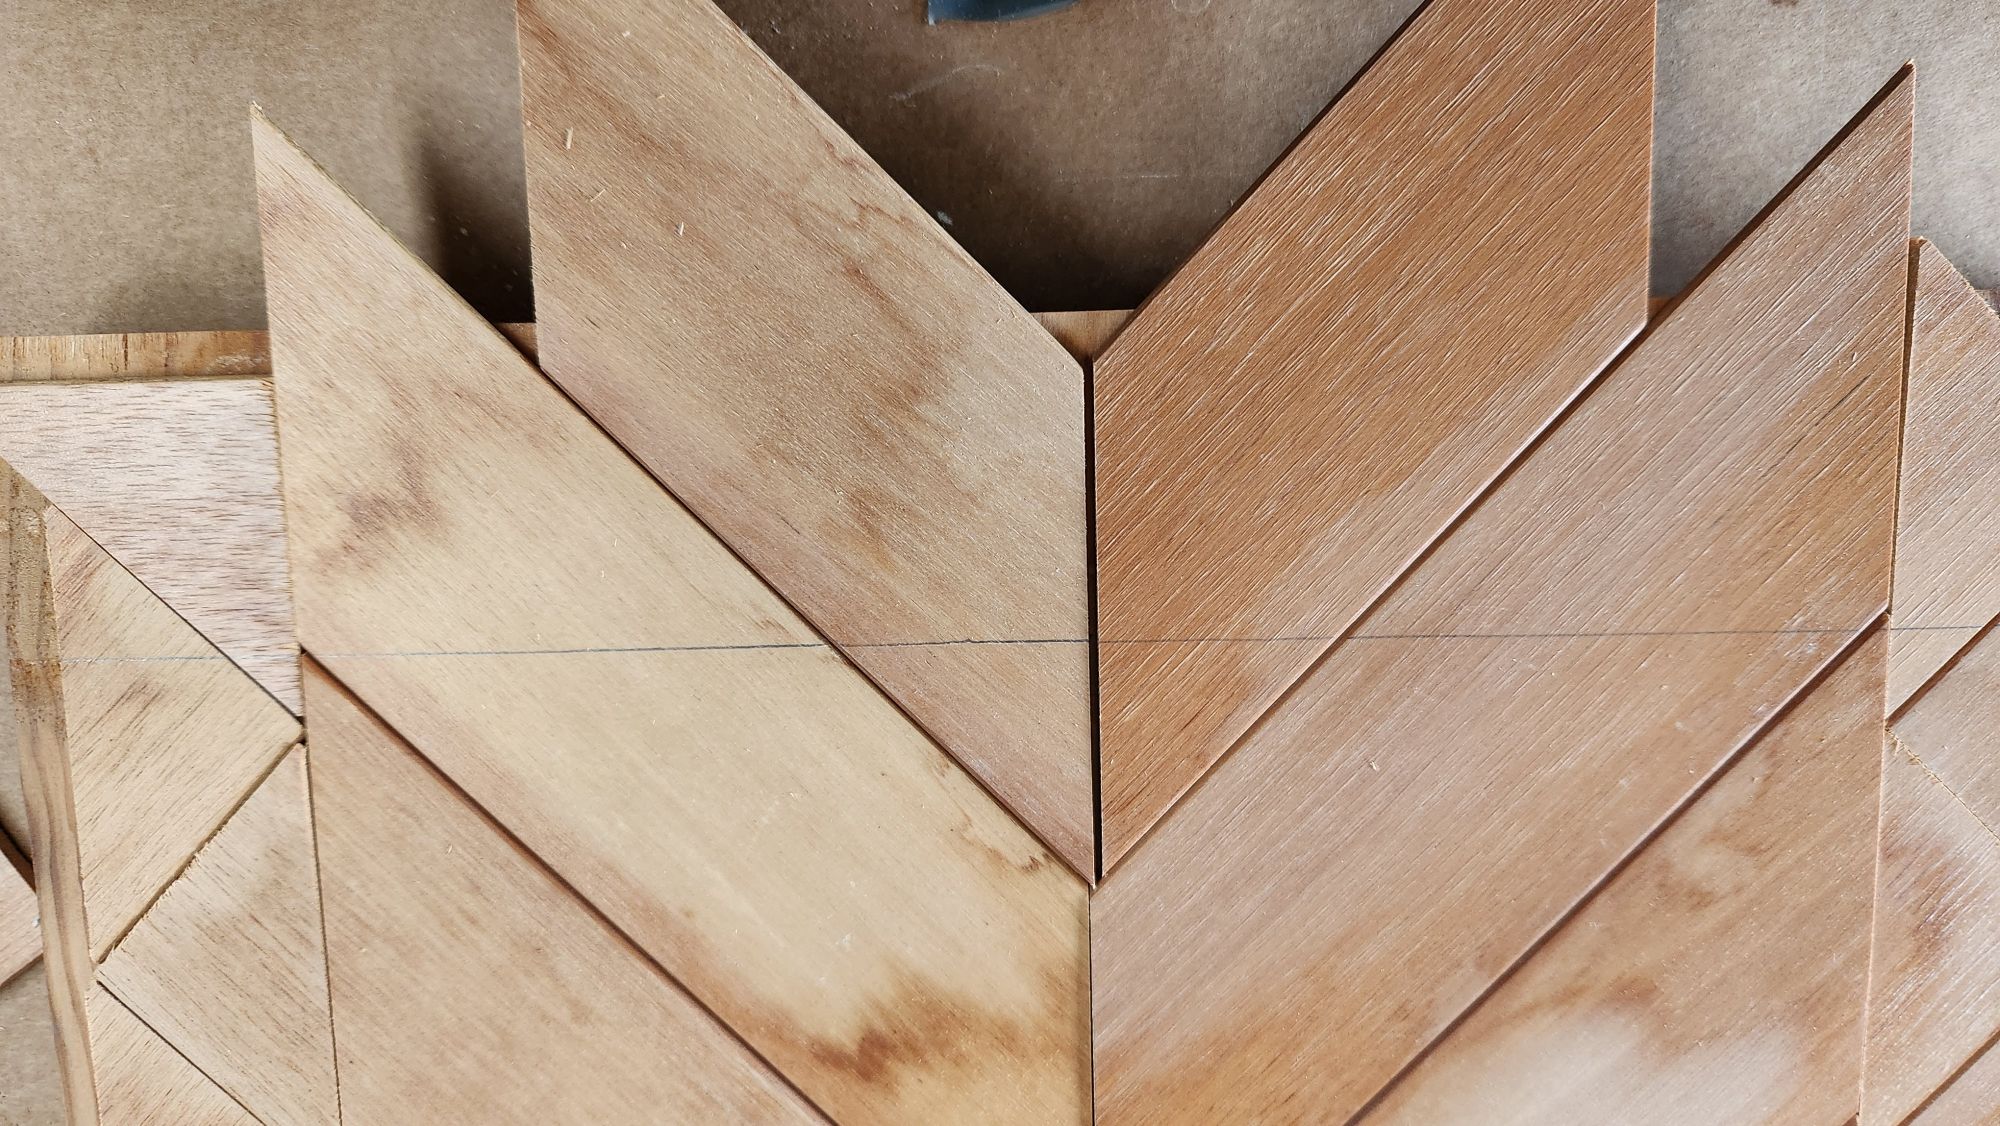
Cut one corner, flip, and cut the opposite corner to create crisp chevrons. Keep the tiny triangles—you may need them to fill corners.
That’s the cutting done for now. To estimate quantity, dry-lay pieces to cover the tray, then add about one-third more. The extra saves you from stopping to cut again.
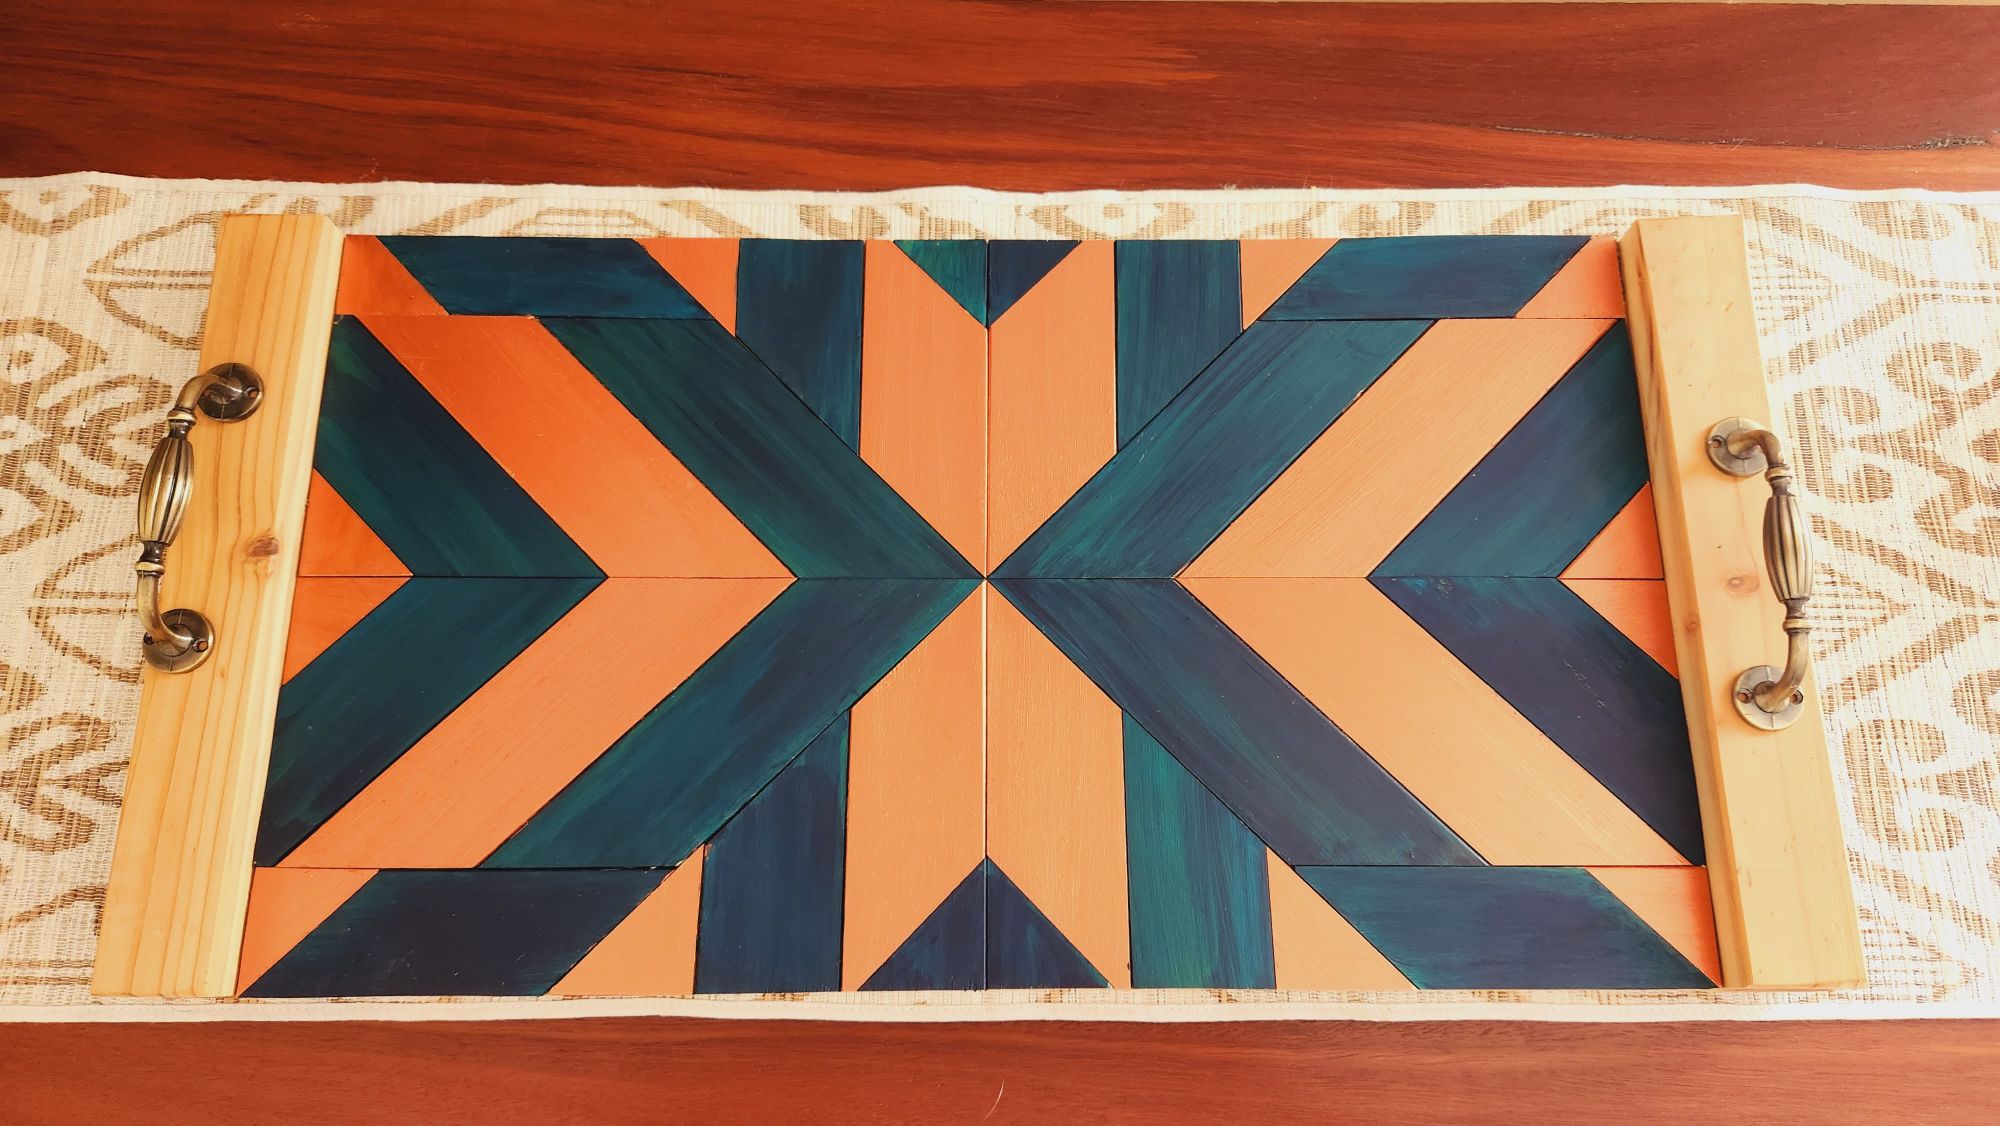
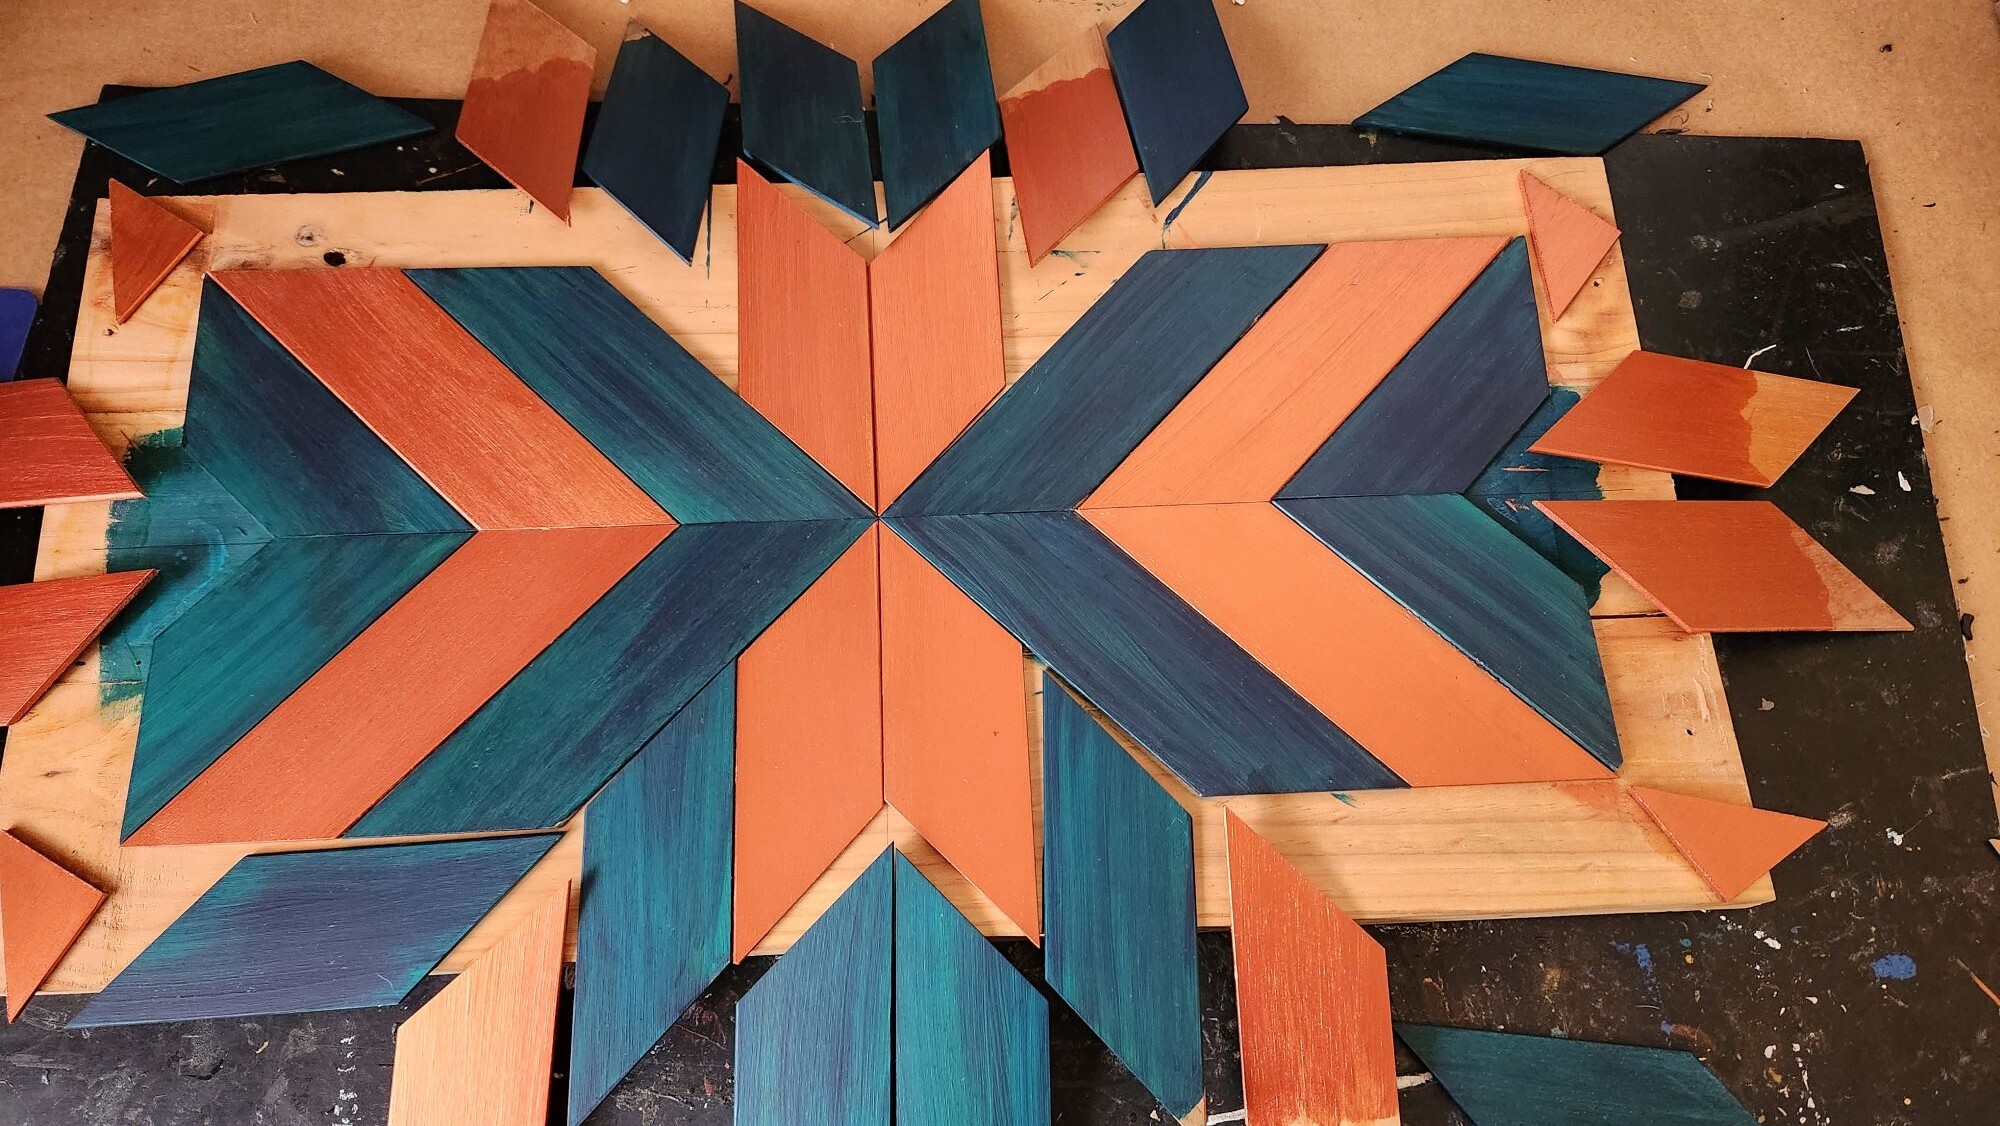
Lay out the pattern
Find the centre of the tray and draw vertical and horizontal guidelines. Start with two chevrons meeting on the centre lines to form an arrow.
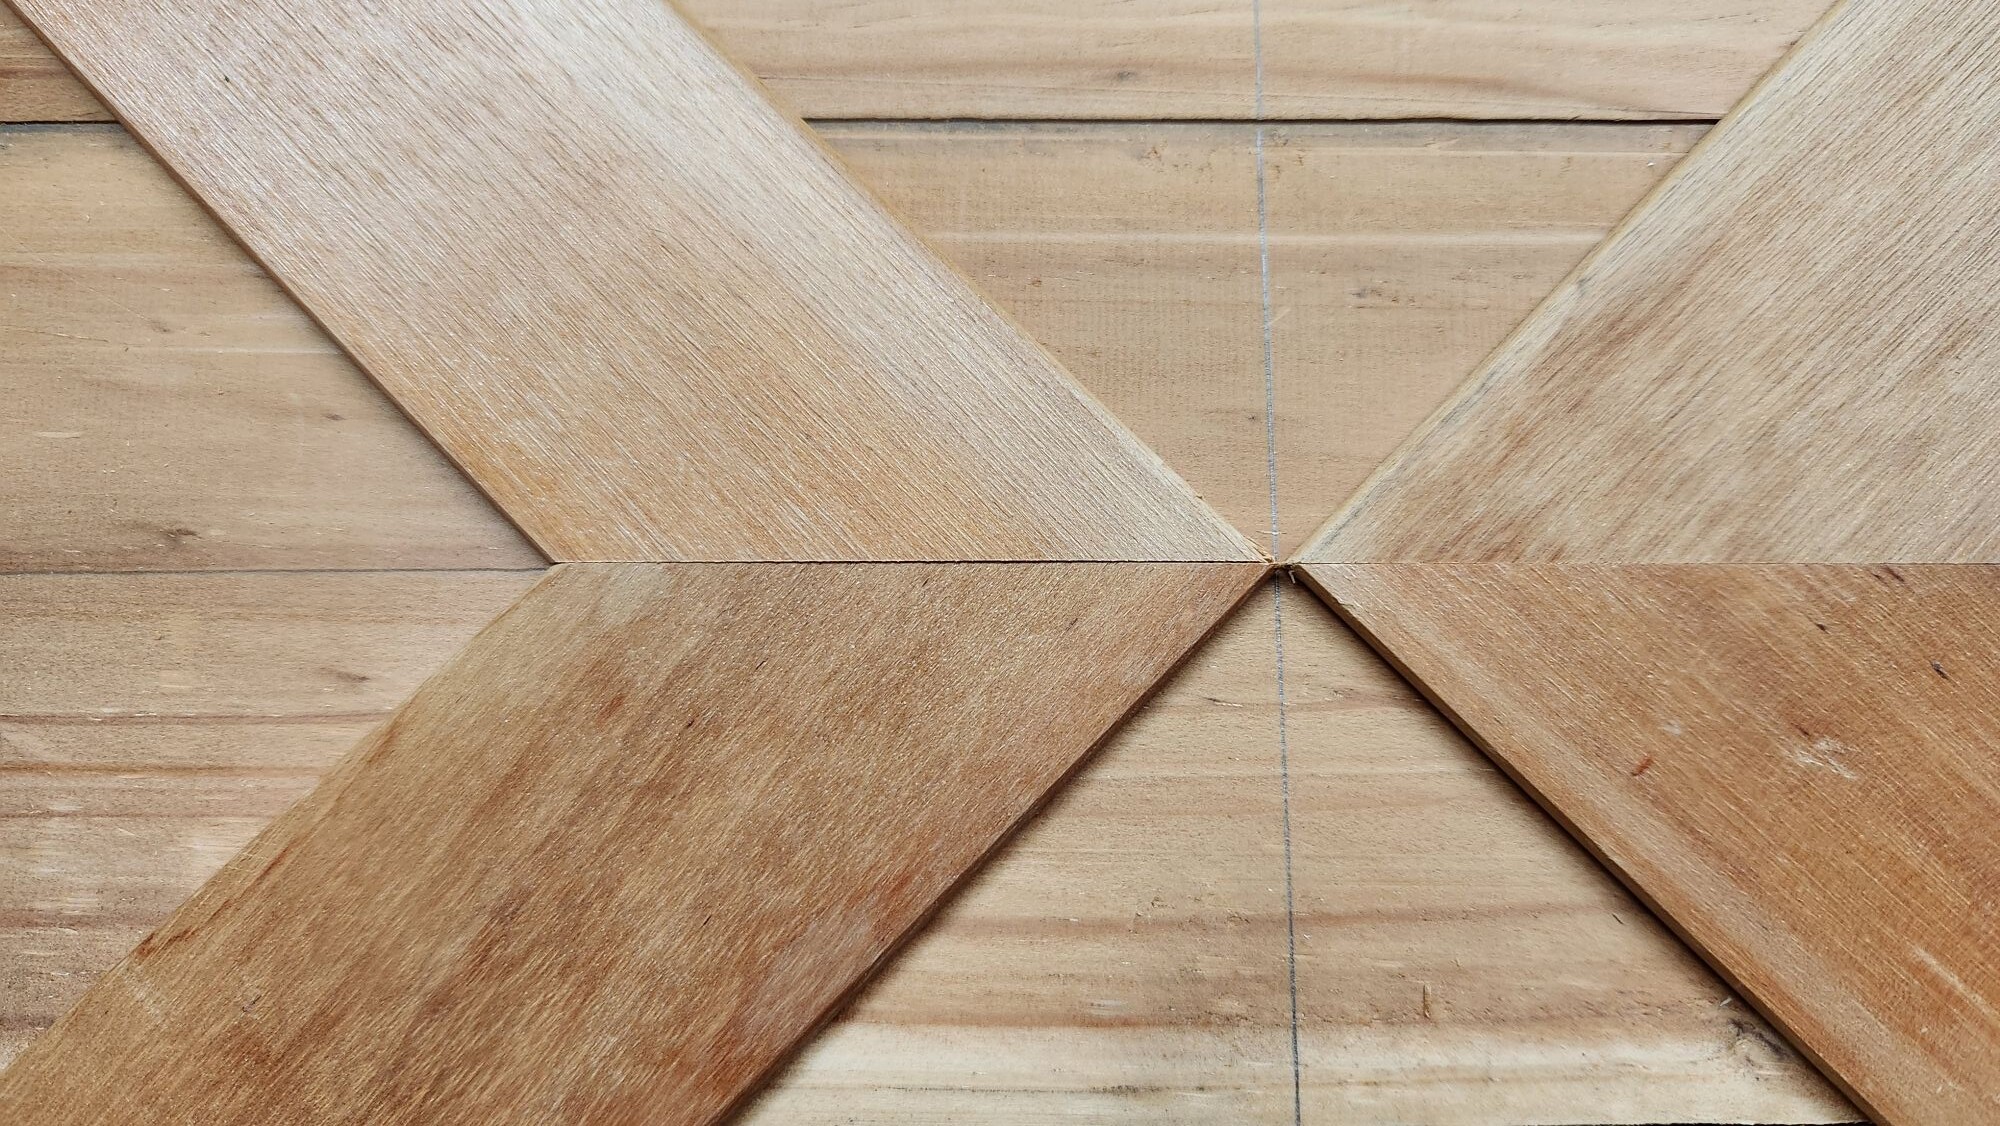
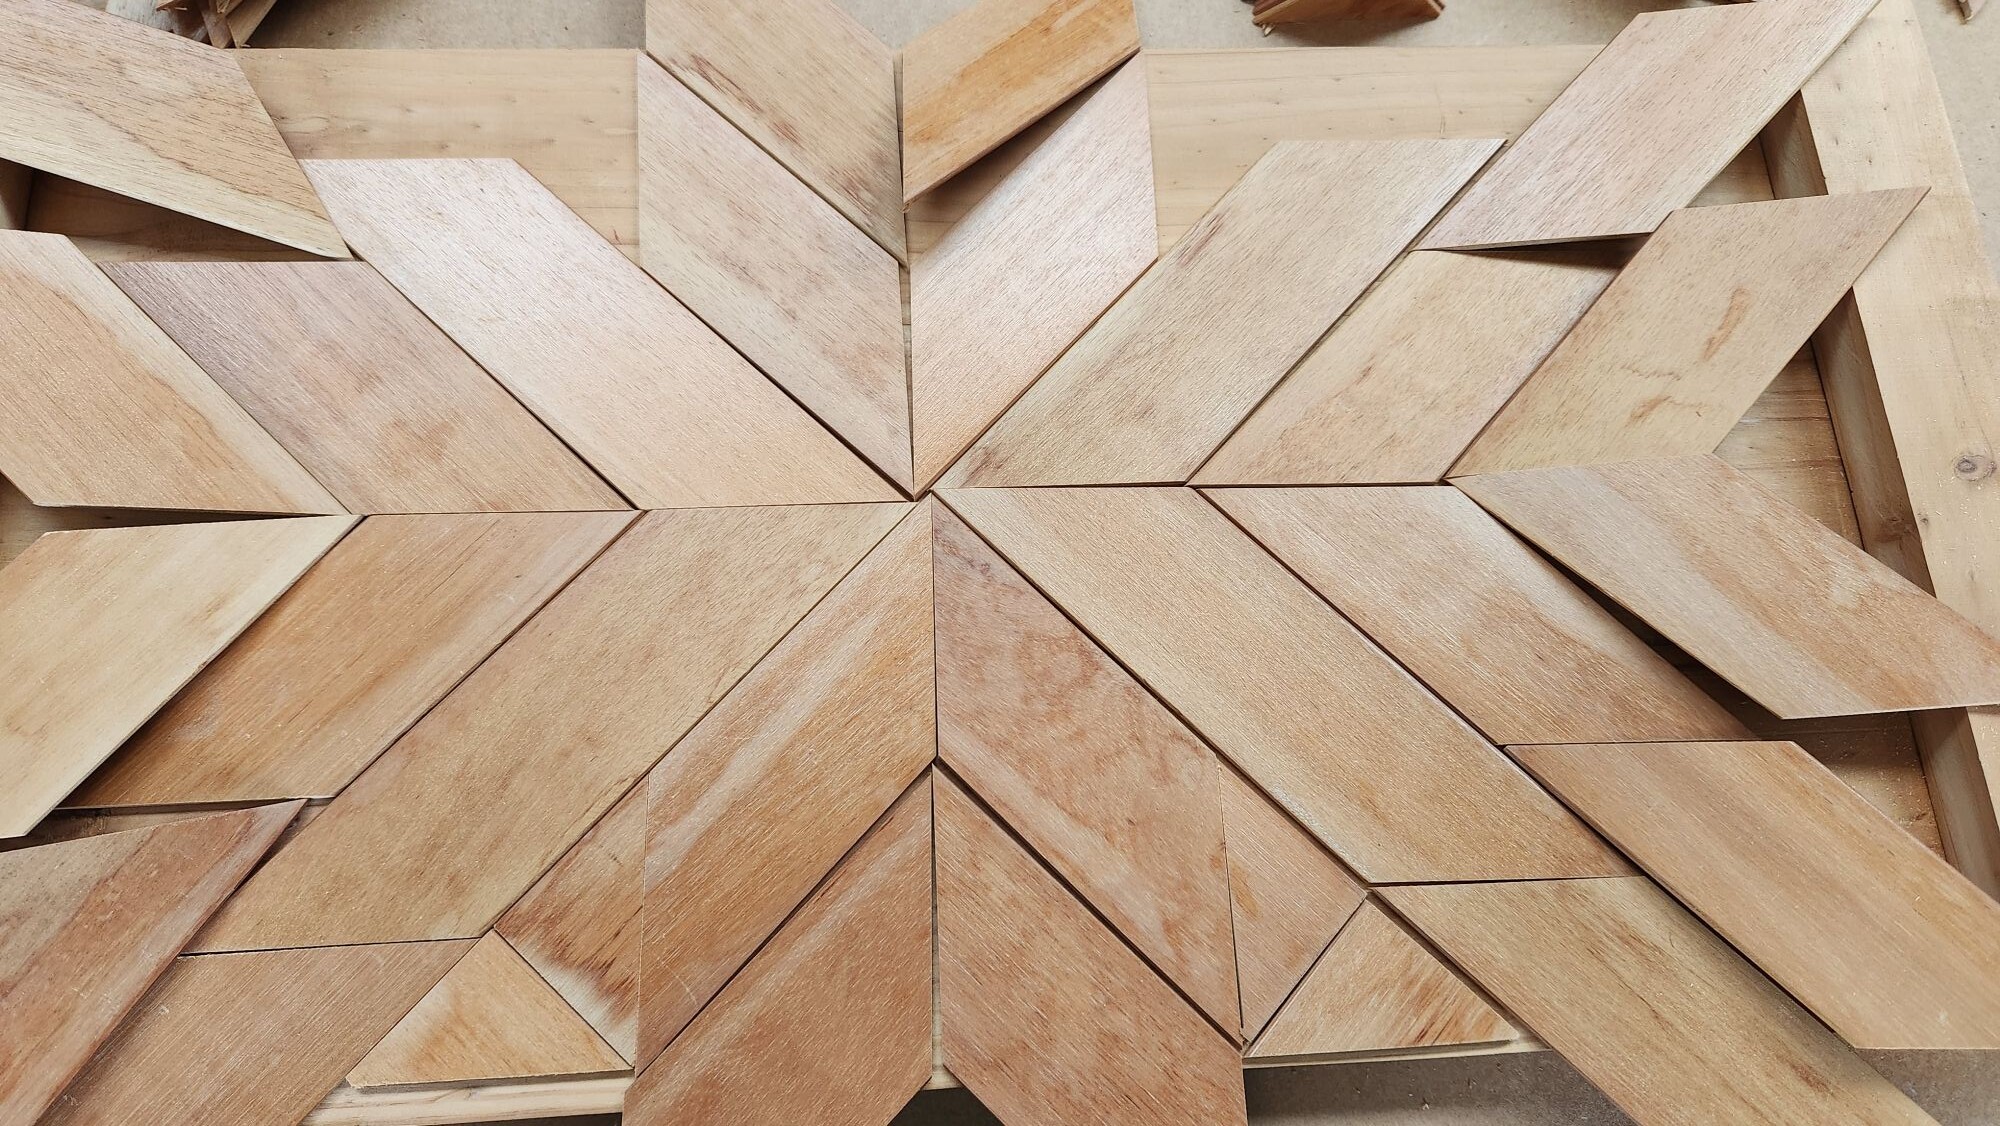
Keep adding arrows, nesting them point-to-point.
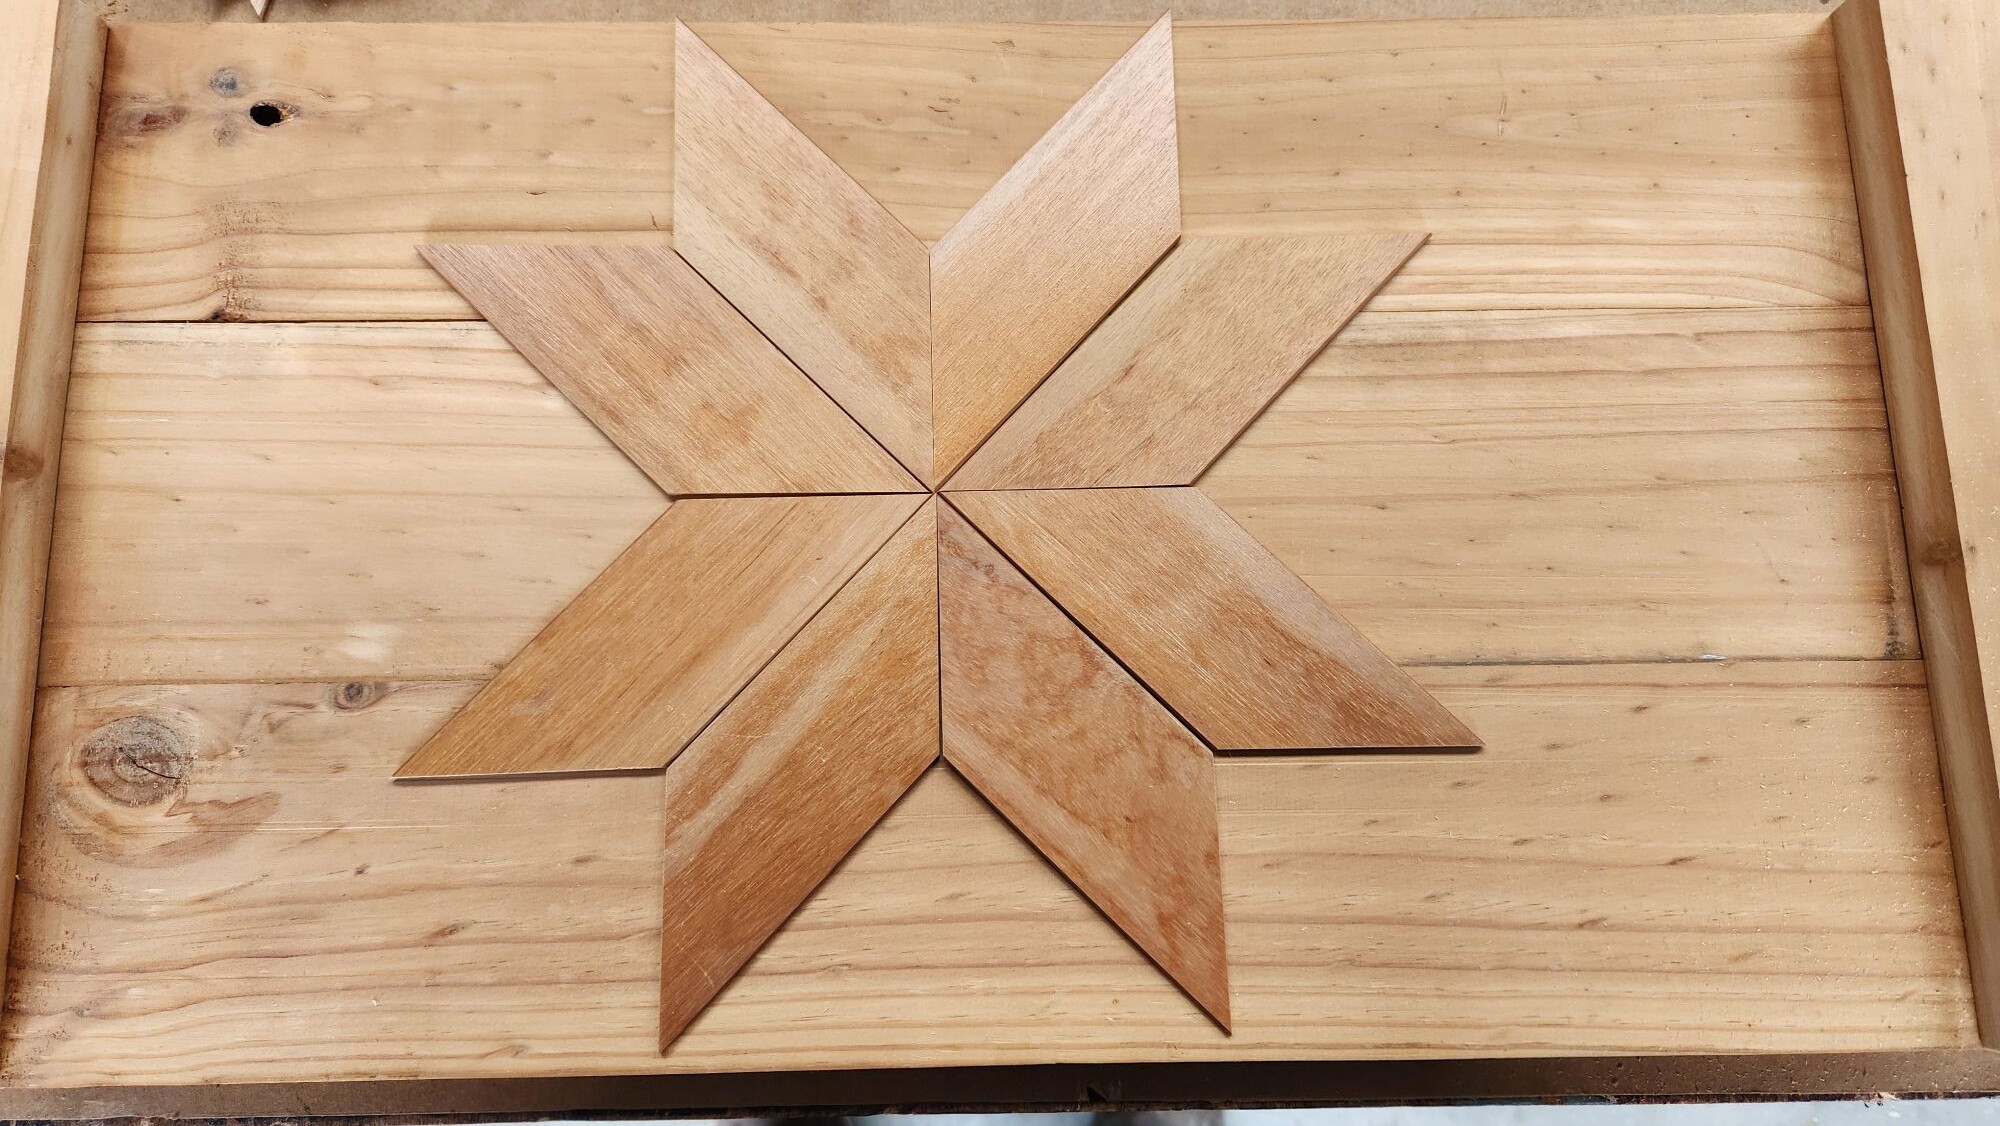
The pattern grows fast and stays straight with those guidelines.
Use the small triangular offcuts to plug tight spaces. Mine were a touch short, so I trimmed larger pieces to fit.
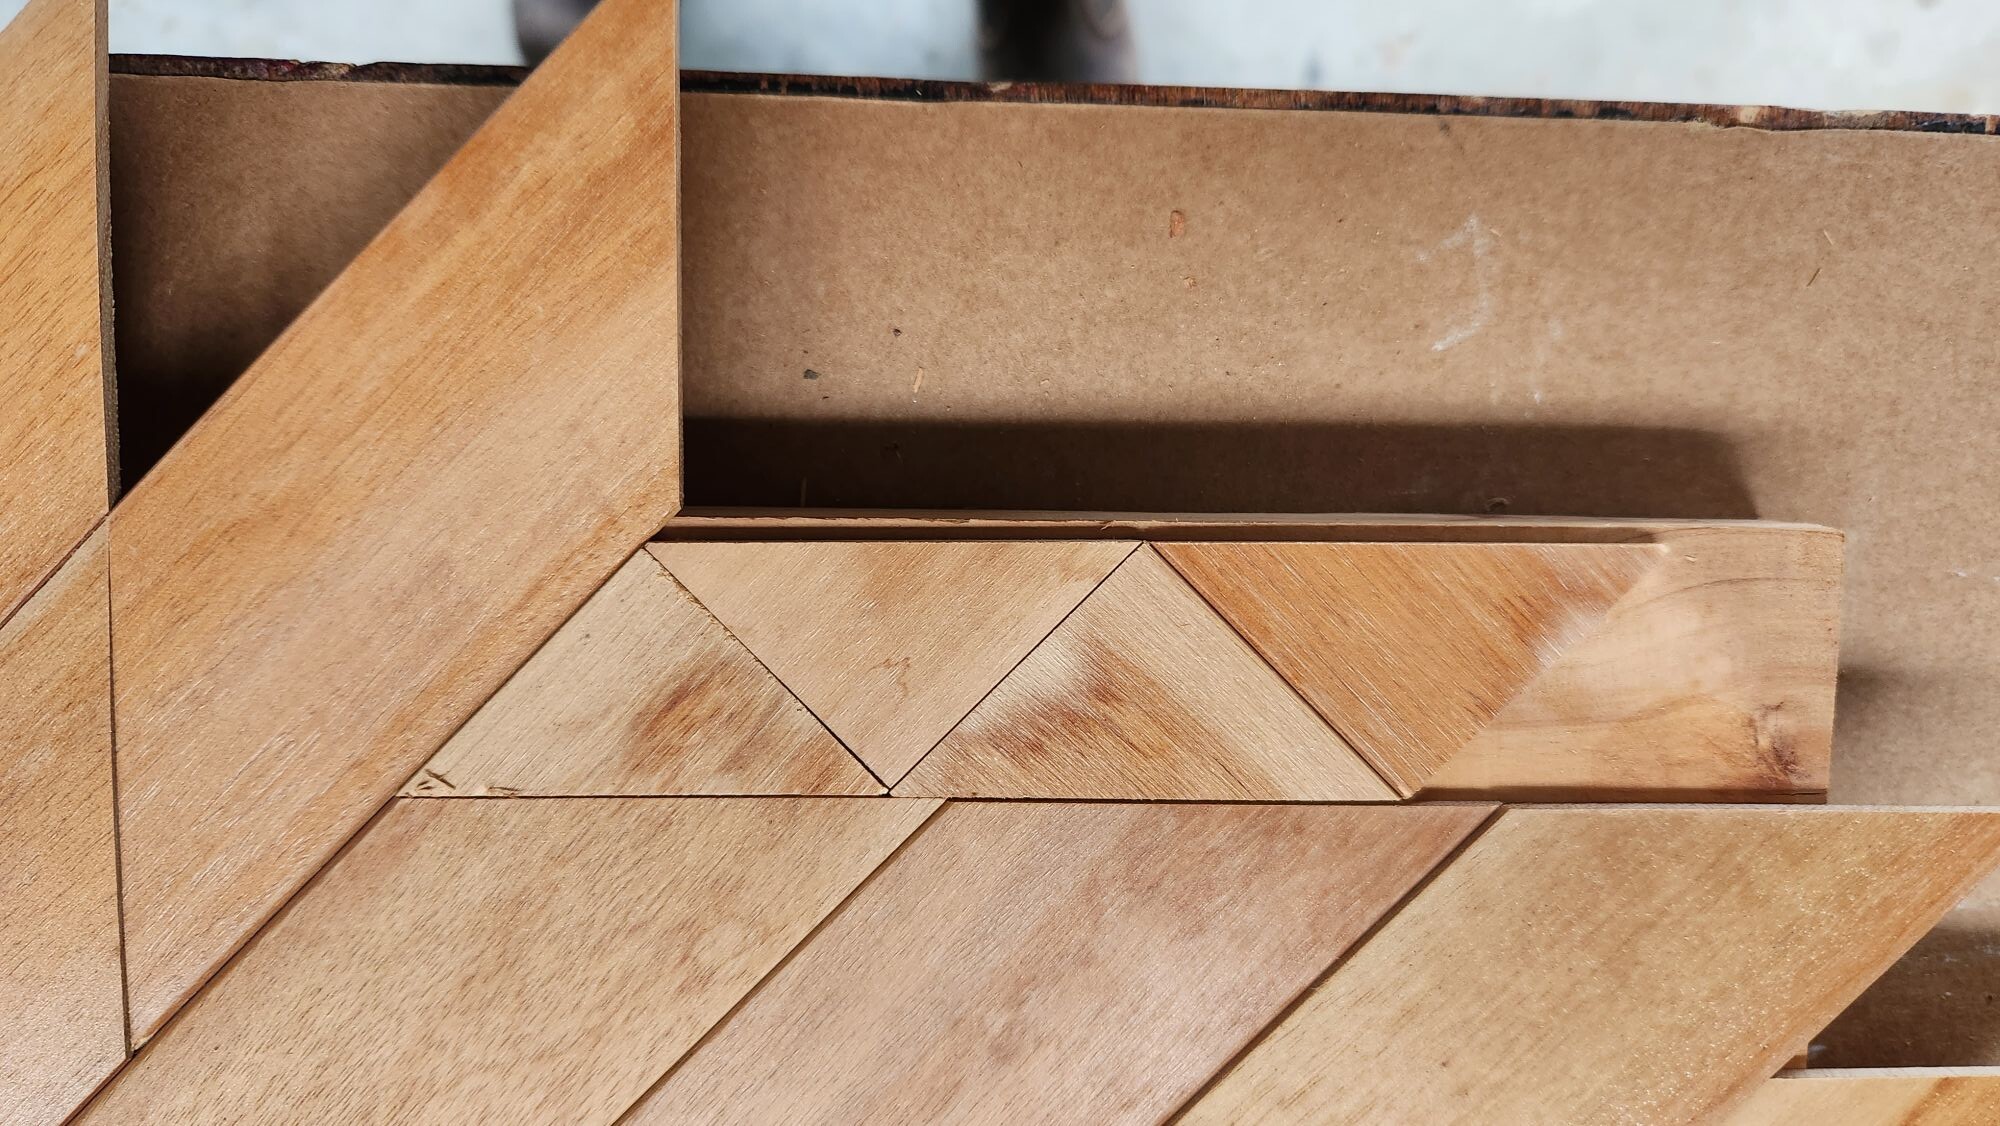
I switched to larger pieces and trimmed them to fit. I marked the tray-support line and cut away the excess.
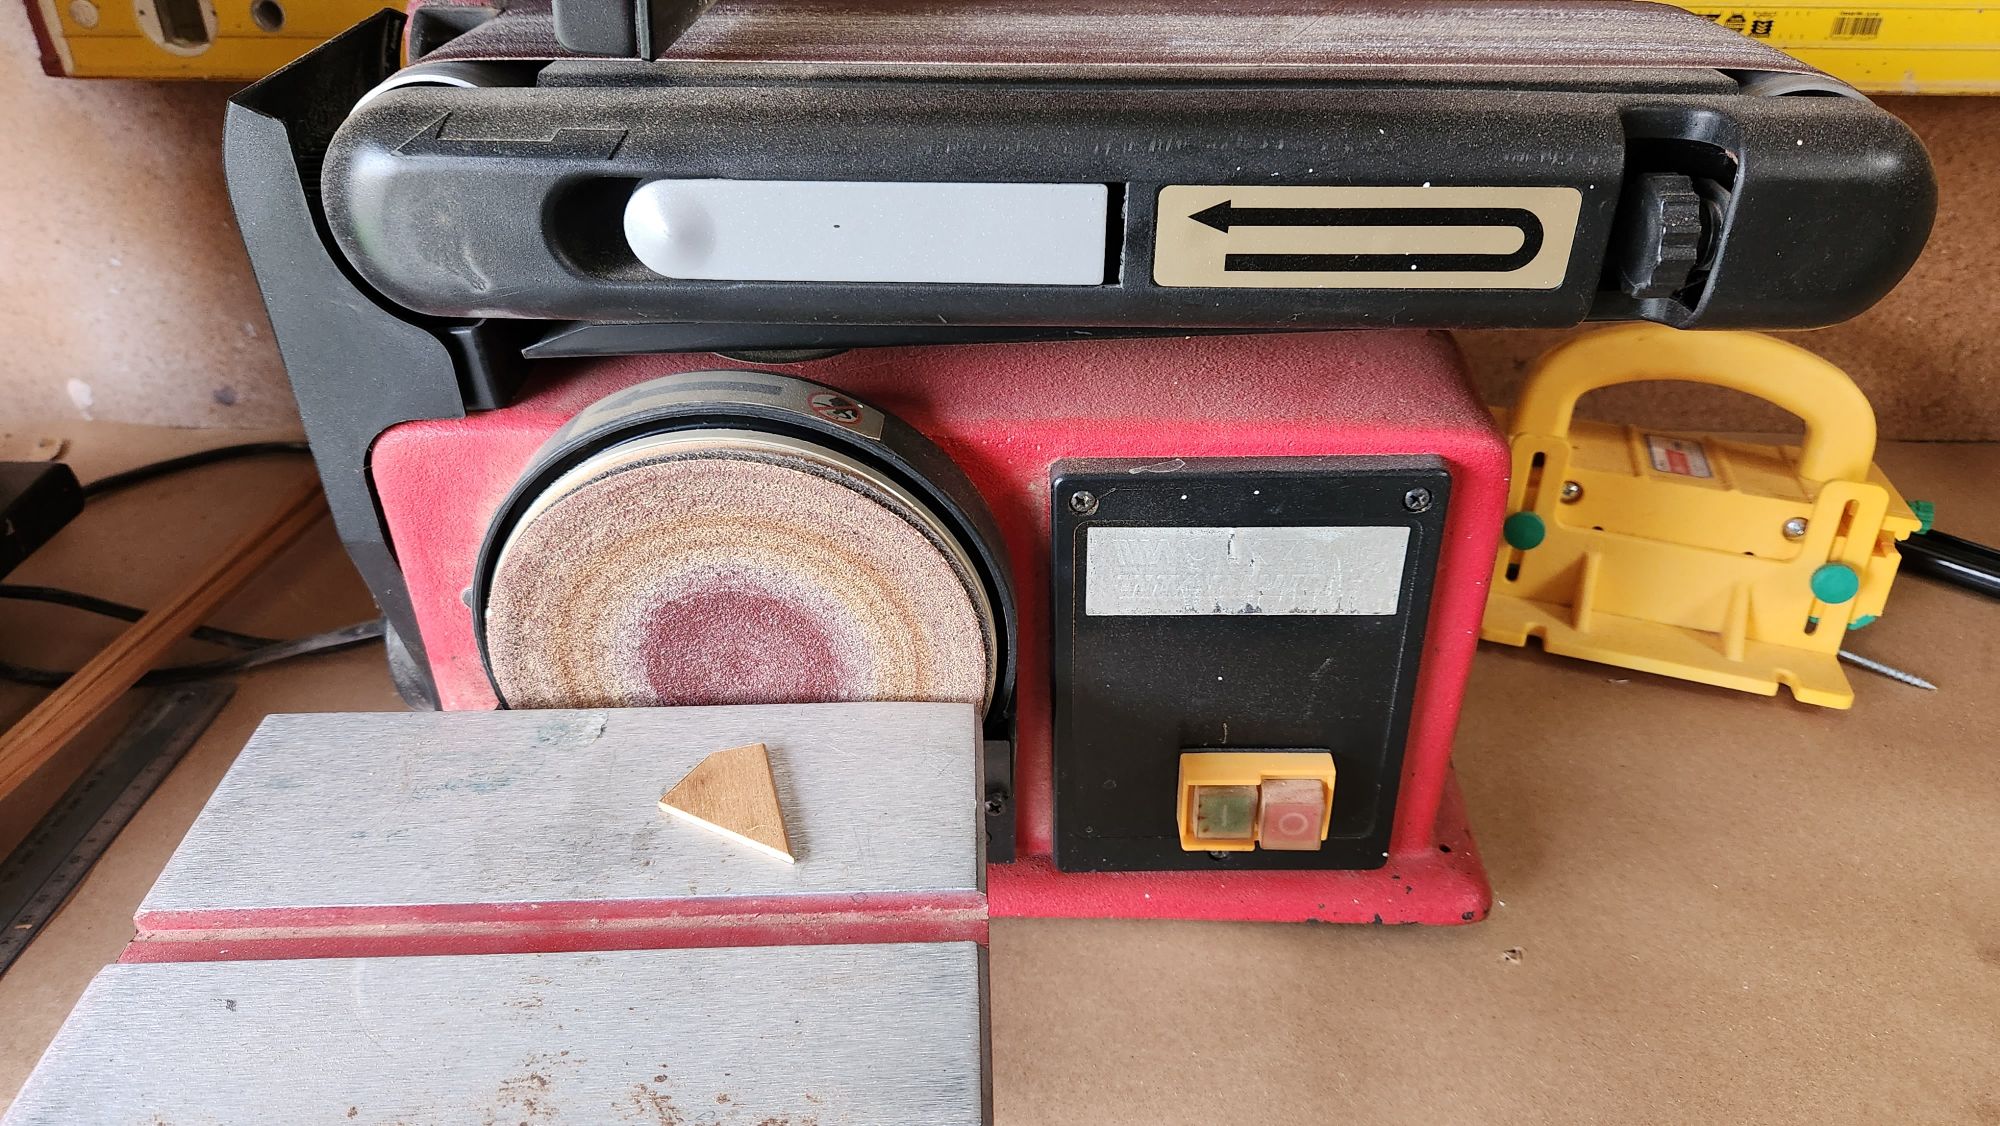
Cutting tiny pieces on a drop saw is risky—your hands sit too close to the blade. I switch to a benchtop sander and remove the excess instead. Any sander will do.
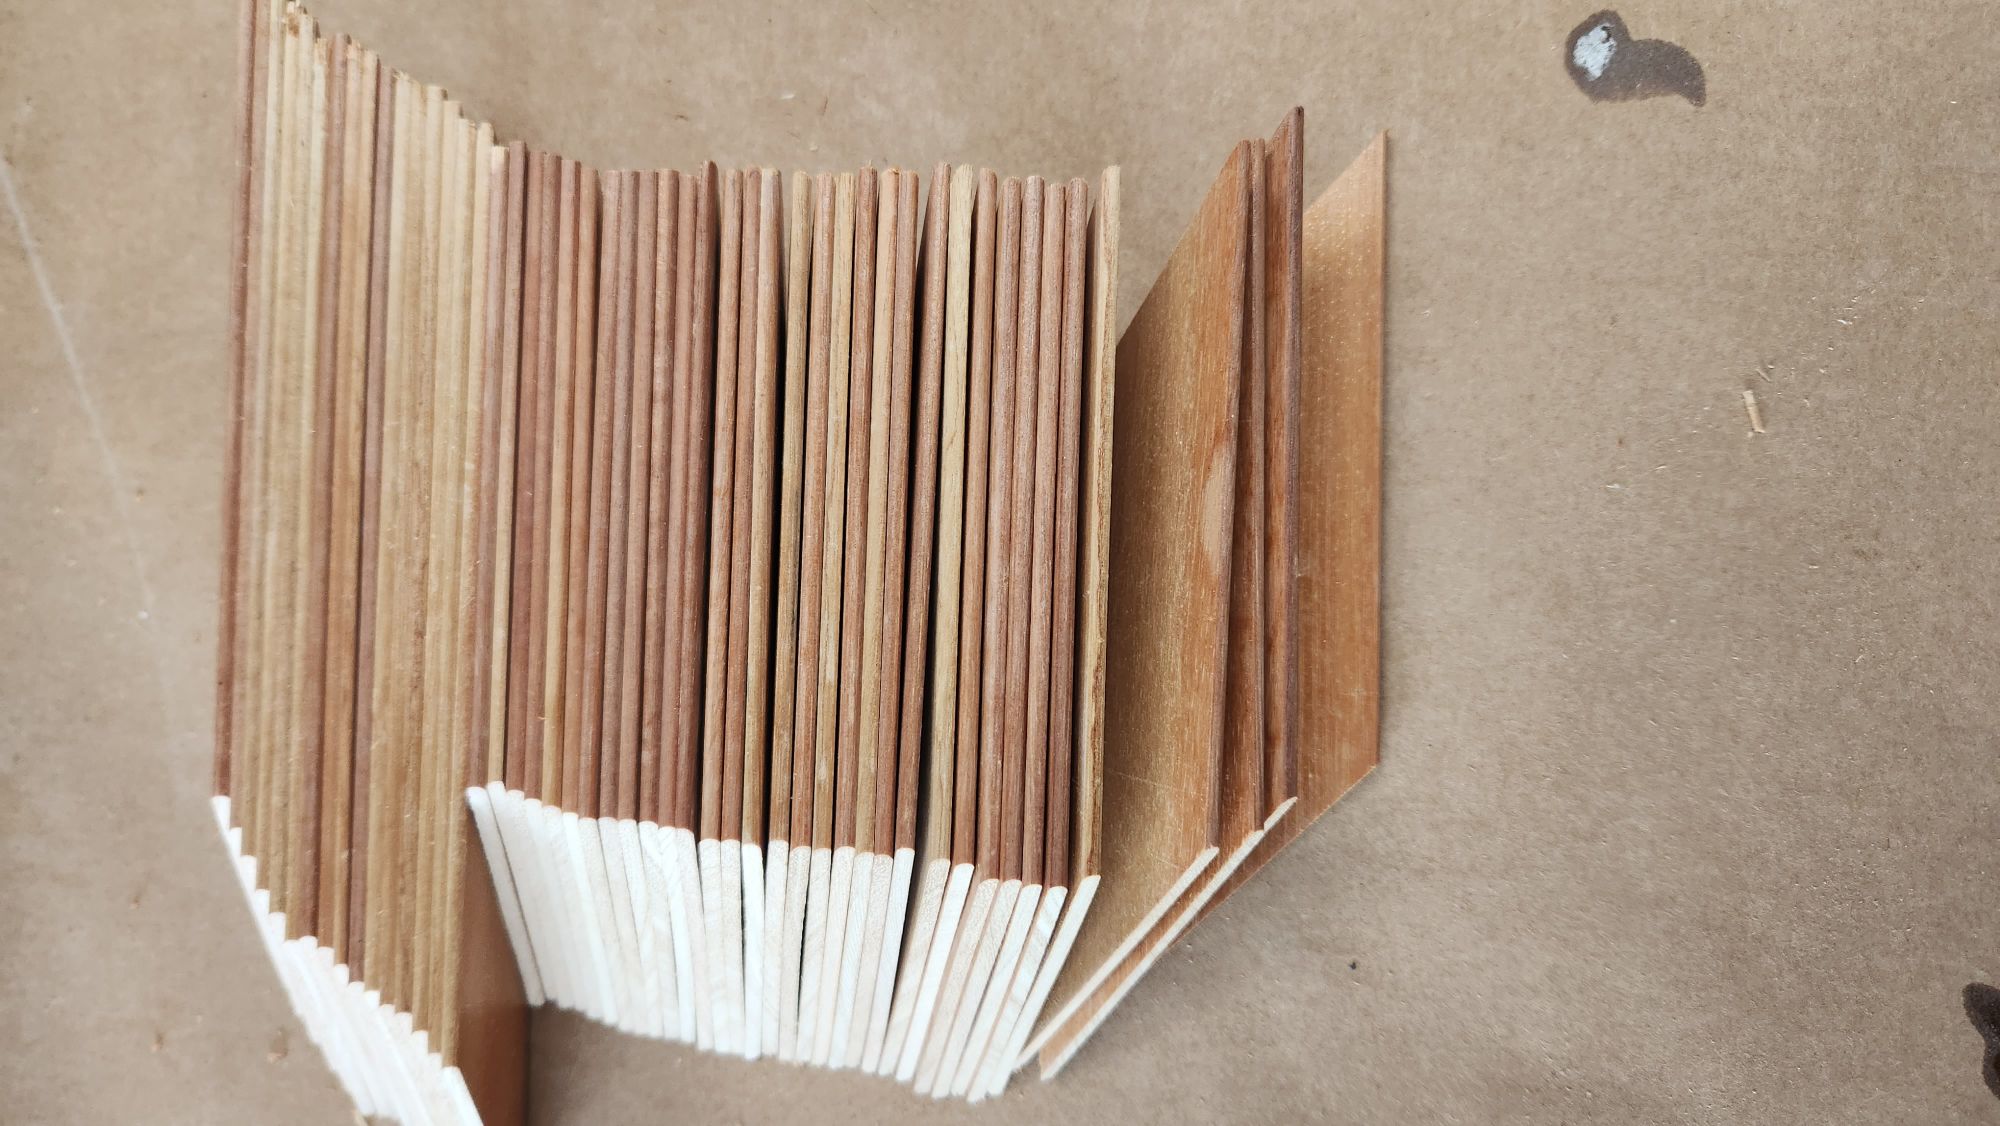
Pre-paint or pre-stain the slats
I painted my slats with acrylics before glueing. This avoids messy edges and speeds finishing.
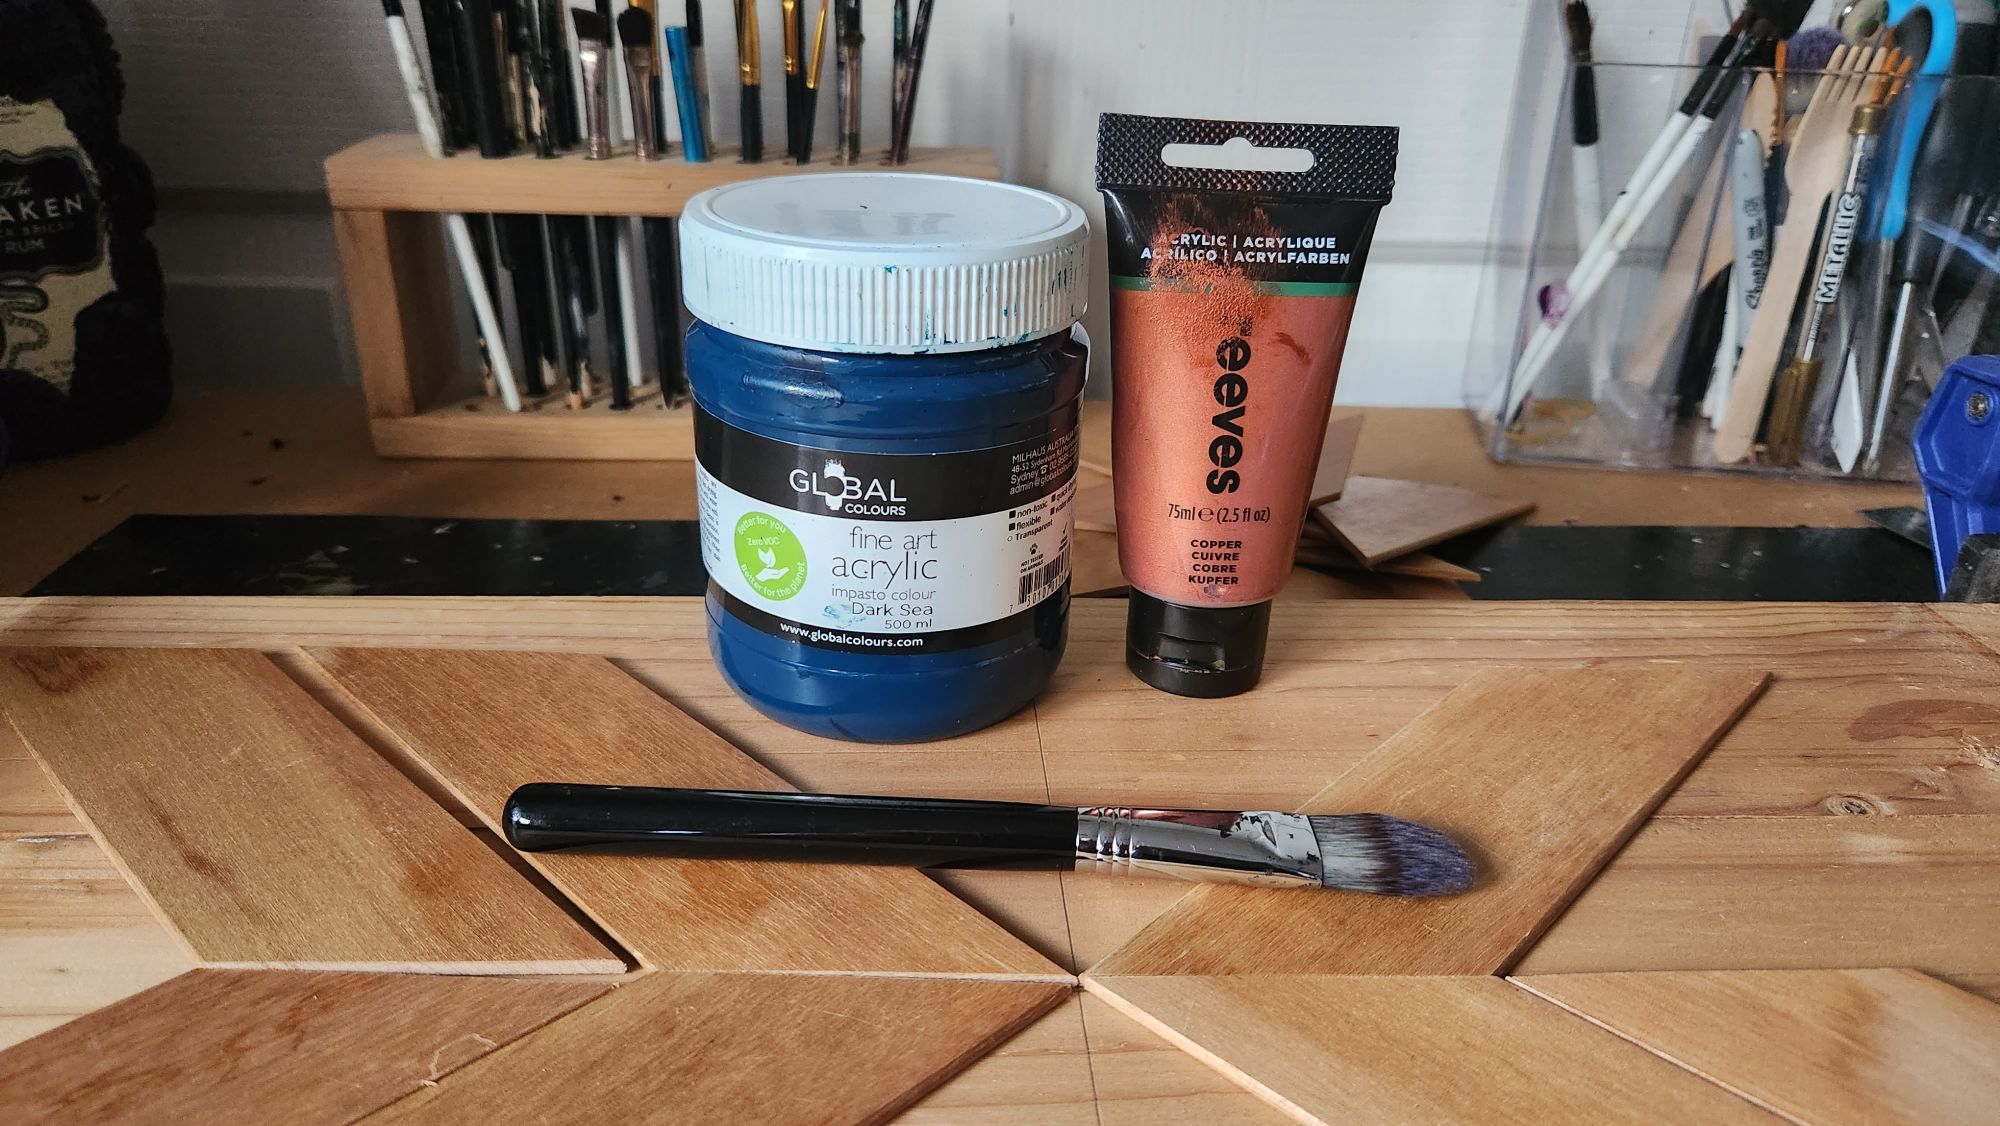
Choose three to five colours for a cohesive look, or stain for a rustic, farmhouse style.
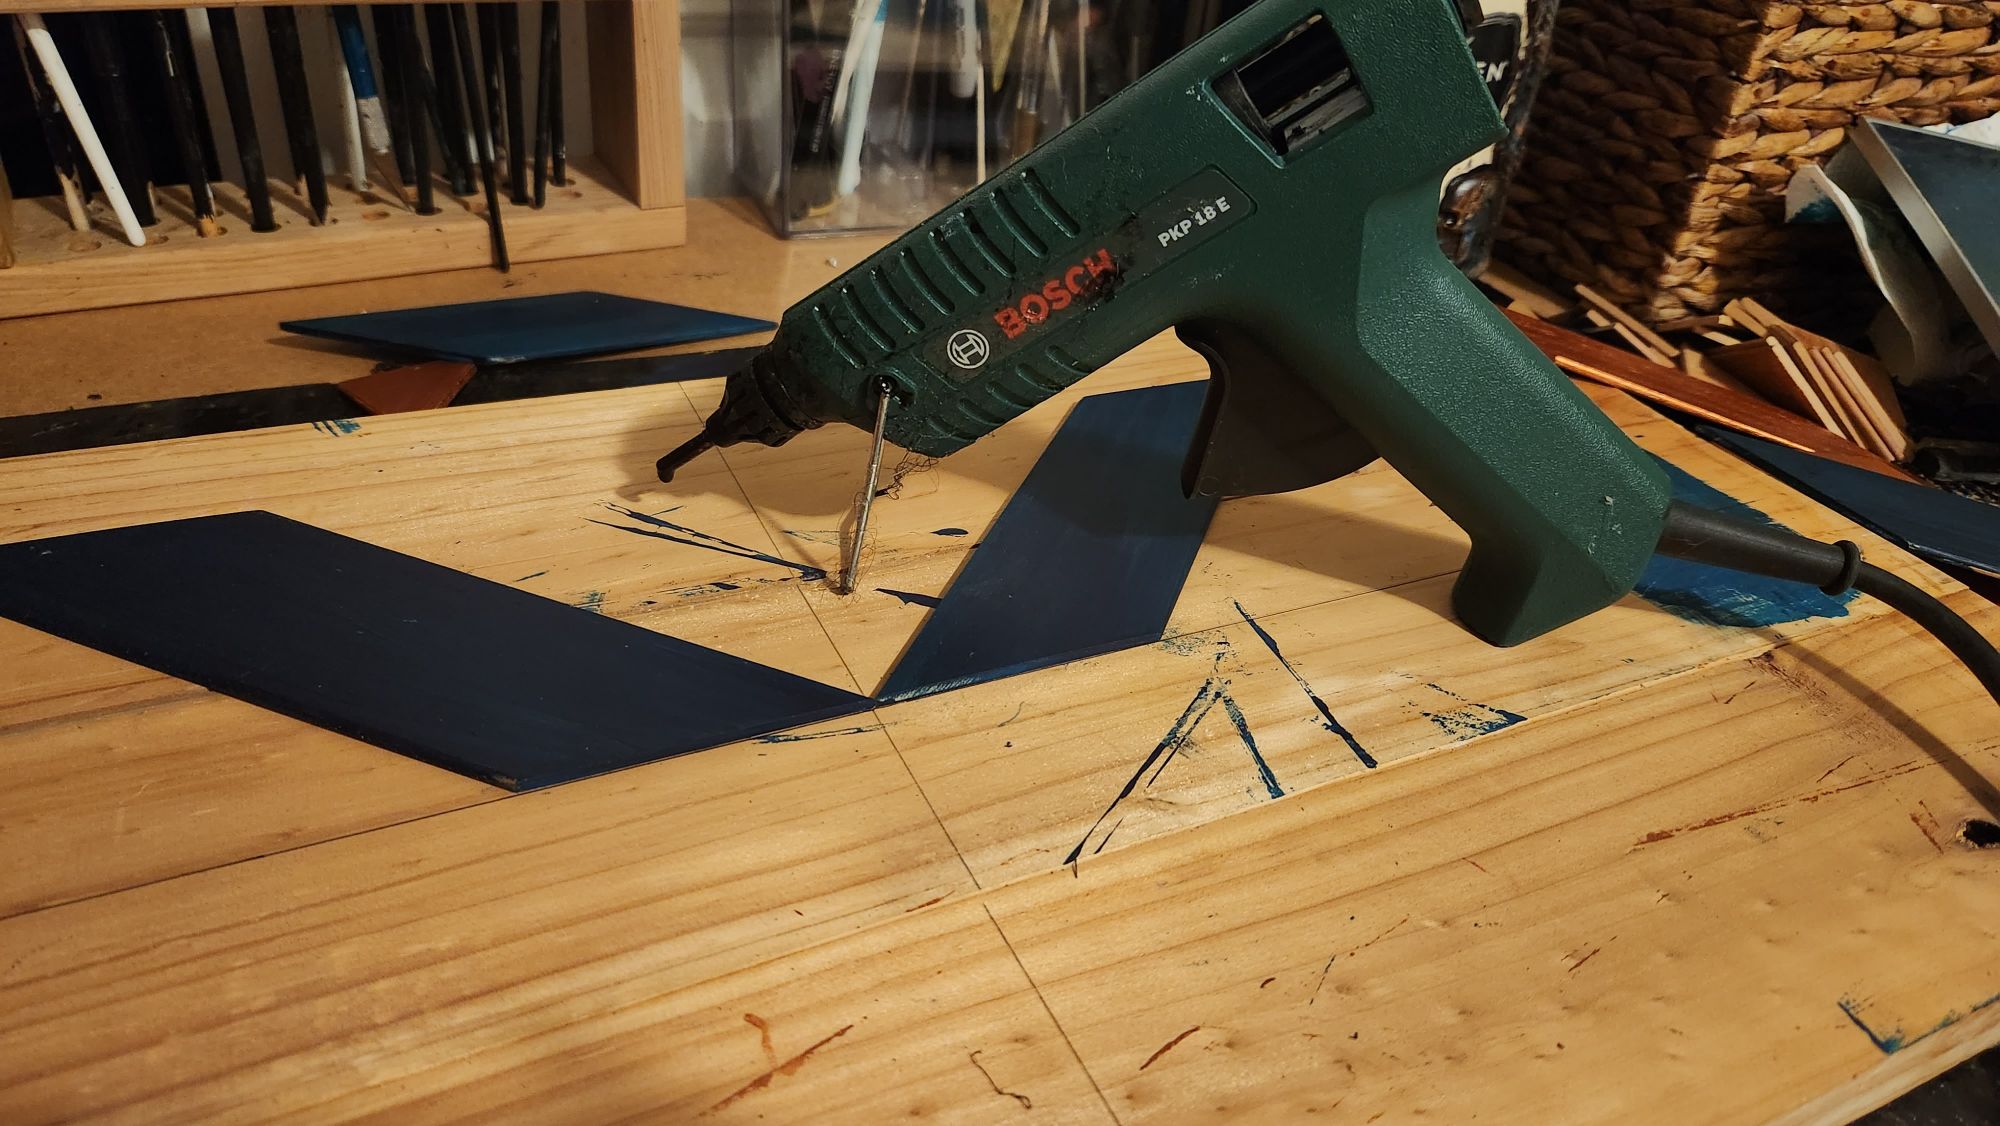
Fix the quilt to the tray
Start at the centre. Add a dab of hot glue for instant hold and a thin bead of wood glue for strength. Work outwards.
Where pieces meet the braces or edges, mark and trim on the bench sander for a tight fit. If you’re using thicker timber, just saw off the overhang. These blind slats were too thin—sawing would splinter them—so I used sanding on the bench top sander instead.
Fill any tiny gaps with colour-matched paint once the glue sets.
Square the edges and finish
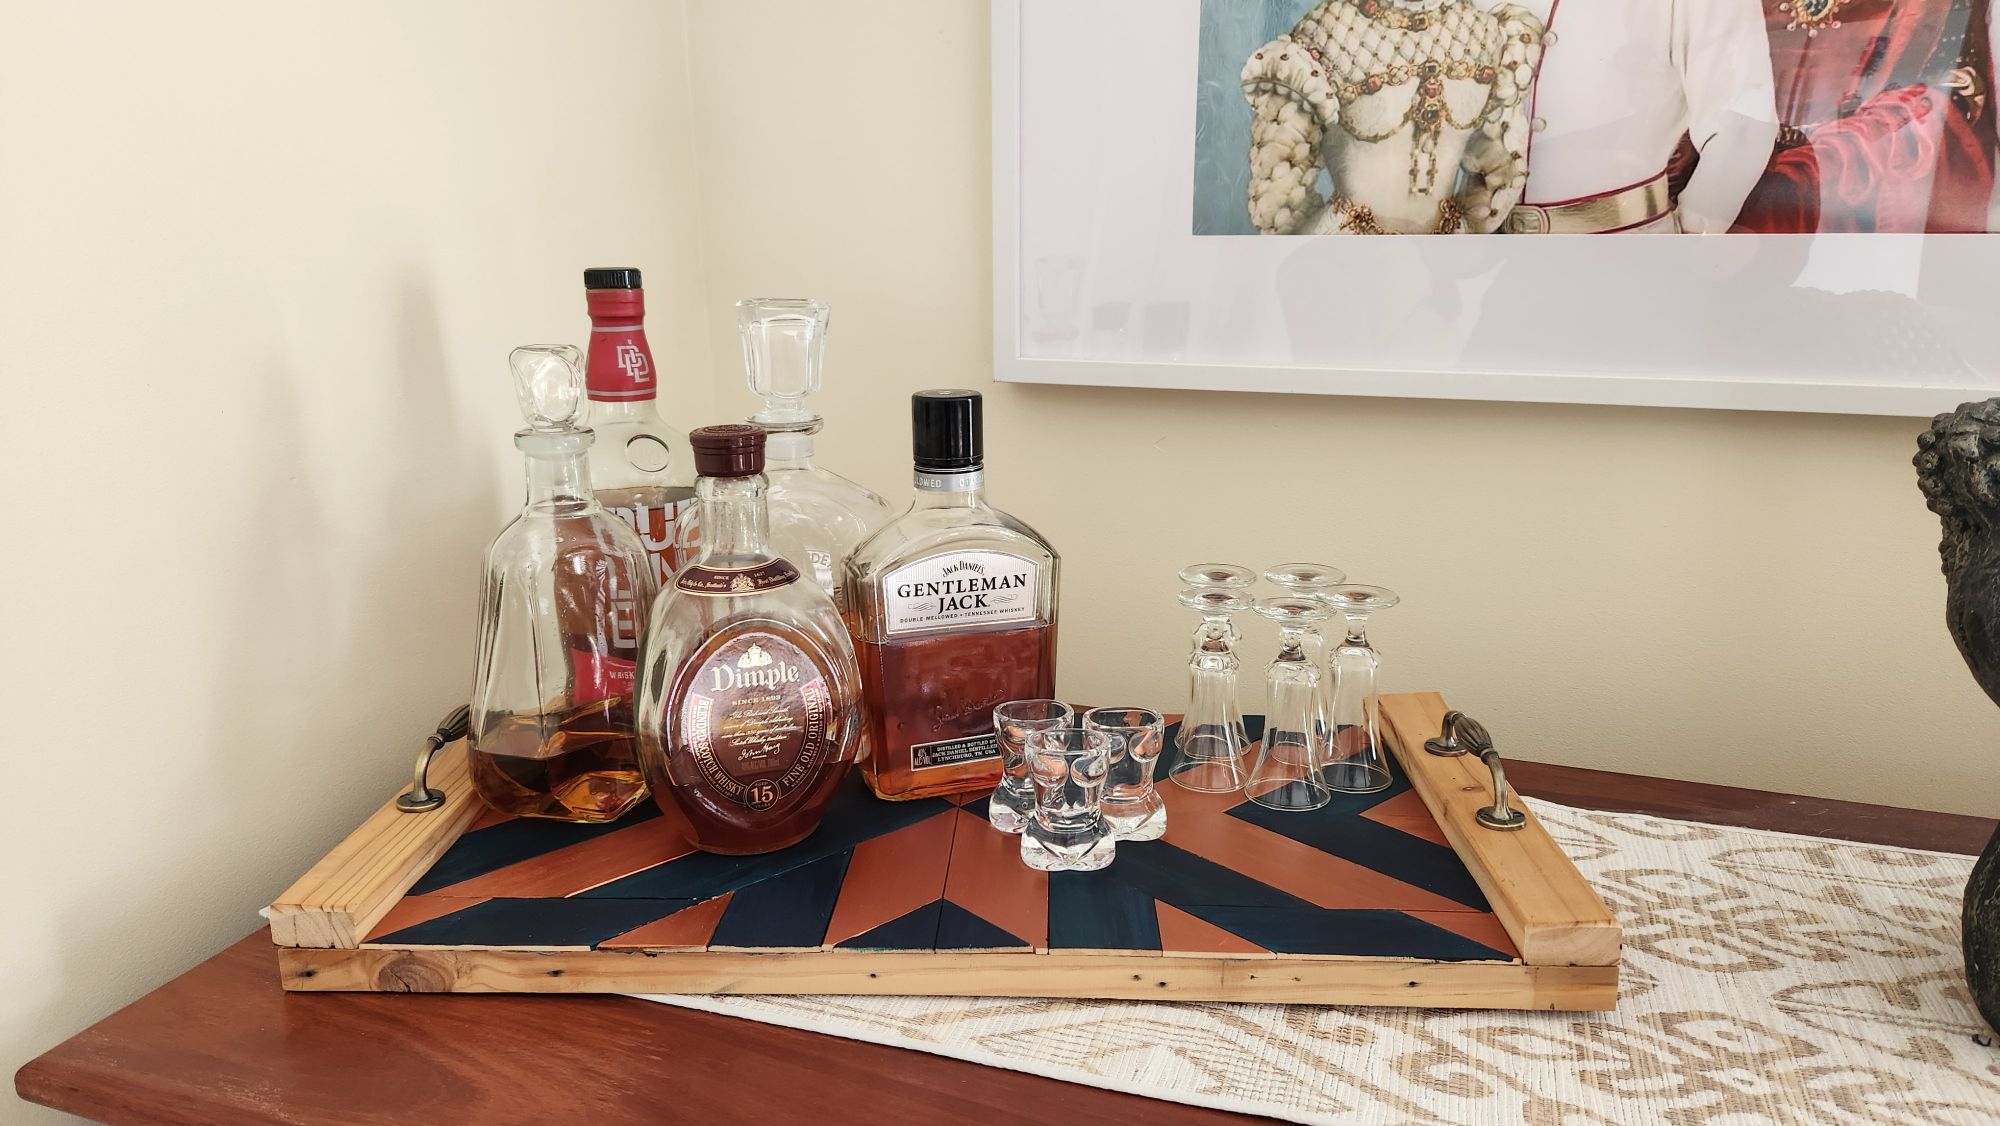
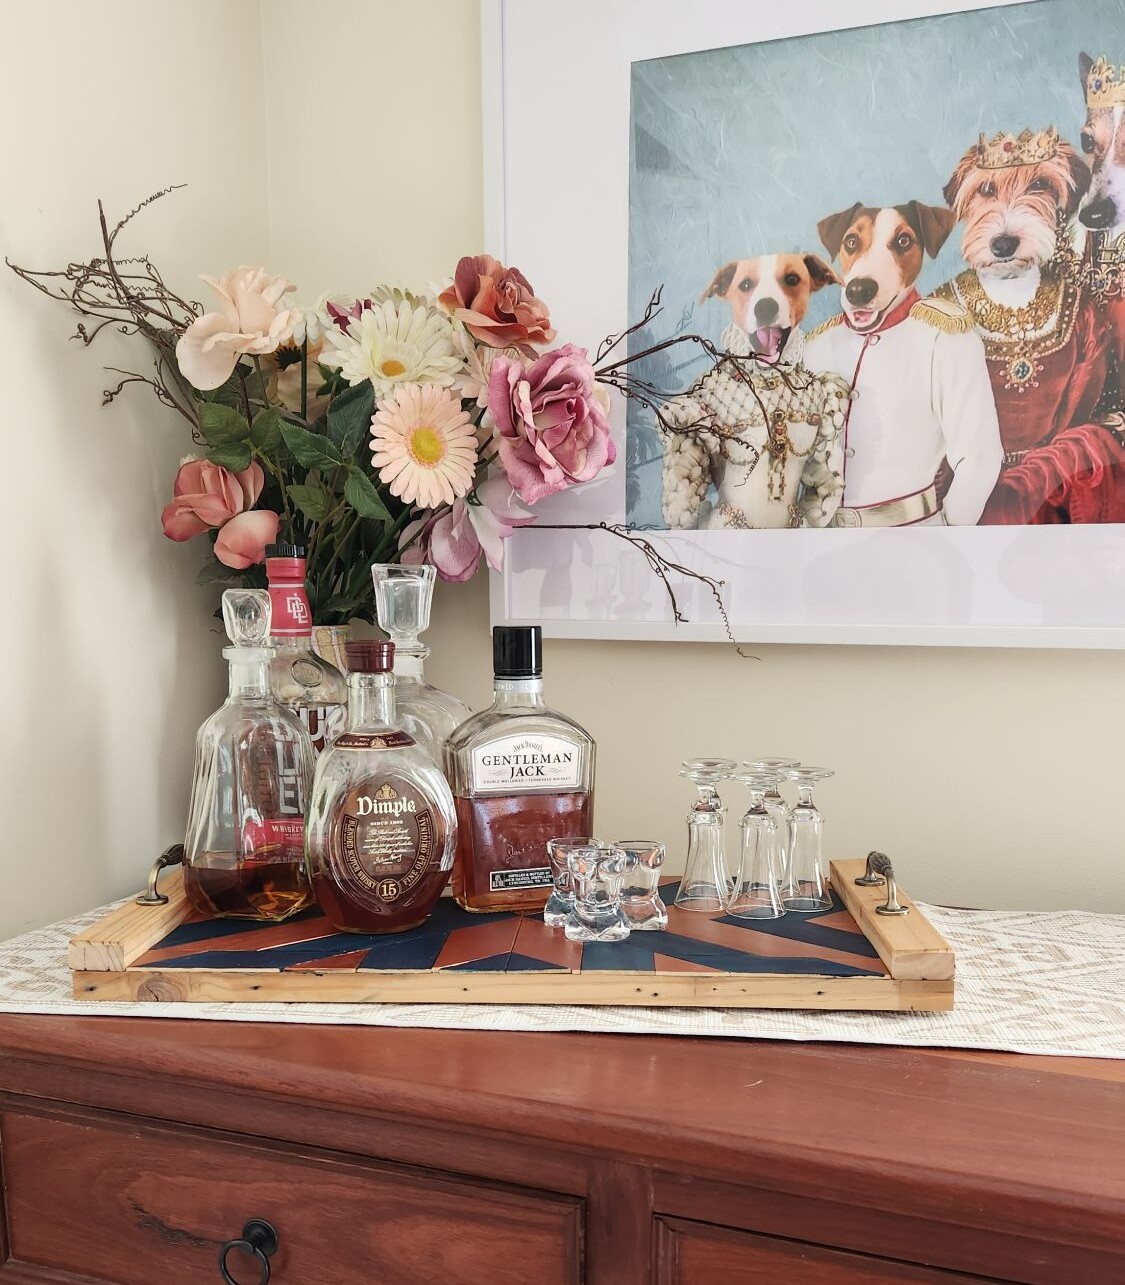
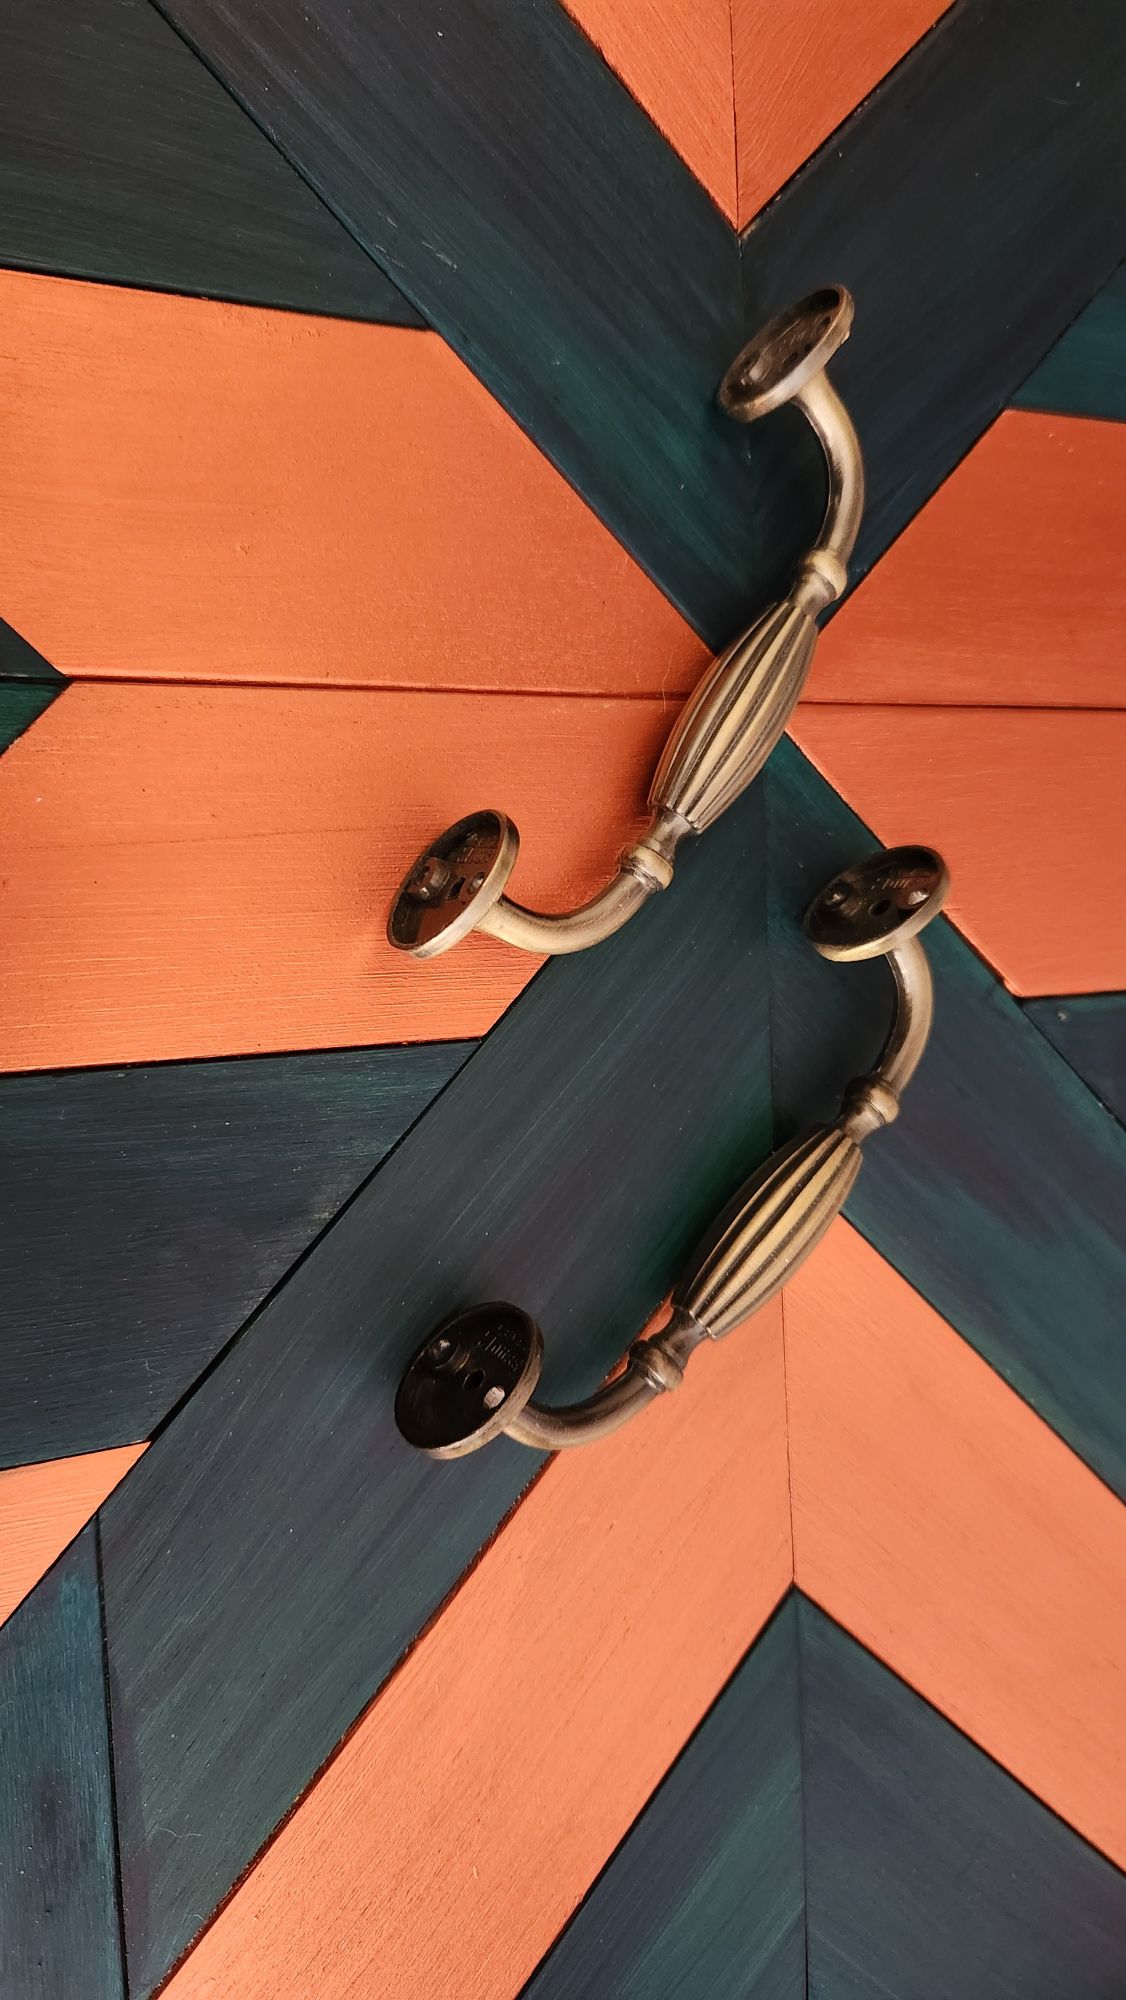
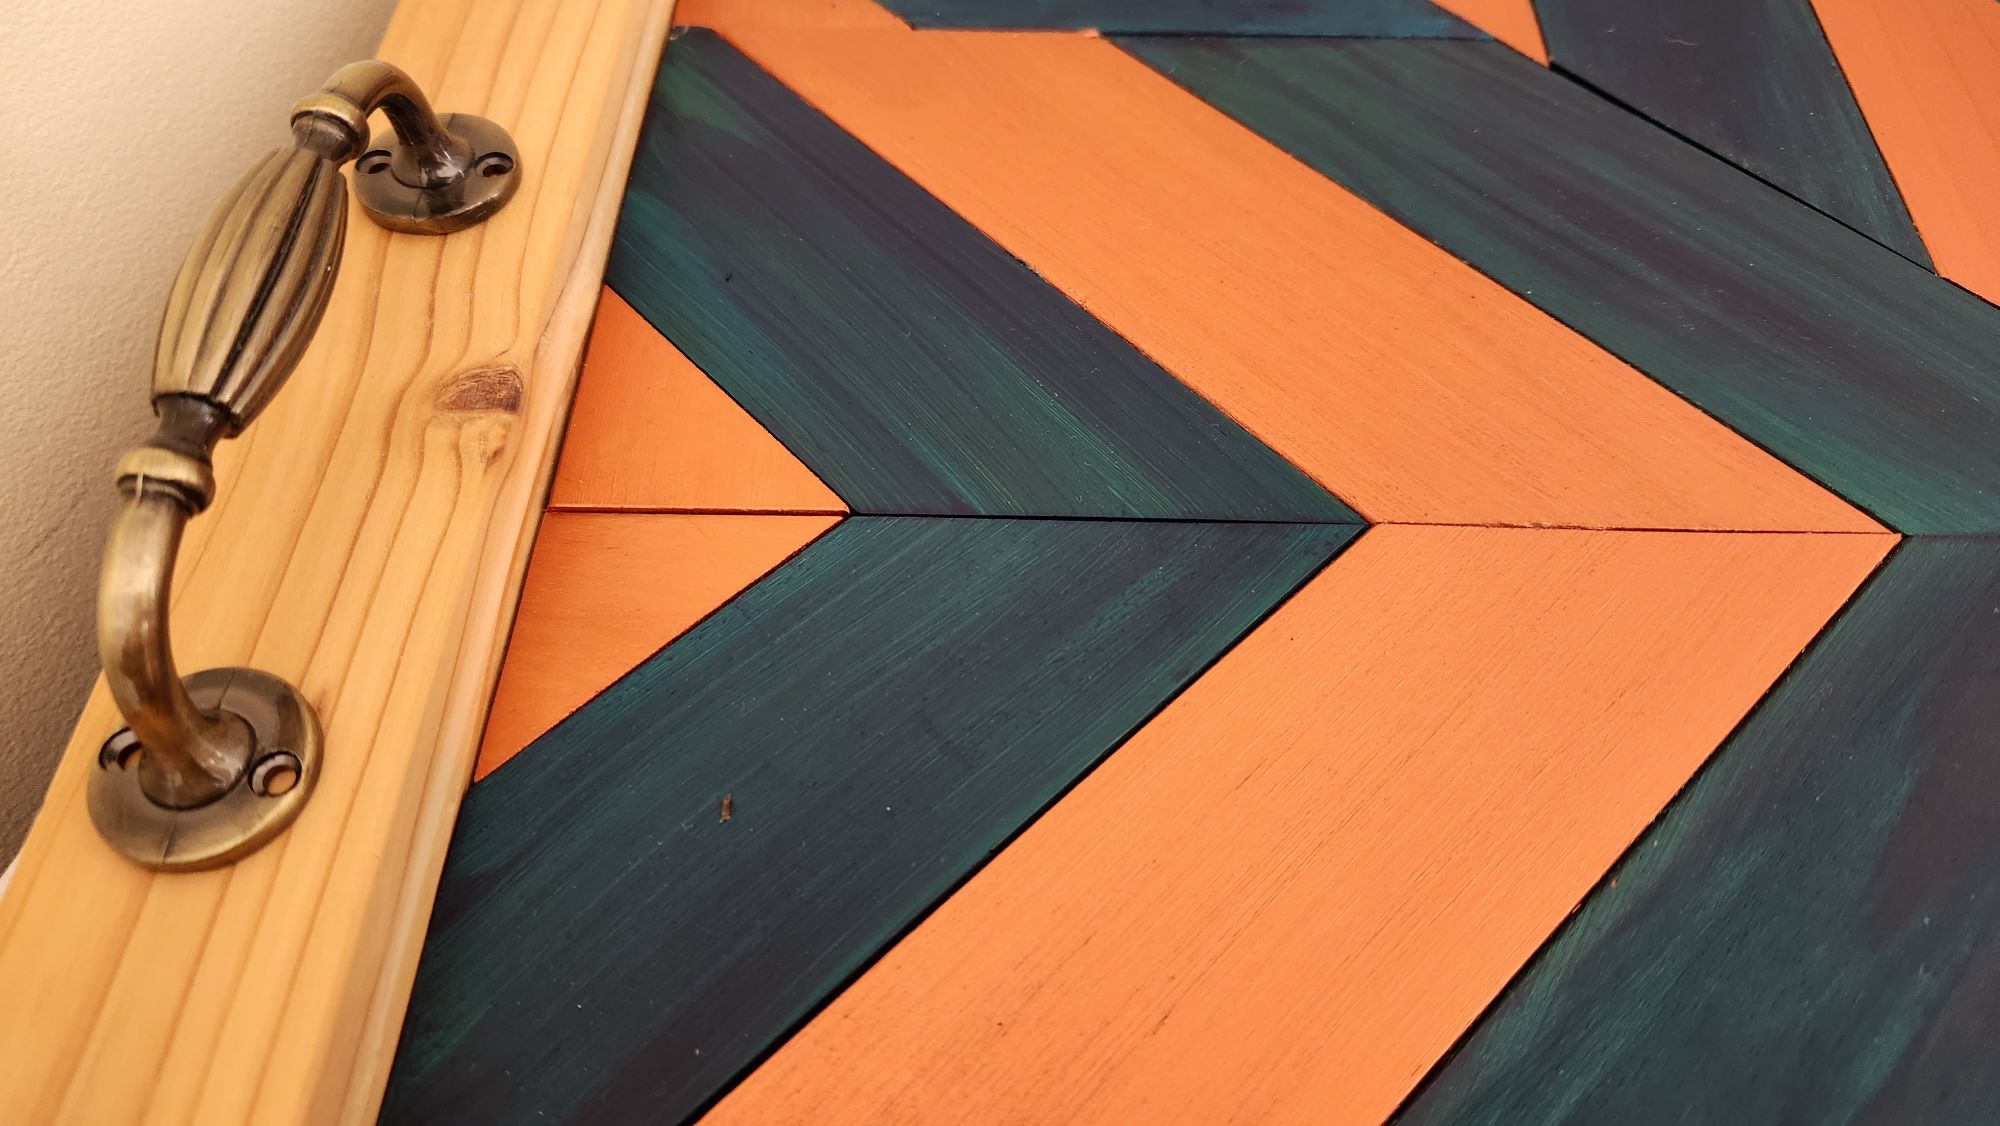
Screw the braces permanently if you only tacked them earlier. Fit handles that suit your mounting style. I used top-mount handles, but through-fix handles work well too.
Seal the tray with a clear, food-safe topcoat if you plan to carry snacks. A wipe-on polyurethane or water-based varnish protects the paint without yellowing. I’ll likely add veneer tape or paint to the side edges for a crisp frame.
More barn quilt ideas
You can get more creative and add some texture using Shou Sugi Ban in your projects.
More about IBC

If you follow my blog, you will know I am part of the IBC (International Bloggers Club), which is a group of talented bloggers from around the world. We have members from Spain, South Africa, Australia, the United States, and Canada. Each month, we come together and create a project with a common theme.
To see the “Tray Chic ” contributions from my fellow bloggers joining us this month, keep scrolling. Please feel free to jump over and give them some love.
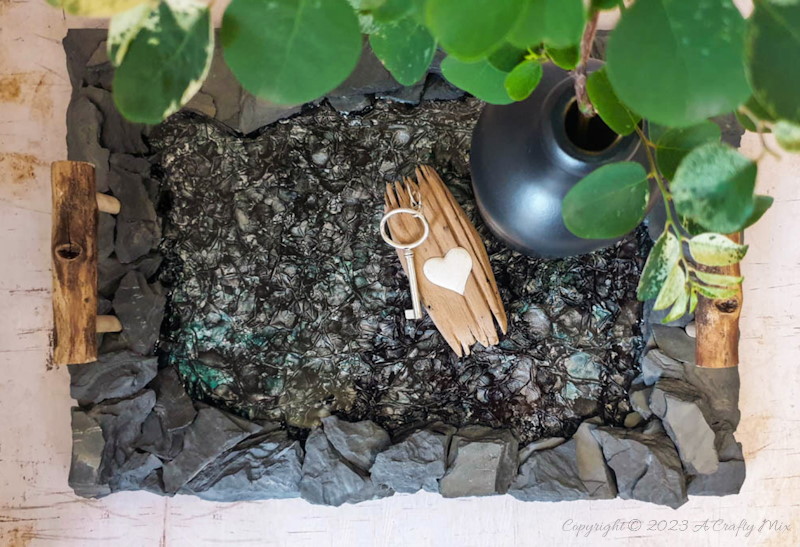
Michelle from A crafty mix shared this very unique tray made from Cardboard, resin and slate.
Rachel from Tea and forget me nots shared how to give a bed tray a makeover.

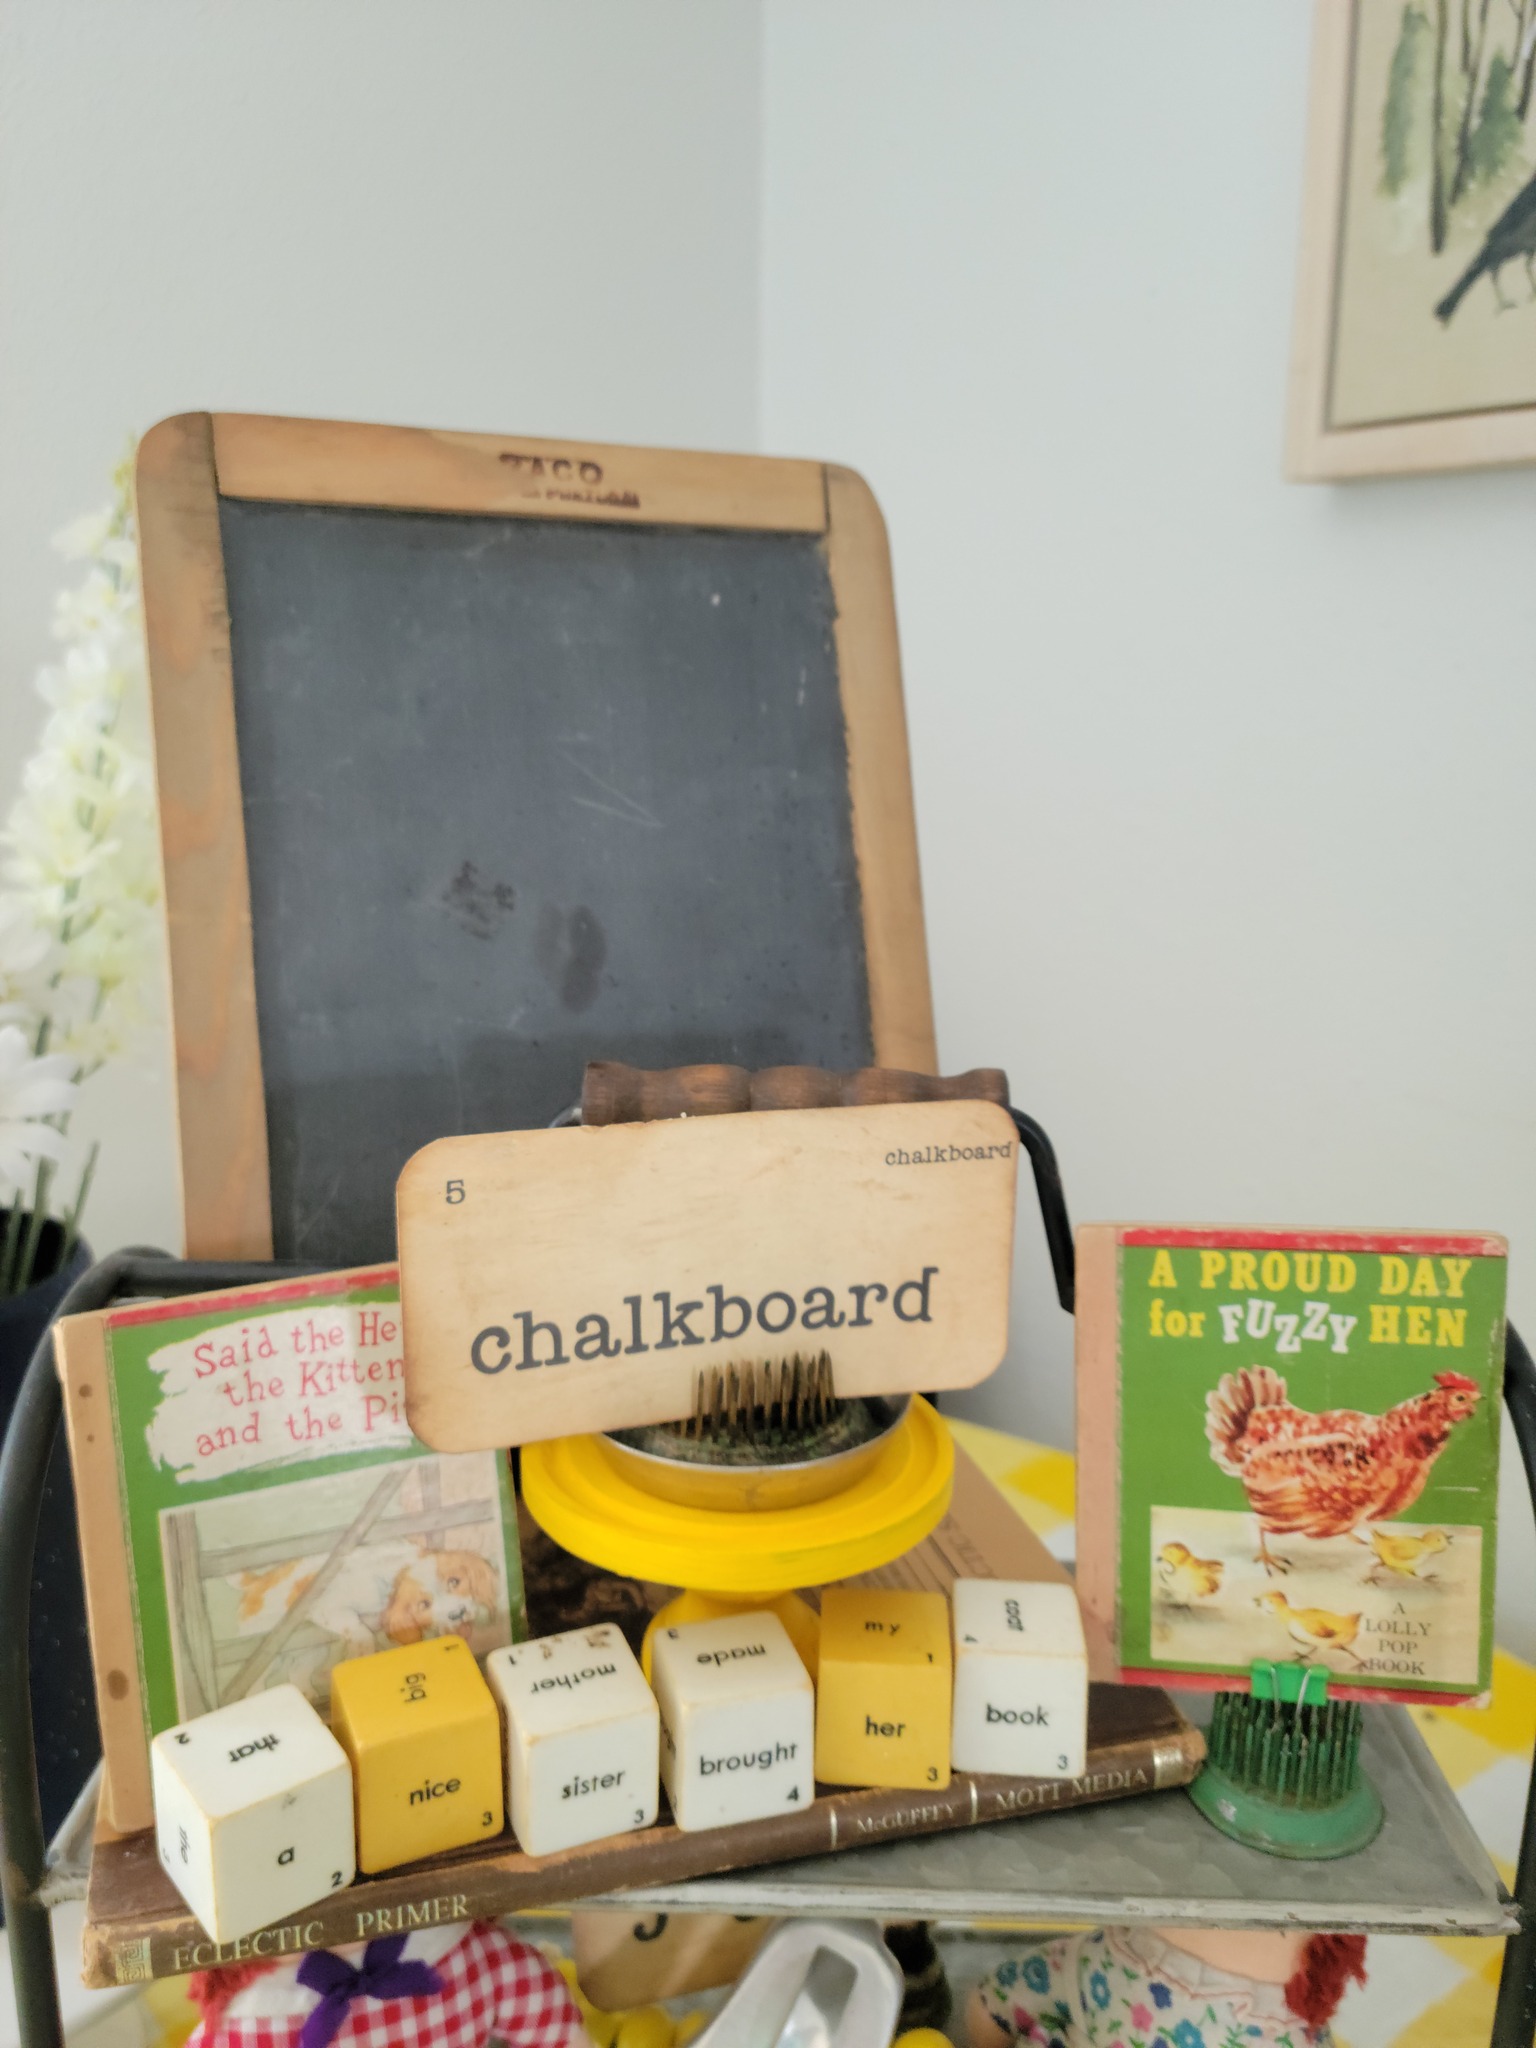
Kirstin from The 5th Sparrow no more shared how to make a simple tiered tray.

If you’re interested in any of the items used in this project, we’d appreciate it if you used our affiliate links. Clicking these links earns us a small commission at no extra cost to you, helping us create more inspiring and exciting projects to share. We’d also love to hear your thoughts—feel free to leave a comment or share this post!


8 Comments
Michelle Leslie
June 19, 2023 at 11:24 pmLove your project and what a great idea to use wooden blinds, Anita. It must save you so much time, especially for some like me who doesn’t have a planer. It’s been on my wish list for the longest time, and every time I think of getting one, I find something else to spend the money on.
Anita Holland
June 20, 2023 at 10:05 amThanks so much Michelle. The blinds worked out really well with no drama. I do admit a planer could be costly my first one cost me $30 second hand and lasted 8 years. This is a new one I just git for my birthday lol No shoes or clothes for this girl, I want power tools. lol
Rachel
June 20, 2023 at 4:20 amI’m so impressed that you started from scratch. Such a lovely design too.
Anita Holland
June 20, 2023 at 10:00 amThank you Rachel, so kind of you to say.
Pretty Breakfast Tray Makeover with Decor Stamp – Tea and Forget-me-nots
June 20, 2023 at 8:23 am[…] Unique Creations by Anita […]
Kristin
June 21, 2023 at 12:02 amThis is beautiful and I love that you repurposed or as I like to say “fifth sparrow-d no more” the wooden blinds to create this! When I see wood blinds in the thrift store now I will think of how to reuse them!
Anita Holland
July 1, 2023 at 10:14 amThank you so much Kristin
Recycled Cardboard Resin Tray with Slate Border - A Crafty Mix
September 30, 2024 at 4:53 pm[…] hand-crafted her barn wood quilt tray from scratch using scrap […]