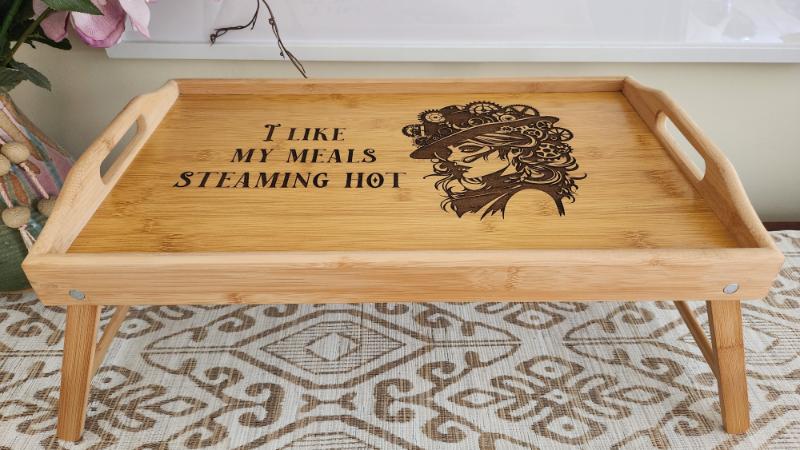
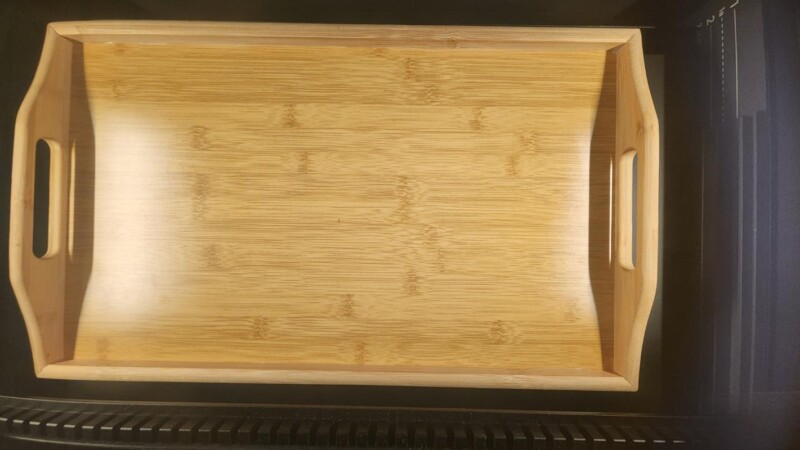
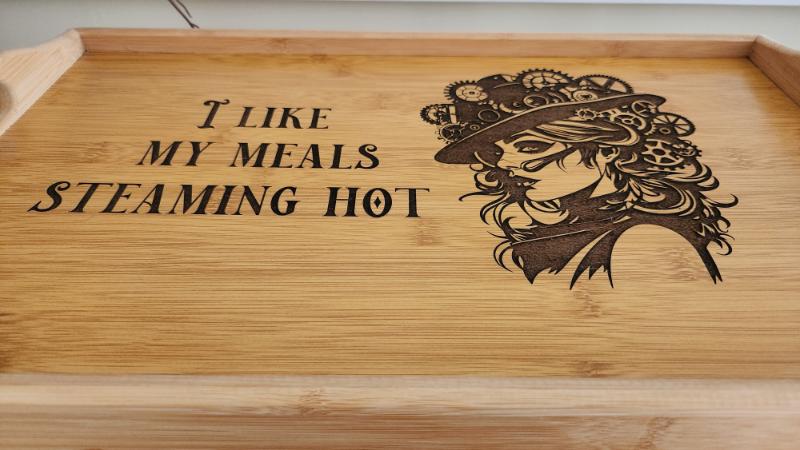
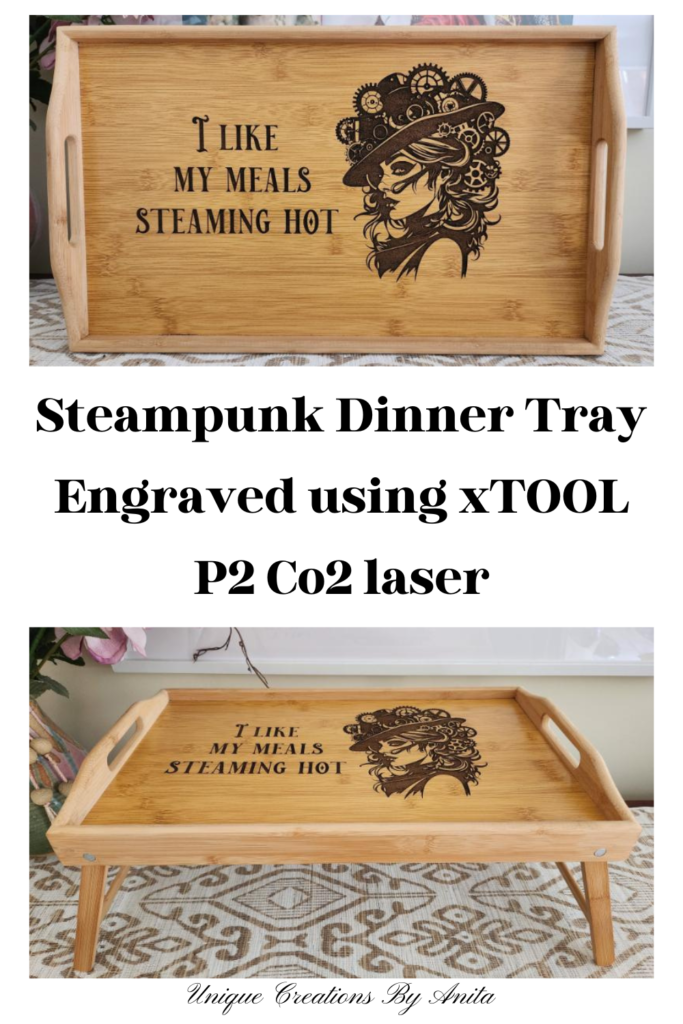
Just before Christmas, I received the xTool P2 CO2 laser cutter and engraver to review, and once the testing was done, I couldn’t wait to dive into a creative project of my own. As a huge steampunk fan, it seemed only fitting that my first personal project would be a Steampunk TV Tray Makeover using the xTool P2 laser. With this new tray, I can now enjoy dinner on the couch in true steampunk style, without having to balance a plate on my lap.
If you missed my review of the xTool P2 and you’re considering buying one, you can check out the full review here.

Before we dive into this tutorial, be sure to subscribe to my bimonthly newsletter to be the first to see my latest projects. You can also follow me on Pinterest and Facebook, where I also include my unique mixed-media art projects
Steampunk TV Tray Makeover with the xTool P2 Laser
**This post may contain affiliate links. This means I earn a small commission on links used at no extra cost to you. Please see my disclosure policy for more information.**
Materials Needed
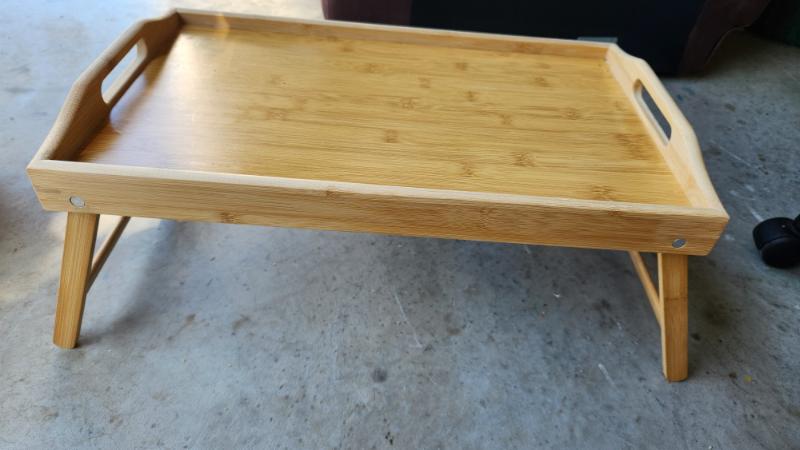
- Wooden TV dinner tray
- xTool P2 CO2 laser engraver and cutter
- xTool Creative Space (XCS) software
- Steampunk image (lady illustration or design of choice)
- Polyurethane spray sealer
- Air compressor or soft brush (for dust removal)
Create your design in XCS Creative Space
To begin, launch the xTool software XCS and create a new project. I apologise for the poor photo quality on some images. The skylights in my roof cause glare on my screen, which reflects in my photos.
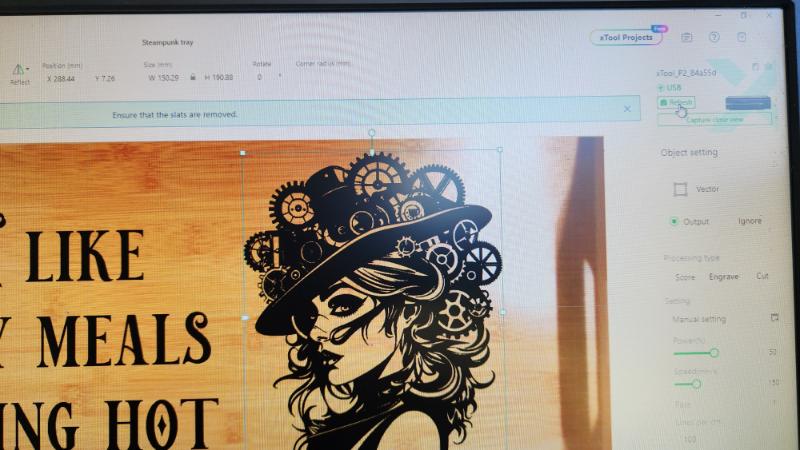
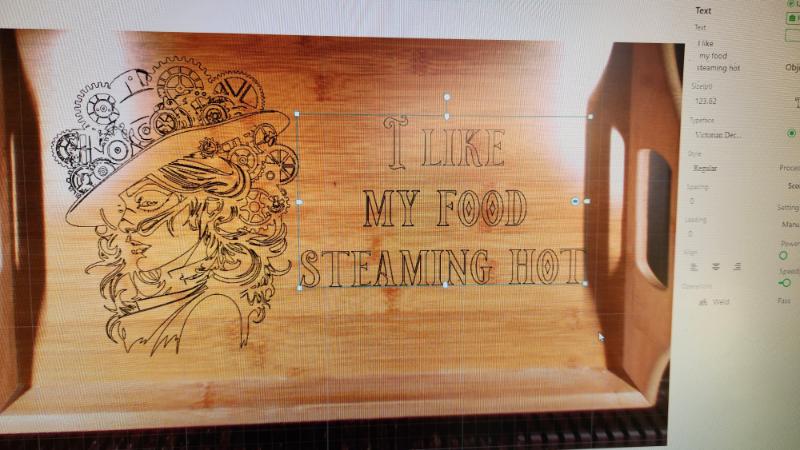
First, select the image you wish to add to your design and place it where you want it to appear.

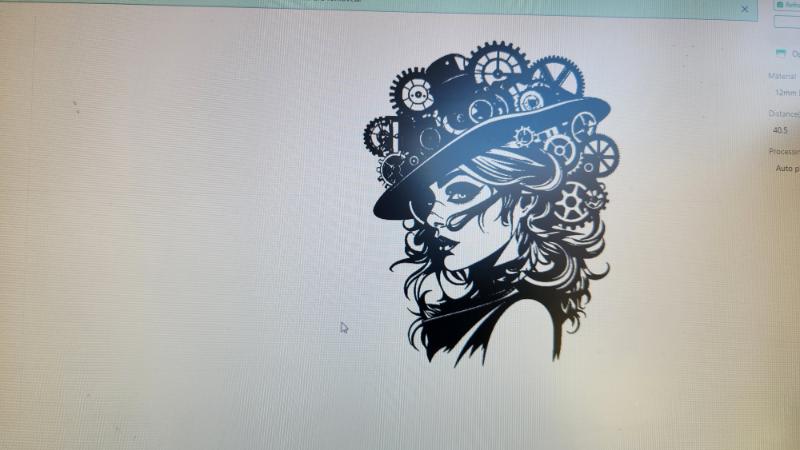
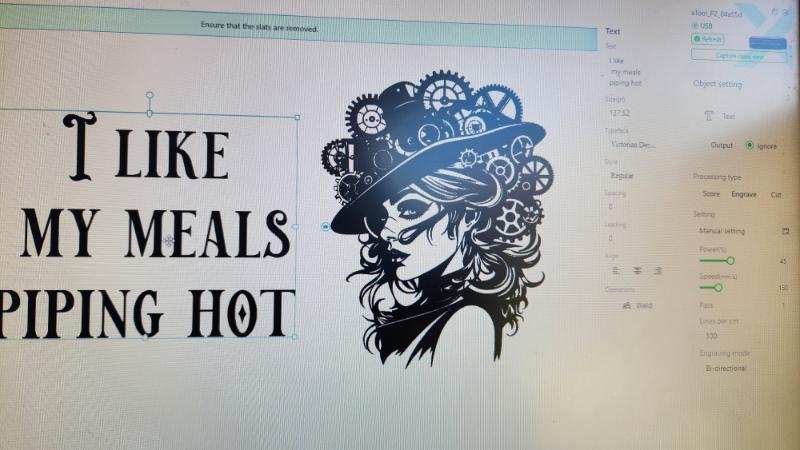
This image of a steampunk lady is one of my favourites. She looks so hot she is a perfect fit for my slogan.
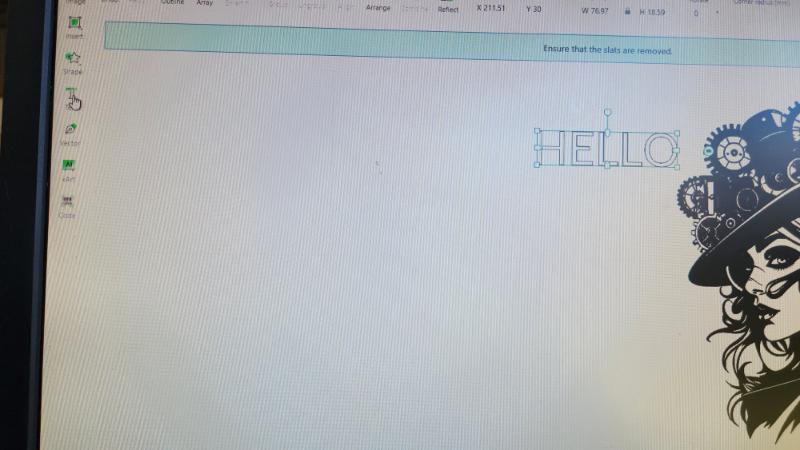
Add text by clicking the text option in the left toolbar. The word “HELLO” will appear as a placeholder. From here, you can customise your text with fonts, sizes, and spacing. You can also install additional fonts into XCS if you want something unique.
Once your design is ready, you’ll refine it further inside the live view screen, where you can see exactly how it will look on your tray.
Set up your project in the xTool P2
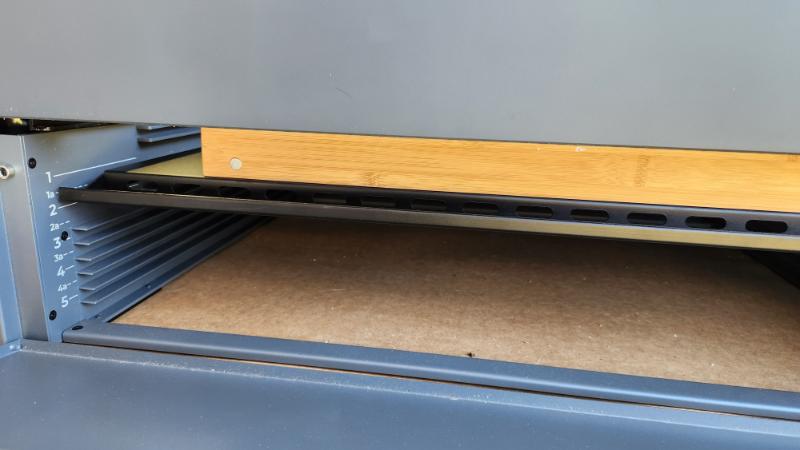
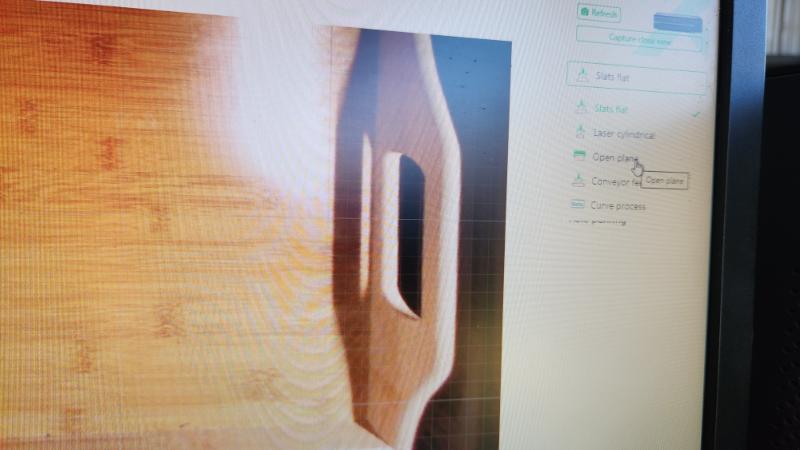
If you are using a deep tray, you need to adjust the base riser to fit the size of your project. The base riser has 9 levels that enable you to lower the base plate for larger items.
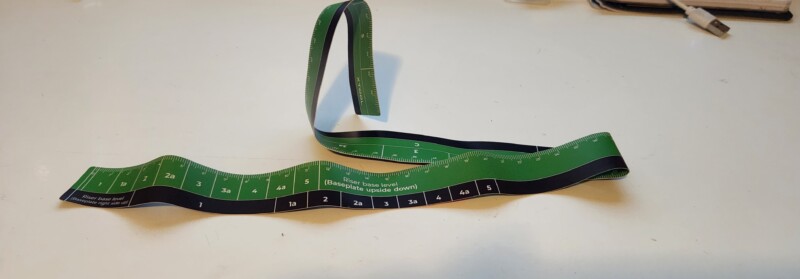
Additionally, the base riser comes with a tape measure that allows you to measure your project depth accurately and helps you position the base plate correctly.
This is how the tray looks inside my machine.
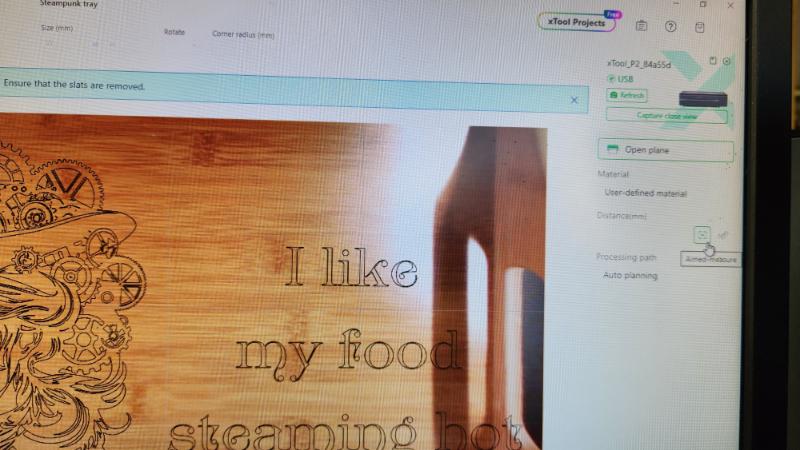
Once the tray is in place, click the open plane setting and then refresh the live view. This feature gives you a real-time preview of your engraving area, making it easy to line up your image perfectly.
It is here that you can make any final adjustments to the layout of your design.
Choose your engraving settings.
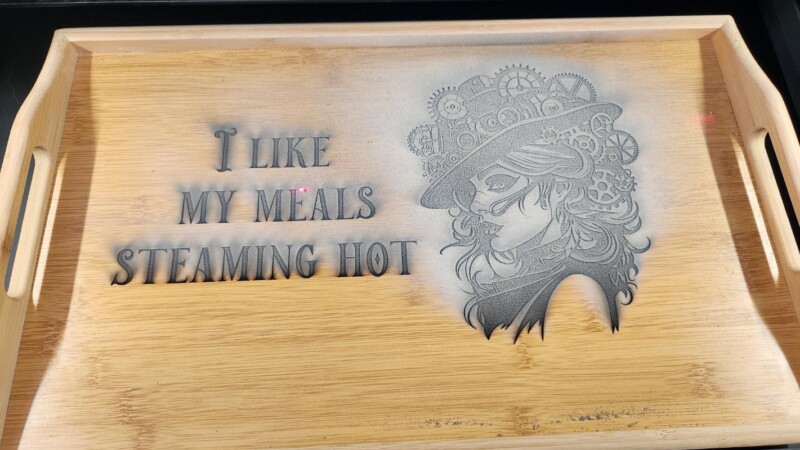
Measuring the exact thickness of my tray was tricky due to its shape, but the auto-measure function solved that problem instantly. By clicking on the inside surface and selecting auto-measure, the machine calculated the correct depth for engraving.
In XCS, I set my power to 50% and speed to 150. This gave me a darker burn, which was exactly the look I wanted. If you’re unsure, start light and run a second pass using the “process again” option.
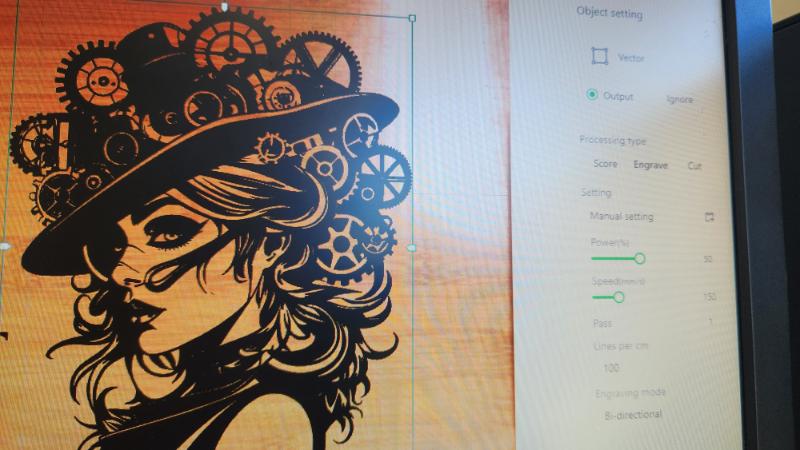
Select your image, then click the engrave button. You will immediately notice the difference. If you are cutting or scoring the image, it will look like the example image below.
To know if you have chosen engraving, look for a dark image similar to the example below. When working with a combination of text and image, XCS won’t let you group and engrave them simultaneously. You need to process them separately.
In the image below, I have chosen the lady and clicked on the output button in the right-hand column. Next, select the text and choose the ignore button. Once the lady has finished engraving, do the opposite. Select the text for output and the lady to ignore.
“You can now sit back and watch the magic happen. Engraving can be a slow process, and this particular project took 1 hour and 20 minutes to complete. One possible improvement that could be made to this machine is to display with estimated processing time. You can see the xTOOL laser in action using this link.
It is important to note that you cannot leave the machine unattended while it’s in use, which may be inconvenient if you have other tasks to attend to. Fortunately, you do have the option to pause the machine if you need to step away.
Seal the surface
I was unsure whether the tray engraving would work due to excessive dust, but I let it run. Fortunately, it was only surface dust, and I was able to remove it with a blast from my compressor. To finish, I applied two coats of spray polyurethane to seal the surface and prevent water damage during cleaning.
More laser project ideas
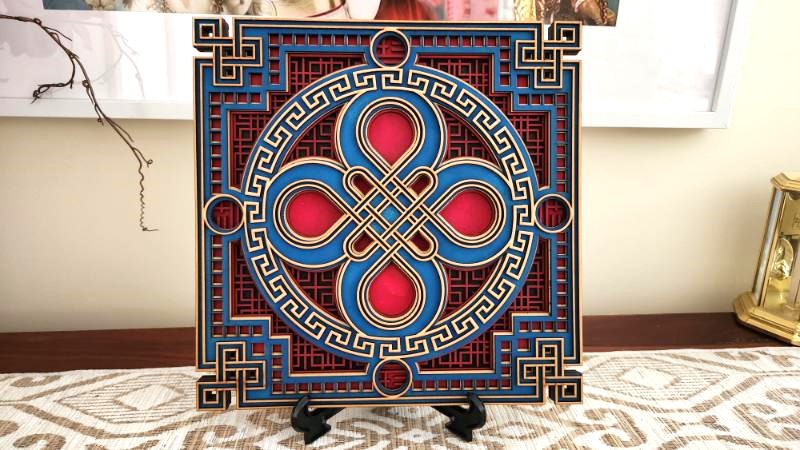
Multi-Layered Plywood Celtic Wall Hanging
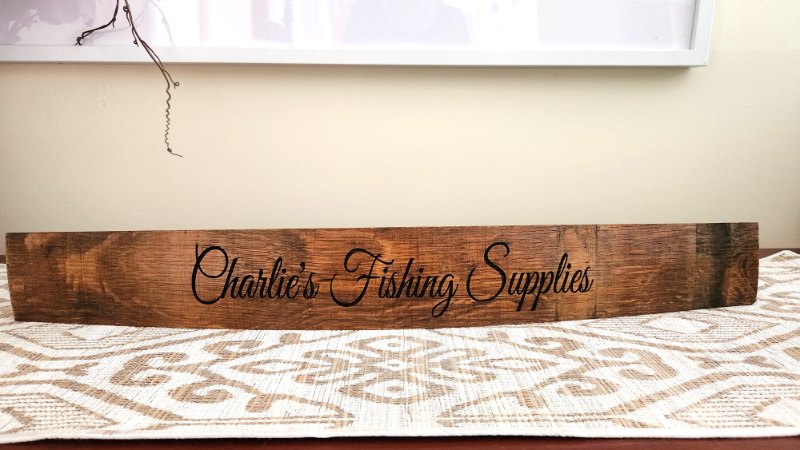
DIY Laser Engraved Wine Barrel Stave Sign for Man Caves or Bar Rooms

If you’re interested in any of the items used in this project, we’d appreciate it if you used our affiliate links. Clicking these links earns us a small commission at no extra cost to you, helping us create more inspiring and exciting projects to share. We’d also love to hear your thoughts—feel free to leave a comment or share this post!


2 Comments
Michelle Leslie
March 12, 2024 at 1:43 amYou know how much I love anything to do with SteamPunk so your tray really caught my eye. That little machine of yours looks fascinating. I’ve been playing around with wood burning paste but depending on how you apply it, the lines can be a bit blurry but that doesn’t seem to be problem with this engraver. Really cool.
Anita Holland
March 18, 2024 at 7:50 pmI know the paste it works great too. I love how crisp this laser engraved.