
My daughter recently got married, and like all brides, she wanted her Maid of Honour and bridesmaid invitations to stand out from the usual store-bought cards. She had a lovely idea to create something personal and keepsake-worthy—and asked if I could make her some unique DIY invites using shadow boxes and Scrabble tiles. I couldn’t say no! That’s how this project for Unique Bridesmaid/Maid of Honour Invitations came to life—something handmade, heartfelt, and truly one-of-a-kind.

How to make Unique Bridesmaid/Maid of Honour Invitations
**This post may contain affiliate links. This means I earn a small commission on links used at no extra cost to you. Please see my disclosure policy for more information.**
Materials List for Shadow Box Wedding Invitations
- Shadow boxes (small to medium size, available at budget or craft stores)
- Scrabble tiles (from old board games or wooden letter tiles from online stores)
- Wedding-themed tiles (optional – hearts, rings, champagne, etc.)
- Coloured cardstock or scrapbook paper (to match the wedding colour scheme)
- Spray adhesive or strong craft glue (to secure background paper)
- Double-sided tape (to help position tiles)
- Craft glue or hot glue gun (for attaching embellishments)
- Miniature die-cut bride and groom figures (or similar embellishments; optional Cricut use)
- Small fabric flowers or pearl stickers (for decoration)
- Scissors and/or paper trimmer
- Ruler and pencil (for measuring layout)
- Tweezers (optional, for precise placement of small items)
Getting Started
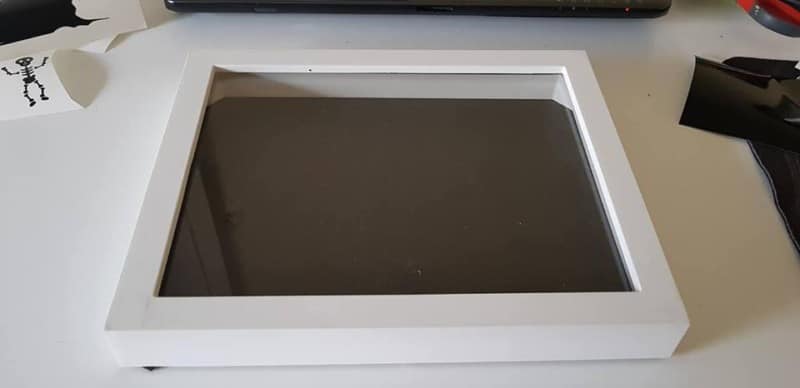
I picked up the shadow box frames from our local budget store—they were not only easy to find, but also very affordable. For the Scrabble tiles, I started by checking out a few local thrift stores and managed to snag a used set.
Unfortunately, it wasn’t enough for the three invitations she needed, so I ordered some wooden letter tiles online instead. I also found a few charming wedding-themed tiles, which added a lovely touch.

Building the Invitations
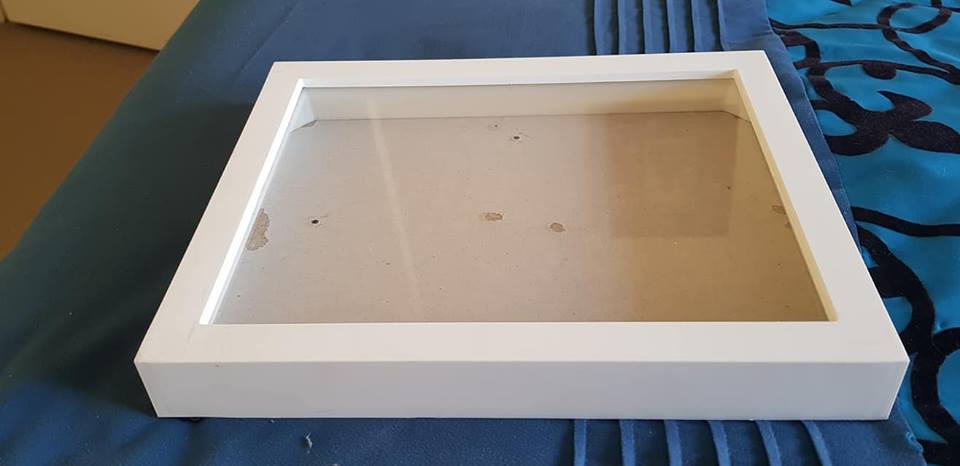
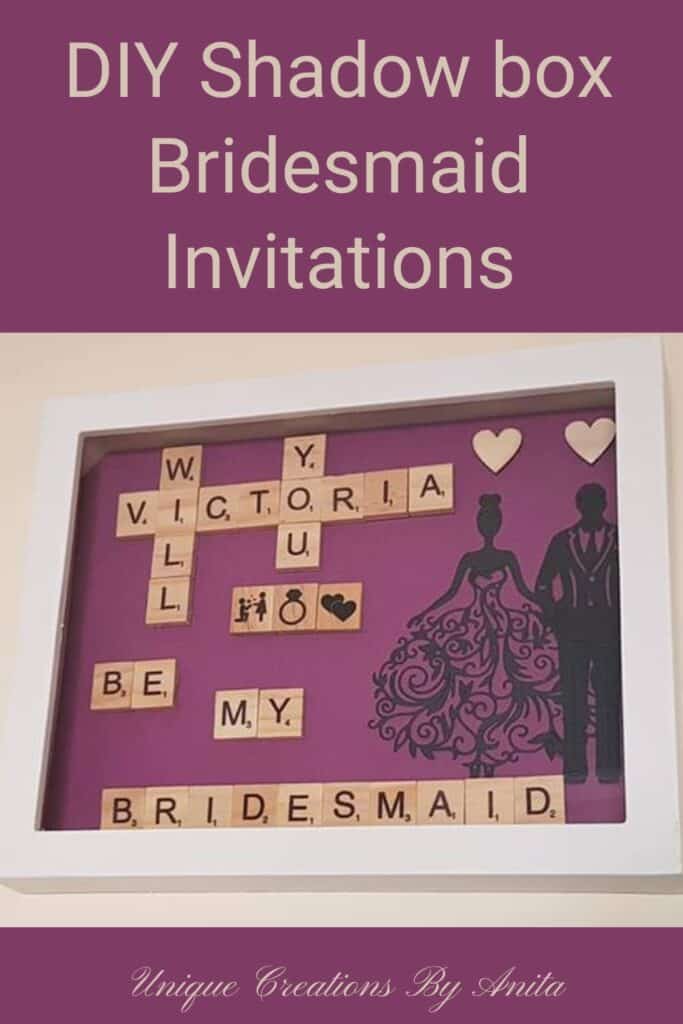
The first step was to remove the placeholder image inside the frame. I then cut a piece of coloured cardstock to match her wedding theme and glued it to the back insert of the shadow box. (Tip: Be sure to glue it securely—my first attempt skipped the glue, and the weight of the tiles caused the card to crease.)
Once the backing was ready, I played around with the tile arrangement until I found a layout I liked. Assembling the invitations took a bit of trial and error. The biggest challenge? Keeping those tiles perfectly straight! One small bump, and they’d scatter everywhere.
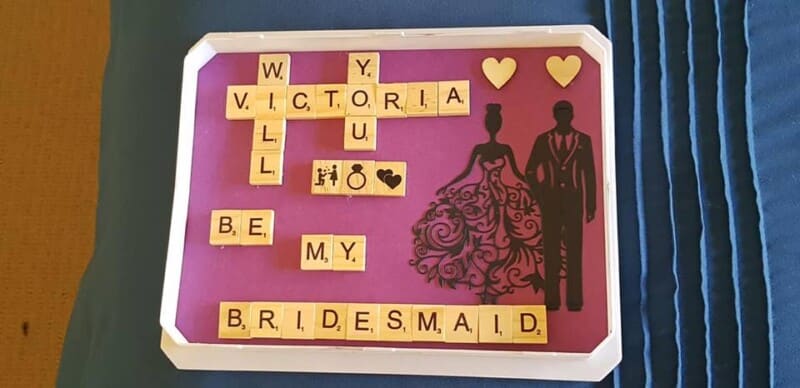
After a few frustrating attempts, I used double-sided tape to hold them in place.

I also used the frame’s edge as a guide to keep the lines neat. Just note: not all tiles are exactly the same size, so a little variation is to be expected. But that’s part of the handmade charm!

Personal Touches
To finish them off, I added adorable die-cut bride and groom figures I found online. If you own a Cricut machine, you can create your own custom cutouts in any style you like. I glued mine on using regular craft glue.

Once everything was secure, I reassembled the shadow box—and just like that, the invitations were complete! They turned out beautiful, unique, and full of love.
I also added small fabric flowers and mini pearl stickers to give each box a more decorative, textured feel. You could even include small charms or lace accents for a vintage look.

Finishing Touches
Once everything was glued in place and dry, I carefully reassembled the shadow box. The final product looked absolutely stunning—each one a heartfelt keepsake that my daughter’s bridesmaids could treasure for years to come.
These invitations weren’t just beautiful—they were deeply personal and brought tears to those who received them.
Honouring Loved Ones on Your Wedding Day
If you’d like to honour a loved one who can’t be with you on your special day, consider adding a photo charm to your bridal bouquet. It’s a simple yet powerful way to keep their presence close as you walk down the aisle.


Another thoughtful tribute is placing a memorial candle on the bridal table. Lighting the candle can symbolise your loved one’s spirit and bring comfort throughout your celebration.

If you loved this bridesmaid invitation project, here are a few more DIY wedding ideas you might enjoy: these wedding trainers I made for my Daughter.


If you’d like to find any of the items used in this project, we’d greatly appreciate it if you used our affiliate links. These links provide us with a small commission at no extra cost to you, allowing us to continue creating and sharing more inspiring projects. We’d also love to hear your thoughts—feel free to leave a comment or share this post!


2 Comments
Sara
March 29, 2021 at 11:24 pmWhat a fabulous idea Anita! Those wedding trainers have me laughing. When I was married, I forgot to bring mine and asked my fiancé to bring them when he came to the venue. When I opened the box, he had accidentally grabbed his shoes instead – lol!
Anita Holland
March 30, 2021 at 1:04 pmThank you Sara, I bet you all had a giggle after the day was done.