
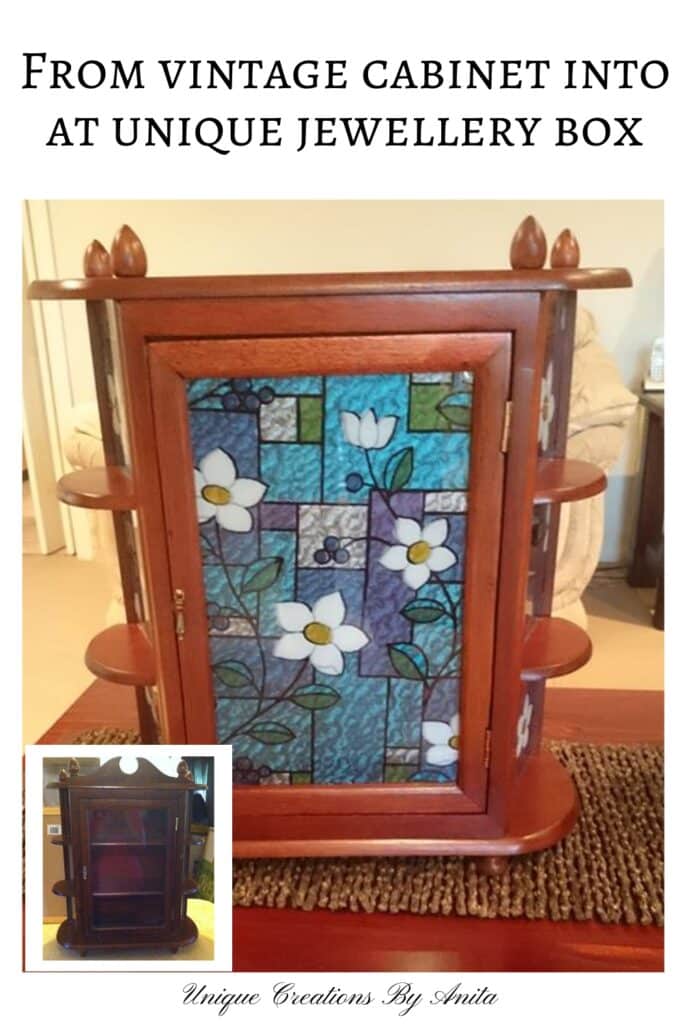
Vintage display cabinets like curio boxes often pop up on local buy-swap-sell sites, but they can be hard to repurpose. I came across a miniature one recently. It is still in good condition but far too dated to resell as-is. Restoring it wouldn’t have added much value, and these pieces don’t suit most modern homes. But rather than letting it go to the landfill, I saw its potential for something entirely different.

This tutorial shows you how to repurpose a vintage display cabinet into a functional and stylish jewellery box using mostly recycled and affordable materials. Whether you want a tabletop display or a wall-mounted organiser, this DIY project is perfect for giving forgotten furniture a new lease of life while creating practical storage for rings, earrings, and necklaces.

Before we dive into this tutorial, be sure to subscribe to my bimonthly newsletter to be the first to see my latest projects. You can also follow me on Pinterest and Facebook where I also include my unique mixed-media art projects.
How to Repurpose a Vintage Display Cabinet into a Jewellery Box
**This post may contain affiliate links. This means I earn a small commission on links used at no extra cost to you. Please see my disclosure policy for more information.**
Materials You’ll Need
- Vintage curio/display cabinet
- Sandpaper
- Wood stain and clear varnish
- Thin plywood or balsa wood
- Faux leather or real leather scraps
- Staple gun
- Spray adhesive
- Craft knife
- Black velvet fabric
- Foam (repurposed mattress foam works great)
- Multi-grip or Kwik dry glue
- Decorative window film
- Water spray bottle
- Soft cloth or credit card
- Small hooks

Step 1: Strip, Sand, and Stain the Cabinet
Start by removing any old decorative features from the cabinet. I stripped mine down and sanded all surfaces back to raw wood. Once smooth, I applied fresh wood stain and sealed it with clear varnish to give it a modern look.
Step 2: Create Leather Shelf Stoppers
To stop jewellery from sliding off the open shelves, I cut thin strips of wood and wrapped them in faux leather. These were glued in place and secured with a staple gun. The cabinet’s frame helped hold everything neatly in place without extra supports.
")
Step 3: Make a Foam Ring Holder
I reused an old foam mattress and cut it to fit snugly into the top and middle sections of the cabinet. Then, I sliced evenly spaced slots using a craft knife, just deep enough to hold rings upright without them slipping out.

Step 4: Cover the Foam with Velvet
I used black velvet to give the foam inserts a luxurious finish. Spray adhesive was applied into each slot first. Then, using a ruler, I pressed the fabric into the slots. This stops the fabric from pulling out when removing rings.

Once all slots were covered, I trimmed the excess fabric and glued down the edges. The sides and bottom won’t be visible once inside the cabinet.
Step 5: Insert the Foam
My foam wasn’t cut perfectly straight, but using a carving knife made it easier to shape. Once done, I glued the velvet-covered foam securely into place using Kwik Dry glue.
Step 6: Add Velvet-Lined Partitions
To store earrings and small accessories, I added dividers. First, I glued black velvet fabric to the bottom of the shelf. Then I cut scrap plywood pieces to create partitions, wrapped them in velvet, and glued them in tightly.

Step 7: Disguise the Glass with Window Film
To give the cabinet a clean look (and to keep it from obviously looking like a jewellery box), I covered the glass panels with stained-glass-style window film.

Lay the glass over the film and cut it to size. Spray water onto the glass before applying the film. Smooth it out with a soft cloth or credit card to remove any bubbles.

Step 8: Install Hooks for Necklaces
I added small hooks to the inside top of the cabinet door to hang necklaces and bracelets. It’s a great way to keep them from tangling and makes them easy to grab when needed.
Finished Result
Hooks for necklaces and bracelets
")
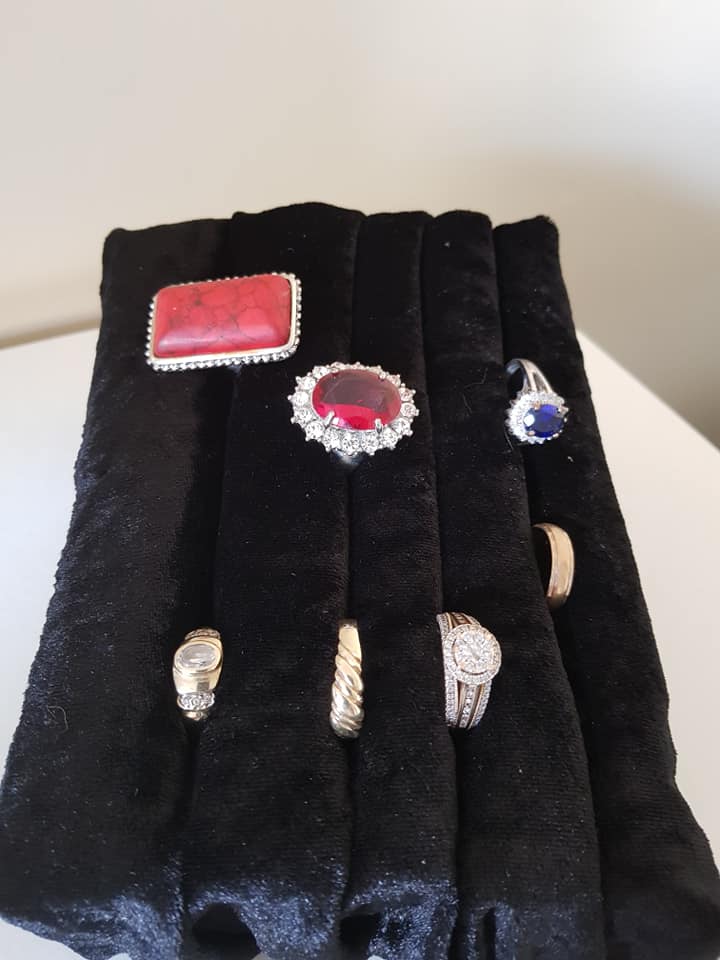
Close-up of the ring display

Custom partitions for earrings and small items


More Jewellery storage ideas
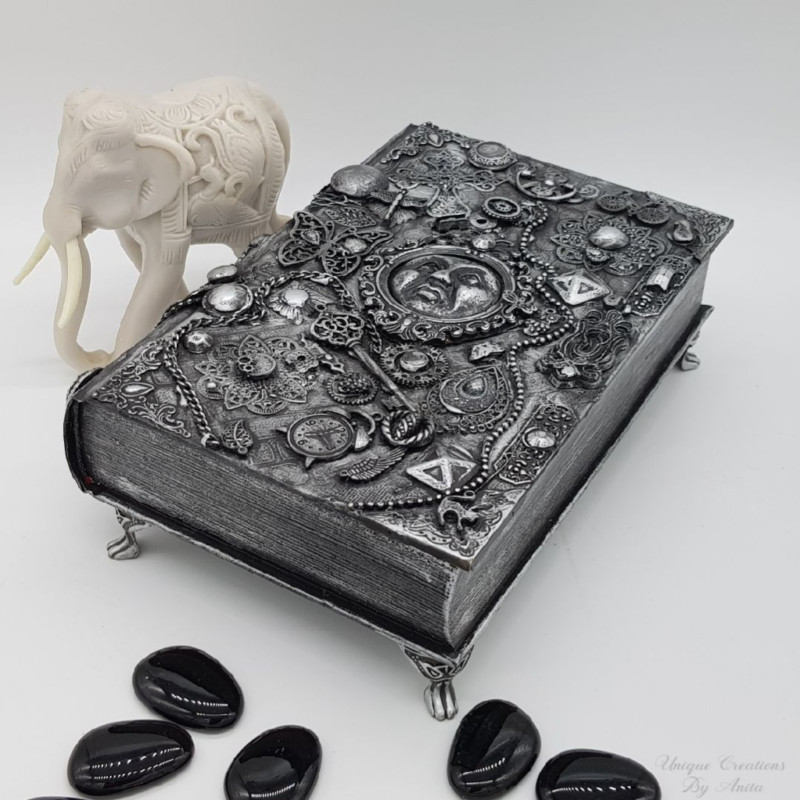
I transformed an old book into a one-of-a-kind jewellery box, complete with a creative mixed-media art makeover.
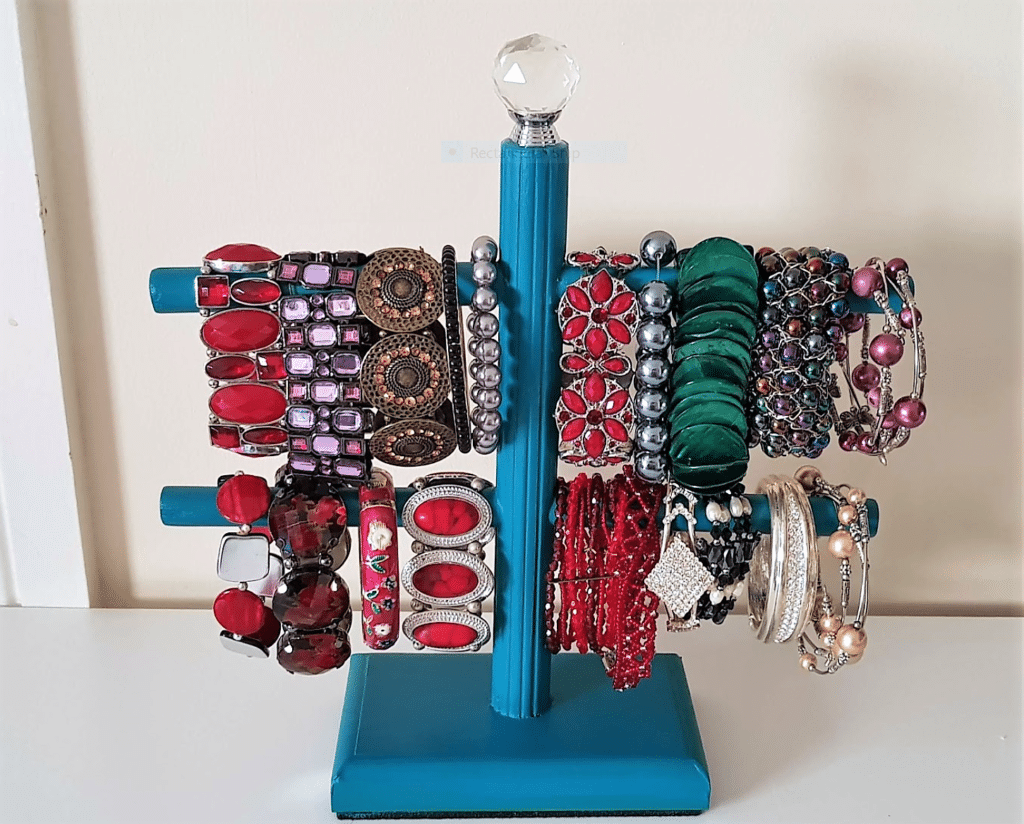
Made entirely from recycled materials, this stand is ideal for storing bracelets, bangles, or hair scrunchies in style

If you’d like to find any of the items used in this project, we’d greatly appreciate it if you used our affiliate links. These links provide us with a small commission at no extra cost to you, allowing us to continue creating and sharing more inspiring projects. We’d also love to hear your thoughts—feel free to leave a comment or share this post!

4 Comments
Steav Smith
August 29, 2018 at 5:03 amExcellent and decent post. I found this much informative.
I’m impressed by the details that you have on this website. Thank you for this post
Maria
March 25, 2021 at 4:43 amBeautiful I have always wanted to do a colored glass inspired project you got me thinking
Sara
May 10, 2021 at 11:09 pmGreat re-use and the window film is brilliant! Well done!
Anita Holland
May 11, 2021 at 7:14 amThank you Sara.