
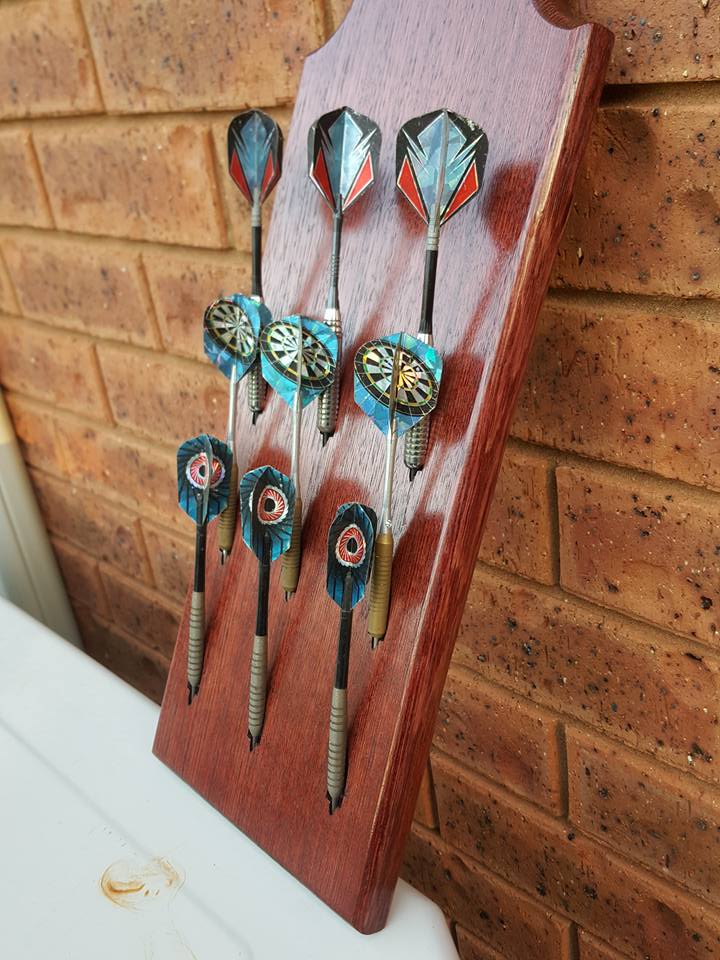
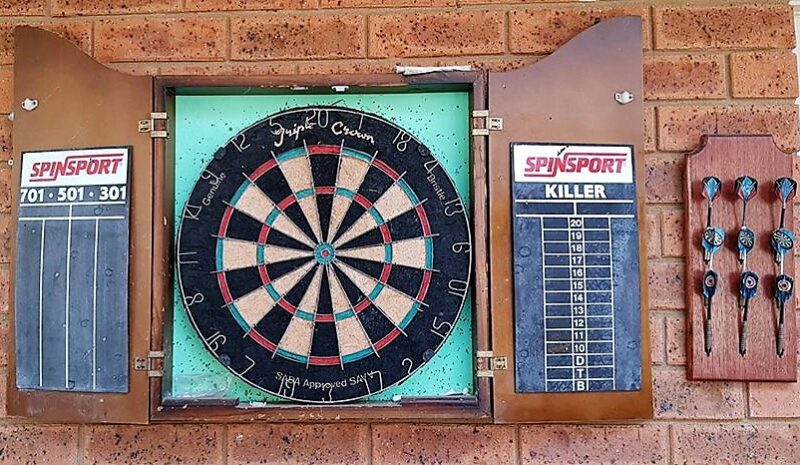
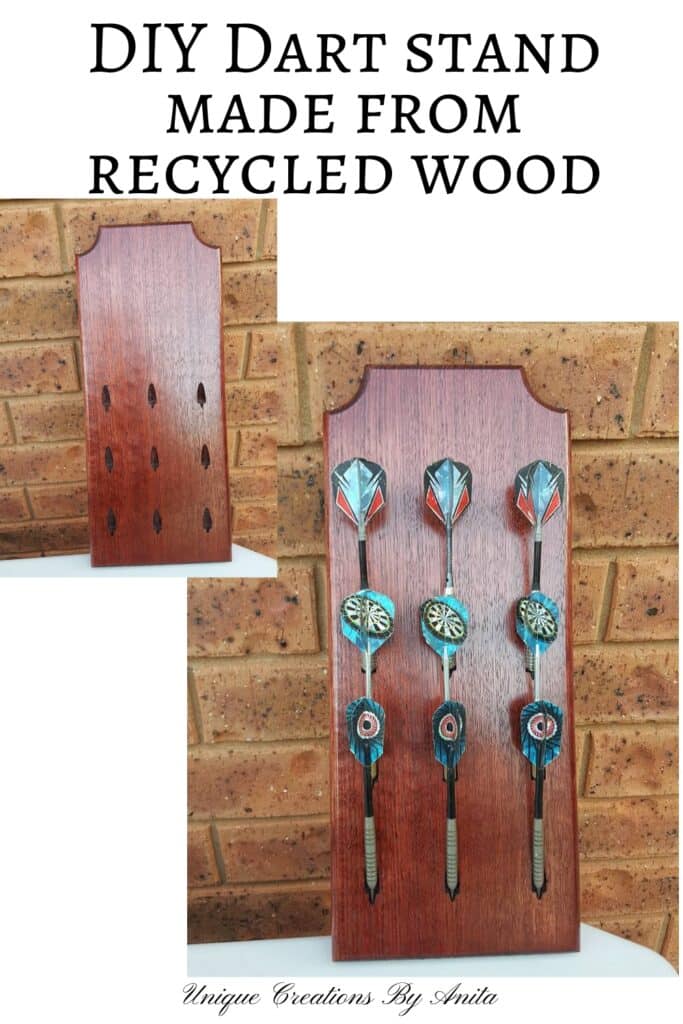
Every Christmas, our family gathers for a full day of food, laughter, and games. One of our favourites is darts. But without fail, the darts always go missing. To stop the yearly hunt and make things easier, I built a simple wall-mounted storage rack. If you’re sick of the same chaos, here’s how to make a darts stand or holder to keep your set neat, organised, and always ready to use.
Before we dive into this tutorial be sure to subscribe to my bimonthly newsletter to be the first to see my latest projects. You can also follow me on Pinterest and Facebook where I also include my unique mixed-media art projects.
How to make a dart stand/Holder
**This post may contain affiliate links. This means I earn a small commission on links used at no extra cost to you. Please see my disclosure policy for more information.**
Materials Needed
- Timber board (I used the front of an old drawer – approx. 50cm long)
- Pocket hole jig (portable style)
- Drill and drill bits
- Orbital sander or sanding block (180-grit sandpaper)
- Measuring tape or ruler
- Pencil
- Clamps
- Wood stain (optional – I used a walnut colour)
- Marine varnish or clear sealer (for outdoor use)
- Saw (jigsaw, handsaw or circular saw – whichever you have)
- Scrap wood (for testing drill depth)
Step 1: Prepare the Base for the Darts Holder
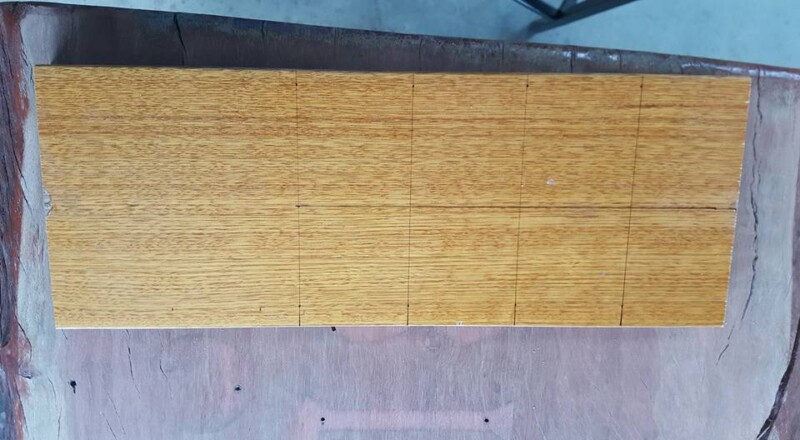
I reused the front of an old wooden drawer for the base. You could use any flat timber offcut or pine board.

I wanted to store three sets of darts (9 darts in total). To work out the length, I laid the darts on the board with even spacing. Allow enough space between each set so they don’t bump into each other. My final board length was 50cm. Use a jigsaw or any saw you prefer to cut the board to size.
Step 2: Mark the Drill Points for the Darts
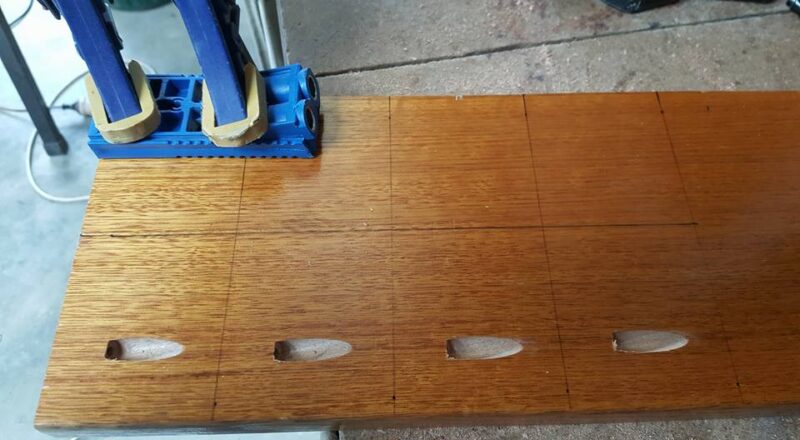
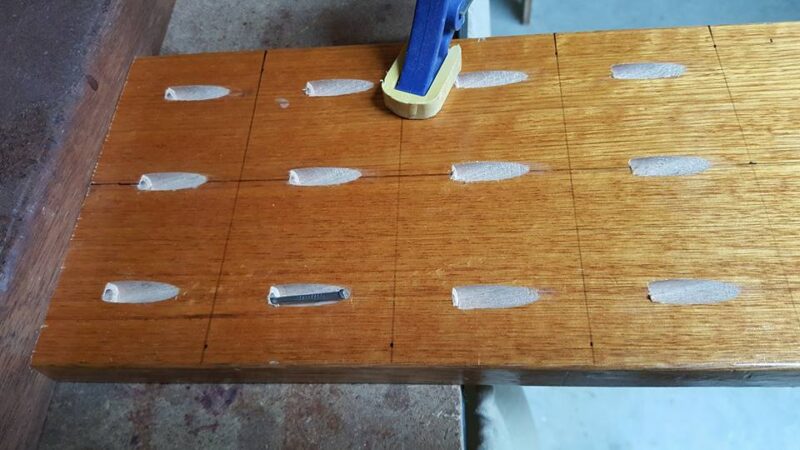
After cutting the board, I sanded the surface using an orbital sander with 180-grit sandpaper to remove the old finish. Next, measure and mark where each dart will go. First, divide the board’s length into three equal sections. Then divide the width in half. Mark a centre point on each third, along the width line. This is where each pocket hole will go. I left a 7cm gap between each dart slot. Make sure your top holes aren’t too high, or darts may poke over the board.
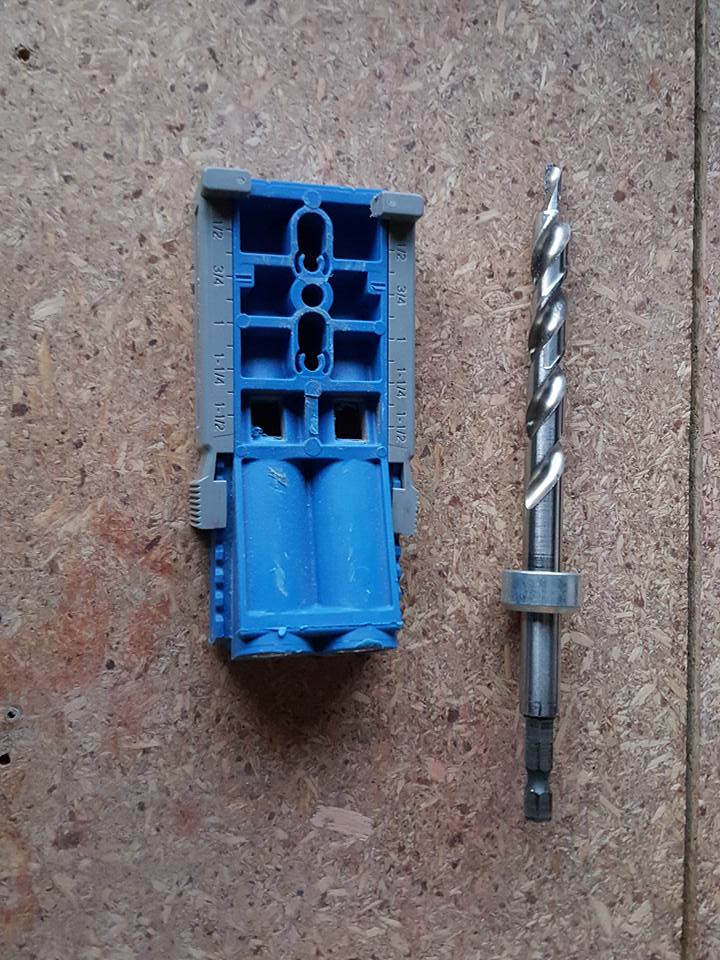
Step 3: Drill the Holes Using a Pocket Hole Jig
To drill angled holes for the dart tips, I used a portable mini pocket hole jig. You’ll need a portable version for this. Clamp the jig into the middle of the board, aligning it with your pencil marks. This ensures accurate positioning. The jig includes its own drill bit with a depth collar. Set the collar to suit your board’s thickness before you begin.
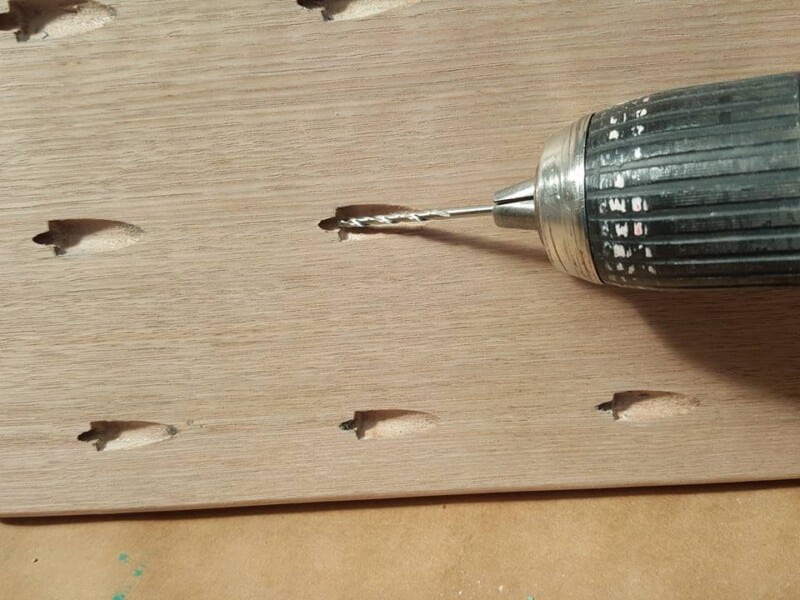
Step 4: Test Hole Depth and Adjust If Needed
If you’ve got scrap timber left, use it to test the drill depth. This saves headaches later on. My first attempt was too shallow. The darts wouldn’t sit properly.
I tried tapping a nail to deepen it, but that didn’t feel safe. Instead, I grabbed a drill bit that matched the dart tips and deepened each hole slightly. That worked perfectly.
Step 5: Trim and Shape the Edges (Optional)
To add a decorative touch, I trimmed the corners off the board. This gave it a softer, rounded finish. I hadn’t fully sanded the varnish off, which caused issues when applying the new stain. To fix this, I ran it through the thickness planer. Unfortunately, I took too much off, and some holes became partly exposed. It still works, but next time I’ll take more care sanding.
Step 6: Stain and Seal Your Dart Holder
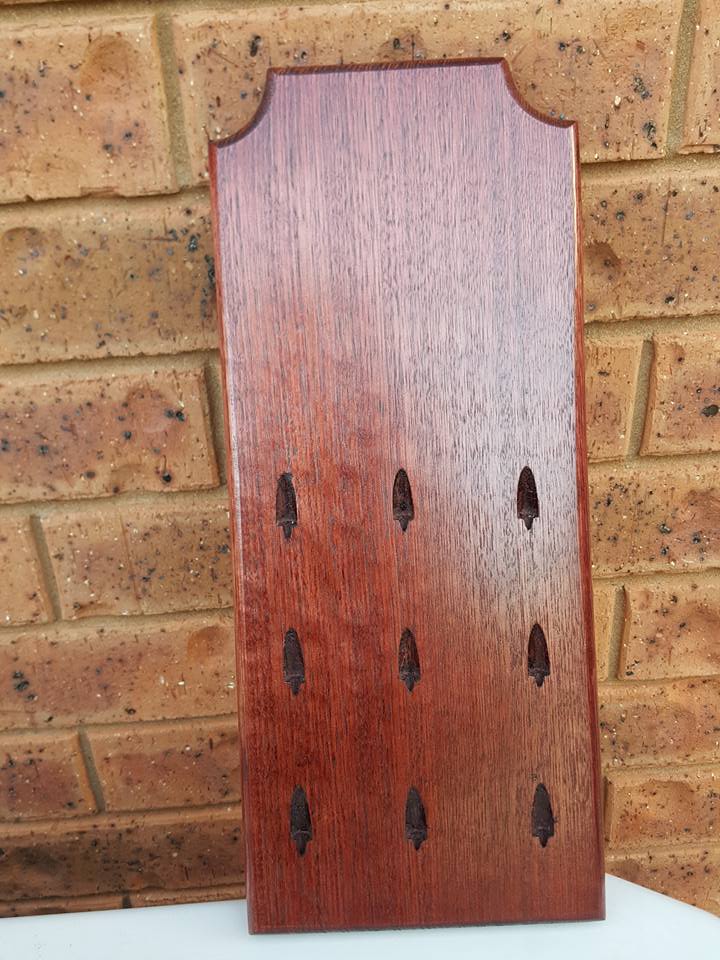
Once you’re happy with the look and feel, stain the timber in a colour of your choice. I used a walnut stain. To protect it, especially if kept outside, I sealed it with marine-grade varnish. This handles sunlight and moisture really well. Let the stain and varnish dry fully between coats, and lightly sand in between if needed for a smoother finish.
More Backyard DIY Projects You Might Like
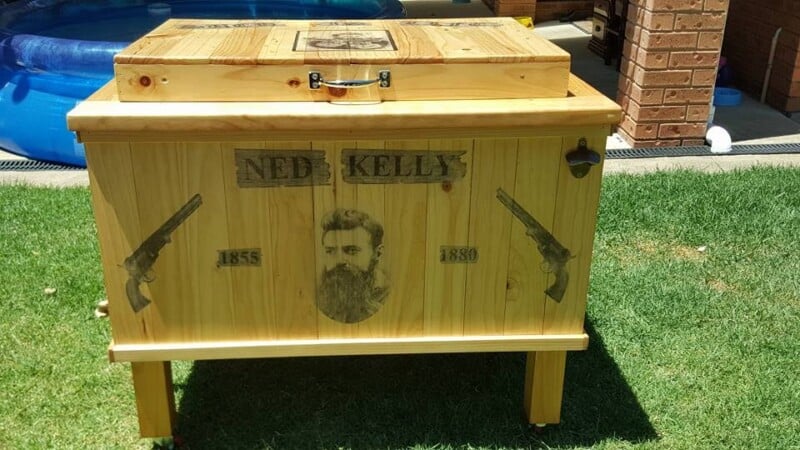
DIY Patio Cooler Box – Great for keeping drinks cold on hot days
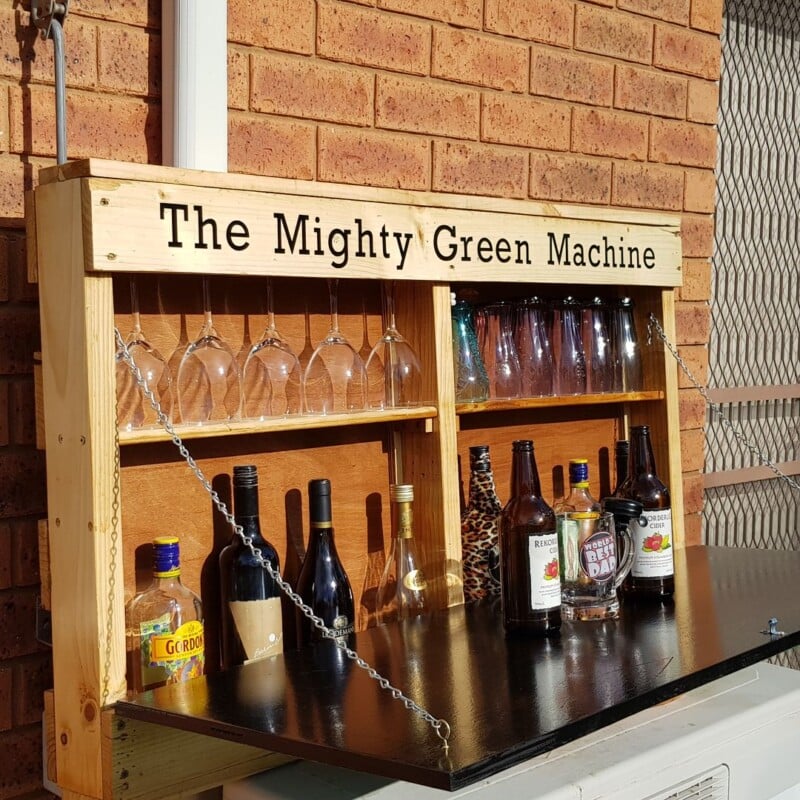
Wall-Mounted Bar – Perfect for small outdoor spaces.

If you’d like to find any of the items used in this project, we’d greatly appreciate it if you used our affiliate links. These links provide us with a small commission at no extra cost to you, allowing us to continue creating and sharing more inspiring projects. We’d also love to hear your thoughts—feel free to leave a comment or share this post!


3 Comments
Michelle Leslie
August 31, 2020 at 9:56 pmLOL Anita, we have the exact same problem when it comes to our darts. Maybe it’s a South Africa thing 😉 Love your idea to keep them all in one spot, plus the tips won’t get damaged either
Anita Holland
September 1, 2020 at 12:41 amThank you, Michelle, It must be a South African thing we are to busy having a Braai and a wine to put them away properly.
Anita Holland
September 2, 2020 at 8:14 amThank you.