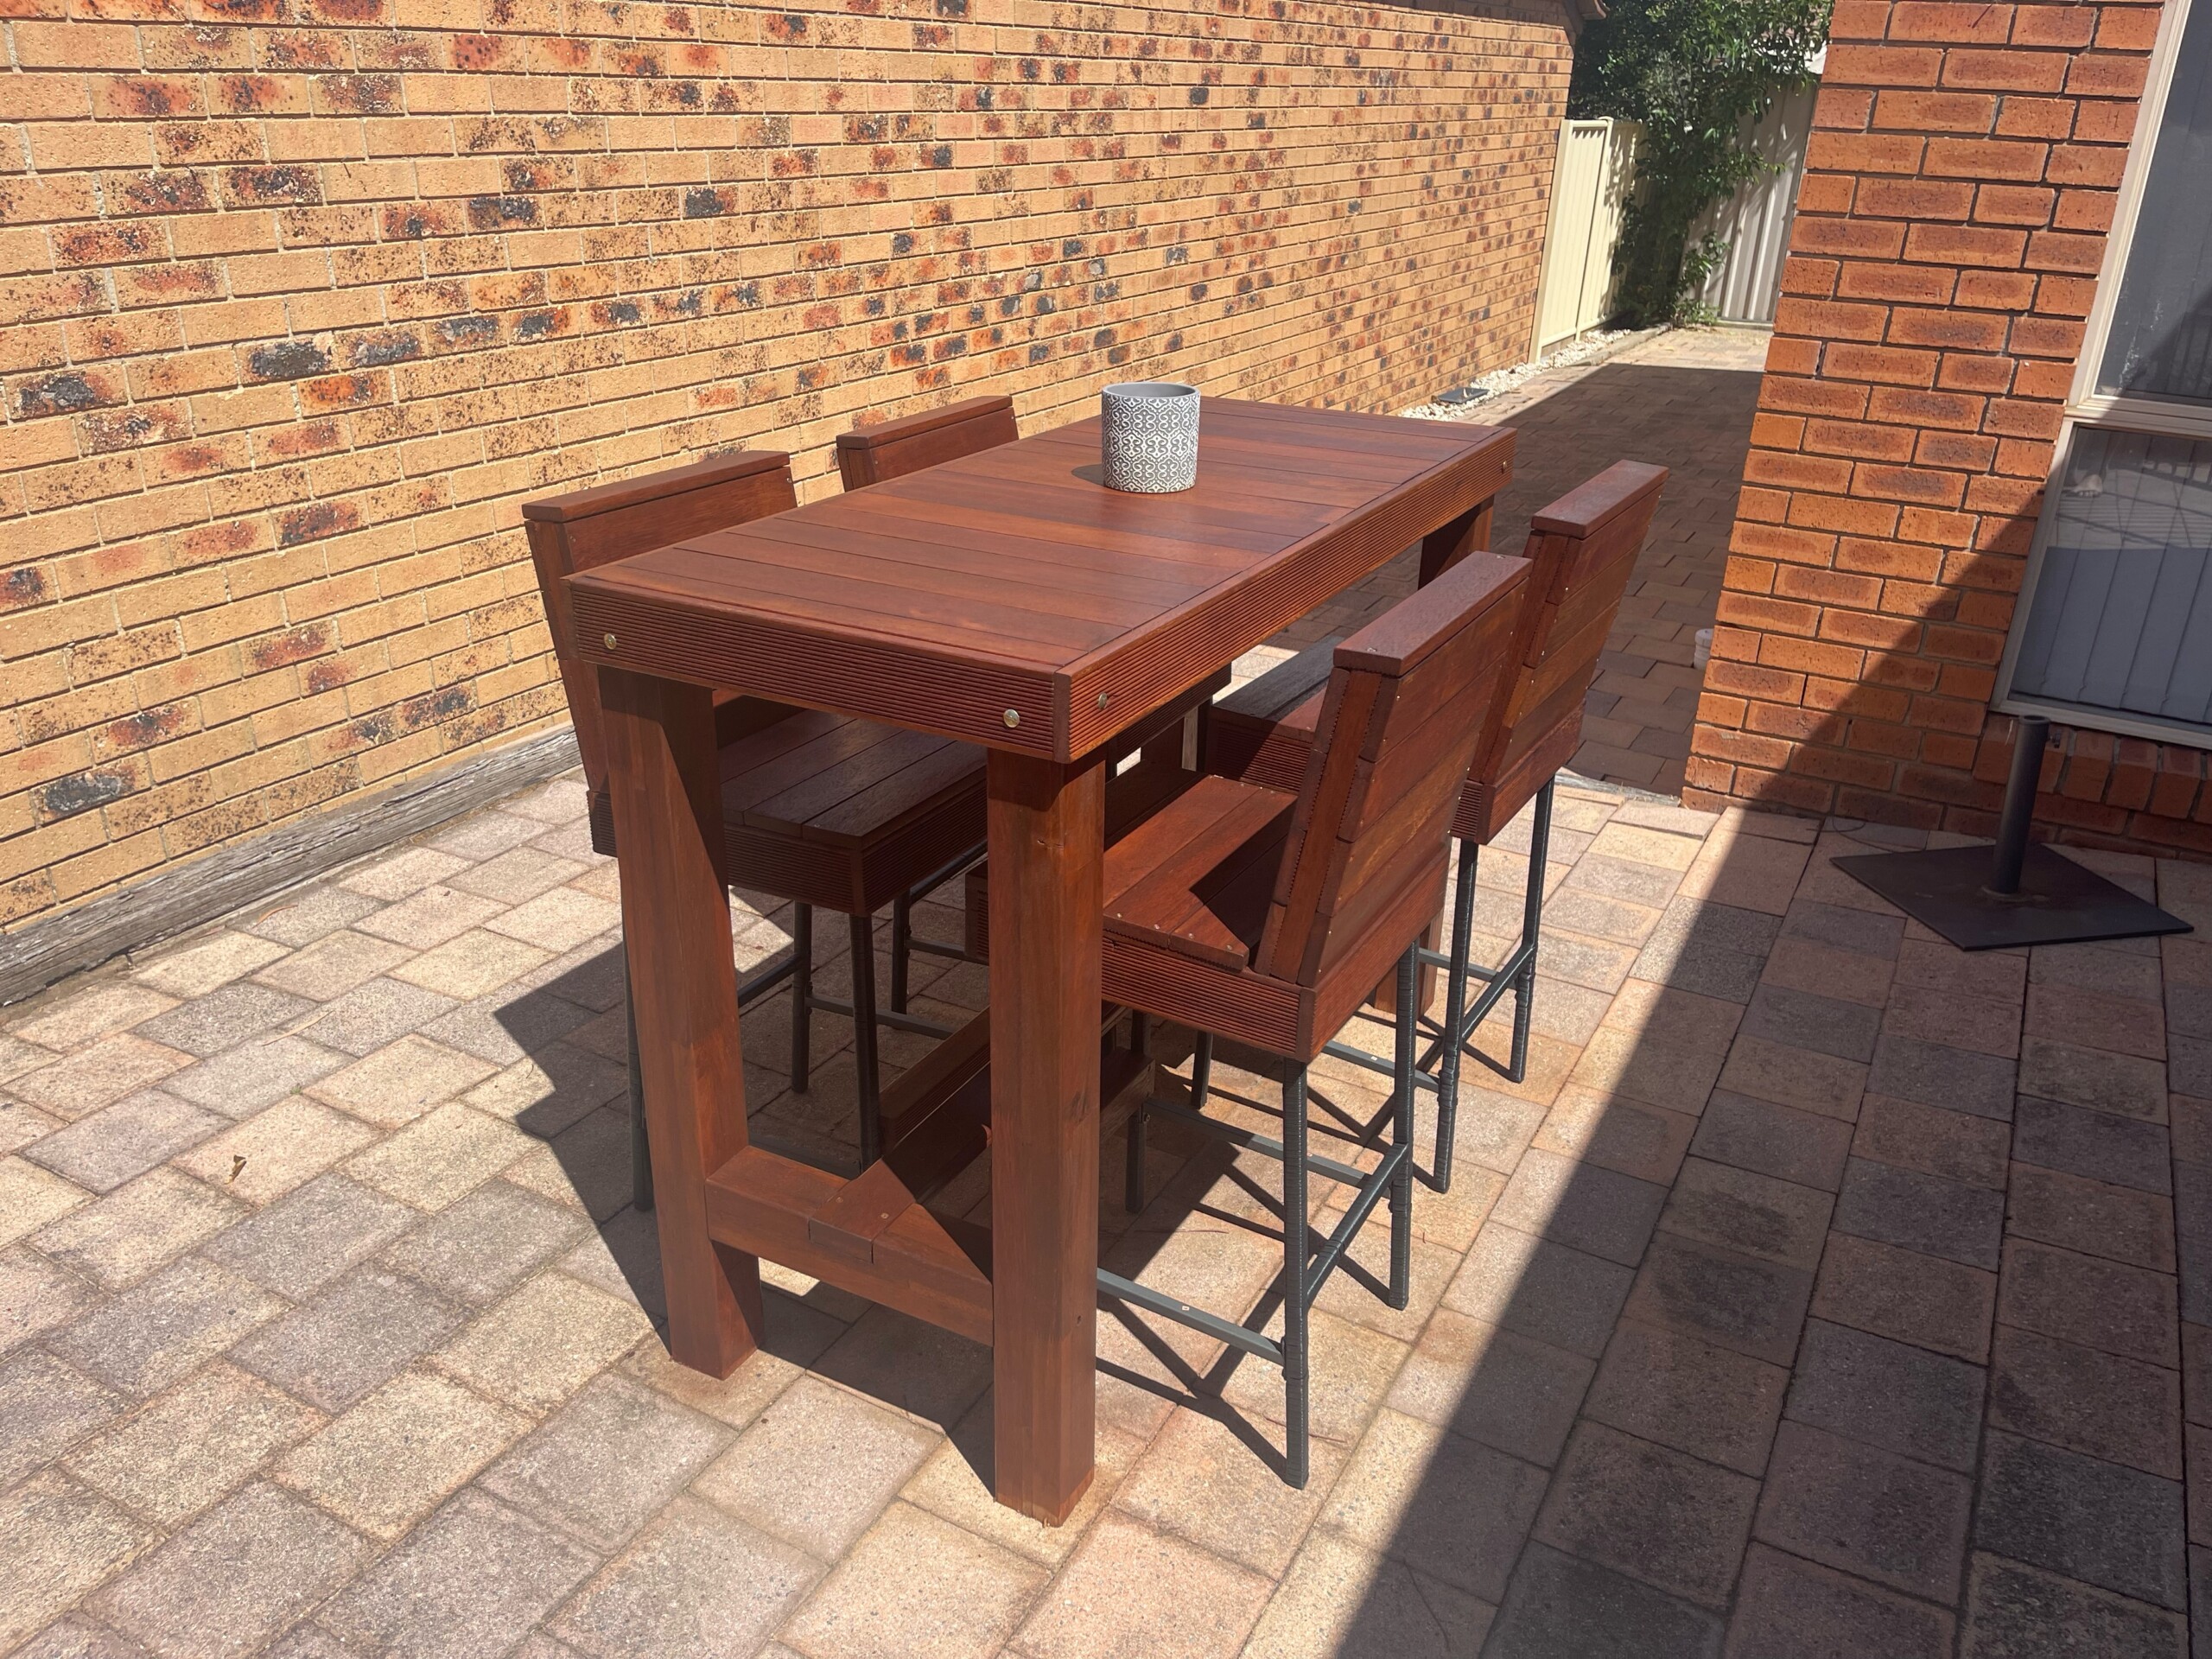
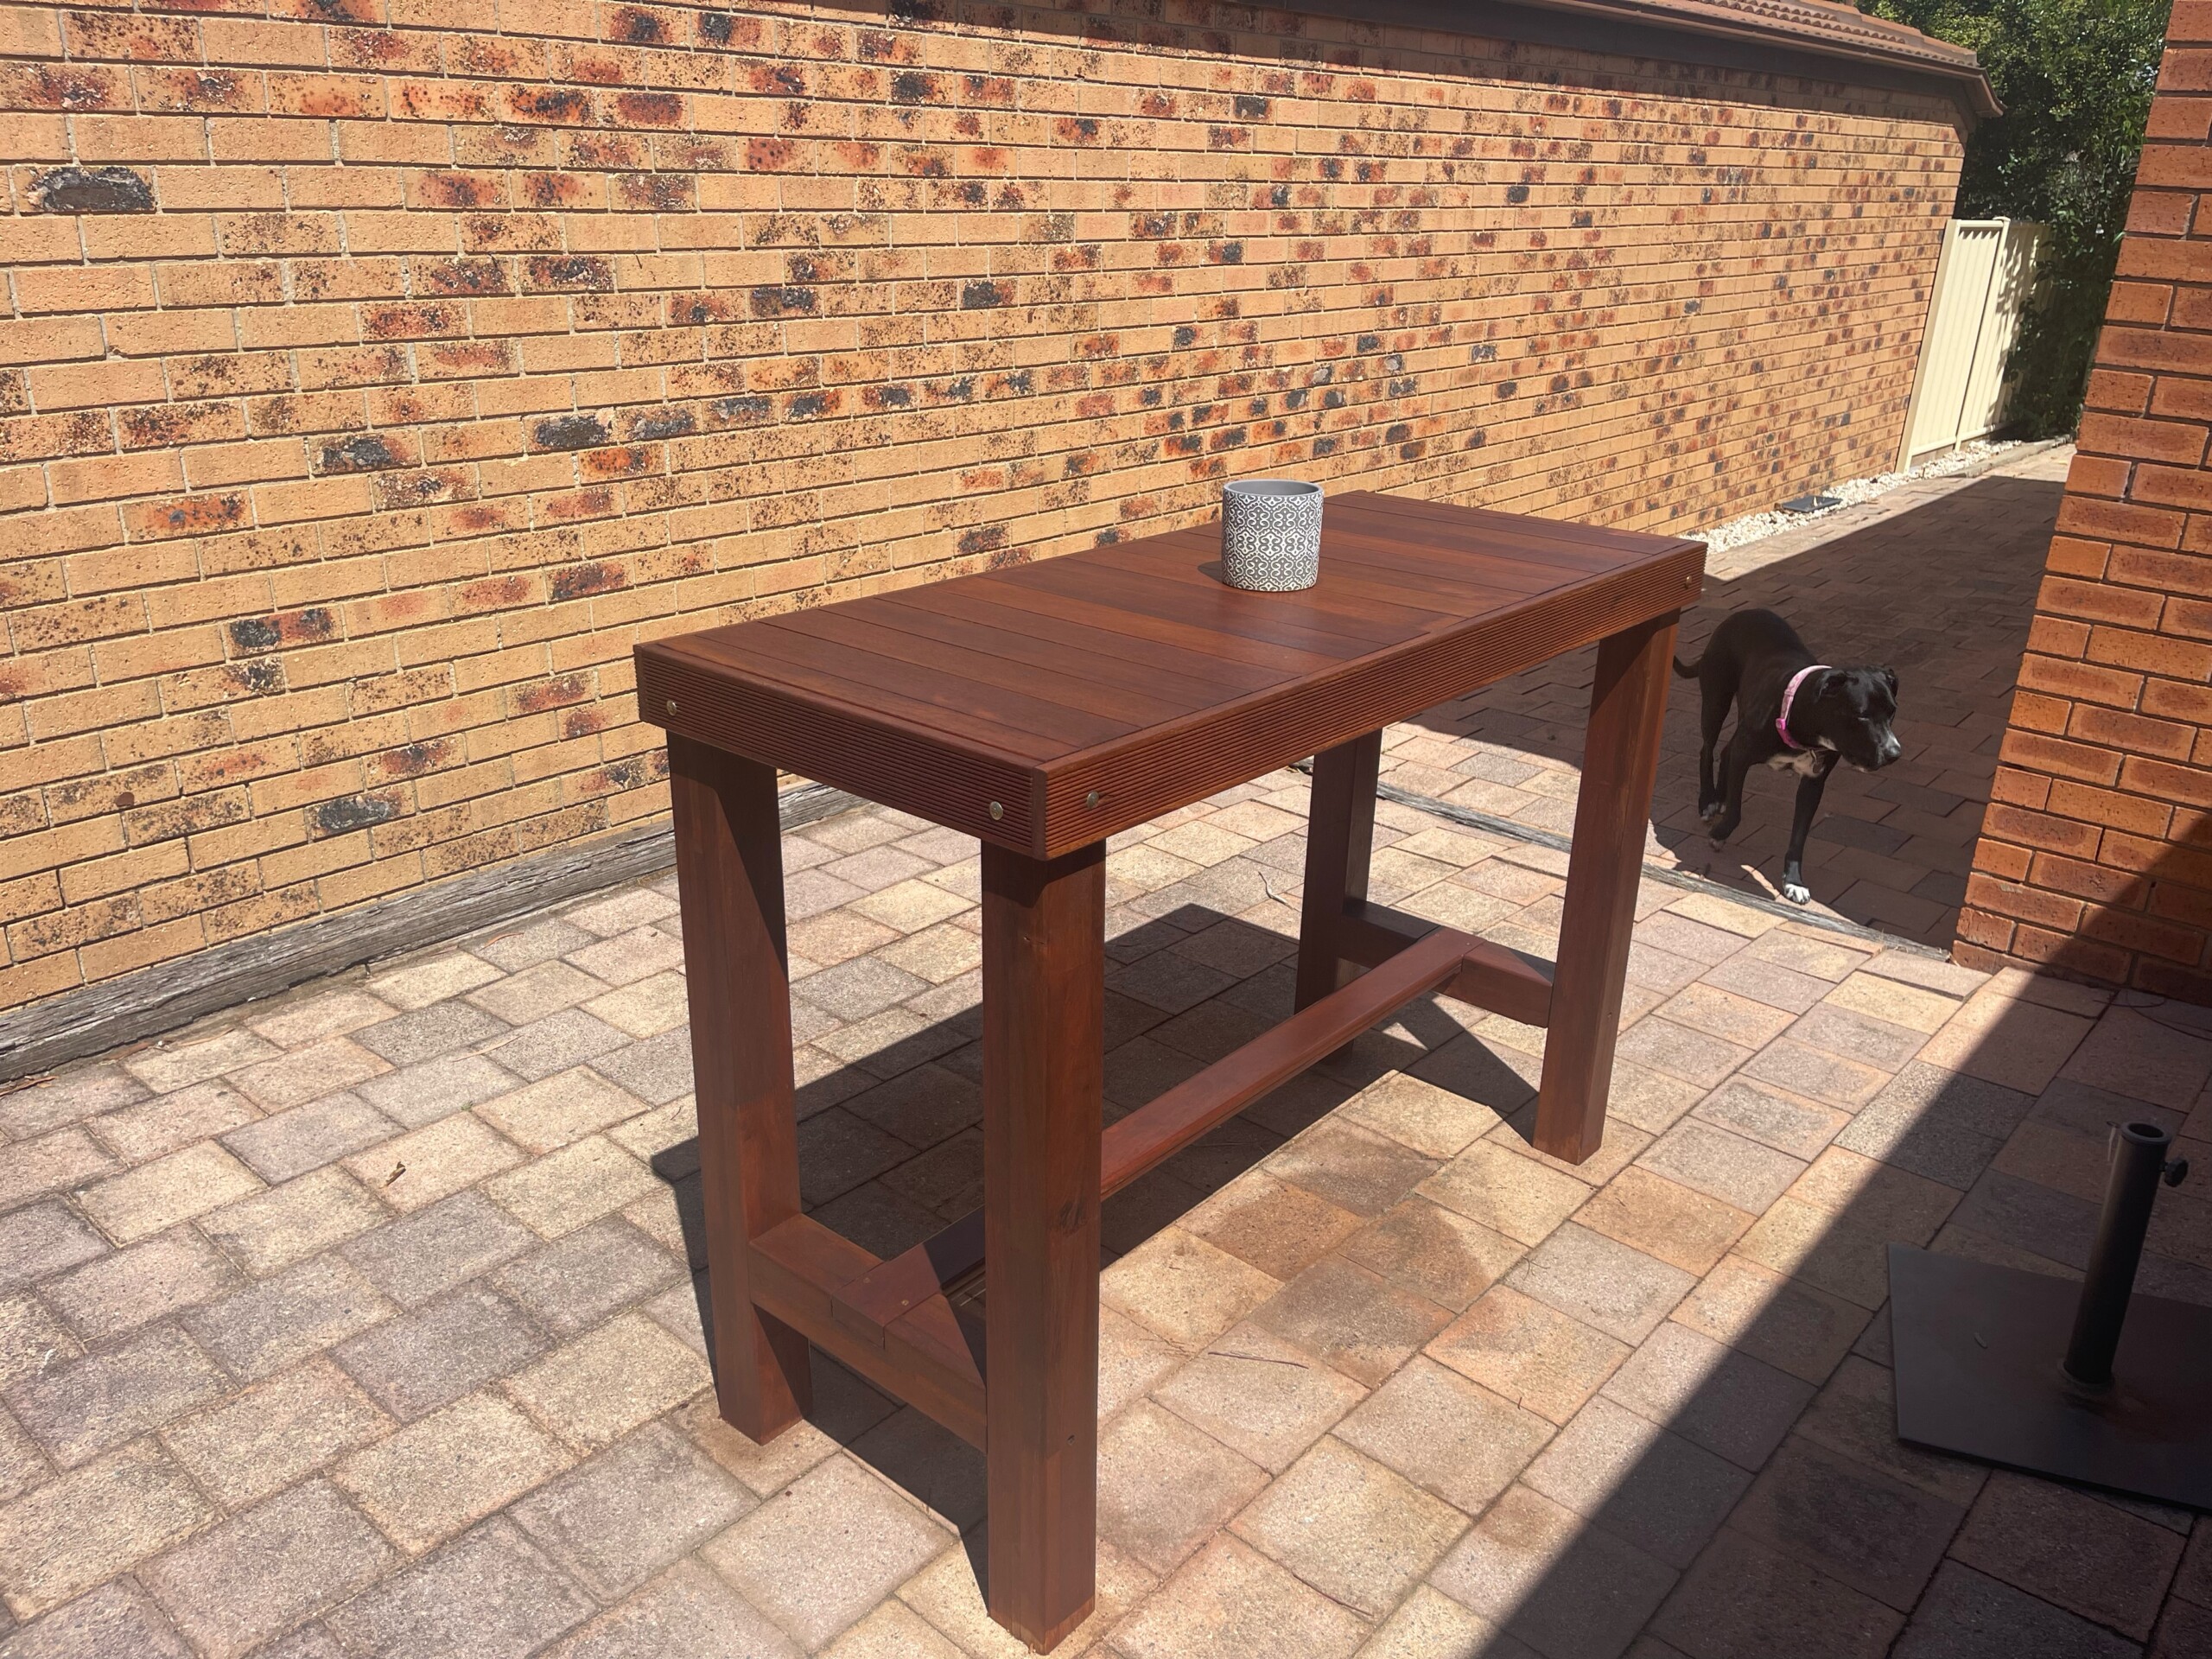
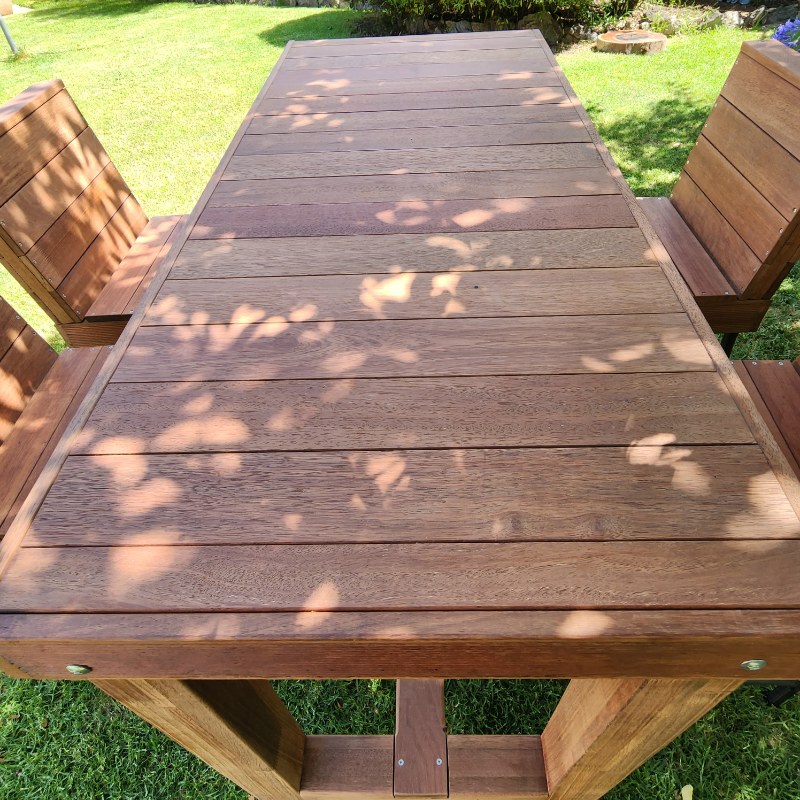
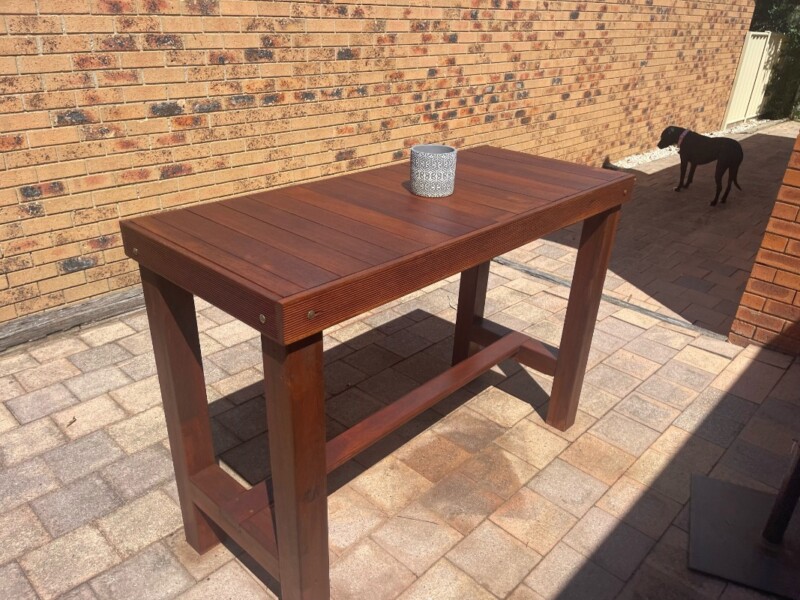
When my son (193 cm/6’4”) asked for a taller table, I designed this Standing-Height Outdoor Bar Table from Decking Timber to suit how he entertains. He prefers to stand and lean while chatting, not perch on stools. I built the table higher for comfort and better posture, with a footrest for long conversations. Leftover decking boards and fence posts kept costs low and reduced waste. We skipped a flimsy $3,000 store-bought leaner and built something solid, custom, and made to last.
Before we dive into this tutorial, be sure to subscribe to my bimonthly newsletter to be the first to see my latest projects. You can also follow me on Pinterest and Facebook, where I also include my unique mixed-media art projects
Standing-Height Outdoor Bar Table from Decking Timber
*This post may contain affiliate links. This means I earn a small commission on links used at no extra cost to you. Please see my disclosure policy for more information.**
Materials Needed
- Timber (decking & posts)
- Legs: 4 × 110 cm (90 × 90 mm)
- Long frame rails: 2 × 150 cm (90 × 20 mm)
- Short frame rails: 2 × 60 cm (90 × 20 mm)
- Top boards: 16 × 60 cm (90 × 20 mm)
- Leg support blocks: 2 × 38 cm (90 × 90 mm)
- Footrest: 2 decking boards laminated to ~40 mm thick, length 150 cm
- Hardware & consumables
- Exterior-grade screws (galvanised or stainless)
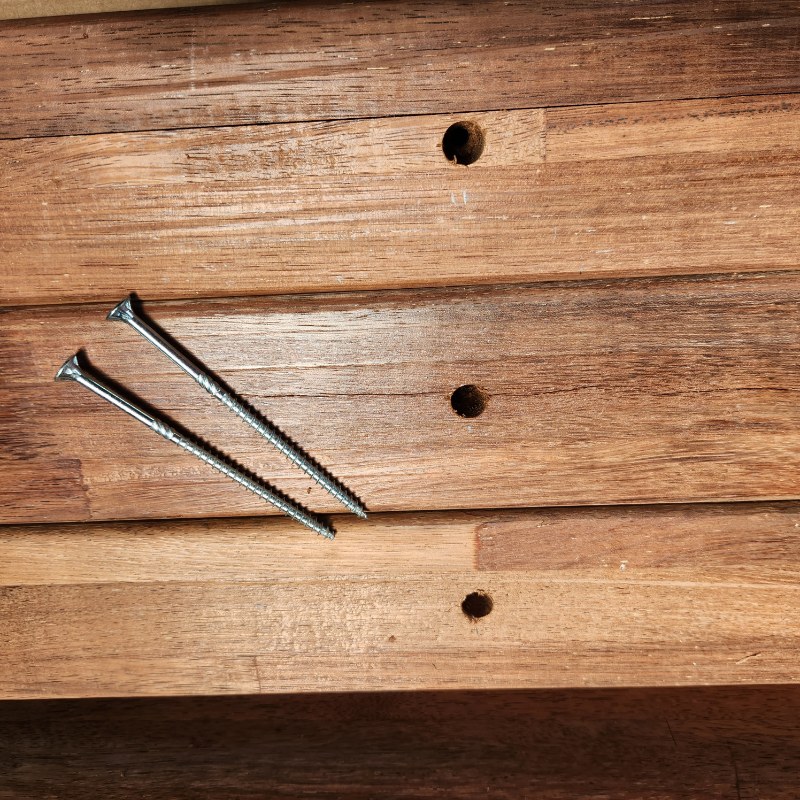
- 8 × coach bolts with washers & nuts (for leg-to-frame connections)
- Exterior wood glue
- Timber oil or exterior finish
- Tools
- Mitre saw (or hand saw with mitre box), circular saw
- Pocket-hole jig (Kreg), pocket-hole screws
- Spade bits, drill/driver, punch, hammer
- Chisels
- Router with round-over bit
- Orbital sander with 120-grit discs
- Clamps and ratchet straps
- Square, tape measure, pencil, PPE
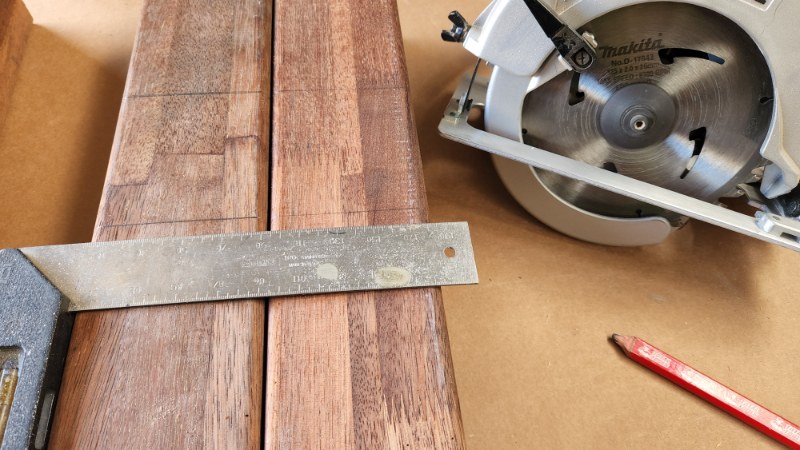
Cut and Prep the wood
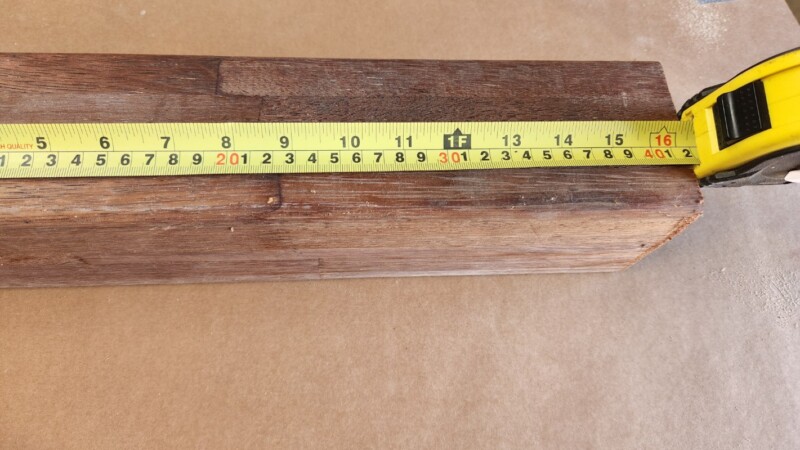
I milled all pieces to the cut list above.
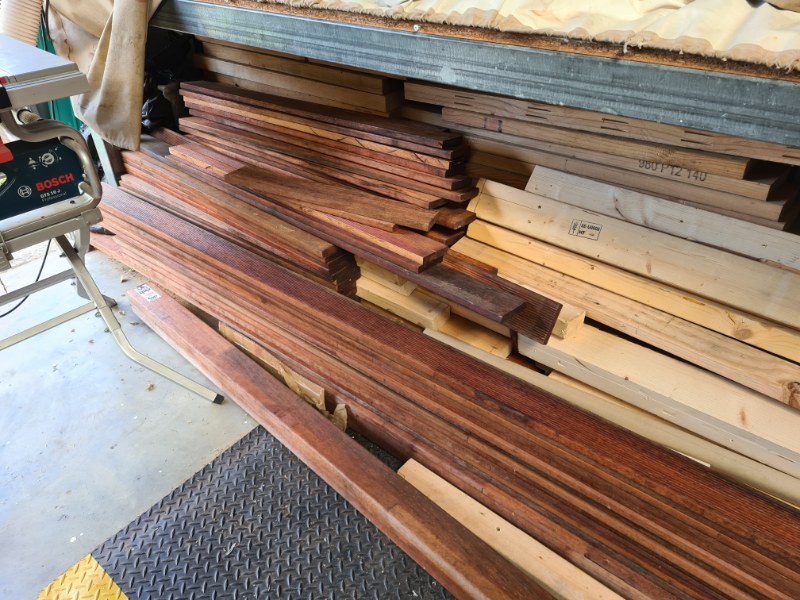
The leg stock came as a single 4.8 m post—too heavy for the mitre saw—so I rough-cut by hand in a mitre box, then squared and trimmed to final length on the mitre saw.
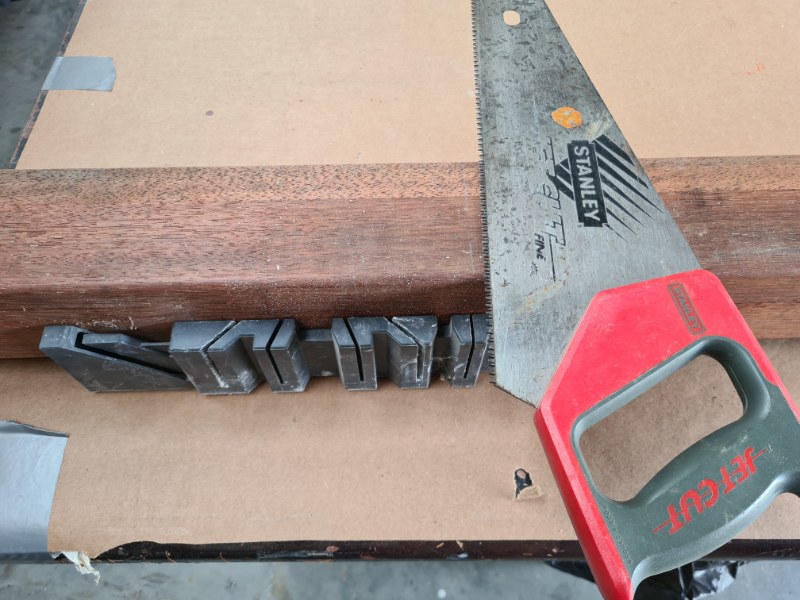
Old mitre boxes get sloppy as the saw wears the slots wider.
Cut your piece a little long, then square the end and trim it to the exact length.

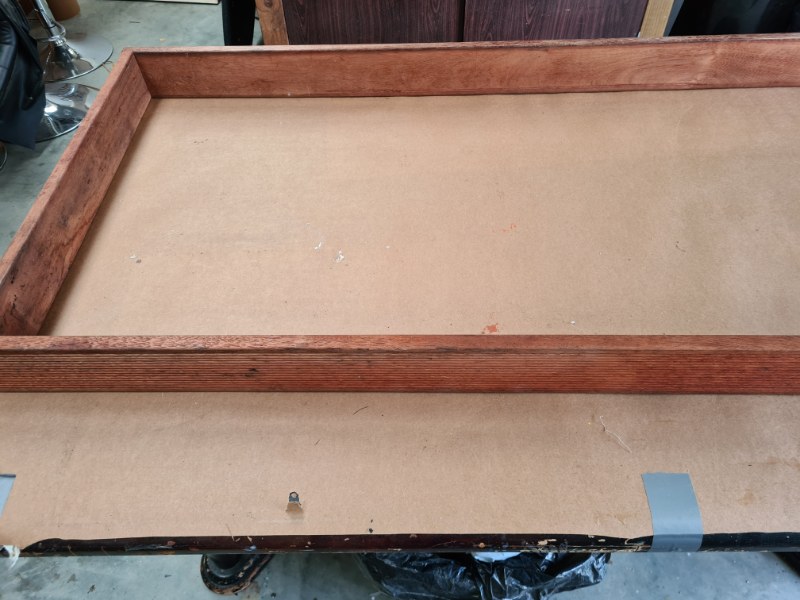
Building the bar table frame
I built the table frame using pocket holes.
Drill two pocket holes at each end of the long rails and short rails. I faced the ridged side of the decking outward on the frame for a simple decorative detail. Add exterior glue at joints and drive pocket-hole screws. I’ll bolt the frame to the legs all the way through for extra strength.

Adding the tabletop
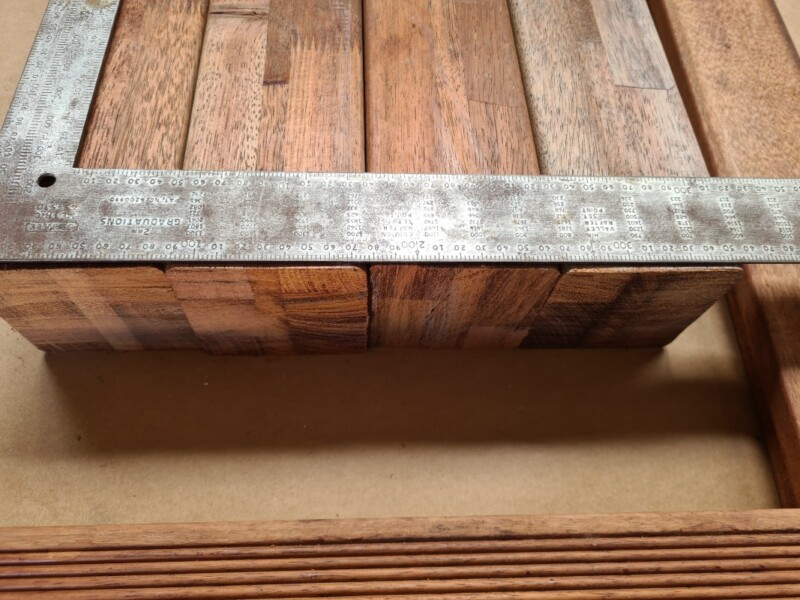
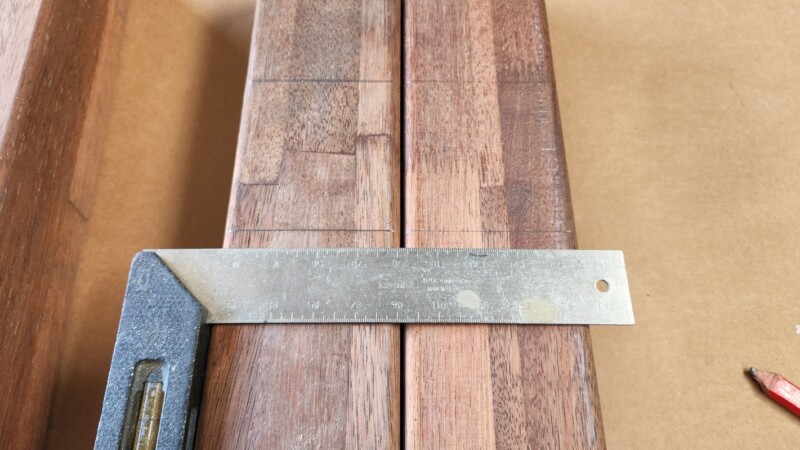
Before fixing the boards to the top, I did a dry fit to make sure everything lined up. I had to trim one board to fill the last gap. For a balanced look, place the odd-sized board in the centre.
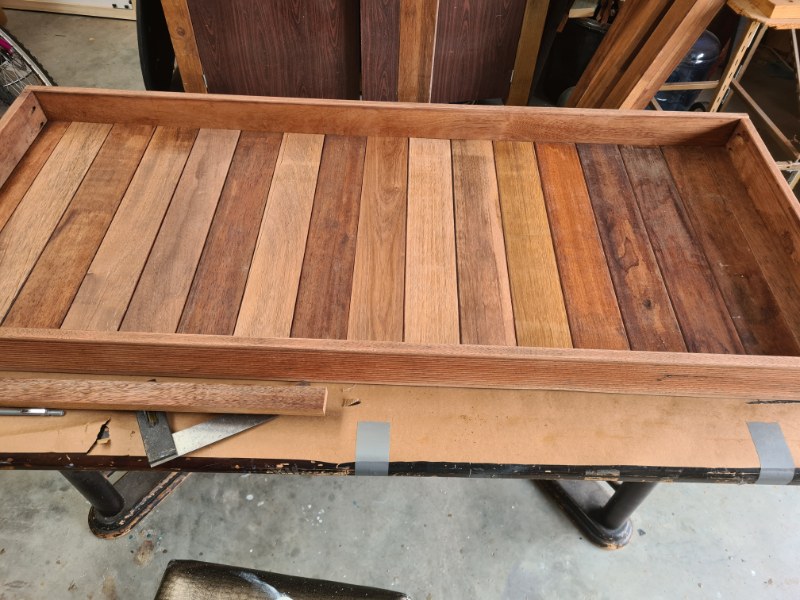
Once I was happy with the fit, I used the Kreg pocket-hole jig again and drilled two holes at each end of the tabletop boards. I flipped the boards so the ridges faced down. I don’t have the Kreg clamp, so I used regular clamps to stop the boards shifting while I drove the screws. Brush on wood glue, clamp the boards in place, then screw them to the frame.
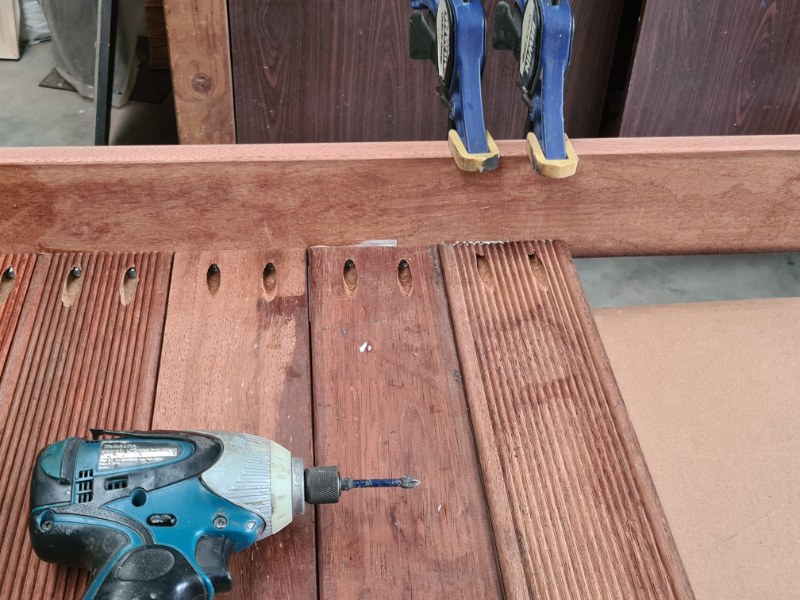
A few years ago, I built a trough party table with heavy legs. That taught me to add support under the top. It stops the boards moving over time. For this build, I drove one screw up into each board.
Adding the table legs
Before drilling the legs, make sure they’re dead straight. Use a square to line them up, then clamp them in place.
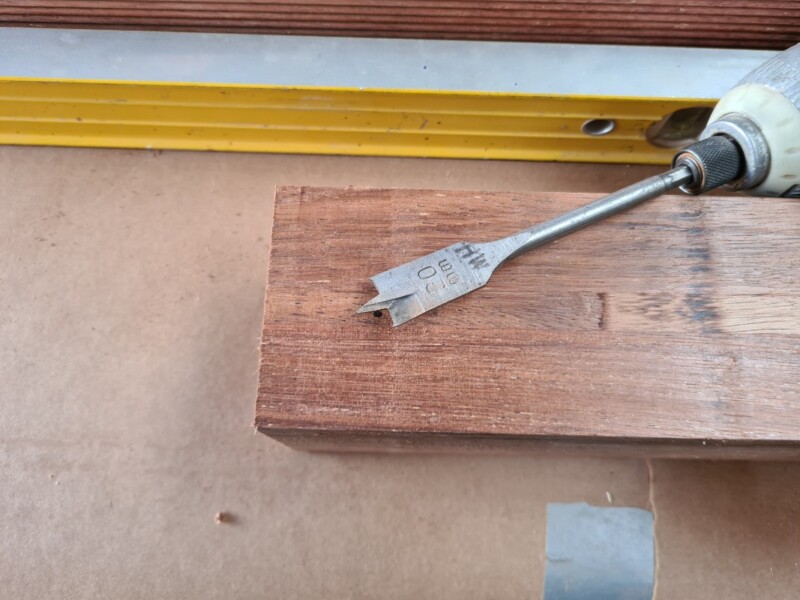
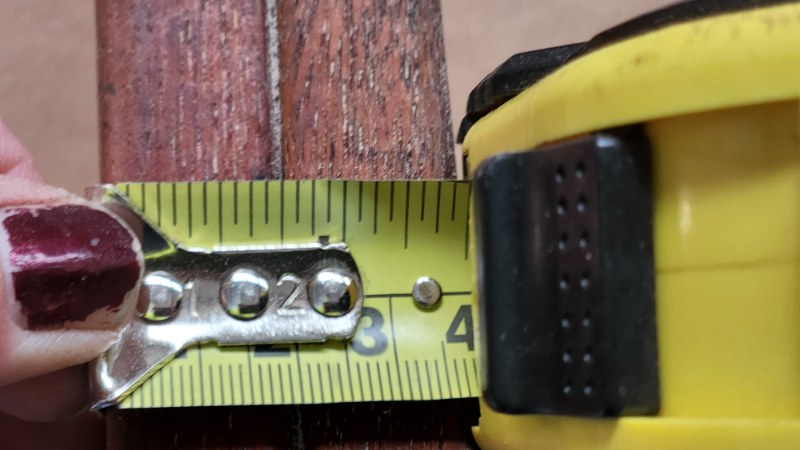
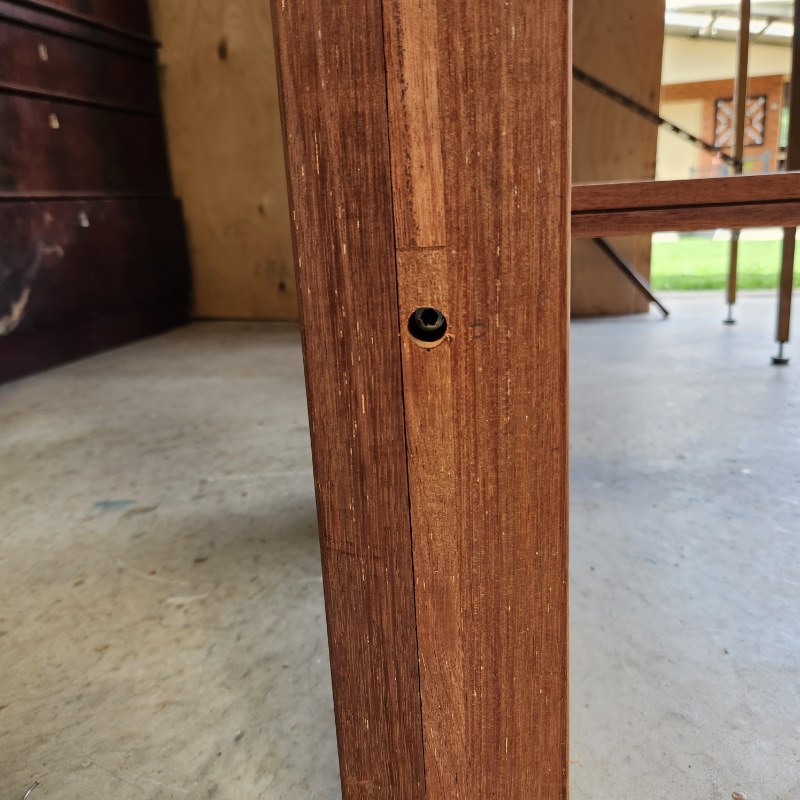
Add two bolts on each side to lock the legs to the frame. Mark their positions so the bolts don’t overlap. Use a spade bit to drill a shallow recess for the bolt head, then drill the bolt hole.
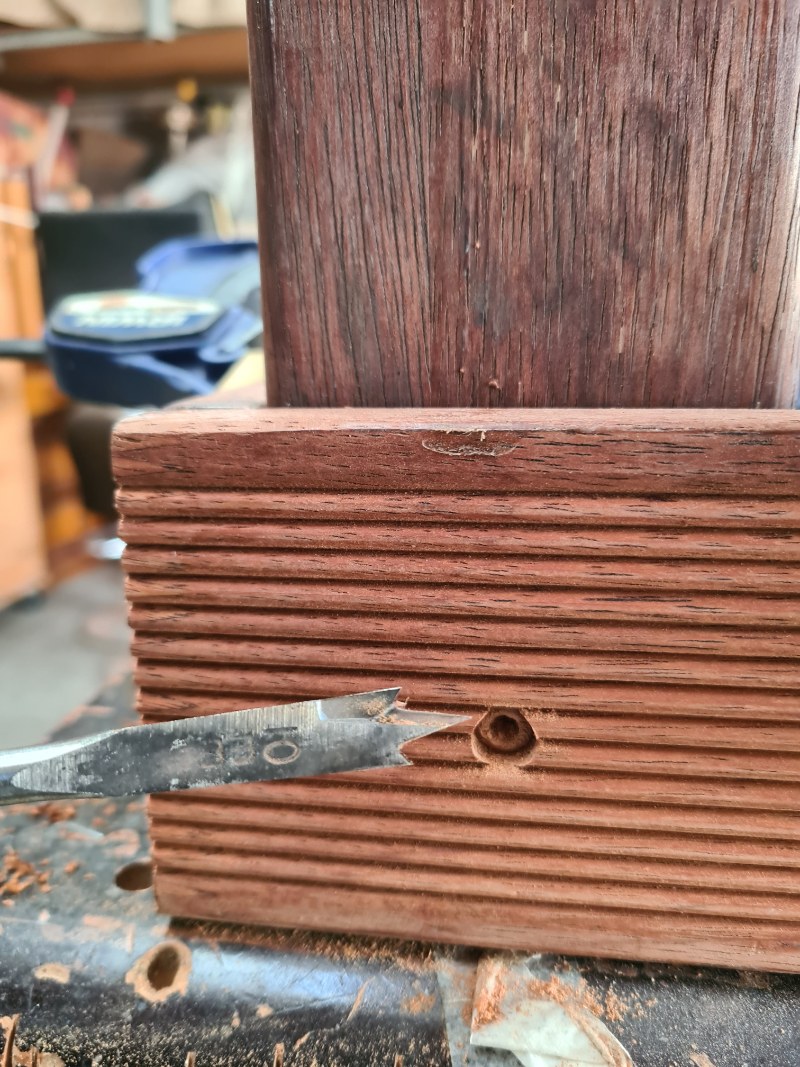
Next, I marked the bolt holes with a punch and hammer, then drilled them with a larger spade bit.
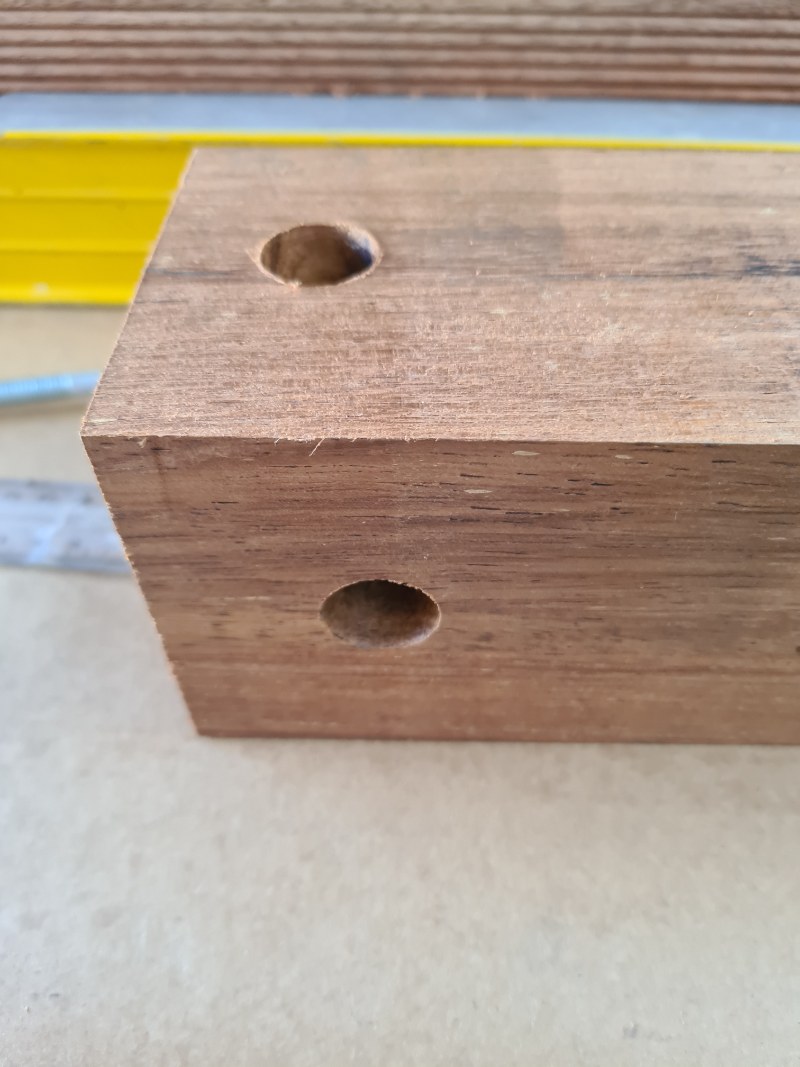
As shown below, the holes are drilled one above the other so the bolts don’t cross.
You can now add the bolt and tighten the nut. Repeat this step for all the legs. I’ll be honest—this table weighs a tonne. I knew it would be heavy, just not this heavy.

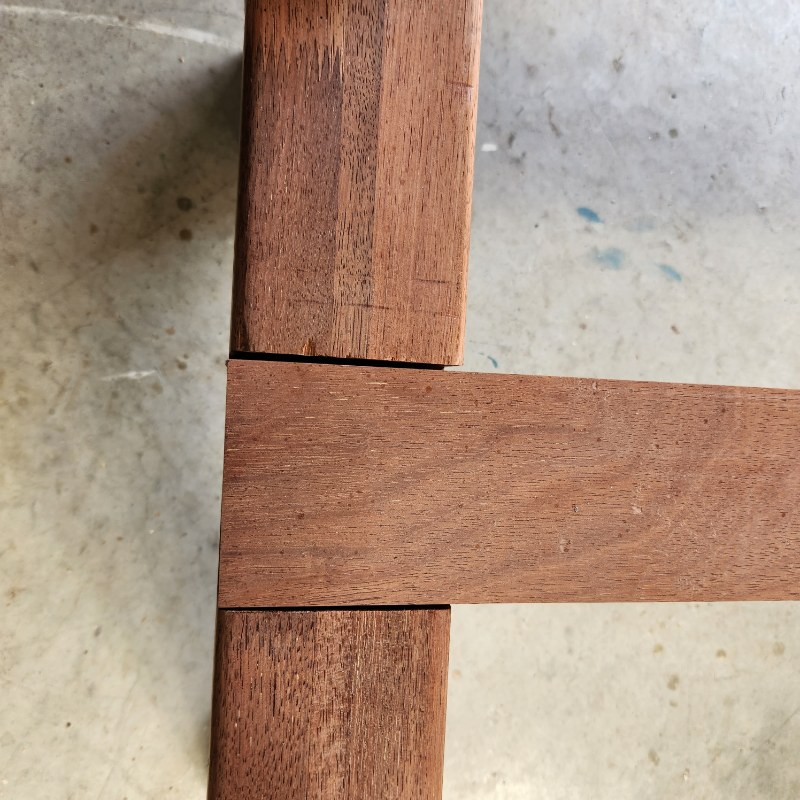
Measuring the table leg supports
There are two ways to fit the leg supports: fix them at the bottom, or set them higher between the legs. I chose the higher position so it doubles as a footrest. We find it more comfortable to stand with one foot up.
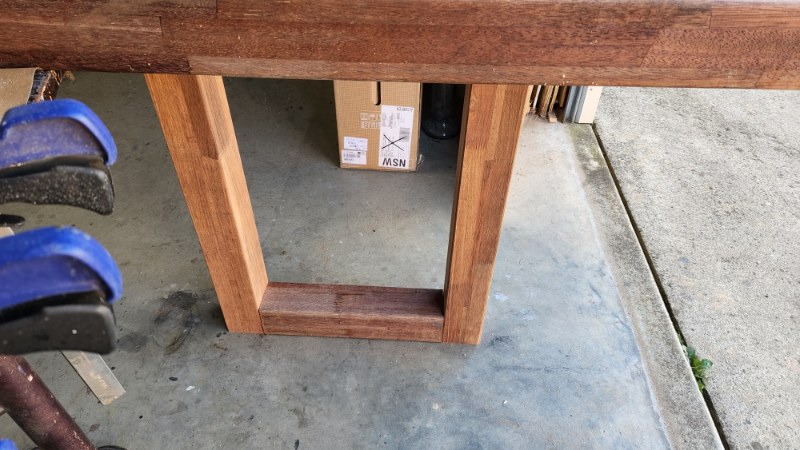
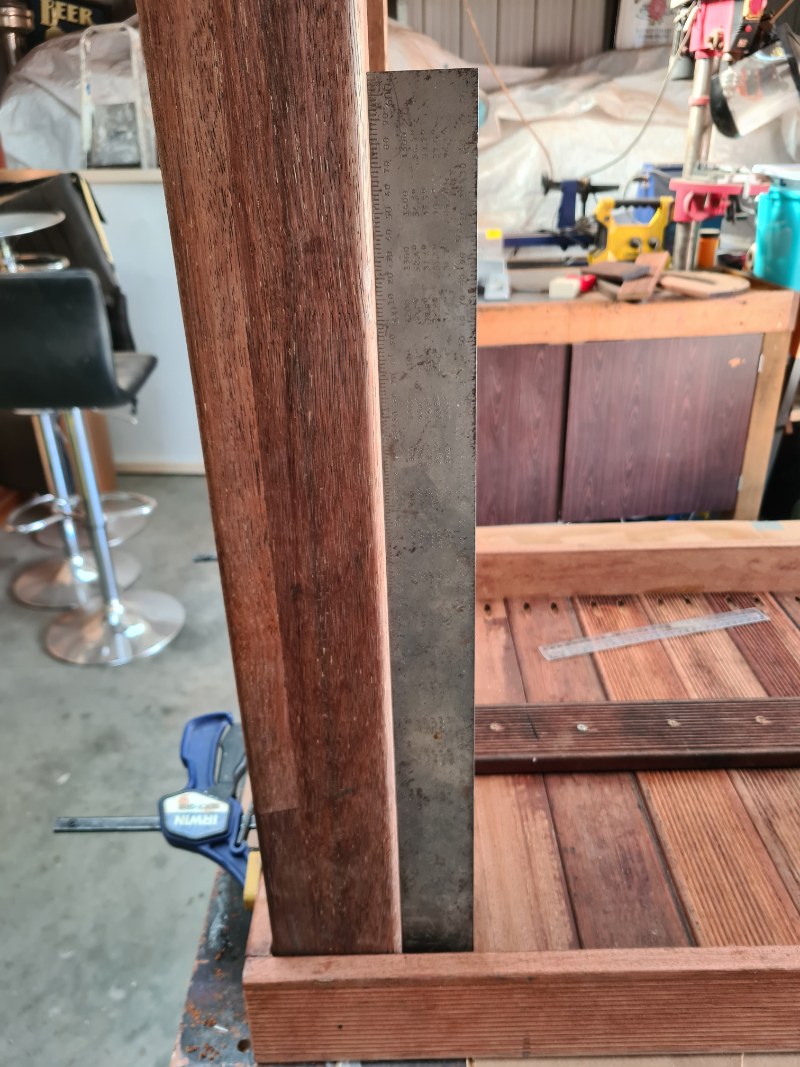
Set the support beam at a height that suits you. I placed mine so there’s 42 cm from the top of the support to the bottom of the leg.
I’m 5′7″, and sitting at this bar table wasn’t comfortable—my legs hung down. I added a footrest that also works as a leg support.
Making the table footrest
I didn’t have timber thick enough for a footrest, so I glued two decking boards together. The finished piece is 4 cm thick. And yes—the nail polish is shocking; these are worker’s hands, lol.
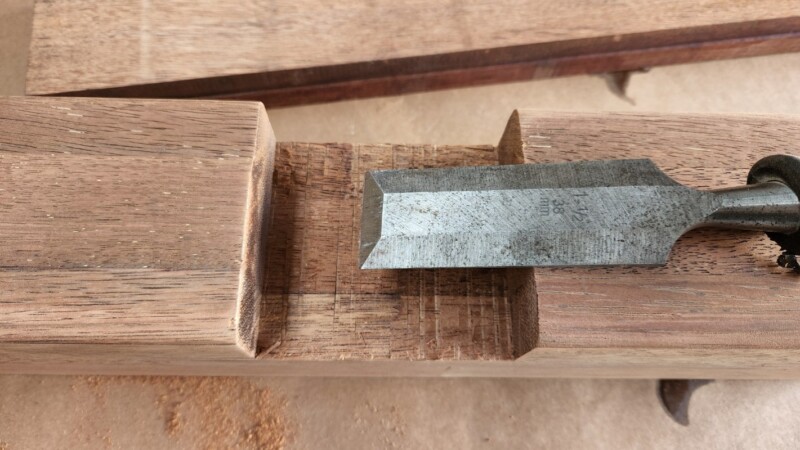
Next, I marked the width of the leg supports and cut that section out so the footrest could slot in. I made one mistake—using the footrest as a ruler and not allowing for the saw blade (kerf), which left a small gap. For a snug fit, use a tape measure and allow for the blade thickness.
You can chisel it out, but a circular saw is quicker and cleaner. Make sure your first cut keeps the blade on the inside of the mark.
Set your saw to 40 mm and make a series of shallow cuts to the marked depth.
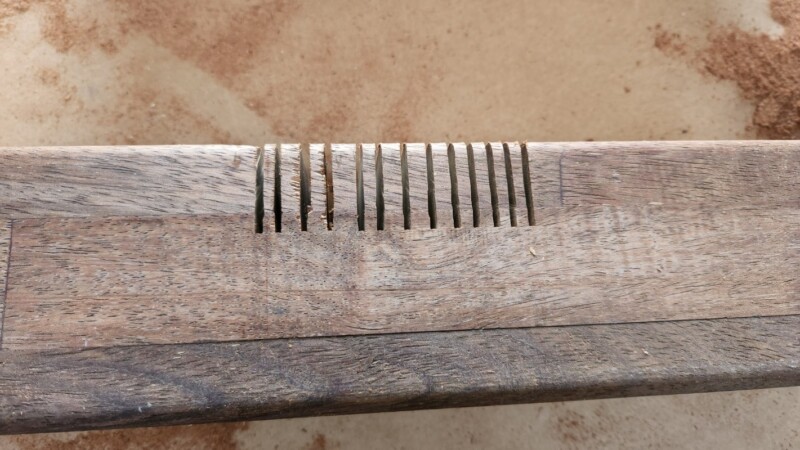
Take a chisel and lever the cut pieces; the inner sections will break away.

I used a hammer and chisel to clean up the inside of the cutout.
Attaching the bar table legs
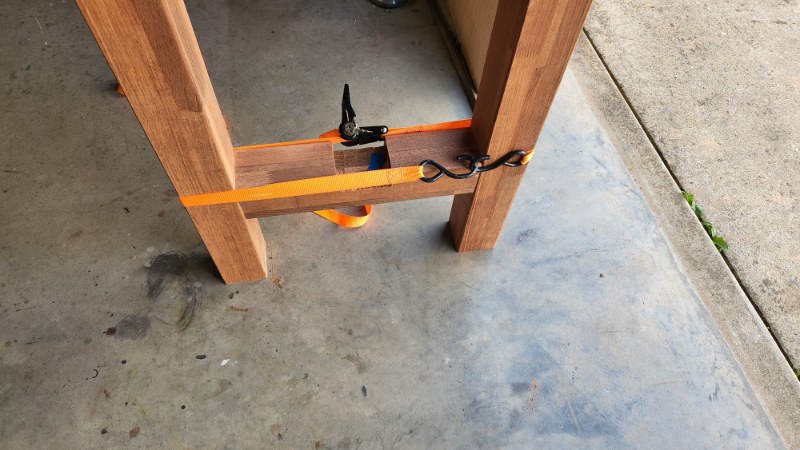
Working alone, I struggled to hold the leg supports while measuring and securing them. They were heavy and awkward. I solved it with ratchet straps, tying the legs and supports in place so I could measure, drill, and screw easily.
drilled a shallow recess with a small spade bit, then drilled a pilot hole one size smaller than the screw.
For extra strength, I glued and screwed the supports in place. I left the ratchet straps on overnight while the glue dried.
Adding the bar table footrest
The image below shows what happens when you don’t allow for the saw blade width—the slot wasn’t snug. No drama; I fixed it by adding screws to hold the footrest.
Sanding the outdoor bar table
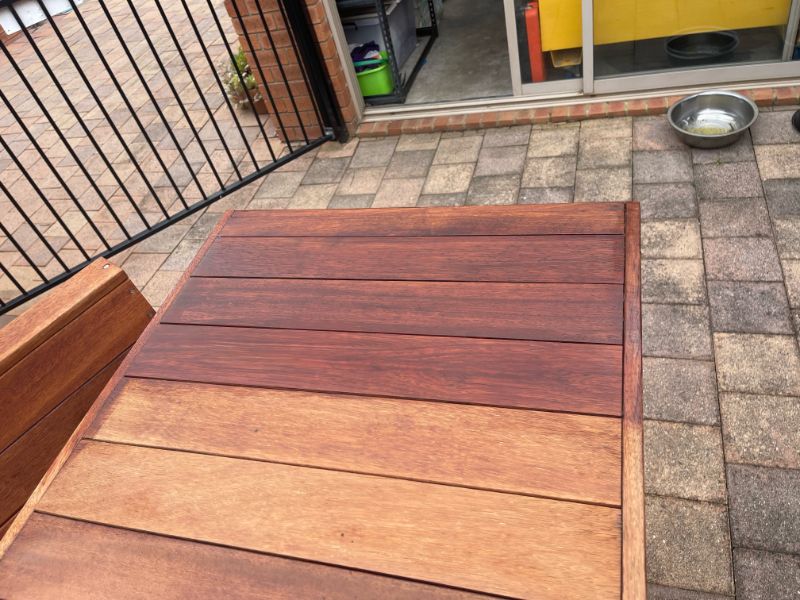
To finish the table, I sanded the top with 120-grit on an orbital sander to remove the watermarks from sitting in the rain. When I tested the table, the square edge on the footrest wasn’t comfortable. I fixed it by rounding the edge with a router and a round-over bit.
Adding oil to preserve the bar table
To finish, I applied timber oil to seal and weatherproof the wood.
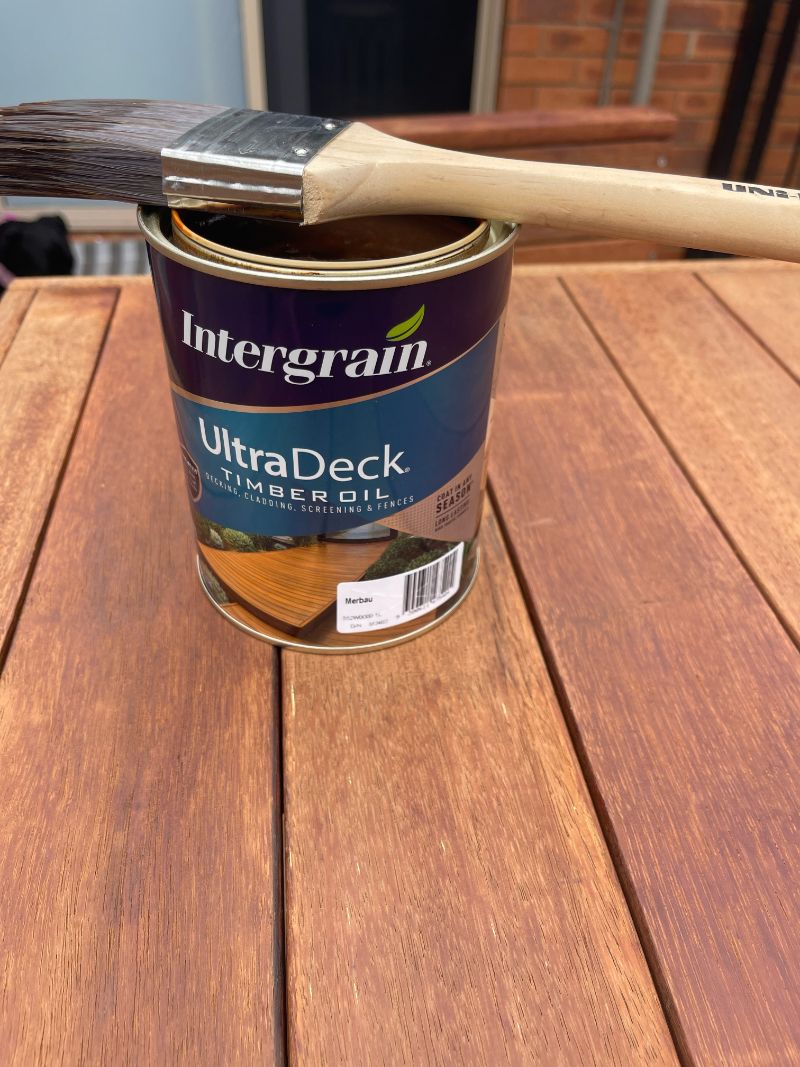
You can see from this image the difference the oil makes to the colour of the timber.
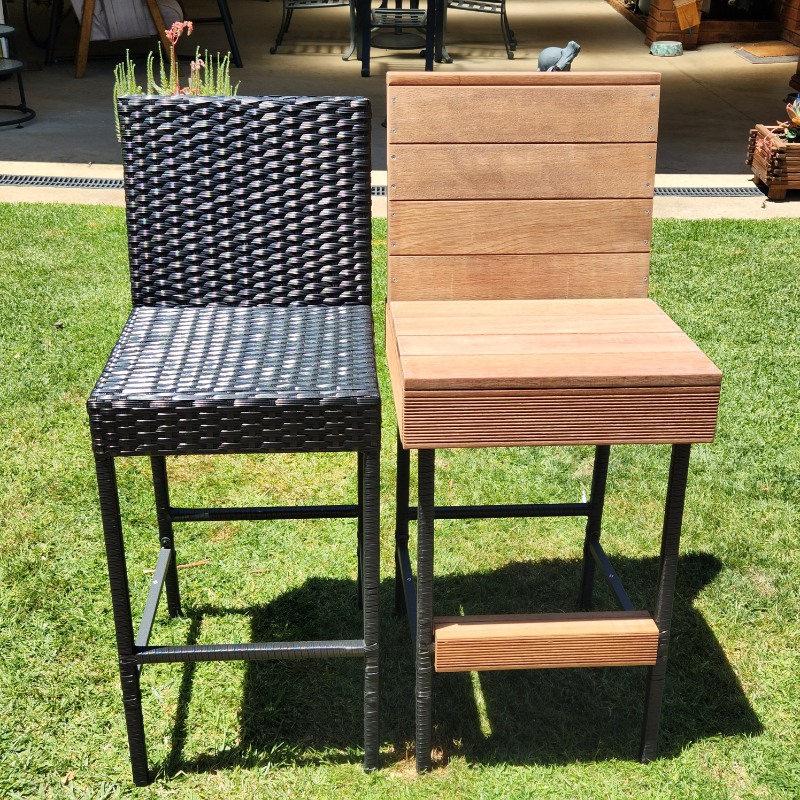
With the table done, I didn’t have enough wood to make matching chairs, so I bought them.
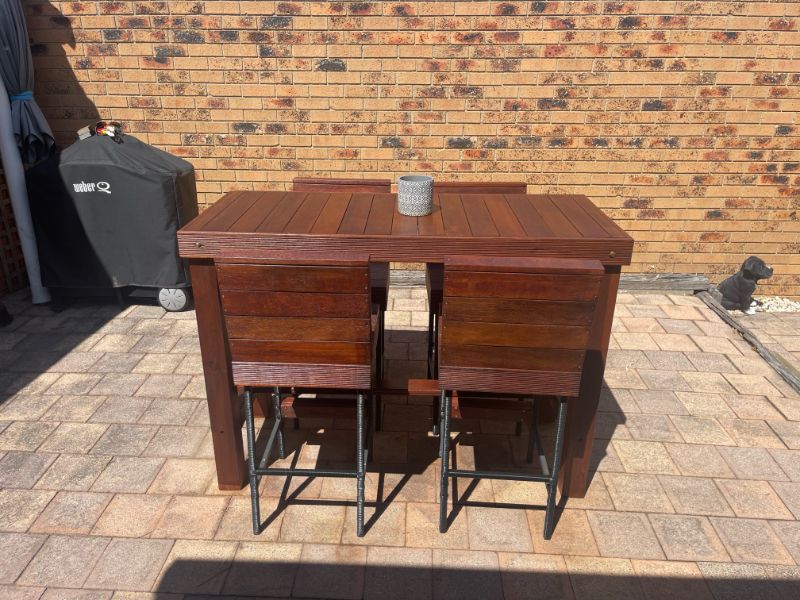
When the chairs arrived, I absolutely hated them. I’d spent $400, so I used them anyway. See how I made removable wooden covers to match the bar table.
Outdoor entertaining DIY ideas
A recycled freezer makes a brilliant patio cooler: add ice, stock your drinks, and they’ll stay cold for hours.
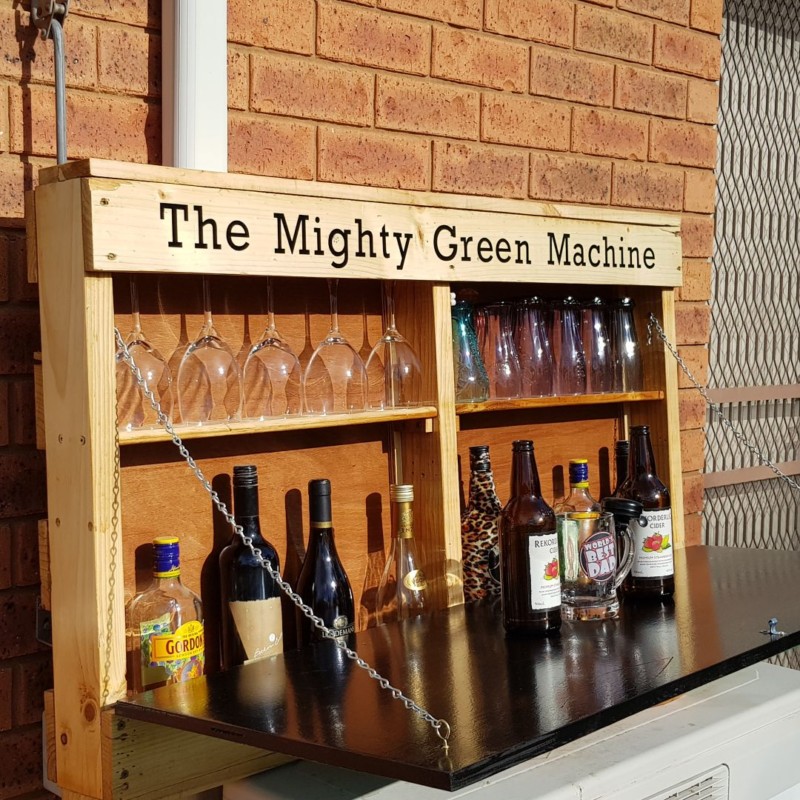
This wall-mounted bar is made from a recycled pallet and has a handy drop-down counter. It’s great for outdoor entertaining.


If you’re interested in any of the items used in this project, we’d appreciate it if you used our affiliate links. Clicking these links earns us a small commission at no extra cost to you, helping us create more inspiring and exciting projects to share. We’d also love to hear your thoughts—feel free to leave a comment or share this post!


3 Comments
Sara
May 3, 2023 at 10:01 pmAwesome! Your son must be over the moon with his new table Anita! You thought of everything. I’m surprised you have any nail polish left at all after all that hard work lol. I can’t wait to see how you did those chairs; they look incredible.
Anita Holland
May 6, 2023 at 5:31 pmThanks so much Sara, they loved it. I agree I am surprised I still have nails too. I will post the chair tutorial soon.
Marie B
June 4, 2023 at 1:39 amWow Anita, very impressive! I bet your son was thrilled to bits with his new bar table and proud as heck of his mother’s talent. I love that it’s made with leftover lumber. I’m looking forward to seeing how you modified the chairs.