
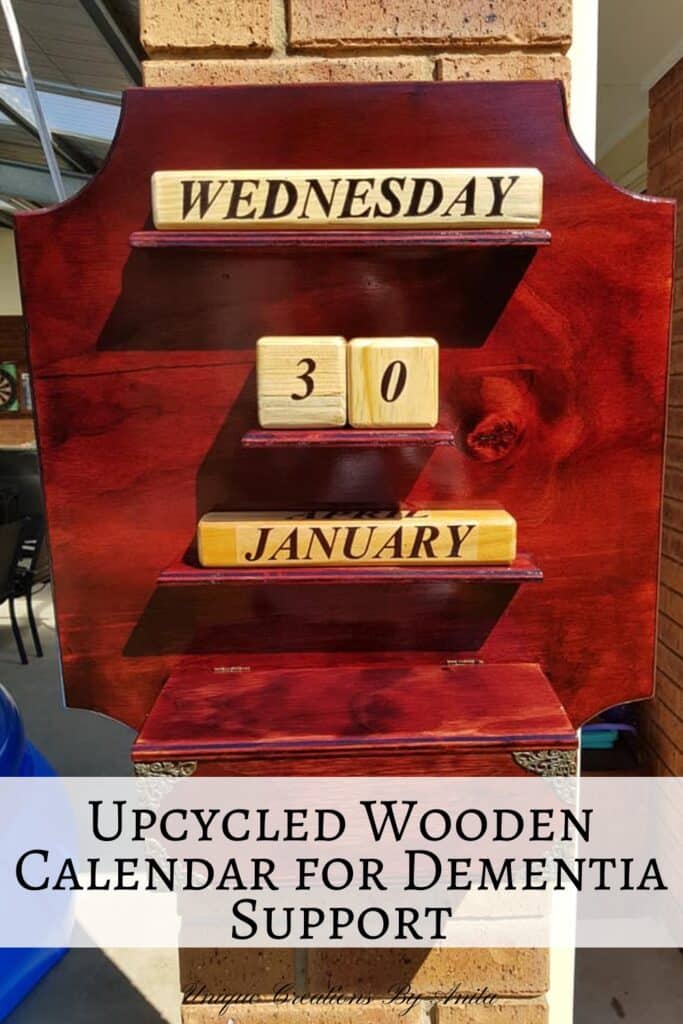
Working in a residential care home for the elderly, one thing I’ve learned is that routines and visual cues are incredibly important. Many of our residents live with dementia or memory loss, while others simply lose track of the day from time to time. We’re often asked, “What day is it today?” more times than you’d expect. I wanted to create something practical yet beautiful—a large perpetual calendar that could be clearly seen from across the room and help residents stay oriented.
It not only adds a comforting visual reference to their day but also makes the space feel more personal and considered. Using only scrap wood and recycled materials, I designed a functional calendar with interchangeable date, day, and month blocks—plus a built-in storage box to keep things tidy. It’s now part of our daily routine and has been a helpful addition to our communal area.

Before we dive into this tutorial, be sure to subscribe to my bimonthly newsletter to be the first to see my latest projects. You can also follow me on Pinterest and Facebook where I also include my unique mixed-media art projects.
How to make a perpetual calendar
**This post may contain affiliate links. This means I earn a small commission on links used at no extra cost to you. Please see my disclosure policy for more information.**
Materials Used
- Scrap plywood or repurposed wood
- Old table legs (for blocks)
- Wood glue
- Nail gun or clamps
- Sandpaper (180 & 240 grit)
- Orbital sander
- Router with round-over bit
- Brass hinges
- Screws
- Dark Mahogany stain
- Clear gloss polyurethane (oil-based)
- Temporary tattoo paper
- Black Sharpie pen
Making the Base
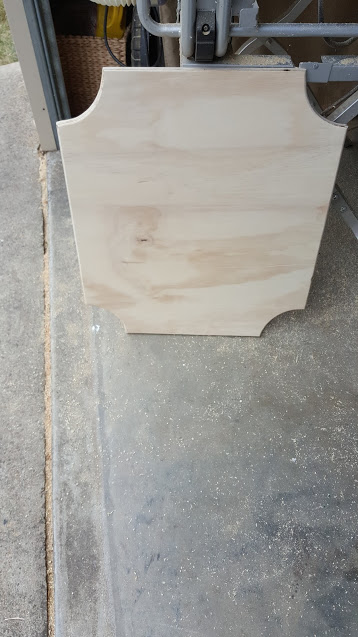
The calendar board was made using salvaged plywood from a building site. It had a few screws and dirt, but was still perfect for this project.

I cut the board to 580 mm x 530 mm x 10 mm. I rounded the corners using a compass and jigsaw.

The board was sanded smooth, starting with 180 grit and finishing with 240 grit. I used a router with a round-over bit to soften the edges.
Building the Storage Box
To store unused calendar blocks, I built an attached box using scrap plywood.
I cut:
- 2 pieces at 320 mm x 120 mm (top & bottom)
- 1 piece at 320 mm x 110 mm (front)
- 2 pieces at 110 mm x 110 mm (sides)

The pieces were glued and nailed together. If you don’t have a nail gun, wood clamps will do the job.

Attaching the Storage Box
Originally, I tried screwing the box directly to the calendar board. Bad idea! Screwing into the end grain of plywood caused splitting. To fix it, I glued small wooden support blocks inside the box corners and nailed them in for strength. You could also make a complete box and glue it to the back.

I added brass hinges to the lid and rounded off the edges with the router again.

Making the Calendar Blocks
I designed the block information layout on my computer to fit the block sizes. Always check with a test print!
")
For the month blocks, I cut 3 pieces:
310 mm x 40 mm x 40 mm
For the day blocks, I used square-cut table legs:
2 pieces at 280 mm x 40 mm x 40 mm
All blocks were routed, sanded with 180 grit, and finished with 240 grit.

Making the Date Blocks
The date blocks were made thicker so they didn’t get lost on the board visually. I glued and clamped scrap wood together, then cut 2 pieces at 70 mm x 70 mm. After routing and sanding, the blocks were ready for lettering.

Adding the Shelves
This is how I made the shelves to hold the blocks:
- 2 shelves at 310 mm x 40 mm
- 1 shelf at 160 mm x 80 mm (for date blocks)

I used a level to line them up, attaching them with L brackets. I later removed the brackets as I didn’t like the look.

Instead, I drilled small pilot holes from the back and glued the shelves in place. Screws secured them through the rear to keep the face clean.
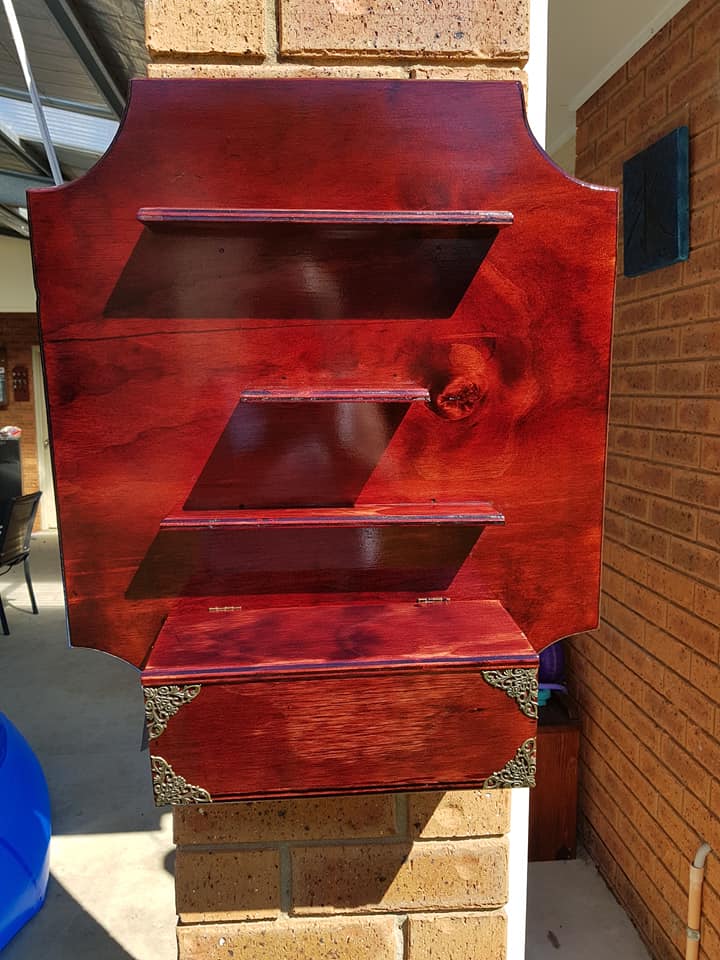
Finishing the Board
The calendar board was stained Dark Mahogany and sealed with two coats of oil-based gloss polyurethane. I added decorative metal corners to the box for a polished look.
Transferring the Text
I used temporary tattoo paper to add days, months, and numbers to the blocks.
Here’s how:
Print the text onto tattoo paper (use black ink for best results). Remove the backing and apply the clear transfer sheet with a credit card.

Trim each label to size.

Seal the wood first with clear polyurethane to stop the tattoo from curling. Use a damp cloth to transfer the image onto the wood block.

Peel back the transfer paper.

Label the Date Blocks
Each number block has six numbers:
- Block 1: 0, 1, 2, 3, 5, 6 (6 doubles as 9)
- Block 2: 0, 1, 2, 4, 7, 8
Once labelled, I sealed all blocks with two coats of gloss polyurethane.

Keeping Spare Blocks Tidy
All extra blocks fit neatly into the attached storage box. Everything has a place, and it keeps the space looking tidy—perfect for busy aged care environments.

More DIY Projects
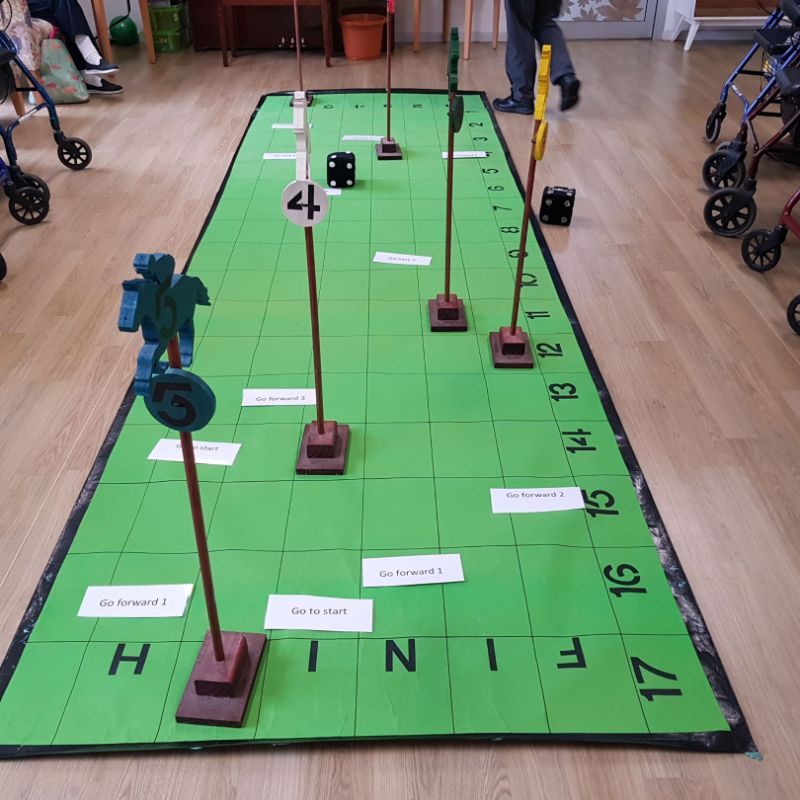
This is a Horse Racing game I made for the residents to keep them entertained.
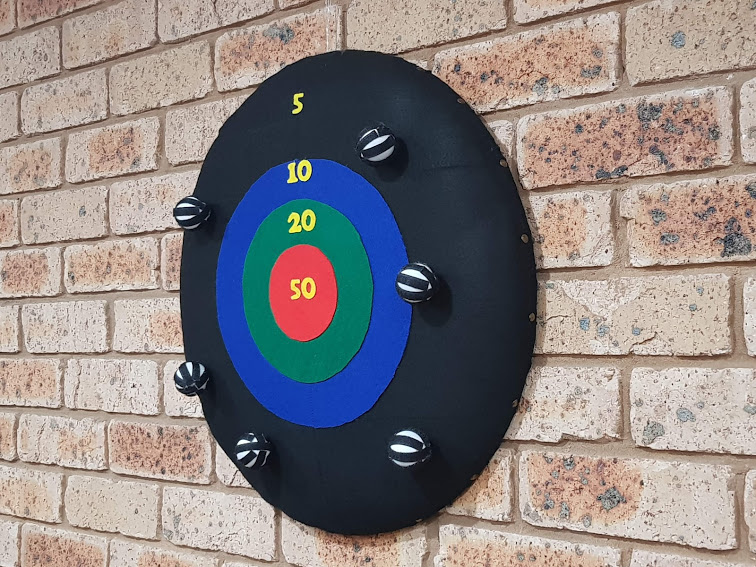
Another great game is this Target shooting game.

If you’d like to find any of the items used in this project, we’d greatly appreciate it if you used our affiliate links. These links provide us with a small commission at no extra cost to you, allowing us to continue creating and sharing more inspiring projects. We’d also love to hear your thoughts—feel free to leave a comment or share this post!


2 Comments
Dei
April 8, 2018 at 8:12 amDid you correct your spelling on the February block? Nice project otherwise.
Anita Holland
April 8, 2018 at 1:57 pmYes, The residents spotted it straight away, all fixed now.