
When a friend saw a stunning chalkboard hat and coat rack in a shop, she loved it—except for the price tag. She asked if I could create something similar using recycled materials, and I was more than happy to help. I had just the thing: an old wooden headboard, perfect for this DIY upcycling project.
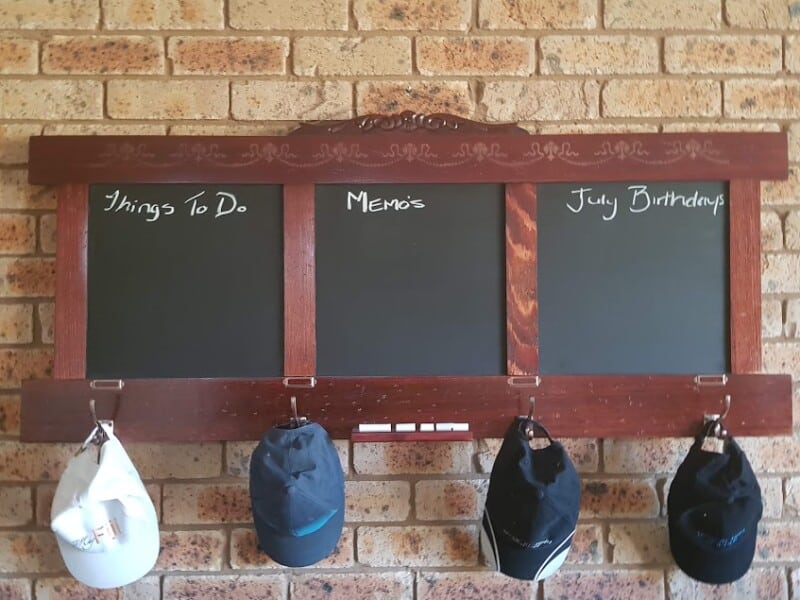
This DIY chalkboard rack makes a beautiful and functional statement in any home. It works as a chalkboard notice board, a coat and hat rack, or even as a hallway organisation for keys and messages.

Before we dive into this tutorial, be sure to subscribe to my bimonthly newsletter to be the first to see my latest projects. You can also follow me on Pinterest and Facebook, where I also include my unique mixed-media art projects.
How to repurpose a headboard into a chalkboard hat rack
**This post may contain affiliate links. This means I earn a small commission on links used at no extra cost to you. Please see my disclosure policy for more information.**
Materials Needed
- Old wooden headboard
- Orbital sander
- 120, 180, 240 and 600 grit sandpaper
- Chalkboard spray paint
- Wood primer
- Wood stain (dark mahogany)
- Satin polyurethane
- Coat hooks
- Name tag holders
- Chalk holder strip (optional)
- Stencil and copper spray paint (optional)
- Ratchet straps
- Wood glue
- Wood router (for chalk groove)
Step 1: Disassemble and Prepare the Headboard
I began by disassembling the headboard so it was easier to work with. I cut off the legs and reduced the height by around 5 cm to make it look less like a bed head and more like a feature board.

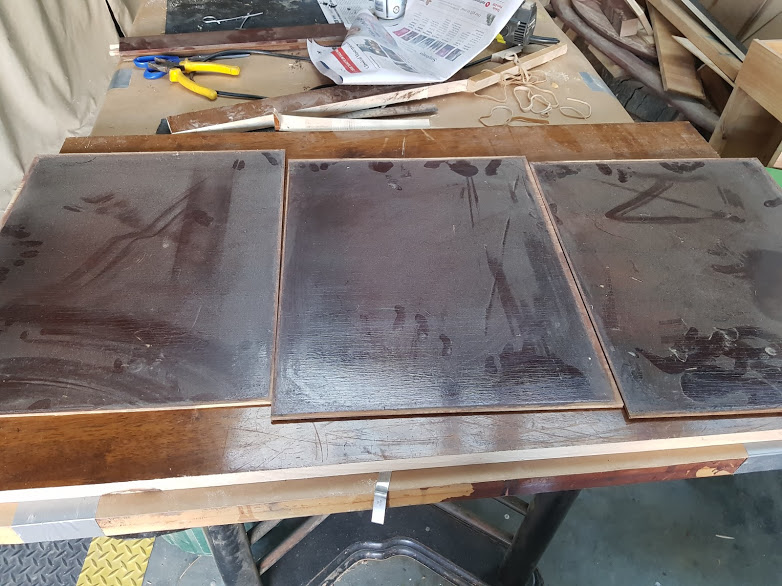
Step 2: Sand and Paint the Chalkboard Area
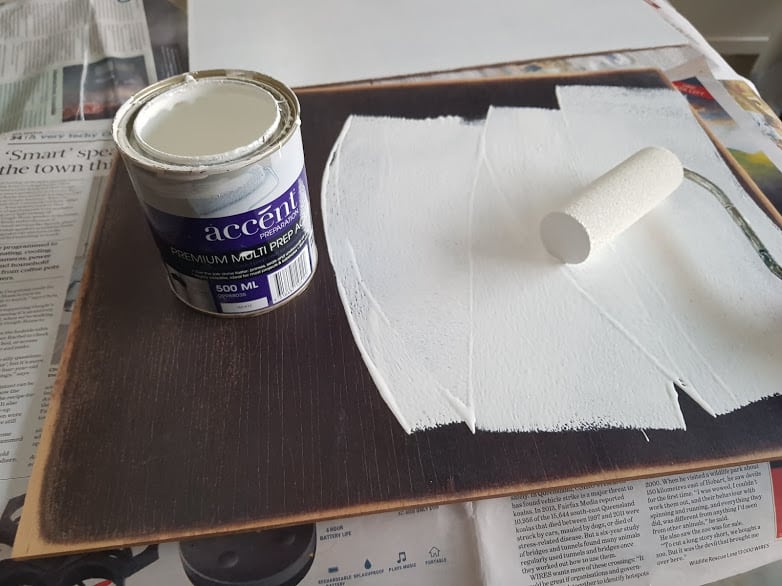
The centre boards were sanded back to remove the old varnish with 120 to 240 grit sandpaper. Once the varnish was gone, I primed the wood and allowed it to dry fully.
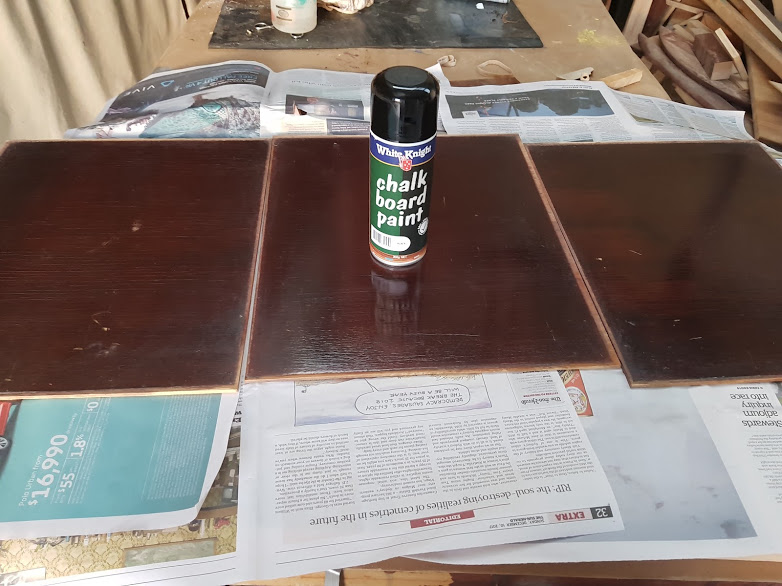
Next, I added three thin coats of chalkboard spray paint. Some areas were still rough, so I used 600 grit sandpaper to get a smoother finish.

Step 3: Sand, Stain and Distress the Frame
I sanded the frame back to raw wood in preparation for staining. The dark mahogany stain brought out any imperfections, so I embraced them and added more using distressing techniques.

To create a distressed look, I hit the wood with an old drill chuck and a large screw to create patterns. After distressing, I smoothed any raised sections with 180-grit sandpaper.

Step 4: Reassemble the Rack and Protect the Finish
The boards were trimmed down by another 5 cm to get a better proportion. I used ratchet straps to hold everything tight while the wood glue dried.

To protect the chalkboard surface while finishing the frame, I taped A4 paper over it. The frame was then sealed with two coats of satin polyurethane. In hindsight, I should have sealed the wood before gluing it back together.

Step 5: Add Hardware and Final Touches
I added hat/coat hooks and name tag holders to the lower section. The final touch was a simple chalk holder made from a small grooved piece of wood.

For added charm, I stencilled a design using copper spray paint across the top. This step required patience, letting each section dry before continuing.

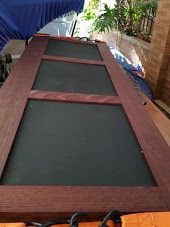
The Finished Chalkboard Rack
Photographing the board indoors was tricky due to the harsh light, so I moved outdoors for better pictures. The final result looks great as a hall organiser, chalkboard message board, or even as a unique home décor.


More notice board ideas
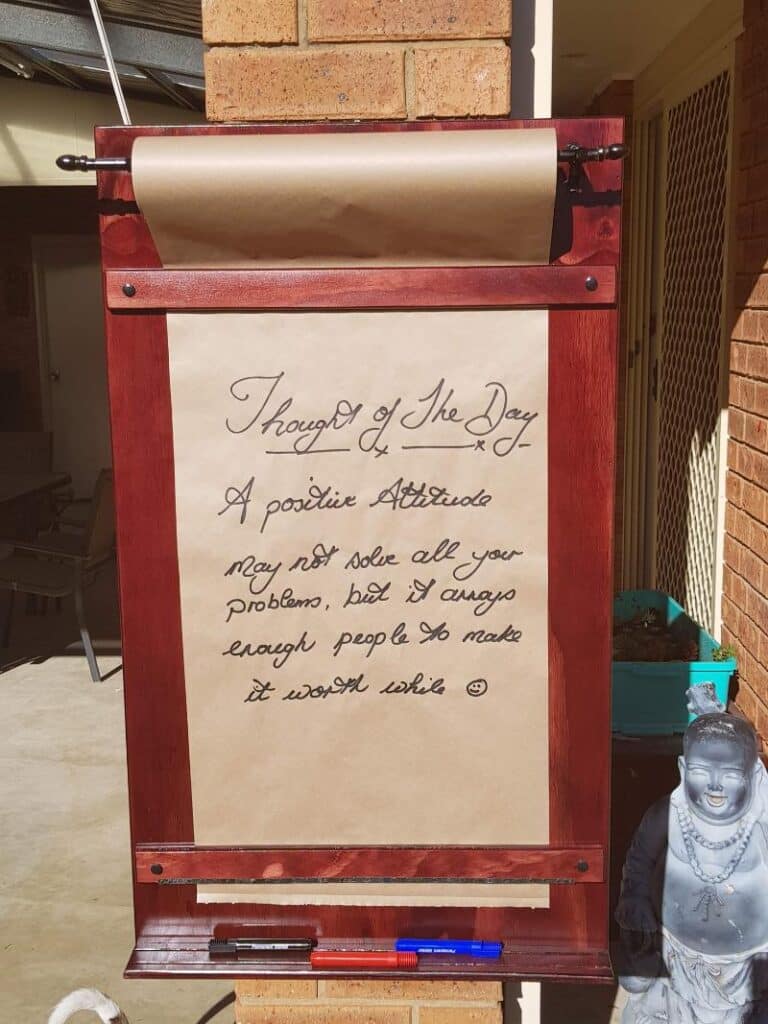
I made this kraft paper roll notice board for my niece to hang on the wall and use for drawing her pictures.
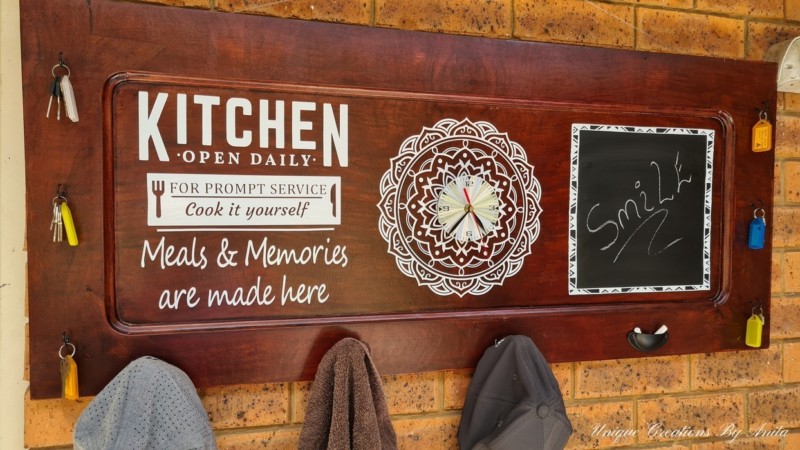
I made this functional kitchen sign from a leftover panel of a repurposed piano. It now serves as a handy spot to hang keys, tea towels, coats, or bags.

If you’d like to find any of the items used in this project, we’d greatly appreciate it if you used our affiliate links. These links provide us with a small commission at no extra cost to you, allowing us to continue creating and sharing more inspiring projects. We’d also love to hear your thoughts—feel free to leave a comment or share this post!

20 Comments
Michelle
July 16, 2019 at 5:38 pmNow this is exceptionally cool! What a way to upcycle! I love this idea.
Anita Holland
July 17, 2019 at 2:31 amThank you so much, I was stuck with what to do with it at first. I have a shed full of broken free furniture I try and make up new ideas for each project.
MississaugaMom
August 24, 2019 at 2:11 amYours looks nicer than the photo that your friend sent to you! Great job 🙂
Anita Holland
August 24, 2019 at 3:27 amThank you so much for the lovely comment.
Theresa @ Shoestring Elegance
August 29, 2019 at 1:49 pmHi Anita, You did wonderful job on this one! I’m so jealous… popping by to thank you for sharing at last week’s TFT party and to let you know that I’m featuring your gorgeous “Repurposed Headboard” this week at the new Party! Congratulations and thanks for joining us. Happy Weekend wishes. xo
Theresa
Anita Holland
August 29, 2019 at 10:20 pmThank you so much for your kind comment it means a lot. I have only just discovered these parties and love them.
Chas Greener
August 29, 2019 at 8:25 pmAlways drawn to your amazing work. Looks fantastic and I want one for my home. Thanks for sharing on To Grandma’s House We Go, I’ll be featuring you next week!
Anita Holland
August 29, 2019 at 10:17 pmThank you so much for the lovely compliment it is greatly appreciated. And thank you for the feature.
Dee | Grammy's Grid
September 1, 2019 at 7:48 amVery nice! Thanks so much for linking up at the #UnlimitedMonthlyLinkParty 4. Shared.
Anita Holland
September 2, 2019 at 12:34 pmThank you for the comment and the share, it is very appreciated.
Jennifer Wise
September 1, 2019 at 2:07 pmWhat a great idea. Beautifully done!
#unlimitedmonthlylinkparty
Anita Holland
September 2, 2019 at 12:40 pmThank you.
Melissa
September 7, 2019 at 8:57 pmYou do wonderful work! I’d never have the patience for it! But really, it is beautiful!
Thanks for sharing at the Farm Fresh Tuesdays Blog Hop!
I will be featuring you this Tuesday! It will be my first week hosting so please stop by!
Melissa | Little Frugal Homestead
Anita Holland
September 7, 2019 at 10:56 pmThank you so much, very kind of you to say and thanks for the feature. I am new to these parties too so not to sure how they work. Will it be on the same link as Farm fresh Tuesday? Or do I need a new link to follow?
Melissa
September 9, 2019 at 1:46 amYou just need to stop by my site – Little Frugal Homestead – on Tuesday and the newest Farm Fresh Tuesdays Blog Hop will be there. In my post you will see your Feature! Easy peasy. Let me know if you have any trouble, see you Tuesday!
Melissa | Little Frugal Homestead
Anita Holland
September 9, 2019 at 11:56 amThanks for the info, I will be there, Never miss a party. lol
Ann
September 9, 2019 at 2:32 amGreat upcycle! Thank you for sharing at Party In Your PJ’s.
Anita Holland
September 9, 2019 at 11:56 amThank you so much, Ann
Lisa L Lombardo
September 10, 2019 at 6:09 pmI love your hat rack! I’m featuring you today on Farm Fresh Tuesdays! Thanks so much for sharing, Anita!
Anita Holland
September 11, 2019 at 3:30 amThank you so much Lisa.