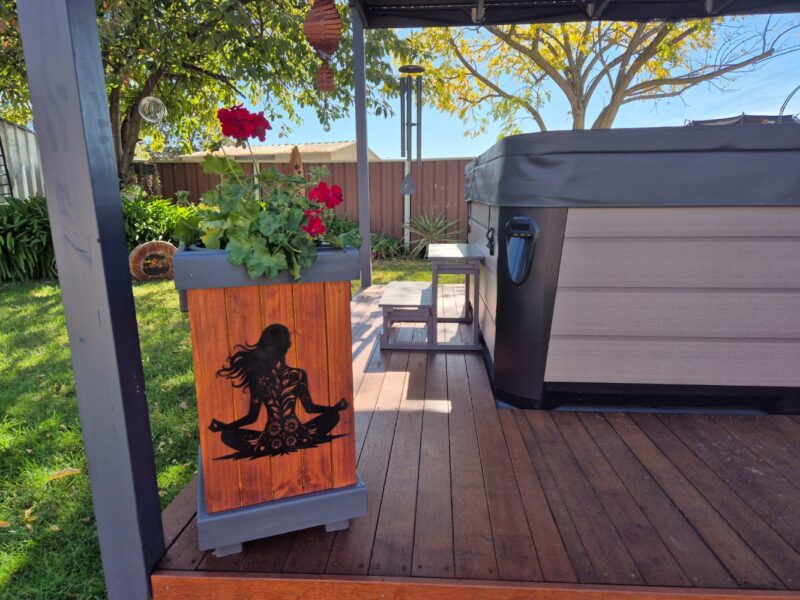
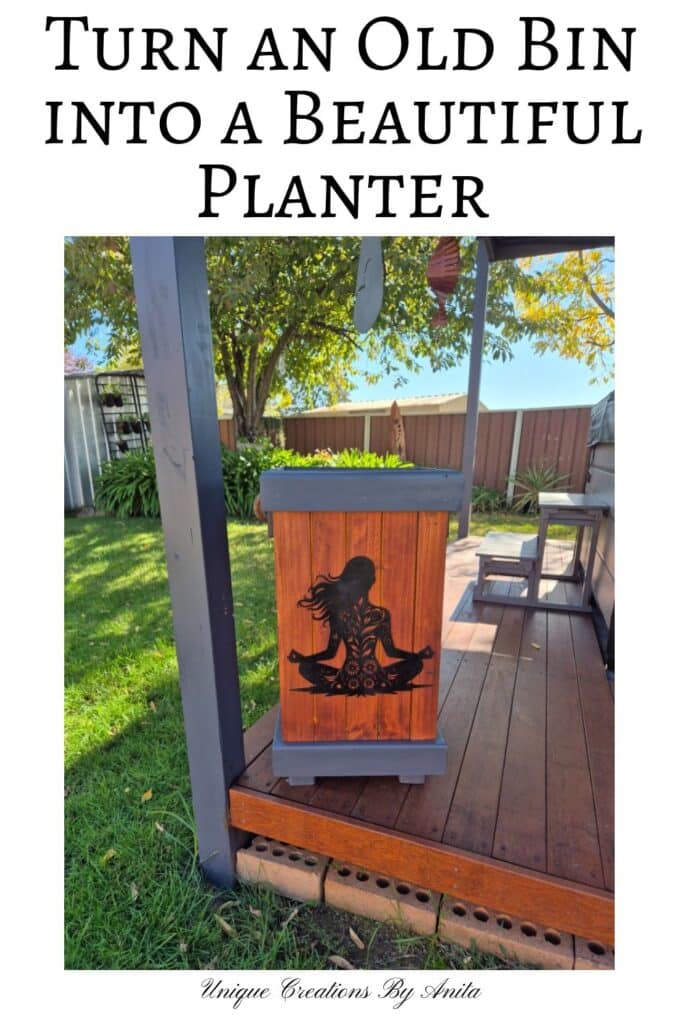
After finishing our pergola and decking around the spa, the space looked great, but it needed personality. Plants and décor make all the difference when you want an outdoor area to feel warm and lived-in.
I already had the perfect piece sitting in my kitchen. Years ago, my son made me a wooden bin at school. It’s nothing fancy, but it holds a lot of sentimental value. I couldn’t bring myself to toss it in the shed, so I decided to give it a new life as a planter for the deck. This project turned out to be practical, meaningful, and a beautiful addition to the space.
This project is part of the Do It Over Designers blog hop, where a talented group of bloggers breathe new life into old or unloved items. Be sure to check out all the creative upcycles linked at the bottom of this post!
Before we dive into this tutorial, be sure to subscribe to my bimonthly newsletter to be the first to see my latest projects. You can also follow me on Pinterest and Facebook, where I also include my unique mixed-media art projects.
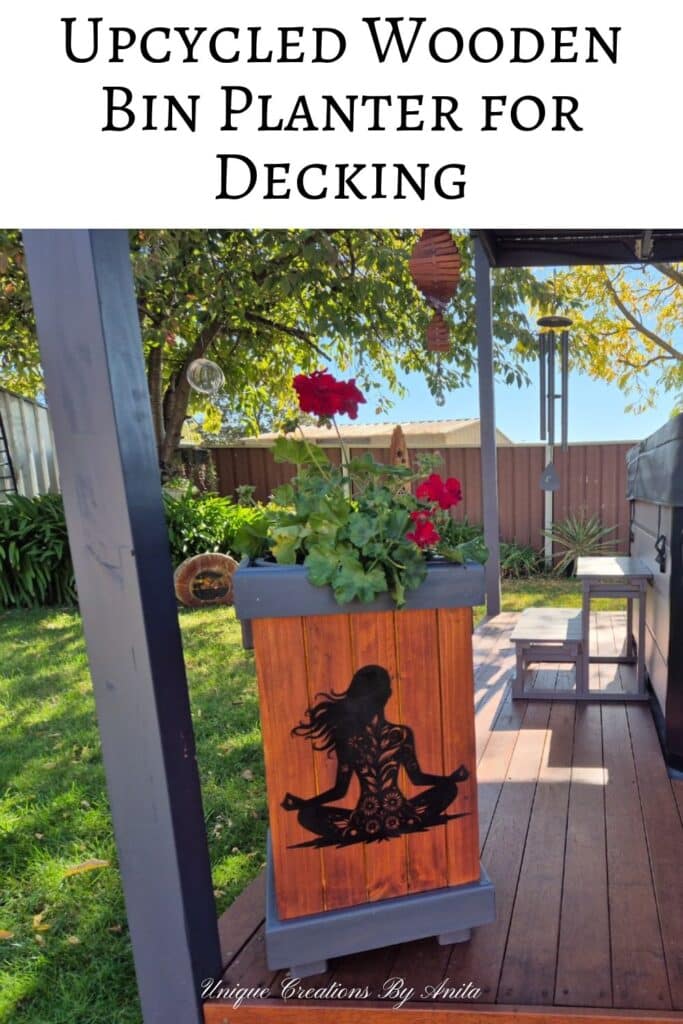
Upcycled Wooden Bin Planter for a Cosy Spa Deck
**This post may contain affiliate links. This means I earn a small commission on links used at no extra cost to you. Please see my disclosure policy for more information.**
Materials Needed
- Old wooden bin or box
- Plastic plant pot (I used a 30cm pot)
- Scrap wood for supports and base
- Wood glue
- Ratchet straps
- Orbital sander with 120 grit discs
- Exterior wood stain (cedar tone)
- Outdoor sealer
- Exterior paint (I used Colourbond)
- Screws and drill
- Scrap wood for legs
- Plant pot tray
- Decorative feature (optional)
- Beaded garden stakes
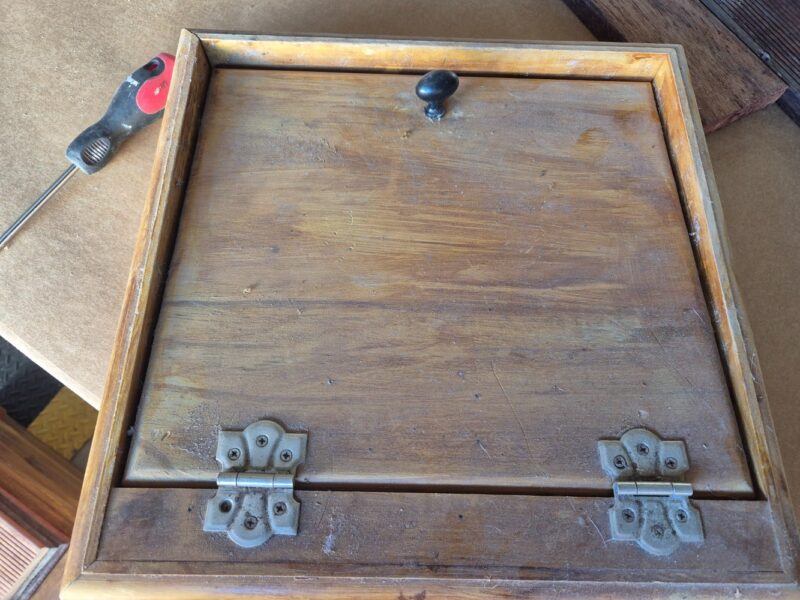
Step 1: Remove the Lid Hardware
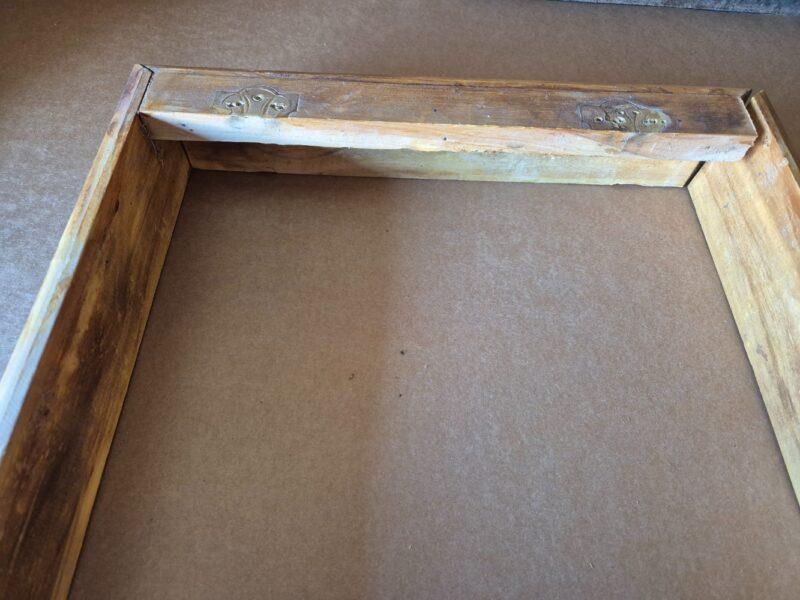
Start by removing all hardware from the lid, including hinges and the lid support. This gives you a flat, workable surface for your planter.
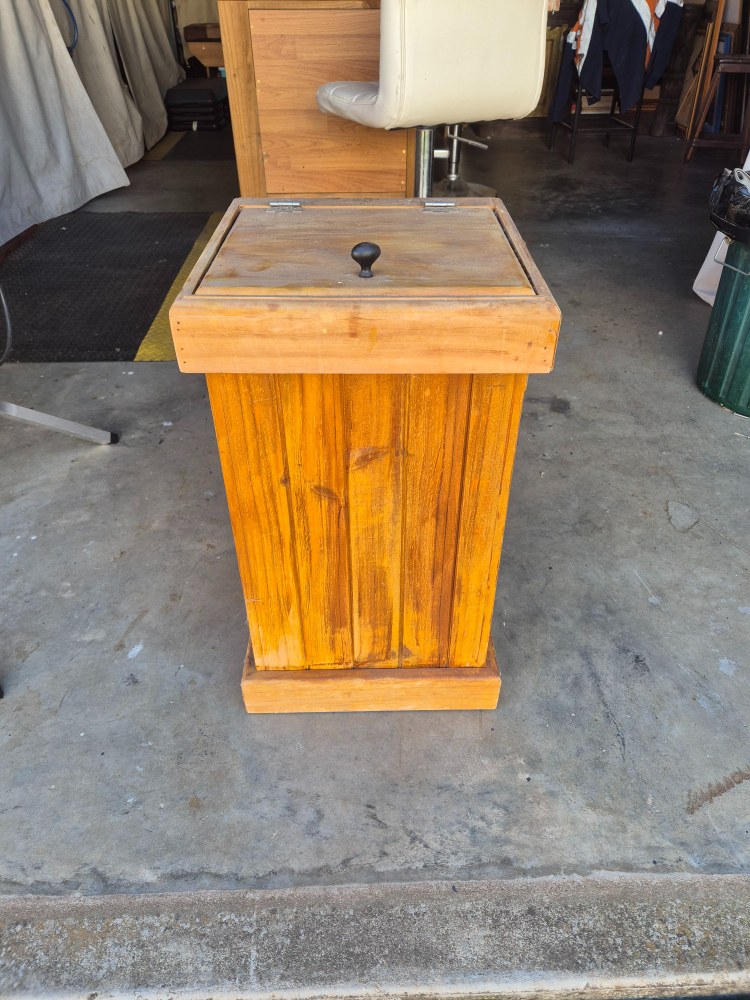
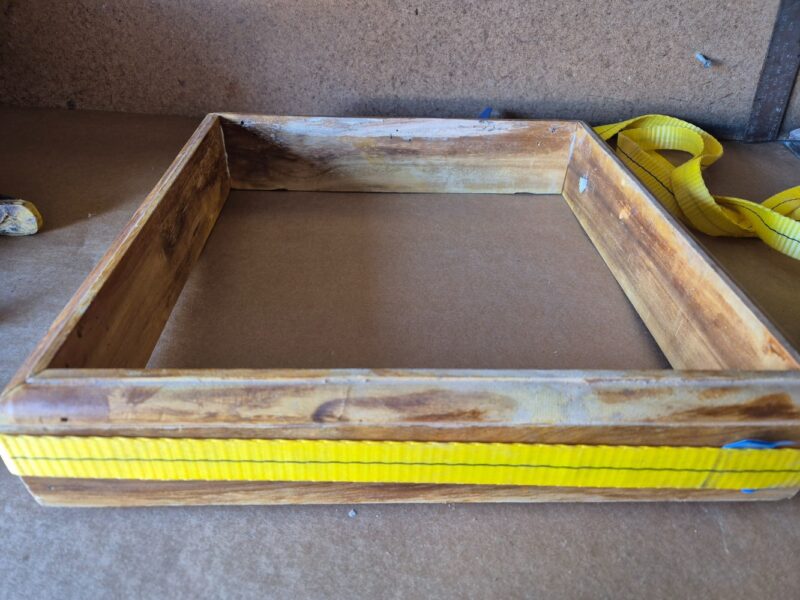
Once the support was removed, the lid needed to be re-secured. I glued the top back together and used ratchet straps to hold everything tight while the glue dried.
Step 2: Plan for Drainage and Weight
My biggest concern was protecting the decking. I didn’t want water pooling underneath and causing the timber to rot. I also didn’t want a heavy planter filled with soil.
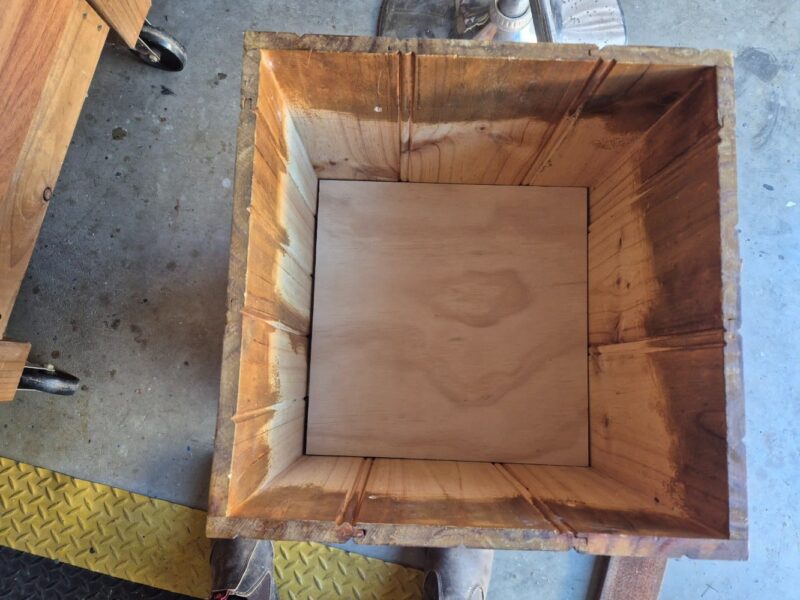
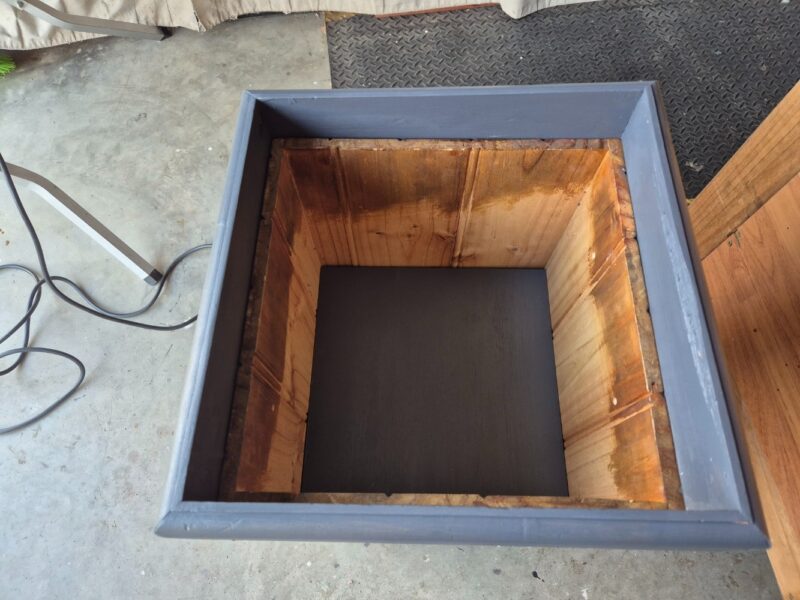
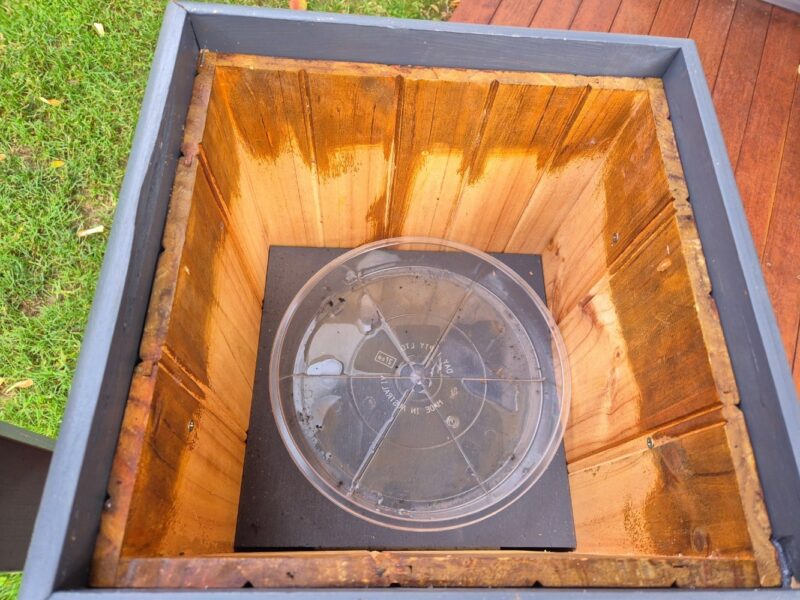
So instead of filling the whole bin, I created a false bottom inside. This allows a plastic pot to sit inside while keeping the weight down and protecting the wood.
Step 3: Build the Raised Base
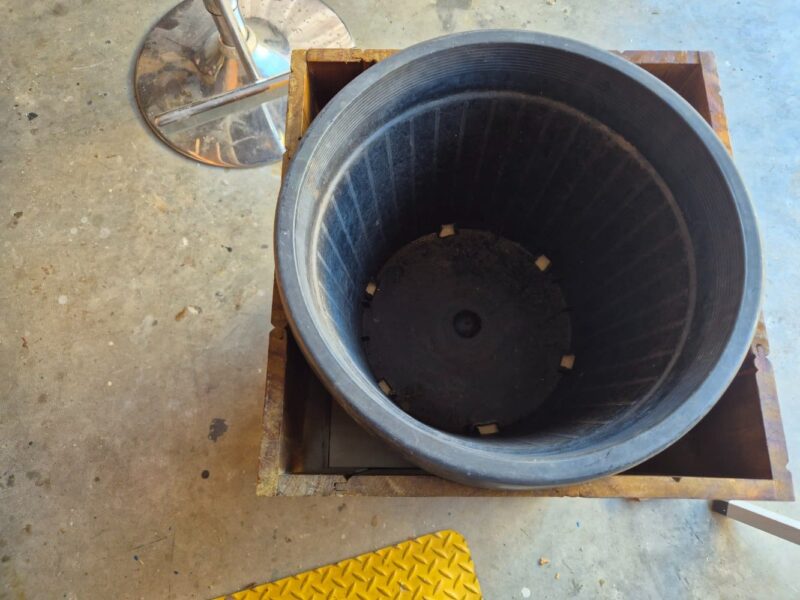
I found the largest plastic pot that would fit inside. A 30cm pot worked perfectly because the lip sits nicely on the bin edge for support. Next, I measured the pot and added timber supports inside the bin.
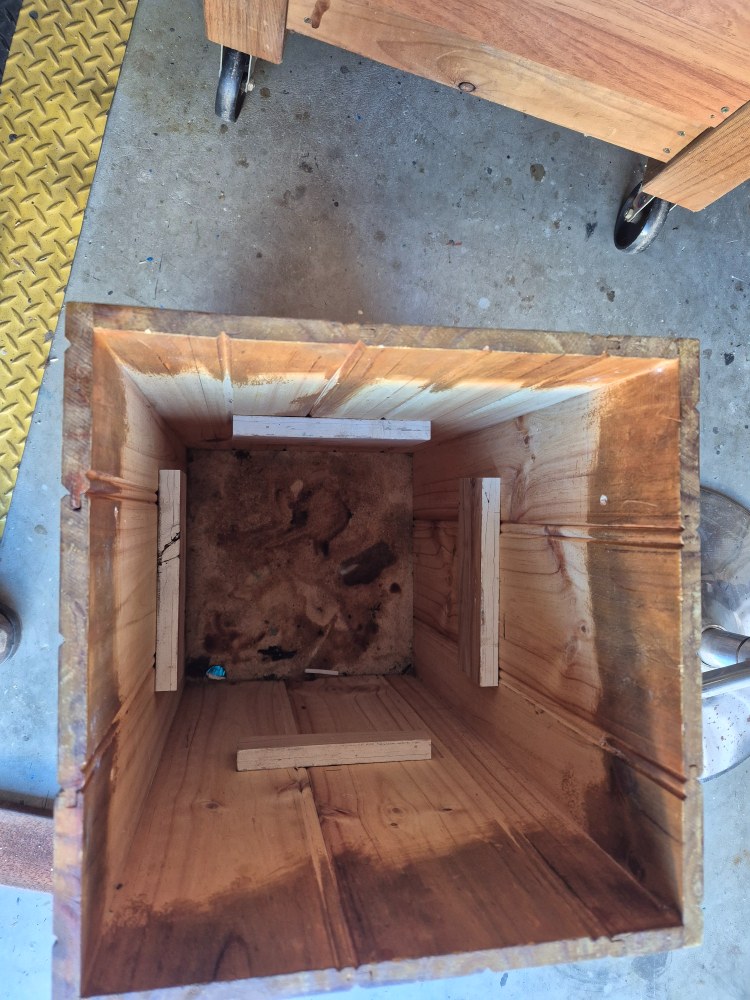
Make sure you allow for the thickness of your base panel when positioning these supports. Do a dry fit before moving on. You want the pot to sit slightly below the top edge for a clean finish.
Step 4: Sand Back the Old Finish
The bin had old varnish and stain that needed to go. I used an orbital sander with 120-grit discs to strip it back to bare timber. This step is important to help the new stain absorb evenly.

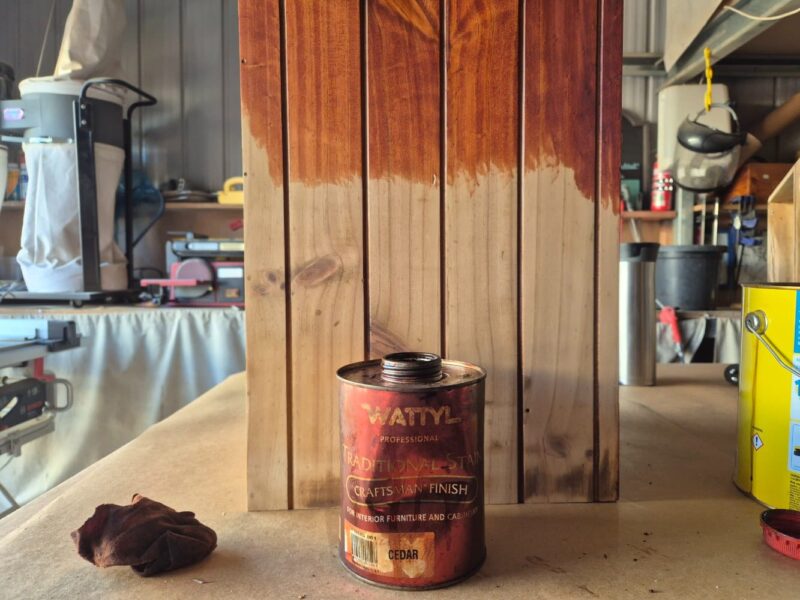
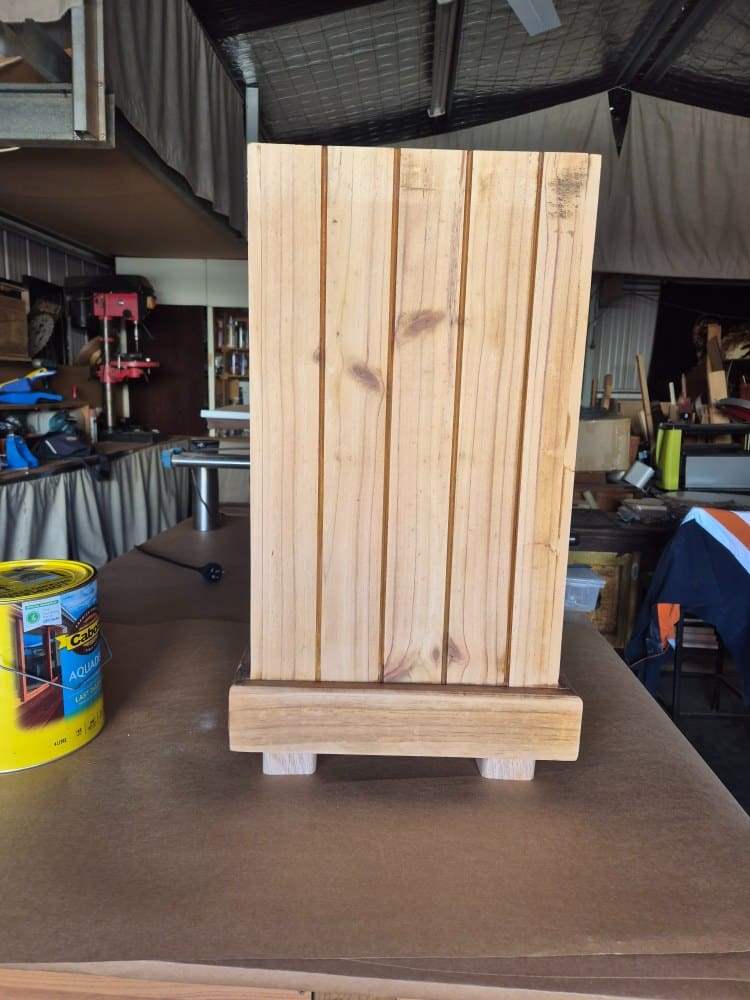
Step 5: Stain and Seal the Timber
Once sanded, I applied a cedar-toned stain to bring out the natural grain. After that dried, I sealed the timber to protect it from the weather. Even under a pergola, outdoor pieces still get exposed to moisture.
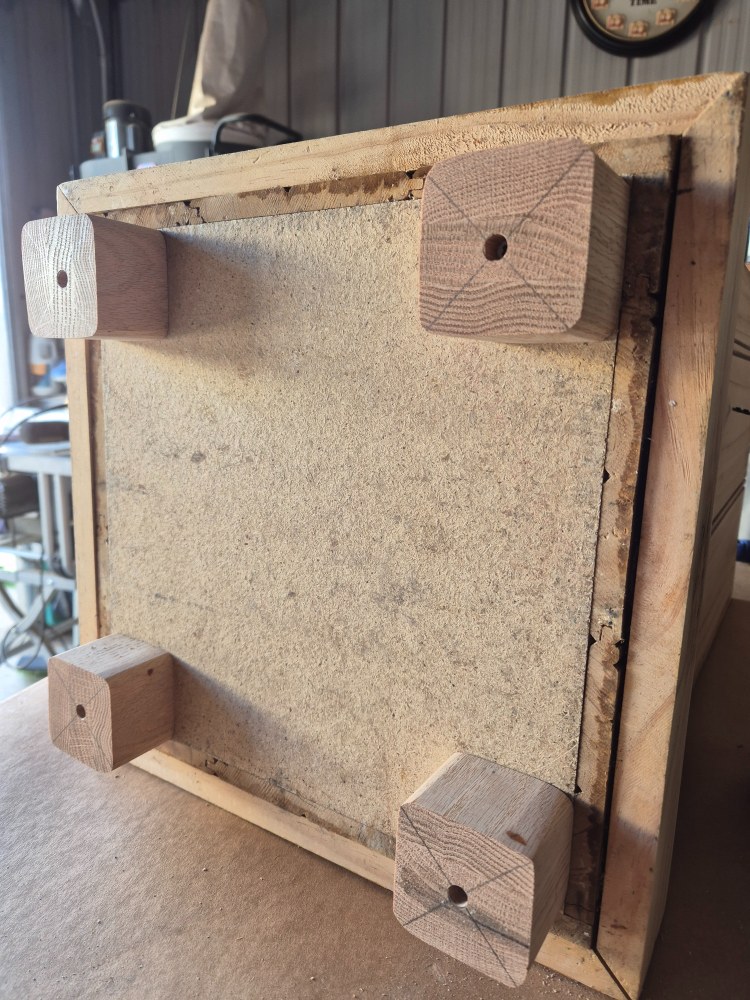
Step 6: Add Legs to Protect Your Decking
To stop water pooling underneath, I added legs to lift the planter off the deck. I used scrap wood from an old table leg and cut four equal pieces.
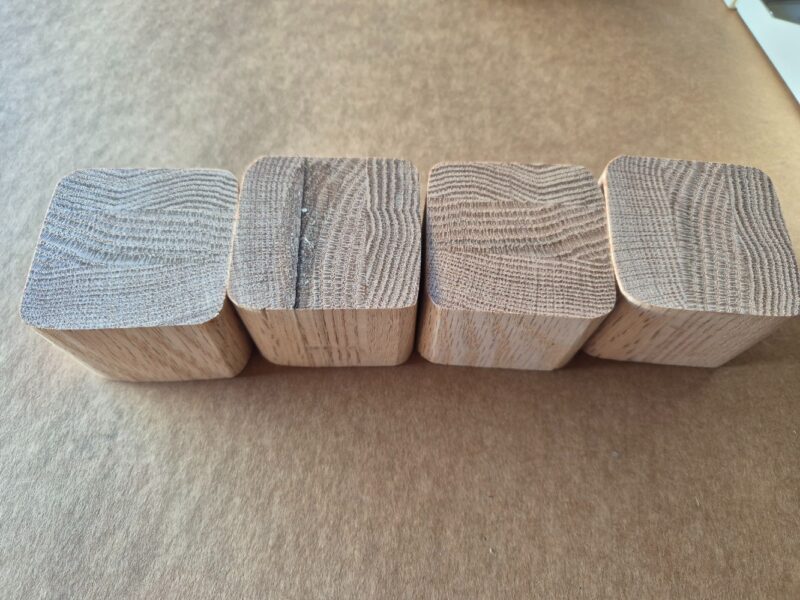
Each leg was pre-drilled and countersunk before being screwed into the base. This simple step helps extend the life of both the planter and your decking.
Step 7: Add Drainage Holes
Even with a pot inside, water can still find its way in. I drilled drainage holes in the bottom of the bin to allow any excess water to escape.

Step 8: Weatherproof High-Risk Areas
When I built the deck, I used exterior Colourbond paint, so I carried that through to the planter by coating the top edges, base, and legs as well, since these areas are the most exposed to moisture and benefit from that extra layer of protection.

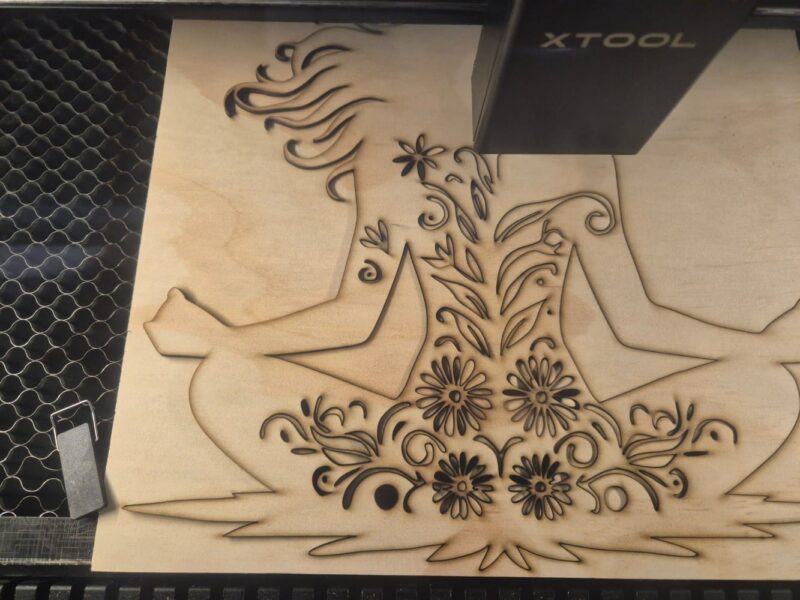
Step 9: Add a Decorative Feature
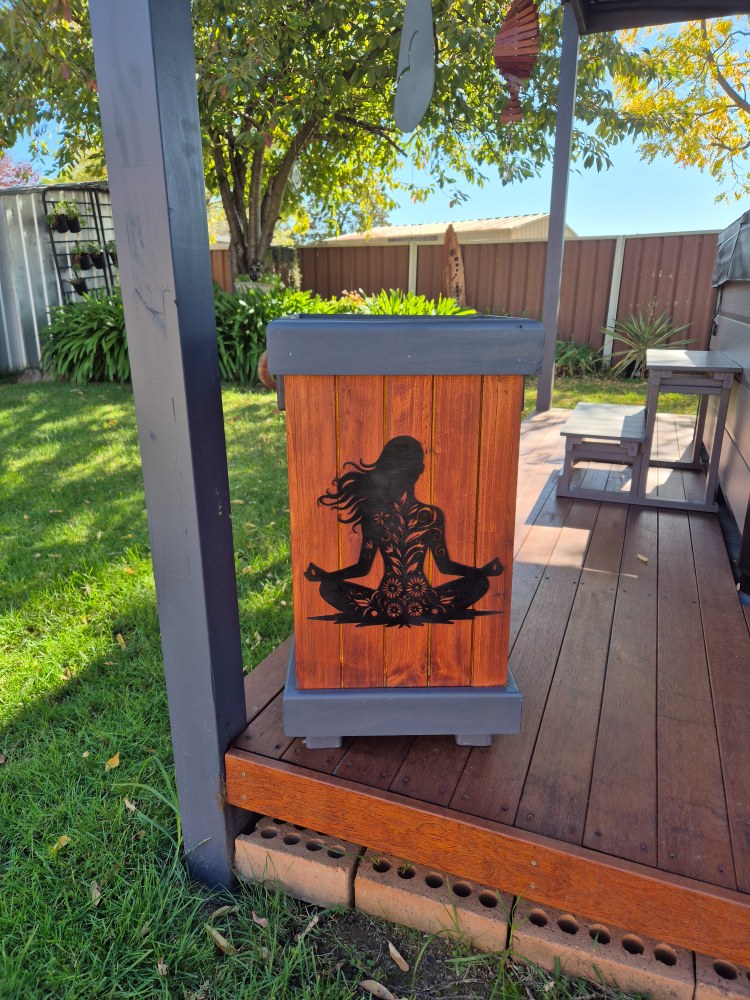
Once assembled, the planter looked a bit plain, so I created a feature using my xTool P2 laser by cutting a meditating lady design from plywood, then painting and sealing it for outdoor use before glueing it to the front, and this one detail completely transformed the look while adding a calm, spa-like feel.

Step 10: Insert the Pot and Plant
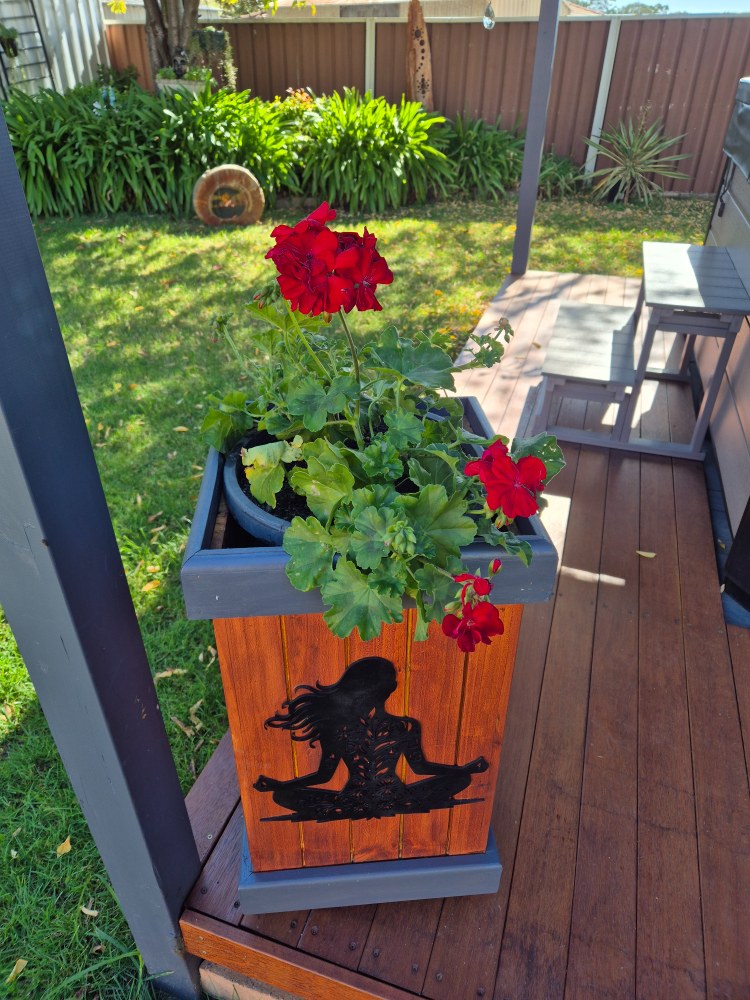
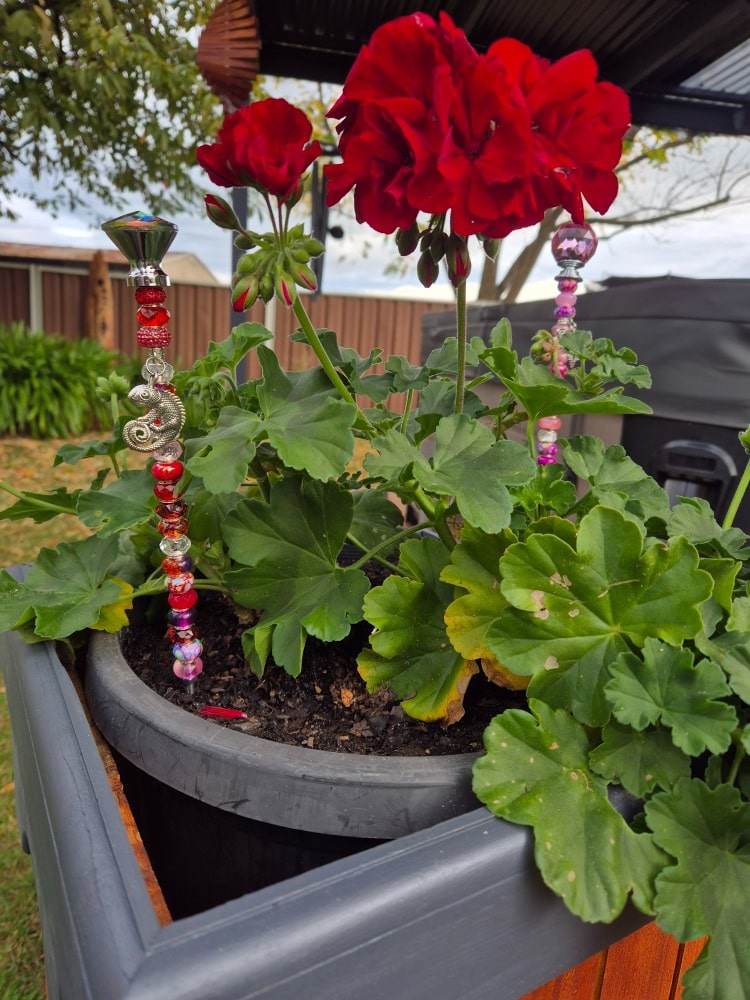
Inside the planter, I placed a plant pot tray on the base to catch any excess water, then added my plastic pot with a bright red geranium for a pop of colour.
The best part is you can easily swap out plants anytime without redoing the whole planter. You can also add a touch of colour by adding a beaded garden stake that will shimmer and shine in the sunlight. I also recently made a wooden wind spinner from leftover decking boards, so this planter ties in perfectly with that natural timber look.
Why This Planter Works So Well
This design solves a few common problems:
- Prevents water damage to decking
- Keeps the planter lightweight
- Extends the life of the wood
- Makes plant changes quick and easy
More wooden planter ideas
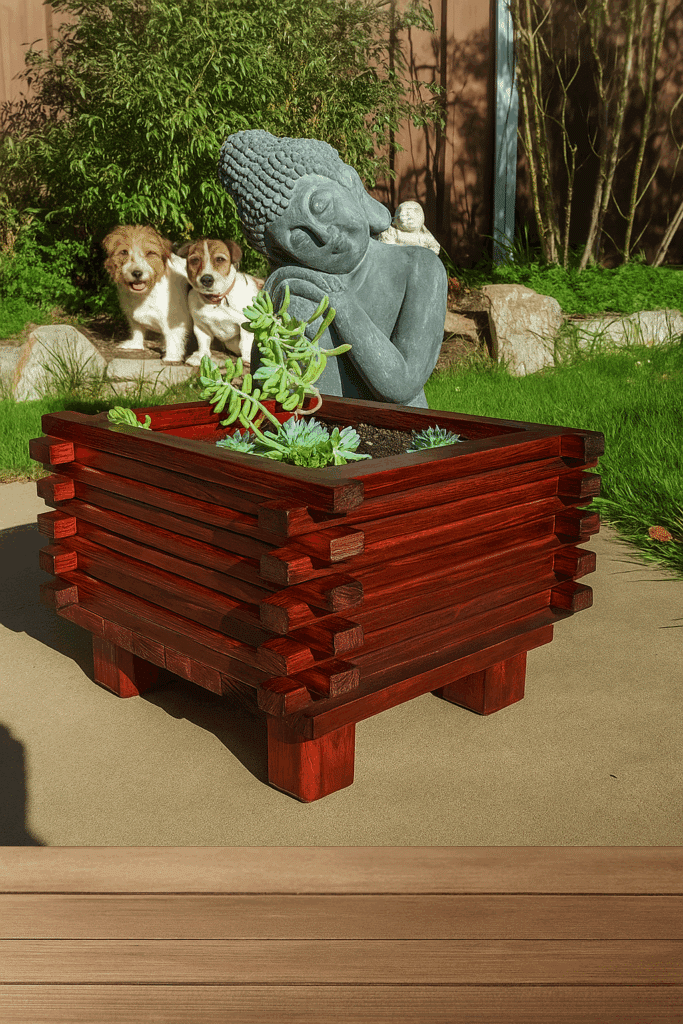
This planter was made using recycled pallet wood to create a multi-tiered planter.
Do it over designers blog hop

The Do It Over Designers are a group of creative bloggers who love giving old, forgotten, or thrifted items a brand-new purpose. Hosted by Ann of The Apple Street Cottage, this monthly blog hop showcases inspiring upcycle projects to spark your own DIY creativity.

If you’d like to find any of the items used in this project, we’d greatly appreciate it if you used our affiliate links. These links provide us with a small commission at no extra cost to you, allowing us to continue creating and sharing more inspiring projects. We’d also love to hear your thoughts—feel free to leave a comment or share this post!


17 Comments
Kim
May 23, 2026 at 9:34 pmWell that woodworking talent clearly runs in the family! It’s a stunning and, as you said, sentimental upcycle and it looks fabulous.
Anita Holland
May 24, 2026 at 11:27 amThanks Kim, Yes i think it does. he ended up being a carpenter and builder.
Julie
May 23, 2026 at 9:48 pmHow lovely to have been able to repurpose something your son made. After your clever and well thought through makeover it’ll have many more years use.
Anita Holland
May 24, 2026 at 11:26 amThanks Julie, I think i will get many years yet thanks to the design.
Gail @Purple Hues and Me
May 23, 2026 at 10:04 pmAnita, you have some serious woodworking skills! The final piece is amazing and looks so professional! It’s truly a statement piece and looks perfect in your garden area! I’m sure your son is so proud of you with your makeover!
Anita Holland
May 24, 2026 at 11:25 amThank you Gail, he did have a giggle saying “It is only a bin Mom” you must be a mom to appreciate the little things in life. lol
Cara
May 23, 2026 at 10:19 pmWhat a great way to upcycle your son’s DIY. I love when you get to reuse something that someone gave you, I am so sentimental like that. Great idea to bring the base up, and I love the design you created too Anita. I am trying to become more familiar with using power tools so I can bring some of my ideas to life, you are an inspiration.
Anita Holland
May 24, 2026 at 11:24 amThank you Cara. If you start off small with power tools you will have confidence in no time.
Tania
May 23, 2026 at 11:35 pmWhat a great repurpose for that bin your son made for you and I love the meditating lady accent you made.
Anita Holland
May 24, 2026 at 11:23 amThanks Tania, it does add a bit of flare to the surface.
sara allen
May 23, 2026 at 11:56 pmHow lovely to incorporate a piece your son made into your new deck; it’s so special! Your garden is so zen and peaceful (even when your dogs are up to their shenanigans). It looks amazing Anita!
Anita Holland
May 24, 2026 at 11:22 amThank you Sara. I have giving up planting in my garden due to my dogs digging them up, now all my plants are in planters. lol
Ann
May 24, 2026 at 1:40 amThe best part of this project is that you used something your son made and gave it a new life. The legs were a great addition and I’m sure this planter will last a long, long time!
Anita Holland
May 24, 2026 at 11:21 amThanks Ann! I was sad at the thought of getting rid of it.
Patti @ Pandora's Box
May 24, 2026 at 3:05 amThis is a fabulous idea!! I like how you finished it off and it certainly adds style to your outdoor area!
Anita Holland
May 24, 2026 at 11:20 amThanks so much Patti!.
Jeanne
May 30, 2026 at 4:25 amI need some solid planters! Great tutorial 🙂