
Old Plant Stand Repurposed into Candlesticks – This DIY candlestick makeover started with an old wooden plant stand I had lying around. I wanted to keep costs down, so I used materials already at home and turned the stand into a set of rustic-style candlesticks. Using a simple technique called dry brushing, I gave them texture and charm that suits modern, farmhouse, or vintage-inspired décor beautifully.
Transforming plain or outdated candlesticks into elegant, rustic-style home décor is easier than you might think. With a few coats of chalk paint, a simple dry brushing technique, and some scrap wood for the tops, you can give old pieces a completely new life. This project is perfect for adding warmth and character to your space without spending much. The textured finish created by dry brushing adds depth and a handmade charm that fits beautifully with farmhouse, vintage, or even modern interior styles. It’s a creative and budget-friendly way to repurpose materials you already have on hand.
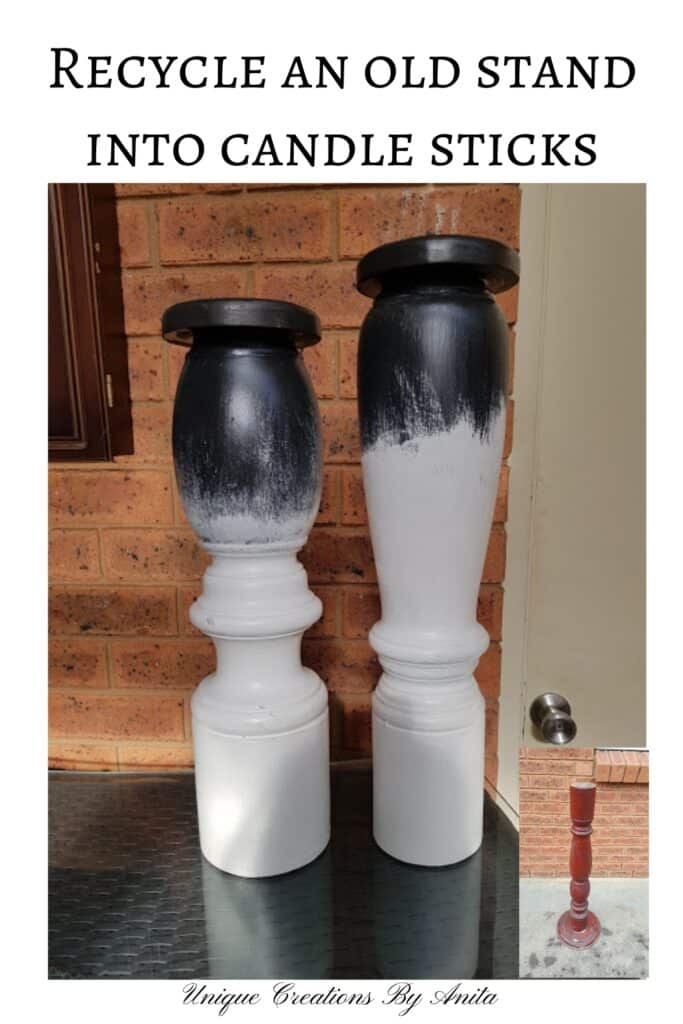
How to repurpose a plant stand into candlesticks
**This post may contain affiliate links. This means I earn a small commission on links used at no extra cost to you. Please see my disclosure policy for more information.**
Materials Needed
- Black chalk paint
- White chalk paint
- Water-based clear polyurethane sealer
- Paintbrushes
- Paper towel
- Scrap wood (for the tops)
- Jigsaw
- Benchtop sander (optional)
- Wood router (optional)
- Wood glue

Cutting the Stand
The safest way to cut the plant stand was with a handsaw. Because of its uneven shape, using a jigsaw or table saw felt too risky and could lead to injury. A handsaw takes a bit more time and effort—but it gets the job done without the stress. Just be prepared for a bit of an arm workout! If your cut ends up a little uneven (like mine often do), you can smooth and level it with an orbital sander or a benchtop sander if you have one.

Since this project was more about experimenting with a new paint technique, I decided to skip sanding the surface completely.

A Simple Way to Use Chalk Paint for Texture
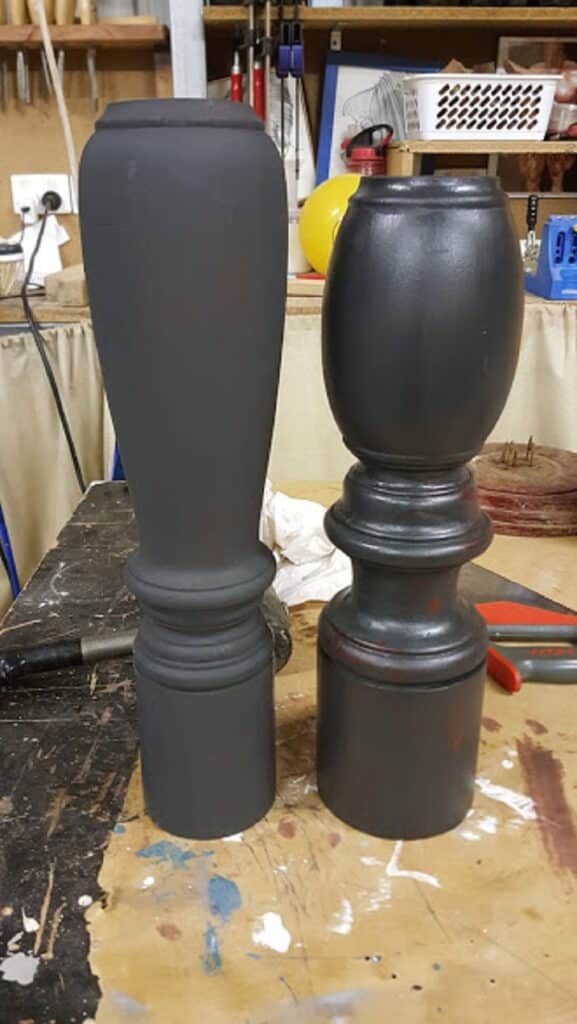
I first painted the candlesticks with black chalk paint, which I already had at home. They looked plain at this stage, so I browsed Pinterest for some ideas and spotted a piece of furniture that used the dry brushing technique—and I knew I had to try it.
Before applying the second colour, I noticed the white chalk paint was lifting the black paint underneath. To stop this from happening, I added a coat of water-based polyurethane over the black chalk paint and let it dry. This sealed the base colour and helped the second coat stick better.
How to Dry Brush Over Chalk Paint
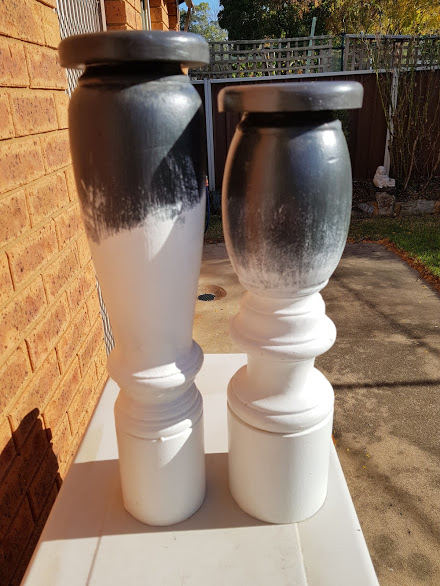
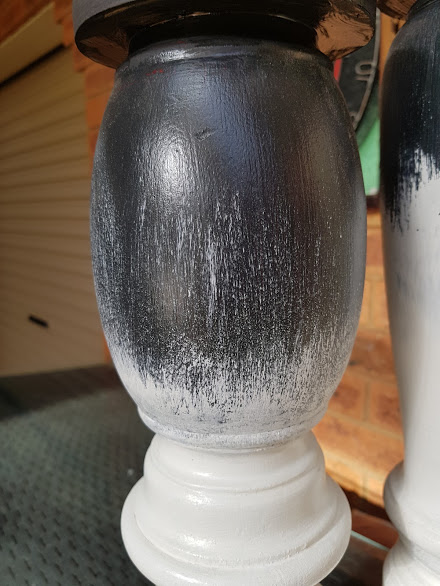
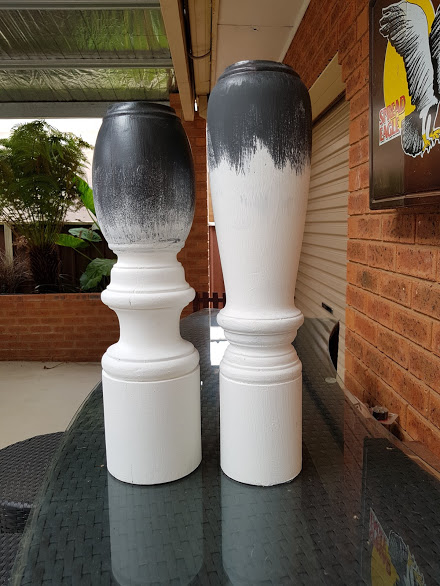
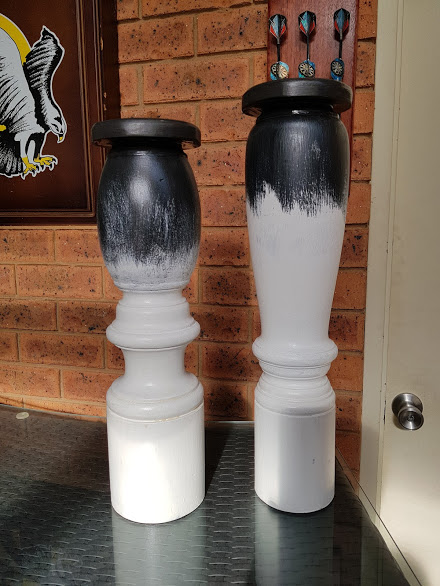
Once the sealer had dried, I painted a second layer using white chalk paint. I only covered the bottom two-thirds of the candlesticks to give them a dipped look. For the dry brushing effect, I dipped a small brush in white paint and removed nearly all of it by wiping it on a paper towel. Starting at the bottom of each candlestick, I gently brushed upwards with a light hand. This gave a worn, textured finish where the paint fades naturally up the surface.
Sealing the Chalk Paint for Durability
To help protect the chalk paint finish and keep the white areas clean, I sealed the candlesticks with two coats of water-based clear polyurethane. This not only adds a light sheen but also makes them easier to wipe clean, without risking peeling or damage to the paint over time.
Making Custom Candlestick Tops
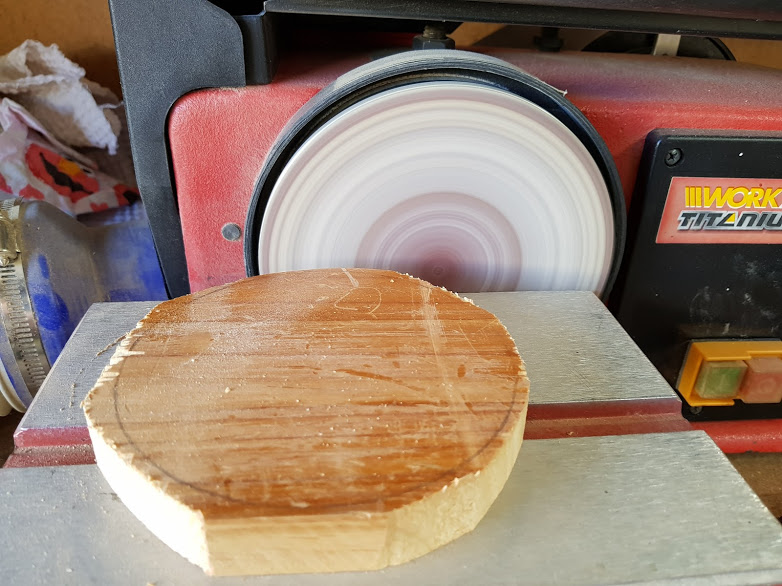
If your candlesticks need a top, you can make one using scrap wood you’ve got lying around. Simply draw circles onto your timber and cut them out with a jigsaw. If your cut isn’t perfect, leave a few extra millimetres around the line and use a benchtop sander to smooth the edges into a perfect round shape.
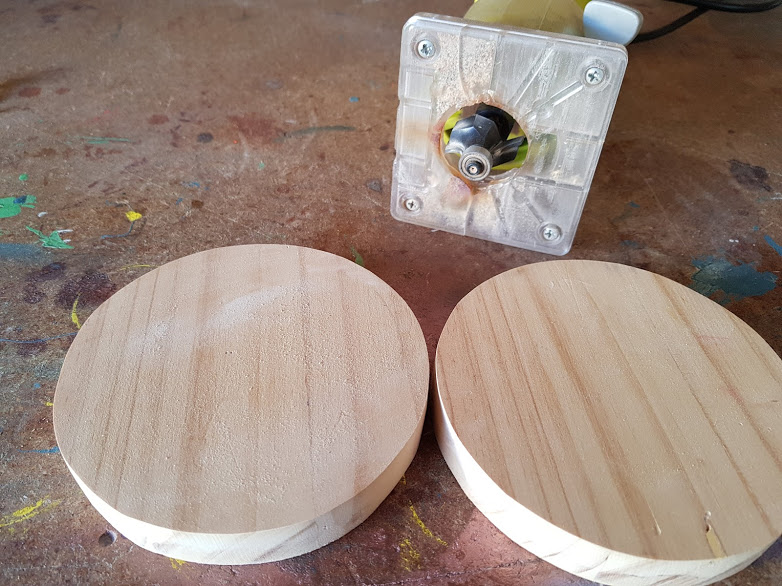
To finish the discs, you can either paint them black for a classic look or use a wood router to bevel the edges for a softer, more decorative finish. Once you’re happy with the shape and colour, attach the tops using strong wood glue.
More chalk paint projects
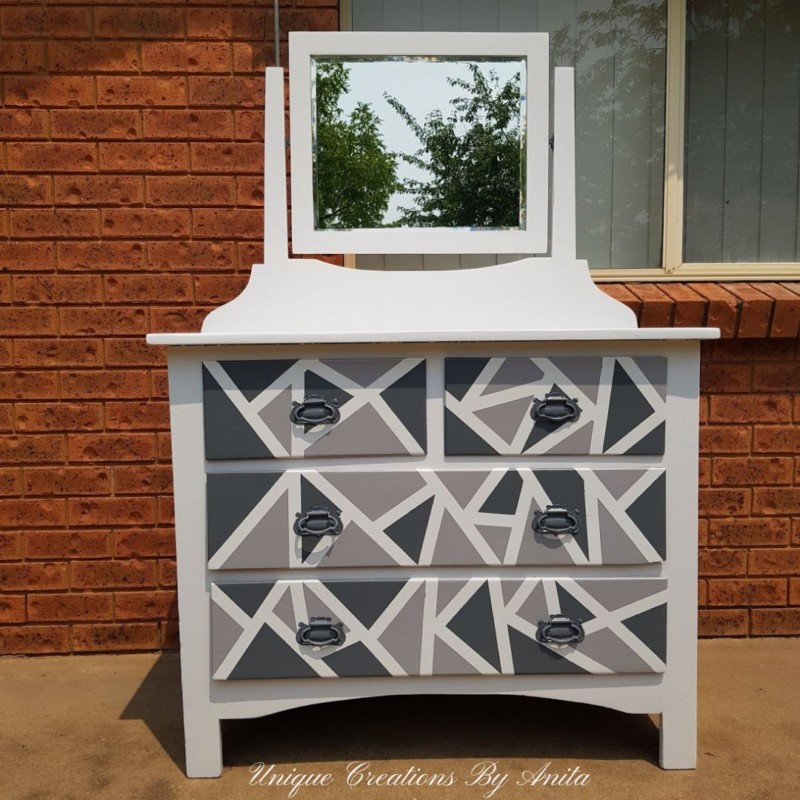
This dresser was given a fresh, modern look using chalk paint and a striking geometric design.
To give this bedroom chair a soft, shimmering finish, I mixed chalk paint with mica powder and experimented with different application techniques.


If you’d like to find any of the items used in this project, we’d greatly appreciate it if you used our affiliate links. These links provide us with a small commission at no extra cost to you, allowing us to continue creating and sharing more inspiring projects. We’d also love to hear your thoughts—feel free to leave a comment or share this post!


No Comments