
I found this vintage couch listed on a local buy, swap, and sell page. The owner had left it on the curb and said it was free to anyone who wanted it. If it wasn’t gone by the next day, it was heading to the dump. It looked rough, but I saw potential and thought it would be the perfect opportunity to test my skills.
This was the very first DIY project I ever attempted. I’d never tried restoring furniture before, but thanks to my husband and son, we had most of the tools already at home. I figured I had nothing to lose; if it didn’t work out, the couch could still end up at the tip.

To my surprise, the restoration turned out far better than I expected. I even reupholstered it, and it now proudly sits in my sister’s home.
I didn’t document this makeover step by step at the time—I had no idea it was a skill I even had, let alone one I’d continue to develop through more and more ambitious restorations. But I still wanted to share it. Hopefully, it inspires someone else to take a chance on an old piece that might otherwise end up in a landfill.

Before we dive into this tutorial, be sure to subscribe to my bimonthly newsletter to be the first to see my latest projects. You can also follow me on Pinterest and Facebook where I also include my unique mixed-media art projects.
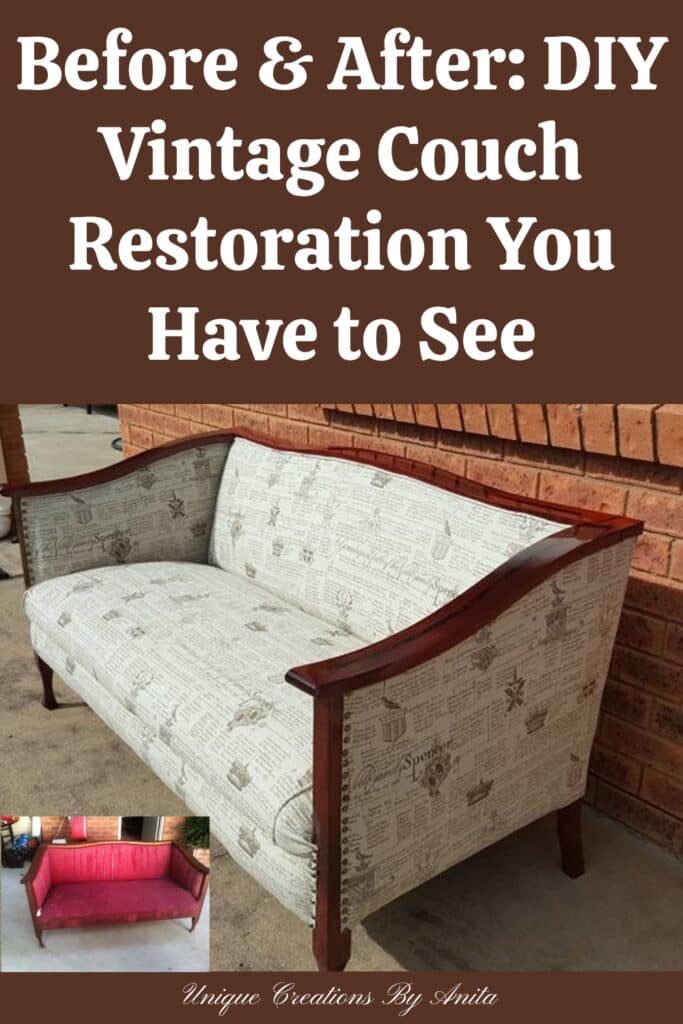
Vintage Couch Restored: From Verge Pickup to Vintage Glam
**This post may contain affiliate links. This means I earn a small commission on links used at no extra cost to you. Please see my disclosure policy for more information.**
Materials Used
- Orbital sander
- Wood glue
- Wood router with curved bit
- Guitar inlay or decorative strip
- Wood stain – Dark Mahogany
- Oil-based clear gloss polyurethane
- Heavy-duty stapler
- Upholstery fabric – Spenser family genealogy print
- Decorative stud strip or loose upholstery tacks
- Old sheet (to hold stuffing in place)
- Basic hand tools

Removing the Fabric and Repairing the Frame
Once I removed the old fabric, the frame didn’t look as bad as expected. It was wobbly, but the joints just needed some good wood glue to get sturdy again. I clamped everything and let it dry overnight.
Then I moved on to the wooden surface. It was badly scratched, especially one armrest. I tried sanding the scratches out with my orbital sander, but they were just too deep. So I brought out my router.

Fixing Deep Scratches with a Decorative Inlay
I was still a beginner with the router, and my first groove wasn’t straight at all. But rather than throw in the towel, I widened the groove and turned it into a decorative detail using a guitar inlay strip I had lying around.
Once glued in place, I sanded the surface flush and was actually thrilled with how it turned out. It went from being an eyesore to a highlight.

Staining and Sealing the Wood
The wood took on a rich look with two coats of Dark Mahogany stain. I sealed it with two coats of oil-based gloss polyurethane for a long-lasting finish.
Restuffing the Seat and Upholstering
The original seat had old-fashioned springs covered with what looked like a bird’s nest, likely old straw stuffing. I repacked the stuffing and stapled an old sheet over it to hold it all together.
Then came the fun part: the fabric. I found a beautiful upholstery fabric on eBay featuring the Spenser family genealogy. It was love at first sight, and it suited the vintage style perfectly.

Adding Upholstery Studs
After stapling the fabric in place, the staples were a bit of an eyesore. As a complete amateur at the time, I used individual decorative studs and hammered them in one by one. It took days, and the lines weren’t perfectly straight, but I was proud of the result.
Tip: If you’re doing this yourself, use decorative stud strips. They come joined together, and you only nail in every fifth stud. Much easier!
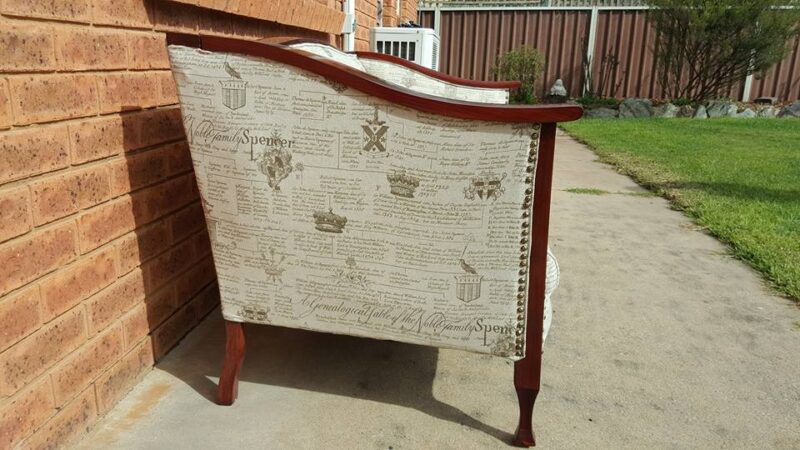

Finished Result
For a first-time couch restoration, the final result exceeded my expectations. It was an incredible learning experience, and the finished piece was a beautiful statement of what a little effort can do.
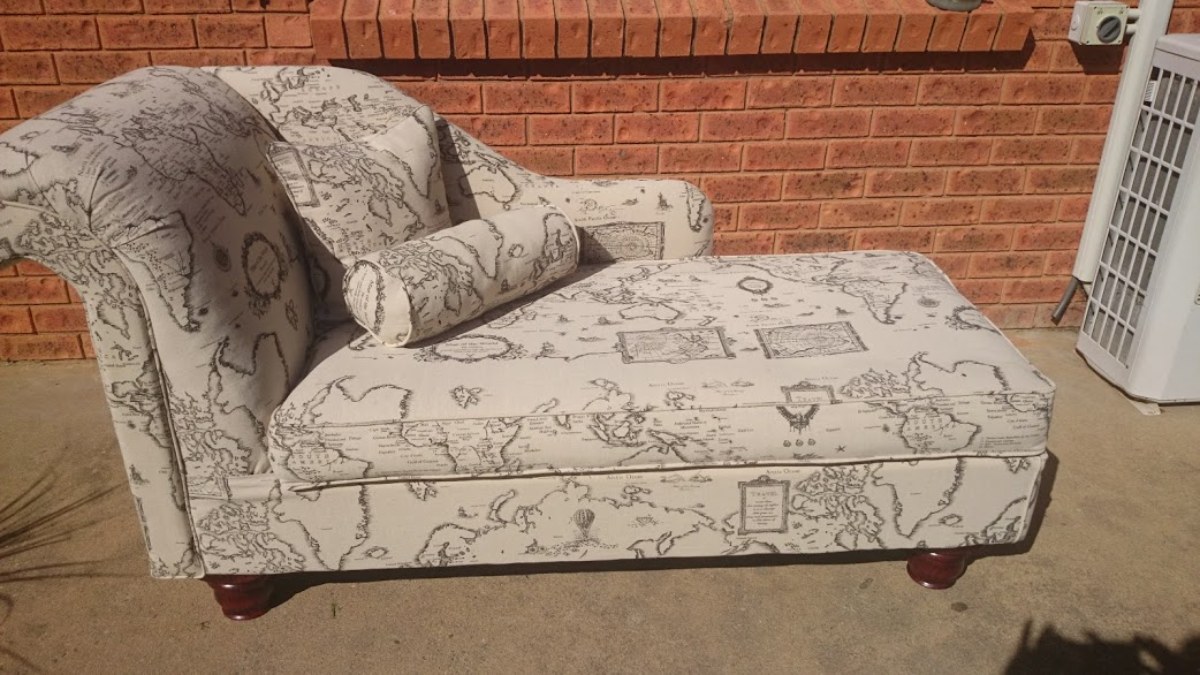
Since then, I’ve tackled more advanced projects like this chaise lounge made from recycled Materials that I made from scratch.
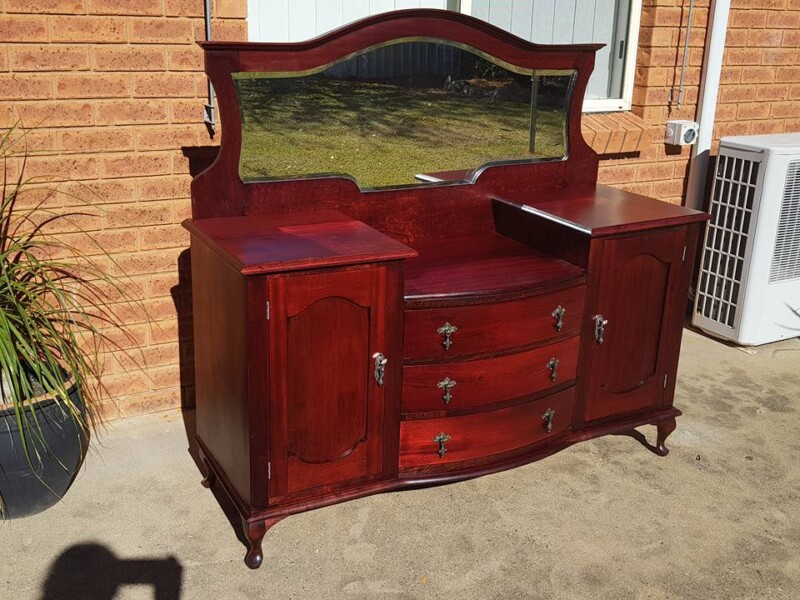
Another project I’m really proud of is the antique dresser I restored. It came to me in about 20 pieces, but I managed to bring it back to life and later sold it as a fully restored piece, for a tidy profit!

If you’d like to find any of the items used in this project, we’d greatly appreciate it if you used our affiliate links. These links provide us with a small commission at no extra cost to you, allowing us to continue creating and sharing more inspiring projects. We’d also love to hear your thoughts—feel free to leave a comment or share this post!
No Comments