
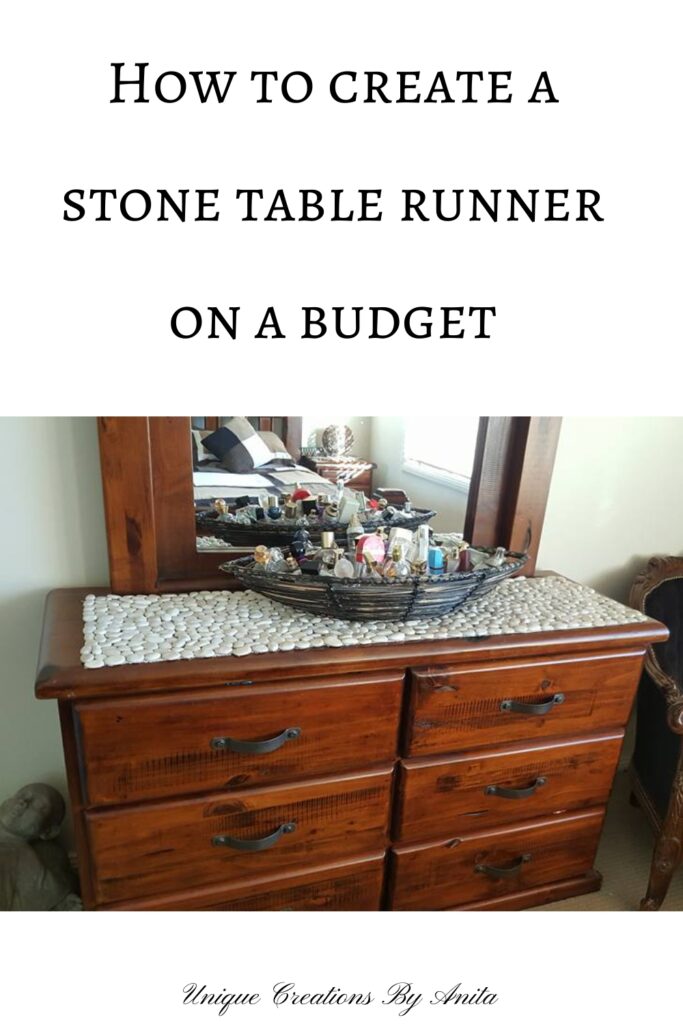
Have you ever wanted to bring a bit of nature indoors? A Pebble Table Runner is a beautiful, organic way to elevate your dining or coffee table décor. It’s simple to make, completely customisable, and adds a unique, tactile element to any space. Whether you’re going for coastal vibes, a rustic look, or a minimalist aesthetic, this DIY project is an affordable and stylish option.
The Pebble Table Runner is not only a conversation piece but also a fun way to upcycle inexpensive materials into something truly unique. It’s the perfect weekend craft project that adds lasting style and personality to your home.
Before we dive into this tutorial, be sure to subscribe to my bimonthly newsletter to be the first to see my latest projects. You can also follow me on Pinterest and Facebook where I also include my unique mixed-media art projects.

How to make a pebble table runner
**This post may contain affiliate links. This means I earn a small commission on links used at no extra cost to you. Please see my disclosure policy for more information.**
Materials You’ll Need
- Flat decorative pebbles or river stones (available at garden centres or dollar stores)
- Non-slip drawer liner or felt mat (cut to size of your runner)
- Strong craft glue (like Crafters Pick The Ultimate Glue or E6000)
- Scissors
- Ruler or measuring tape
- Pencil or chalk (for marking)
- Optional: Clear sealant spray (for added shine or protection)

Step 1: Decide on the Size of Your Runner
Measure your table and decide how long and wide you’d like the runner to be. A good starting point is around 90–120cm long and 20–30cm wide, depending on your table size. Cut your base material (non-slip liner or felt) to these measurements.
Step 2: Plan Your Layout
Before gluing, lay out the pebbles over the base to get an idea of how they’ll fit. Try to mix sizes and colours for a more natural look, or keep things uniform for a sleek finish. Make sure the stones are as flat as possible so plates or vases can sit evenly on the runner.
Step 3: Start Gluing
Working in small sections, lift a few stones at a time, apply a generous amount of glue to each stone, and press it firmly onto the base. Continue until the entire surface is covered. Avoid leaving large gaps between stones unless that’s the effect you want.
Step 4: Let It Dry
Leave the runner to dry for at least 24 hours in a well-ventilated area. Make sure it’s flat during this time to prevent curling at the edges.
Optional Step: Seal the Stones
If you’d like a glossy finish or to protect the pebbles from spills, lightly spray the surface with a clear sealant once the glue has dried completely. Let it cure fully before placing it on the table.


More project Ideas
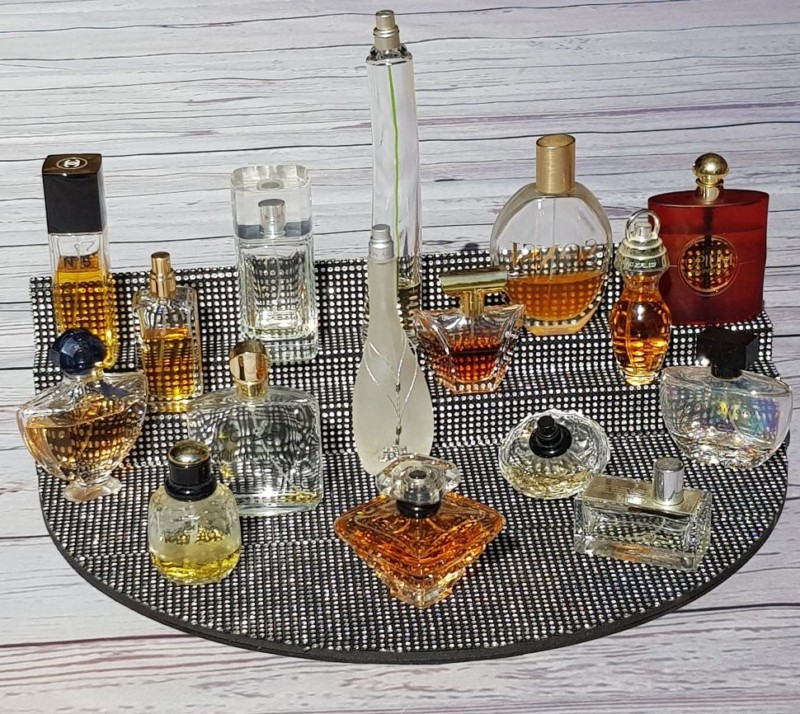
This perfume stand is a great way to display all your perfumes on your dresser.
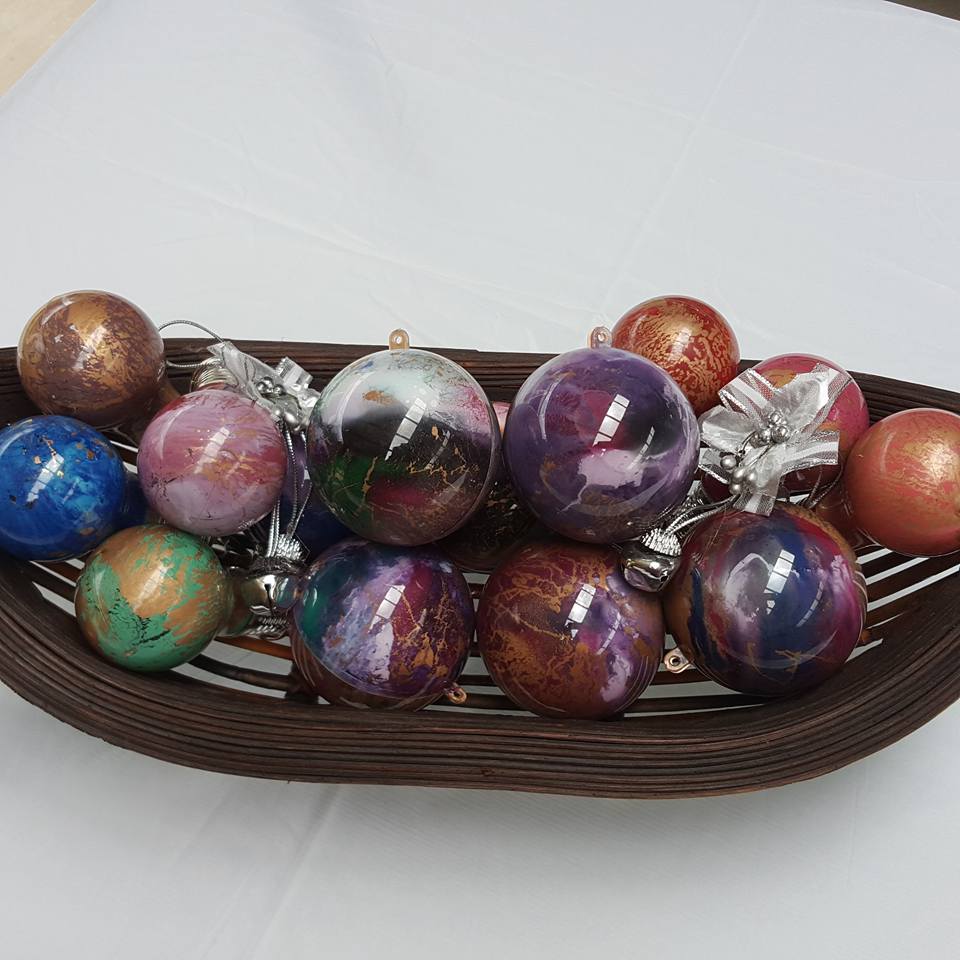
Learn how to decorate Christmas baubles using unicorn spit stain and glaze for this stunning effect.


If you’re interested in any of the items used in this project, we’d appreciate it if you used our affiliate links. Clicking these links earns us a small commission at no extra cost to you, helping us create more inspiring and exciting projects to share. We’d also love to hear your thoughts—feel free to leave a comment or share this post!


4 Comments
Andrea D
August 7, 2019 at 4:55 pmCool idea, thanks for posting! If I may make one suggestion…a few more details would’ve been nice. For example, what the heck are net curtains? I may not have them but if you had shown a picture, I might have got some ideas as to what items I have in my house that I could use. Another example would be if you shared what kind of adhesive you used, or if you shared the dimensions of your runner and how many packages of rocks did it take?
And unrelated to the content, I found a couple spelling errors. If you already know, then please disregard, but I thought I’d report them in case you hadn’t been made aware yet.
I like the look of your site, it’s cozy/homey. If you’re interested in a second set of eyes proofing your blogs/articles before you publish them, get in touch with me.
OK, that’s all. Thanks again for sharing!
Anita Holland
August 8, 2019 at 2:41 amThank you for your comments and you are 100% correct. That was one of my first posts I ever made and honestly did not have a clue what I was doing. I am slowly working my way through my posts and redoing them, now I have Grammarly to help me out. Unfortunately, I am better at creating projects than I am at writing about them. But that said I am working on it. Thanks for the offer of a second set of eyes, but I don’t think you will have enough time to fix all mine. I have been told my projects are great but my website needs work.
Andrea D
August 11, 2019 at 5:55 amLOL…I know how that goes…I too am better at production & creation than I am at putting the finishing touches on things. And I can do wonders for other people’s websites and social media, but to do my own…well, I am going on two years without a sale site cuz I keep changing my mind and moving to new projects. So, I get it. Didn’t want to come off as criticizing just an offer. Keep up the cool projects, those are more important than whether or not you can type. hahaha
Thank you for sharing your creativity with us.
Anita Holland
August 11, 2019 at 6:01 amThank you So much, I did not take it as a criticism. I am happy to accept all help. I have a developer doing changes at the moment because it is just above my head somedays. I would love to see your projects if you have a website.