
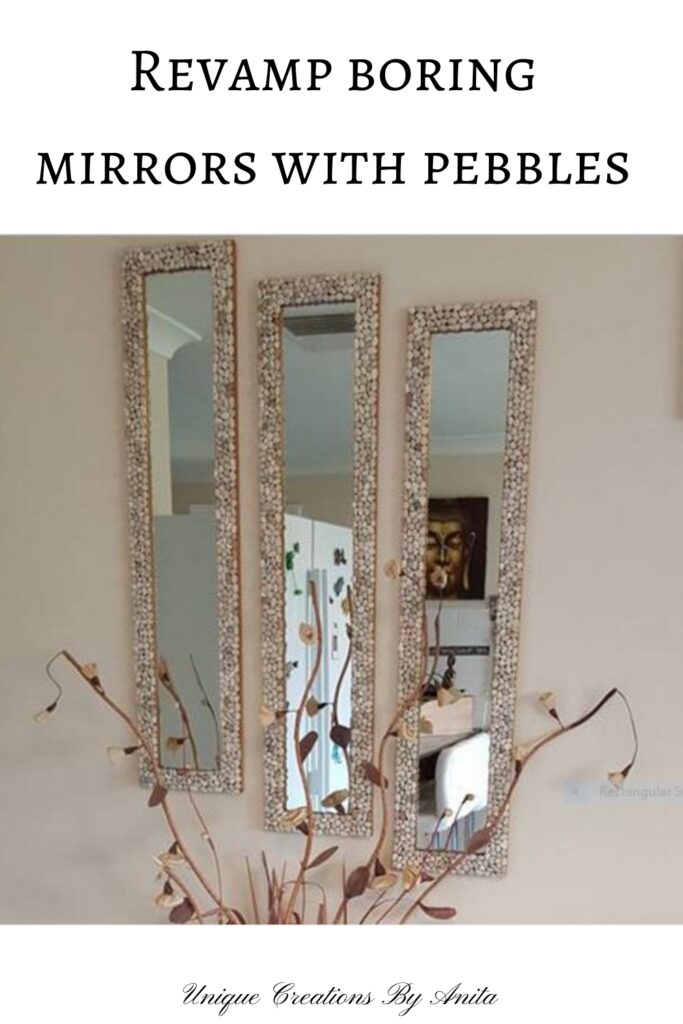
Have you got one of those plain, uninspiring wooden mirrors lying around? Maybe it was an impulse buy, like the ones my daughter brought home while working at a budget shop. Instead of letting them gather dust under the bed, why not give them a fresh new look?
In this tutorial, I’ll show you how to decorate a mirror using pebbles. I revamped a basic wooden mirror using decorative pebbles. This method is simple but time-consuming, and the final look is absolutely worth it. It’s the same technique I used to make a pebble table runner for my dressing table, and I was thrilled with how it turned out.

Before we dive into this tutorial, be sure to subscribe to my bimonthly newsletter to be the first to see my latest projects. You can also follow me on Pinterest and Facebook where I also include my unique mixed-media art projects.
How to decorate a mirror using pebbles
**This post may contain affiliate links. This means I earn a small commission on links used at no extra cost to you. Please see my disclosure policy for more information.**
Materials You’ll Need:
- A plain wooden-framed mirror
- Decorative pebbles or stones (garden centres, $2 shops, or repurposed from an old fish tank)
- A pot and stovetop (for cleaning the stones)
- A towel or drying rack
- Clear contact adhesive (e.g. Selleys Kwik Grip or similar)
- Optional: hot glue gun (not recommended due to mess)
- Small spatula, popsicle stick or toothpick (for glue application)
- Rags or paper towels (for glue clean-up)
- Ruler or measuring tape (optional, for spacing)
- Old newspaper or drop cloth (to protect your surface)
Step 1: Prep Your Pebbles
Whether you’ve bought your stones or repurposed them (mine were from an old fish tank!), it’s essential to clean them properly before glueing. Dirty or dusty stones won’t bond well and may fall off later.
How to clean the pebbles:
- Place them in a pot of cold water.
- Bring the water to a gentle boil and let it simmer for 5–10 minutes.
- Drain the pot and spread the pebbles on a towel to dry completely. This may take a few hours or overnight, depending on their size.
Tip: Don’t skip this step — even ‘clean’ store-bought pebbles are usually dusty.

Step 2: Clean the Mirror Frame
Make sure the wooden frame is clean and dry. If it’s glossy or sealed, lightly sand it to help the glue grip better. Wipe off any dust with a damp cloth and allow it to dry completely.
Step 3: Plan Your Design
Before you glue anything down, it’s a good idea to lay out your pebbles roughly where you want them to go. This lets you see how they fit and plan for symmetry, colour variation or size balance.
- Start with a dry run.
- Decide if you want full coverage or just a border.
- Set aside flat stones for the inner edges (where they touch the mirror glass).
Step 4: Start Glueing the Pebbles
I tried using a hot glue gun initially, but it was messy and left behind fine glue strings that ruined the clean look. Instead, I recommend a clear contact adhesive — it gives a neater finish and stronger hold.
Glueing Steps:
- Start on the outer edge of the mirror frame.
- Apply a small amount of glue to the back of each pebble using a toothpick or spatula.
- Press each stone firmly into place, holding for a few seconds.
- Once the outer edge is done, move to the inner border (near the mirror glass).
- Fill in the centre area last, working in small sections.

Tip: Be sure to leave a small gap between the pebble and mirror edge, or use flatter pebbles to prevent them from being knocked off when cleaning the glass.
Step 5: Let It Cure
Allow the glue to dry completely as per the adhesive’s instructions. This usually takes 24–48 hours for a solid bond. Don’t hang or move the mirror until it’s fully cured.
Step 6: Clean & Polish
Once dry, wipe any glue smudges off the mirror with a soft cloth and some glass cleaner. Avoid harsh scrubbing around the pebbles.
More project ideas
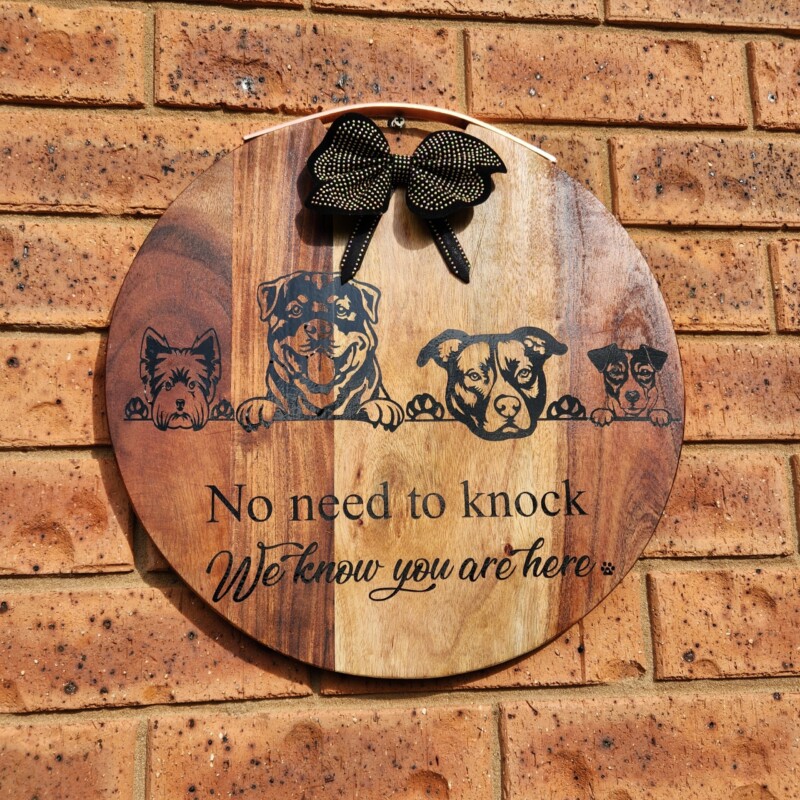
This porch sign is a cute way to welcome your visitors.
Check out the stone table runner I made using the same technique, just using bigger pebbles


If you’re interested in any of the items used in this project, we’d appreciate it if you used our affiliate links. Clicking these links earns us a small commission at no extra cost to you, helping us create more inspiring and exciting projects to share. We’d also love to hear your thoughts—feel free to leave a comment or share this post!

No Comments