
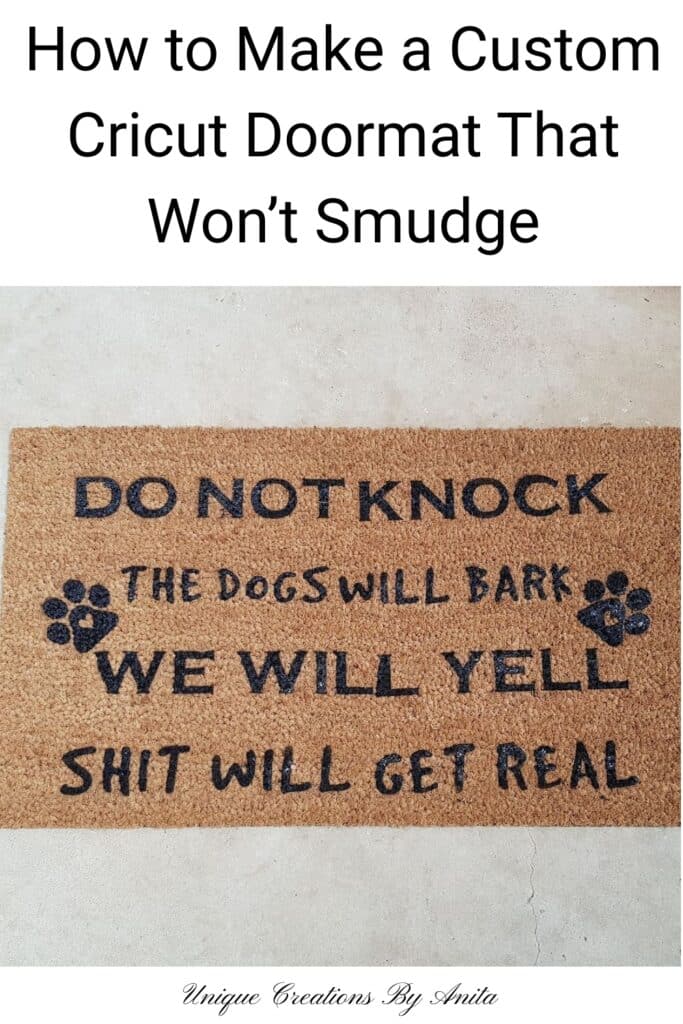
Looking for a fun and functional Cricut project? Learn how to make your own personalised novelty doormat using permanent vinyl and Leak Seal spray for crisp, professional results. Custom doormats are trending in a big way this year, and it’s easy to see why. Whether you want to welcome guests with humour, show off your family name, or gift something unique, these doormats are endlessly customisable and a total crowd-pleaser.
In this tutorial, I’ll show you exactly how to make your own novelty doormat using a Cricut machine – without paint bleeding, stencil slipping, or wasted materials. I’ve tested a few methods, and this one works every time.
Before we dive into this tutorial, be sure to subscribe to my bimonthly newsletter to be the first to see my latest projects. You can also follow me on Pinterest and Facebook, where I also include my unique mixed-media art projects
How to make a novelty doormat using a Cricut
**This post may contain affiliate links. This means I earn a small commission on links used at no extra cost to you. Please see my disclosure policy for more information.**
Materials You’ll Need
- Cricut Explore Air 2 or Silhouette Cameo
- Permanent vinyl (Oracle 651 recommended)
- Transfer tape (lightly used works best)
- Coir doormat (mine was 600mm x 350mm)
- Large cutting mat (optional but handy)
- Leak Seal spray (black or your chosen colour)
- Painter’s tape
- Scraper tool or old store card
- Tweezers and gloves
- Hairdryer (for helping vinyl stick to coir)
- X-Acto knife (for small detail pieces)
Step 1: Design Your Doormat Stencil in Cricut Design Space
Open Design Space and type the text you want on your mat. You can use fun fonts, add a quirky quote, or go with something simple like your surname.

If you’re using a standard-sized cutting mat, rotate your design vertically and divide it into two sections. Group and attach the text in each section, so they cut exactly how you want them to appear. For reference, I sized my final design at 520mm x 270mm to fit my $6 coir doormat from a local budget store.

Step 2: Cut Your Vinyl and Make the Stencil
Don’t make the same mistake I did—avoid cheap vinyl! It won’t stick to the coir fibres, and your stencil will shift.

Use Oracle 651 permanent vinyl for best results. Cut your design into two halves if needed.

Weed out the letters, leaving a stencil behind.

Trim and tape the two halves together to create one large stencil.

Step 3: Transfer the Vinyl Stencil to the Doormat
The rough coir surface can make this step tricky, but it’s doable.
- Apply transfer tape to your vinyl stencil and burnish it well with a scraper.
- Use lightly used transfer tape so it’s not too sticky.
- Tape one end of the vinyl stencil to the mat with painter’s tape to hold it in place.

- Slowly peel the transfer tape back against itself to release the vinyl.
- Use an X-Acto knife to help place small pieces (like the centres of letters).
- Gently warm the vinyl with a hairdryer, then press it down to stick to the mat.

Step 4: Spray with Leak Seal for a Crisp Finish
This is the magic step that prevents paint bleeding and gives you clean, bold letters.
Tip: Always do this outdoors in a well-ventilated space!

- Mask off any exposed areas around your design with painter’s tape.
- Shake the Leak Seal spray well.

Lightly spray over the entire stencil, ensuring full coverage.

Remove the vinyl stencil immediately – don’t wait for it to dry!

Use tweezers to remove small letter centres and wear gloves to avoid a mess.
All Done!
It took me about an hour to make my doormat, mostly because I didn’t have the large cutting mat. With the right setup, it could be even quicker.
The result? A durable, personalised doormat with crisp lettering that looks professionally made!
")
More Cricut project ideas
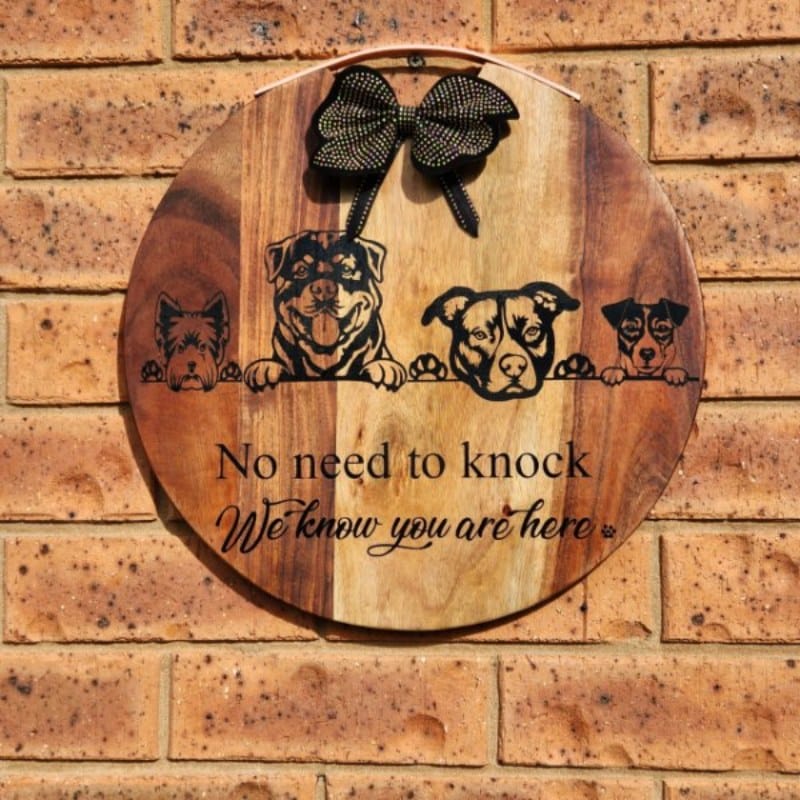
This porch sign was made using a recycled cheese board and upcycled into a charming welcome sign.
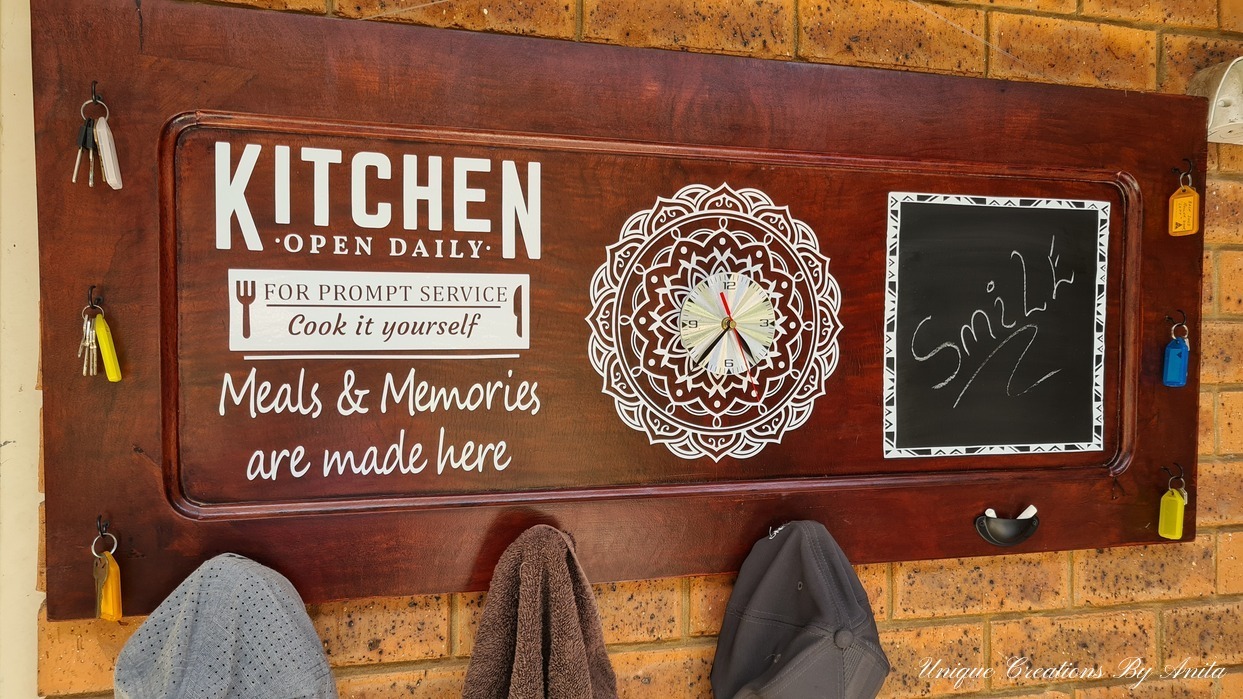
This functional kitchen sign was made from a panel salvaged from a piano project and upcycled into a multi-purpose organiser featuring a chalkboard to-do list, key hooks, and a hat rack.

If you’d like to find any of the items used in this project, we’d greatly appreciate it if you used our affiliate links. These links provide us with a small commission at no extra cost to you, allowing us to continue creating and sharing more inspiring projects. We’d also love to hear your thoughts—feel free to leave a comment or share this post!


15 Comments
Lauren Sparks
February 4, 2020 at 8:29 pmToo funny. Visiting from the hearth and soul link party.
Anita Holland
February 4, 2020 at 8:55 pmThank you so much, Lauren.
Anita Holland
February 9, 2020 at 9:13 amThank you! I have requests for some really naughty ones.🤣🤣
Jeanna
February 6, 2020 at 4:40 pmThat is incredible, I’ve tired to make a t-shirt and what a mess of it I made instead. You sure look like you know what your doing, great instructions and fun doormat.
Anita Holland
February 9, 2020 at 9:12 amThank you so much, I did find it easy. And like you my first shirt was rubbish, the vinyl peeled off 🤣🤣
Debbie-Dabble
February 7, 2020 at 12:53 amThanks so much for stopping by!!
Hugs,
Debbie
Anita Holland
February 9, 2020 at 9:10 amI will be back next week 😉
Julie
February 9, 2020 at 4:29 pmWhat a great product! And what a great way to let people know of the consequences of their actions!
Anita Holland
February 10, 2020 at 6:26 amIt is how it happens with our dogs lol
Pamela
February 11, 2020 at 4:16 pmI was wondering what the special type of paint used on these, thanks for the info…your mat is hilarious, BTW!!!
Anita Holland
February 12, 2020 at 12:49 amThank you so much, I think the leak seal works so much better than paint.
Michelle Leslie
February 12, 2020 at 5:42 amBwahahahahahah Anita. Love the doormat Anita. Every time I see one of your Cricut projects I end up wanting one more. The possibilities to make things seem endless.
Debbie-Dabble
February 14, 2020 at 2:29 amThanks so much for hosting each week!!
Hugs,
Debbie
Jennifer Osterhout
February 14, 2020 at 2:59 amI laughed out loud when I read your doormat. With 3 little kids and an oversized mutt, I need this saying on my doormat warning everyone entering my house! I own a Brother Design and Scan so I think I can use similar methodology. Thanks!
Anita Holland
February 15, 2020 at 8:19 pmThank you so much, It is definitely true in our house with 2 jack Russells who think they are rottweilers. I am sure the brother machine will work just fine for this project.