")
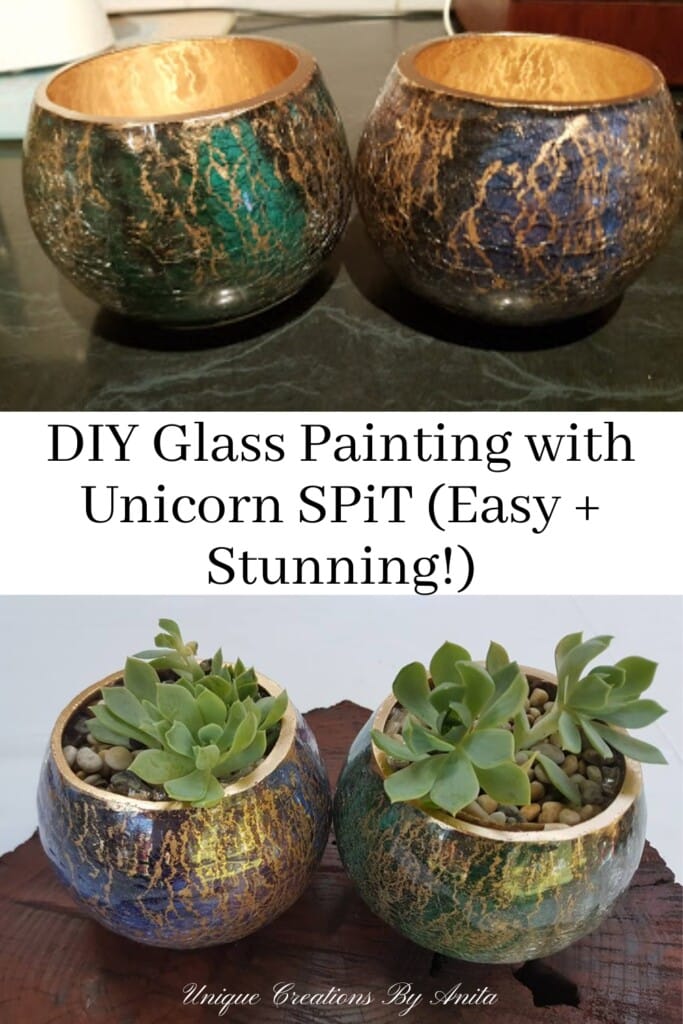
Unicorn SPiT isn’t just for wood! In this post, I’ll show you exactly how to use Unicorn SPiT on glass to transform plain thrifted items into dazzling décor. This inside-glass painting technique lets the colours shine through and creates an effect that’s even more stunning when backlit. Whether you’re upcycling hurricane lamps or creating unique vases, you don’t need to be an artist to get amazing results.
Unicorn SPiT was originally created for care home residents to use as a vibrant wood stain. It’s now a cult favourite for DIYers, artists, and crafters around the world thanks to its rich pigments, blendability, and versatility. Once I discovered this glass technique, I couldn’t stop – no glass in my house was safe!
")
Before we dive into this tutorial, be sure to subscribe to my bimonthly newsletter to be the first to see my latest projects. You can also follow me on Pinterest and Facebook, where I also include my unique mixed-media art projects.
How to Use Unicorn SPiT on Glass: Stunning DIY Decor from Thrifted Treasures
**This post may contain affiliate links. This means I earn a small commission on links used at no extra cost to you. Please see my disclosure policy for more information.**
Materials Needed
- Unicorn SPiT stain and glaze (various colours)
- Old or thrifted glassware (avoid frosted glass)
- Plastic syringe or dropper
- Fine mist water spray bottle
- PVC pipe or spray can lid (to elevate the glass)
- Gold metallic spray paint
- Mod Podge (optional for base)
- Clear polyurethane spray or sealer
- Gold leaf and adhesive size
- Disposable gloves
- Paper towel or drop cloth
Step 1: Prep the Glassware
Start by washing your glass thoroughly. You’ll want a clean, grease-free surface. Avoid frosted glass – it blocks the vibrancy of the stain. Give your Unicorn SPiT a good shake before use. I like to start at the top of the glass and work my way down.
Glass lamps and products decorated with Unicorn SPiT are for decorative use only. They are not heatproof or flame-safe and should never be used with real flame candles. To safely illuminate your creations, use LED tealights or battery-operated fairy lights only. Using open flames may cause the glass to crack or the finish to be damaged.

Step 2: Apply Unicorn SPiT Inside the Glass
Use a plastic syringe to apply your colours to the inside of the glass. I prefer using fewer colours to avoid over-blending. Inject the stain around the rim and let gravity take over.

To avoid straight lines, I rest my glass on a PVC pipe and rotate it gently as the stain flows.

If your stain is too thick and doesn’t run, add a little water. I dilute mine in a separate bottle – about 10ml at a time – to keep my main colours pure.

Step 3: Activate with Water Mist
Once the glass is coated, lightly mist the inside with water. Three fine sprays are usually enough. Place the glass upside down on paper towel so the excess can drip out. Don’t waste that leftover stain – scoop it up and reuse it on another piece!
As the Unicorn SPiT dries, it turns dull and powdery. Cracks will begin to form, adding beautiful texture. If it dries too quickly without cracking, re-mist to reactivate.

Step 4: Add Metallic Spray Paint
Once dry, spray metallic gold paint inside the glass to cover the stain. This enhances the contrast and makes the colours pop. Wear gloves while spraying to avoid fingerprints and wipe away any overspray from the outside immediately.

Leave the paint to dry, and touch up any areas you missed.

Step 5: Decorate the Base
To balance the colour, I painted the base of the lamp on the outside. First, coat it with Mod Podge and let it dry until clear. Then apply Unicorn SPiT – I used Midnight Blackness sparingly, as it’s highly pigmented.

I also sprayed the handles gold to match the inside. Once dry, seal all painted areas with two coats of clear polyurethane.

Step 6: Add Gold Leaf for Extra Glam
The base felt dull compared to the colourful lamp, so I jazzed it up with gold leaf.

Apply adhesive size to the areas you want gilded and wait until tacky. Press on the gold leaf and gently brush away excess. It’s messy but worth it!

The finished lamp shows a stunning vein effect.

Step 7: Finishing Touches
To really show off the effect, I placed battery-powered fairy lights inside. The result? A glowing, vibrant art piece that’s totally unique.

Just note – these are decorative only. If you want to turn them into lamps, use cool LED lights and ensure all surfaces are sealed. One of my favourite things about unicorn SPiT is that every project is unique.

Bonus Project Ideas
With leftover SPiT, I made a Unicorn SPiT planter from an old tree stump. For the planters, I sealed them with outdoor varnish.

It was definitely a full-on SPiTting day—I ended up adding Unicorn SPiT to every glass item I could find! No glass was safe in my house. I even made some cute little glass pots, lined them with clingfilm, and popped in a few succulents for a fun, faux plant display.
A quick tip: never use water with Unicorn SPiT unless the surface is fully sealed—and even then, there’s still a risk. Because Unicorn SPiT is water-reactive, moisture can seep under the sealed layer and cause it to lift or run. Luckily, I must have done a great job sealing mine, because six months later, the colours still look as vibrant as the day I made them

More unicorn SPiT ideas
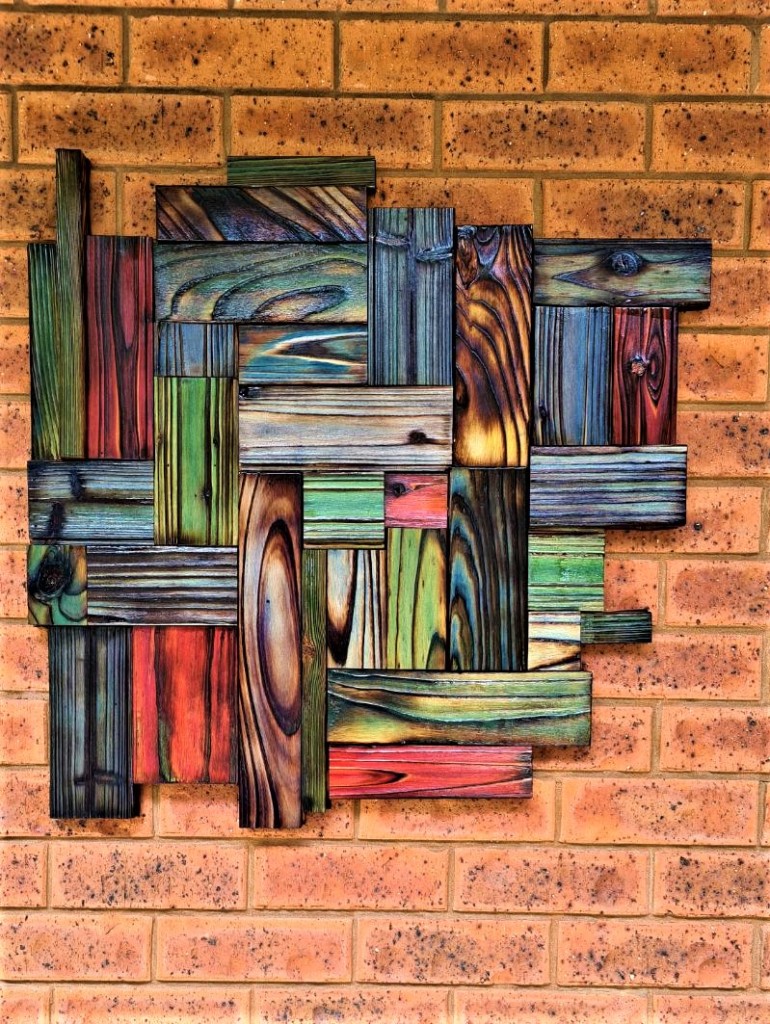
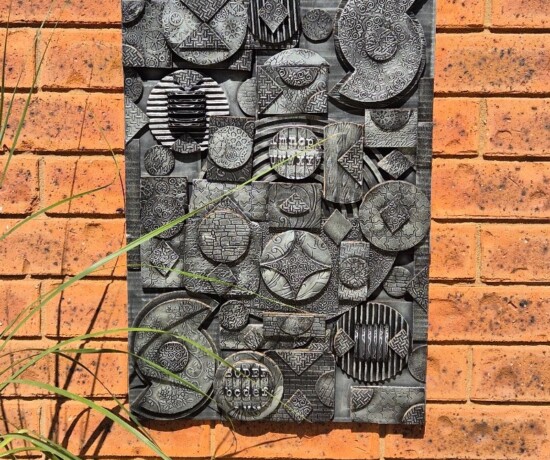
I used unicorn spit to stain this wooden wall hanging I made using a shou sugi ban technique to burn the wood.
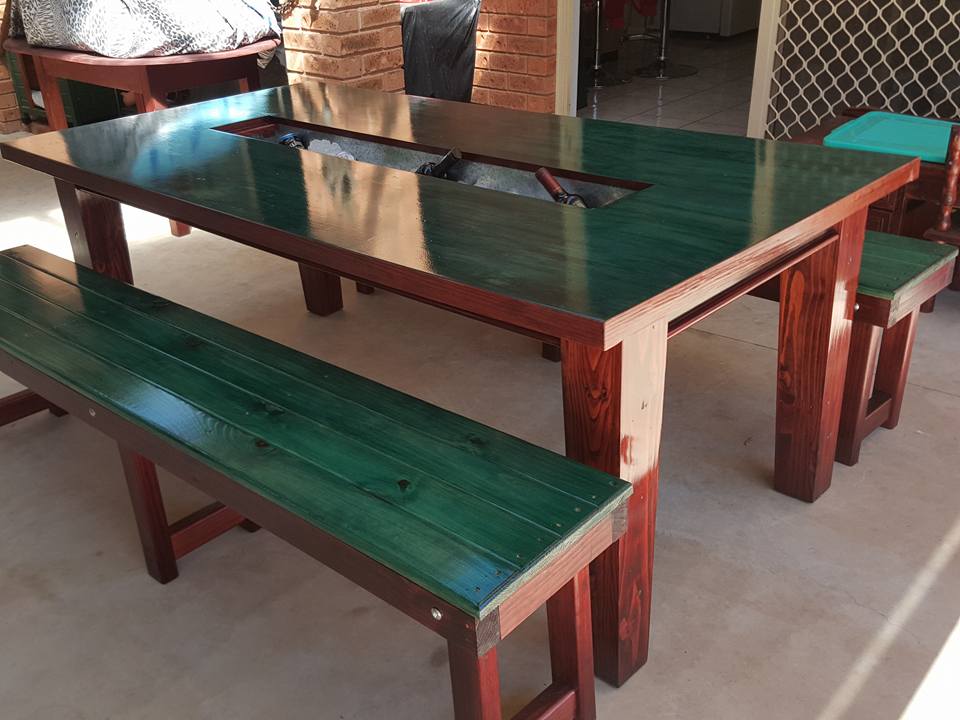
Unicorn SPiT is great if you are looking for something different. I used it to stain this trough table I made.

If you’d like to find any of the items used in this project, we’d greatly appreciate it if you used our affiliate links. These links provide us with a small commission at no extra cost to you, allowing us to continue creating and sharing more inspiring projects. We’d also love to hear your thoughts—feel free to leave a comment or share this post!

27 Comments
Lynette Meyers
October 3, 2018 at 4:30 amAwesome,you can proud of your effort. They look stunning.
Anita Holland
October 3, 2018 at 10:03 amThank you so much Lynette. I was so happy with the way they turned out.
Robin Rennells
February 25, 2020 at 2:42 pmThank you, I love your inspiration!
Anita Holland
February 25, 2020 at 3:51 pmThank you so much, Robin. That is very kind of you to say.
Jody
November 29, 2018 at 1:47 amHow long does it take the spit to run? Mine seems to just sit there. ☹️
Anita Holland
December 7, 2018 at 2:30 amSorry for the delay in replying, I have been away on holiday. It should start to run straight away. Some of the colours I have are thicker than others so some run faster than others. You can just add some water to your Unicorn spit to help it run better. I would love to see how they turned out.
Dawn Holmes
July 14, 2019 at 10:45 amThese pieces are simply stunning. I love art glass and now I can’t wait to get started. Thank you so much for your inspiration.
Anita Holland
July 14, 2019 at 12:24 pmThank you so much and you are very welcome. I bought it for wood but love using it more on glass. I have done a few projects using this method if you search my website for unicorn spit.
Bonnie Clark
July 15, 2019 at 4:14 pmJust totally stunning, you have a great artistic talent!!
Anita Holland
July 16, 2019 at 1:12 amThank you so much for the lovely comment. I feel embarrassed because it is so easy to do, a child could do it.
Chas Greener
July 18, 2019 at 12:53 amBeautiful work! I love upcycling and have always wanted to work with unicorn spit. Thank you so much for sharing with To Grandma’s House We Go – I’ll be featuring you next week!
Anita Holland
July 18, 2019 at 3:19 amThank you so much, I love it unicorn spit on glass, I have done a few projects and they all turned out stunning. And you need no skill at all which is the best. Thanks for the feature. I will be sure to add a link back.
Sarah
March 10, 2020 at 9:11 pmHi there, I’m trying to do some small glasses with do it and silver spray. However I don’t get any cracks forming no matter how much I spray and the spit is very uneven in coating the inside. Some areas are coloured nicely other have a thin almost see through coating.
Anita Holland
March 11, 2020 at 11:02 amIt sounds like your unicorn spit it to thick. Put some in a smaller container and add small amounts of water until it flows freely down the glass. Let me know how you go.
Sarah
March 11, 2020 at 7:40 pmThank you. I will give it another go! Did you mix the spit with lodge podge at all? X
Maria Brittis
September 17, 2020 at 9:01 pmThey turned out beautiful, love the color.
Anita Holland
September 18, 2020 at 6:49 amThank you Maria, I love unicorn spit on glass.
Tanya
January 21, 2021 at 2:59 pmThanks for your tutorial! Your sharing spirit is appreciated!
Do you think this would work on clear acrylic? I have a canister I’d like to spit!
Rue
April 24, 2022 at 12:53 pmI am fascinated by your Unicorn spit! I have only used it on wood, but on the glass it is truly stunning! I wish I could do it on the inside vase that I always put fresh flowers in! That would be so beautiful 😻
Anita Holland
April 26, 2022 at 5:30 pmThanks so much Rue, I agree unicorn spit on glass is stunning.
Lamar Burgess
June 5, 2022 at 3:51 pmIt thrills me to see someone doing this with taste and class. Most stuff I see is either a swamp or a rainbow.
Anita Holland
June 7, 2022 at 11:02 amThank you so much, that is an awesome compliment.
Marjie
August 29, 2022 at 10:51 pmDoes the Unicorn Spit require any additive or preparation to ensure long term adherence to the glass surface?
Thanks
Anita Holland
September 1, 2022 at 4:17 pmNo you don’t need to seal it, the gold spray paint seals the surface.
Karna Naker
March 26, 2024 at 8:15 amIf you spray it with the gold(which I love), how can light shine through it? Wouldn’t it be opaque? Also, I am going to try this project with 46 7th and 8th graders to make a Mother’s Day gift. Any suggestion on how much spit I might need?
Anita Holland
March 26, 2024 at 7:17 pmThanks so much for visiting my website. The spray of gold is just a light coat. You will still see some light coming through. But this technique is more for decorative glass. Because the unicorn spit is slightly watered down you only use a small amount and let it run down. I would guess one to two bottles will be needed as they are not very big like they used to be.
Regards
Anita
See How To Verre Eglomise With Unicorn Spit - A Crafty Mix
September 6, 2024 at 4:14 pm[…] I’ve been dying to try it. Especially after seeing all the beautiful things some of the other talented SPiTTers have been doing. Anyhows, because this was one of those playing around, experiment kinda things, […]