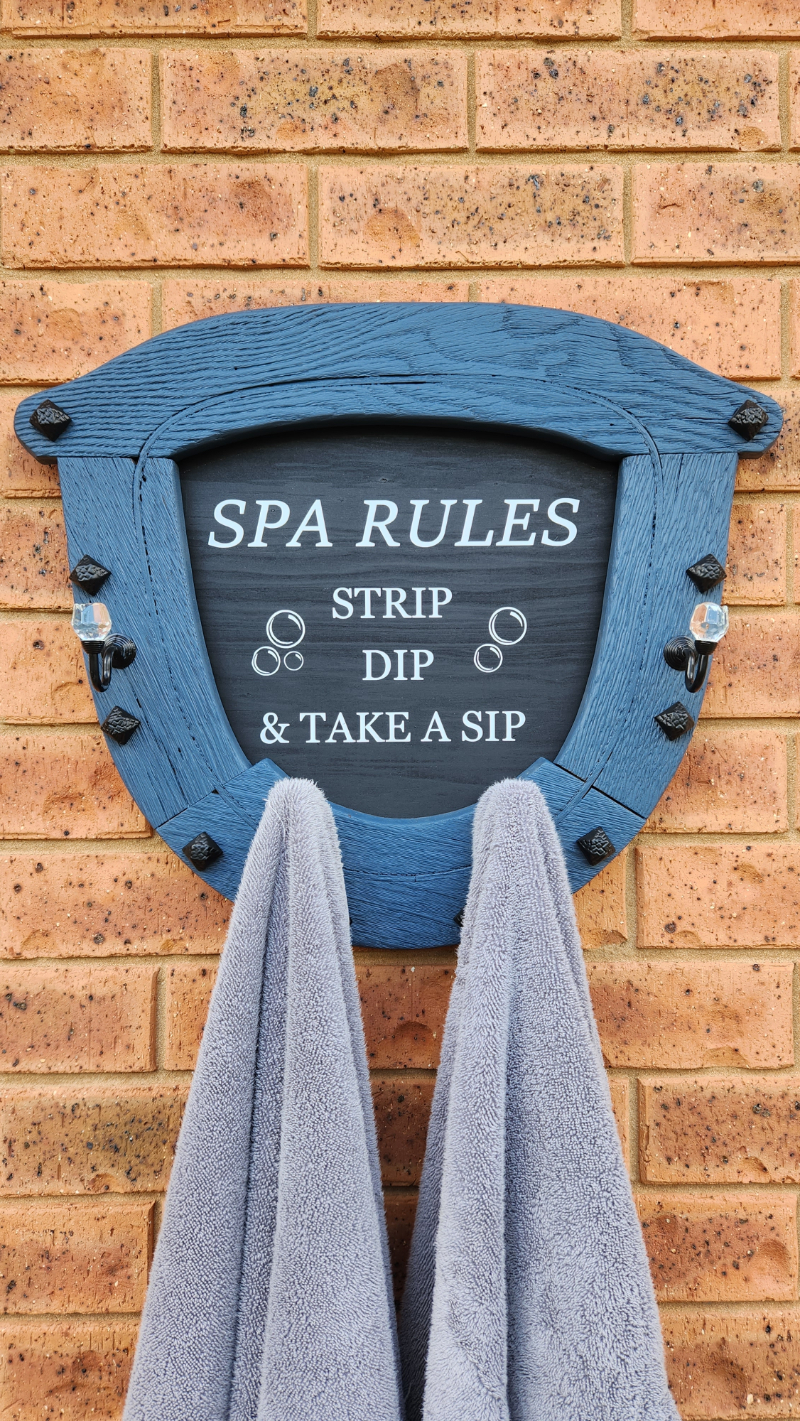
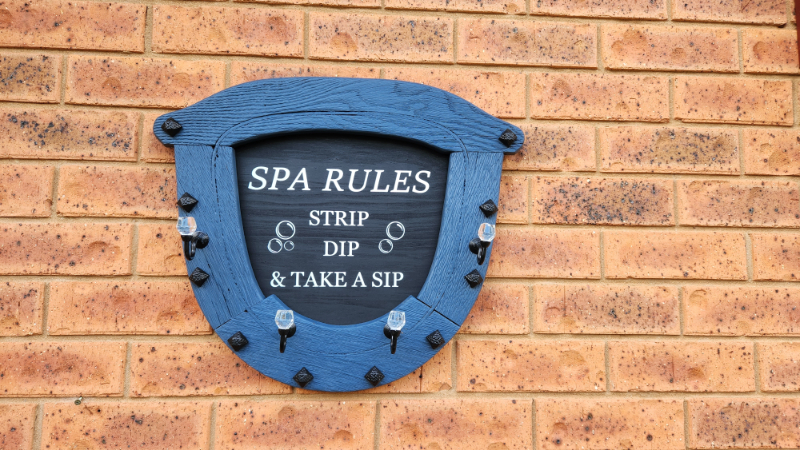
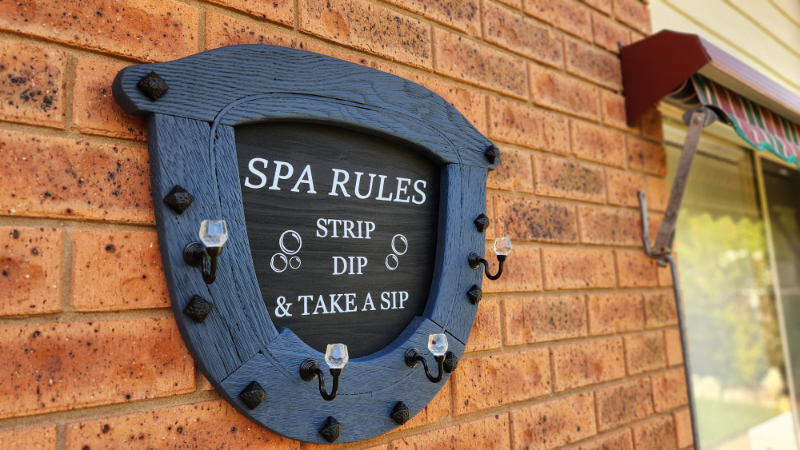
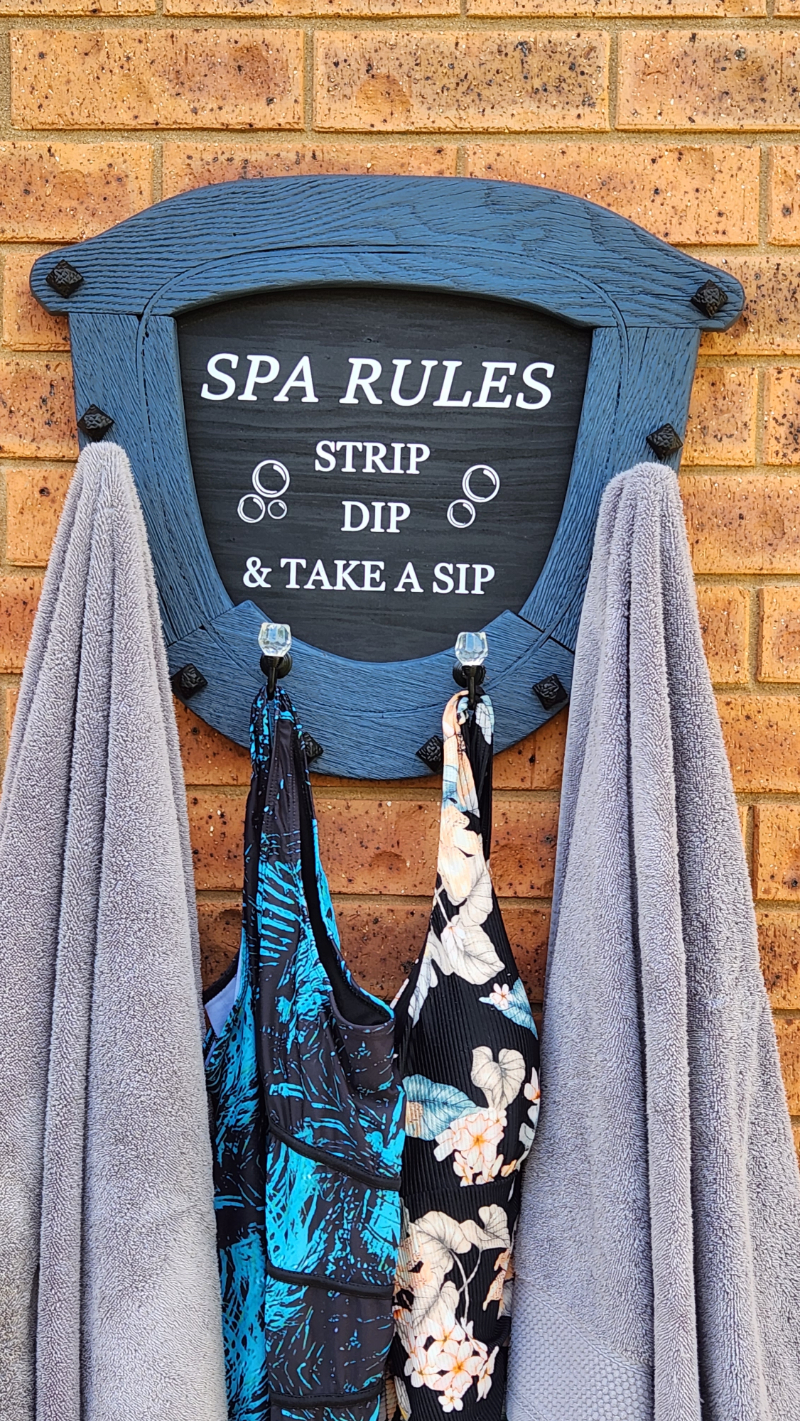
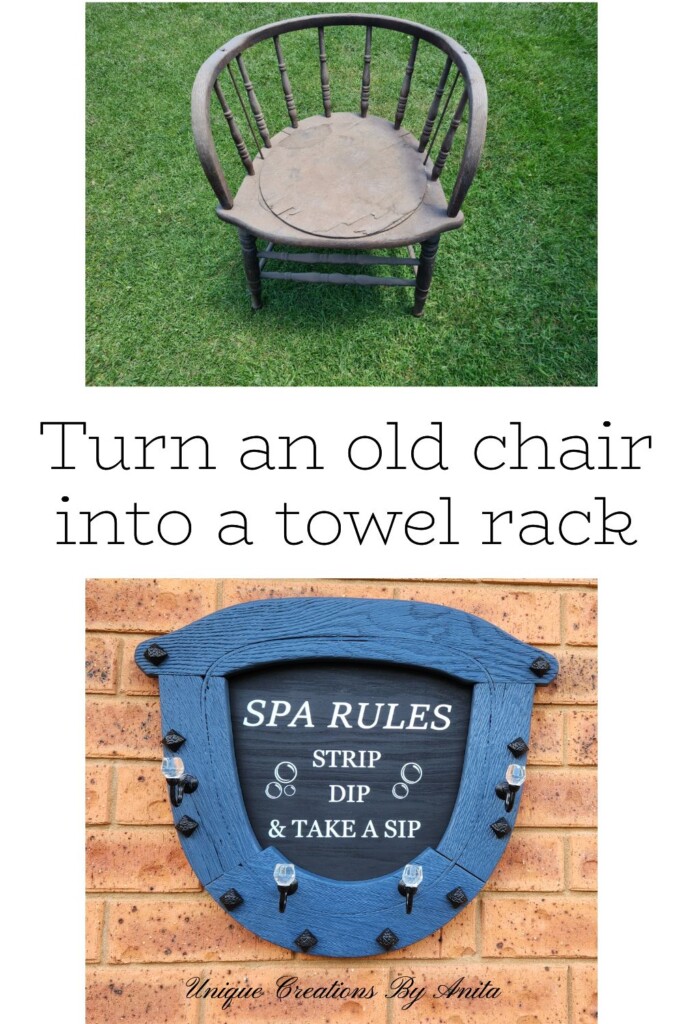
In this Upcycled Chair Spa Towel Rack tutorial, I transform a broken antique chair into a wall-mounted towel holder with a spa-themed decal made on my Cricut. The idea came from a very real problem—our two cheeky Jack Russell terriers kept stealing the spa towels from the steps and turning them into tug-of-war ropes. While I plan a pergola, this quick project keeps towels tidy, dry, and off the ground.
It also fits this month’s International Bloggers Club theme, Broken Dreams. The chair was truly broken, the spa is dreamy, and together they sparked a fun, functional upcycle. My husband’s first comment—“Why did you use a toilet seat?”—made me laugh. For the record, it’s the seat frame from a damaged chair I found in a crumbling heritage presbytery near my work.
Before we dive into this tutorial, be sure to subscribe to my bimonthly newsletter to be the first to see my latest projects. You can also follow me on Pinterest and Facebook, where I also include my unique mixed-media art projects
Upcycled Chair Spa Towel Rack (Cricut Decals + Rustic Finish)
**This post may contain affiliate links. This means I earn a small commission on links used at no extra cost to you. Please see my disclosure policy for more information.**
Materials
- Old chair seat/frame (sturdy enough to hang)
- Recycled plywood for the backboard
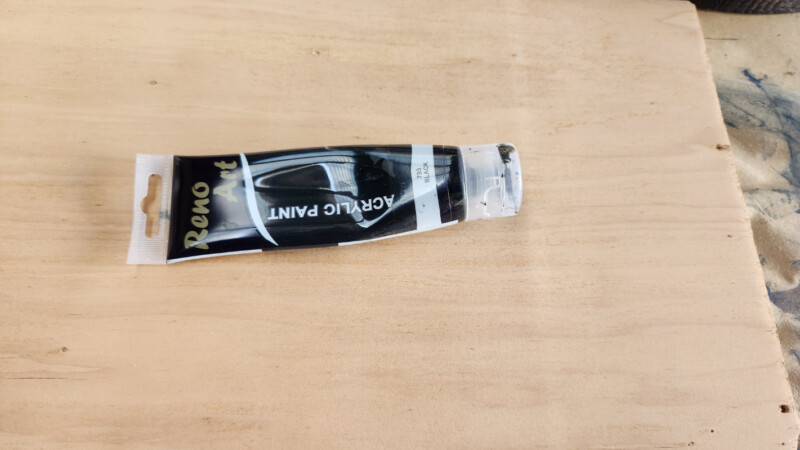
- Acrylic paint – black and blue
- orbital sander & discs(or a restorer tool with a hard nylon brush)
- Hooks for towels (with bolts/nuts/washers as required)
- Wood glue
- Keyhole hanger(s) and appropriate wall plugs/screws
- Decorative upholstery studs or domes (optional)
- Cricut or similar vinyl cutter
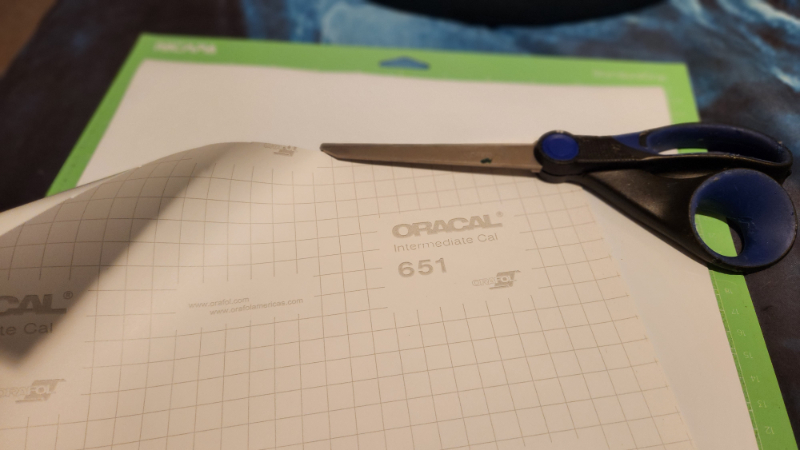
- Oracal 651 permanent vinyl (outdoor-friendly)
- Transfer tape, scraper/brayer, craft knife
- Clear exterior sealer (optional if your rack will face the weather)
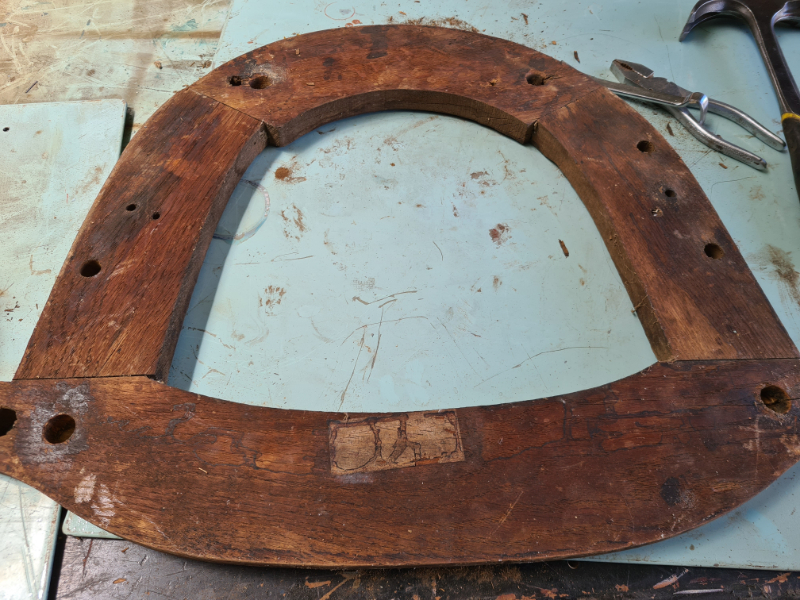
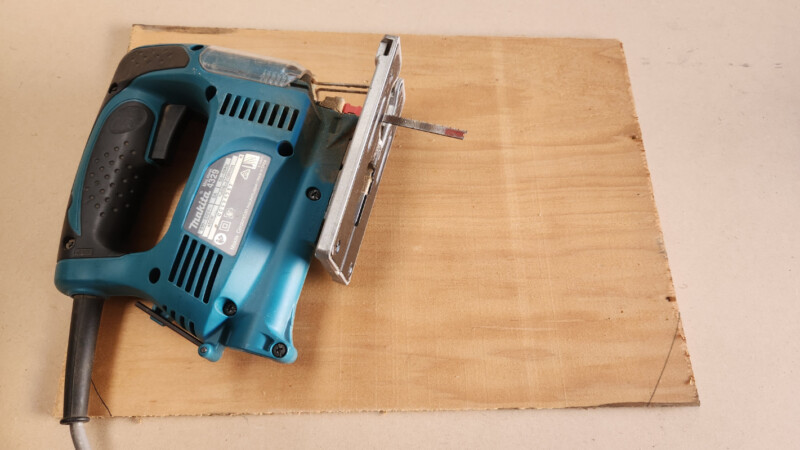
Prep the Chair Seat
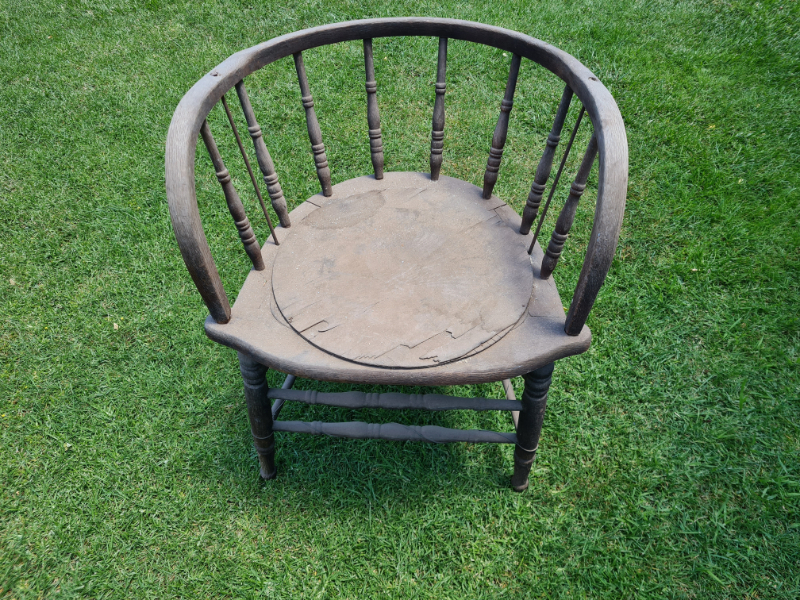
This was the chair that was used for this spa towel rack. I had all intentions of restoring it, but it was unfortunately beyond repair. I have taken on some really difficult restorations in the past with great success, like this antique dresser. But just about every piece of this chair was crumbling.
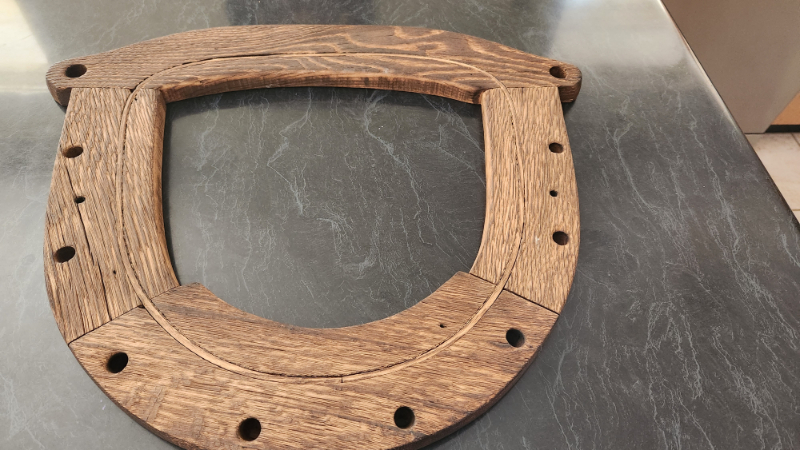
A restorer tool with a nylon brush adds texture and can mimic a light Shou Sugi Ban effect without burning.

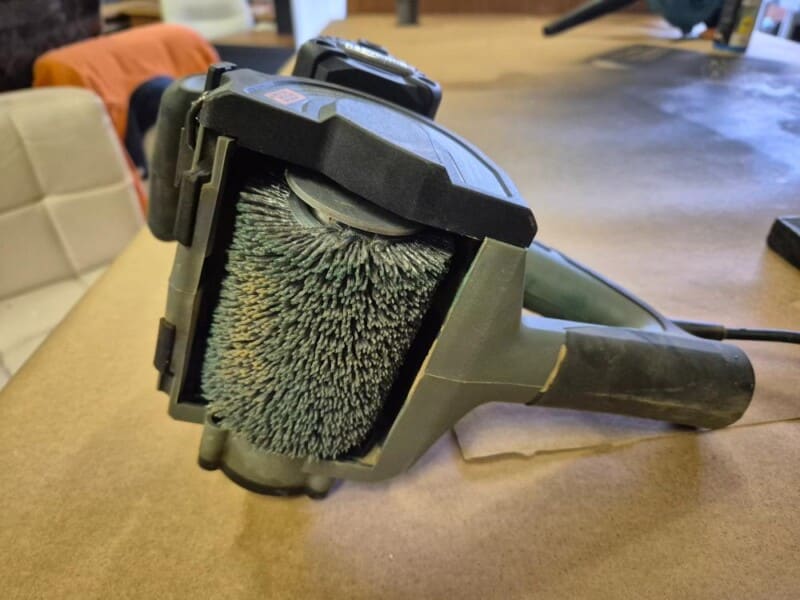
Fit a restorer tool with a hard nylon bristle drum and run it with the grain at low–medium speed. The nylon bristles cut back the softer earlywood and leave the harder latewood proud, which creates great texture to the surface.
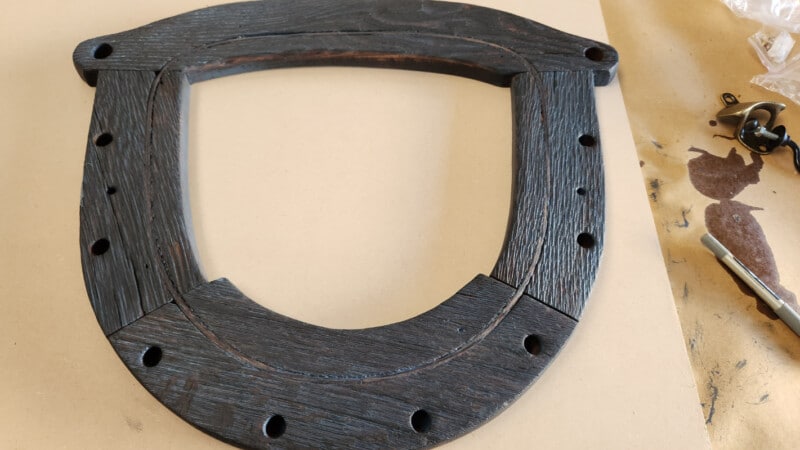
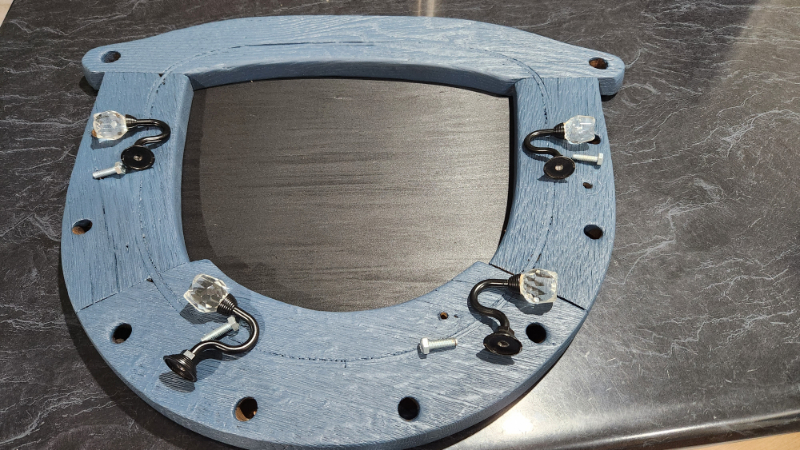
Paint the Frame
Roll or brush on your feature colour. Let the first coat dry, then add a second for even coverage.
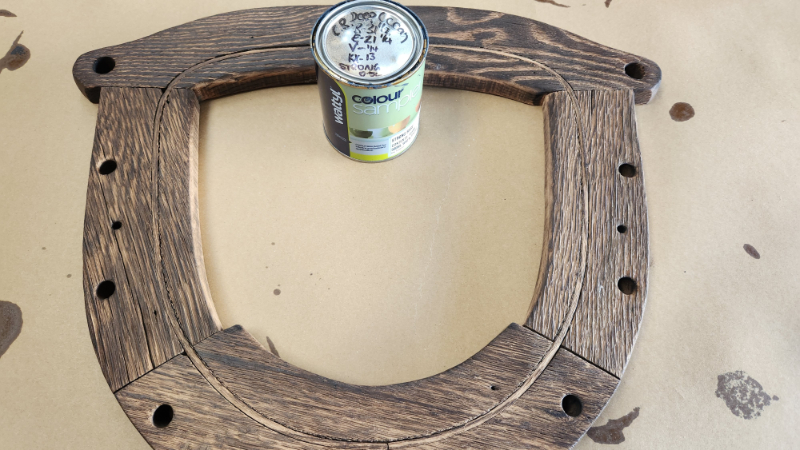
The thirsty timber will soak up that first coat; the second brings the colour to life.
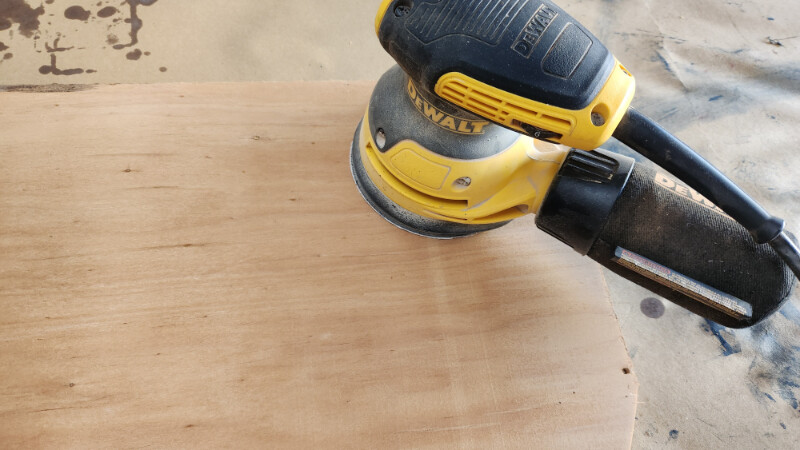
Cut and Paint the Backboard
Trace the inner outline of the chair seat onto plywood and cut to fit.
Sand smooth so vinyl adheres well.
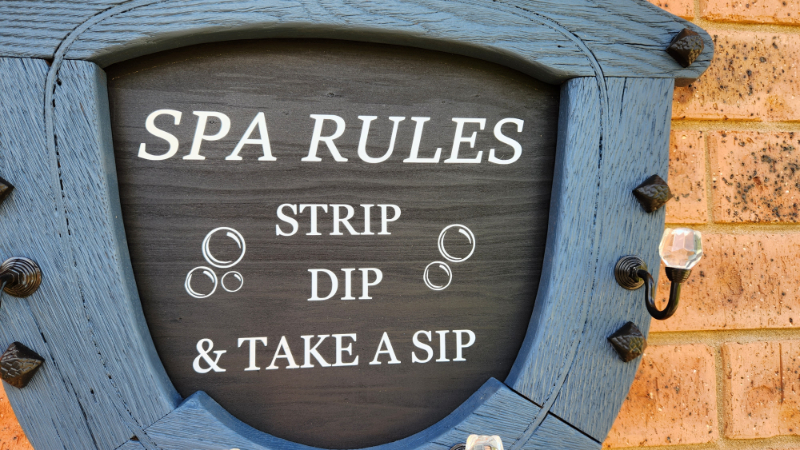
Paint the backboard black for crisp contrast with white or light vinyl. Let it dry fully.
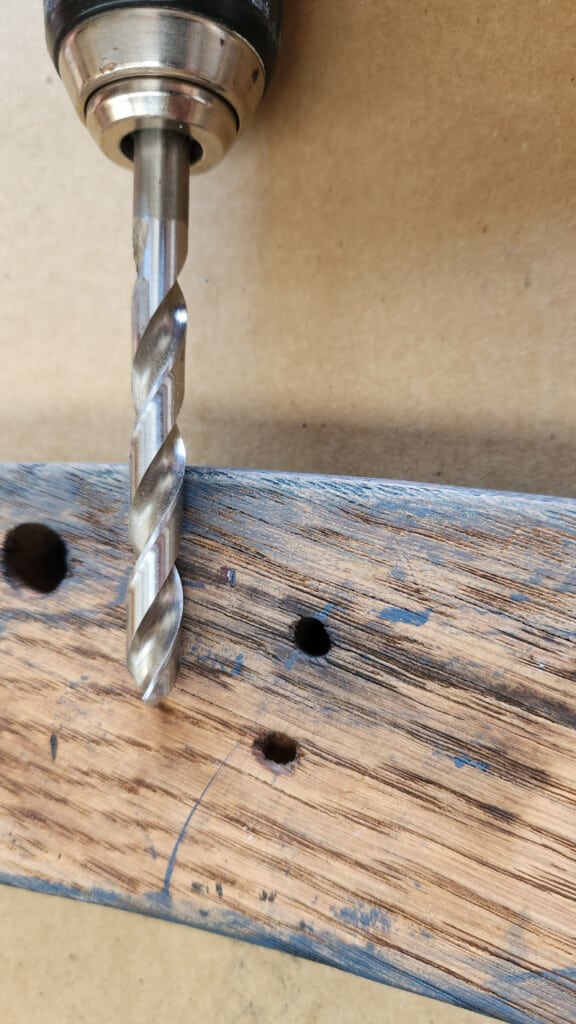
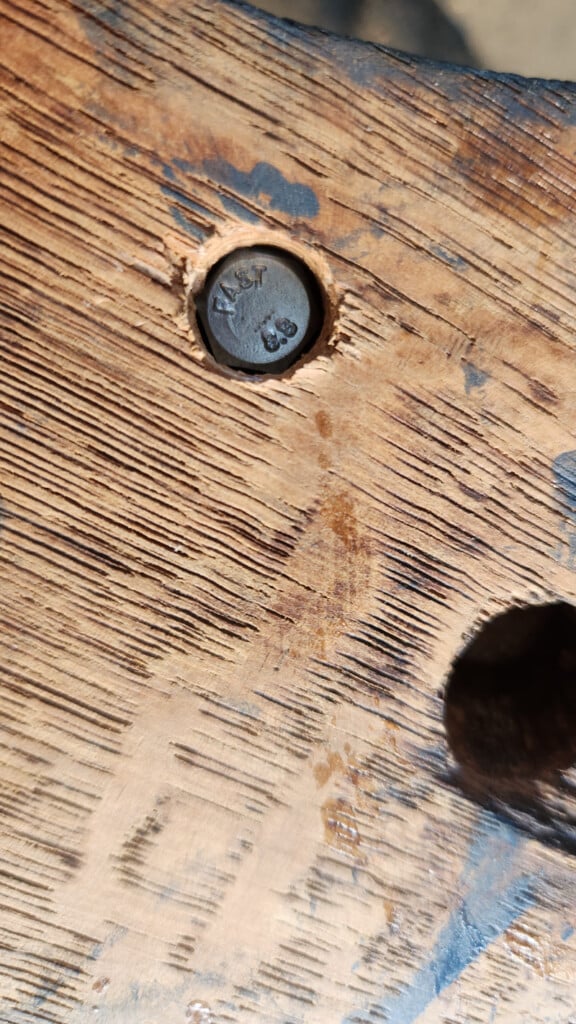
Countersink the bolt heads from the back so the finished rack sits flush against the wall.
Drill halfway into the timber with a bit sized to the bolt head so the head sits below the surface. Test-fit, then remove the hardware for finishing.
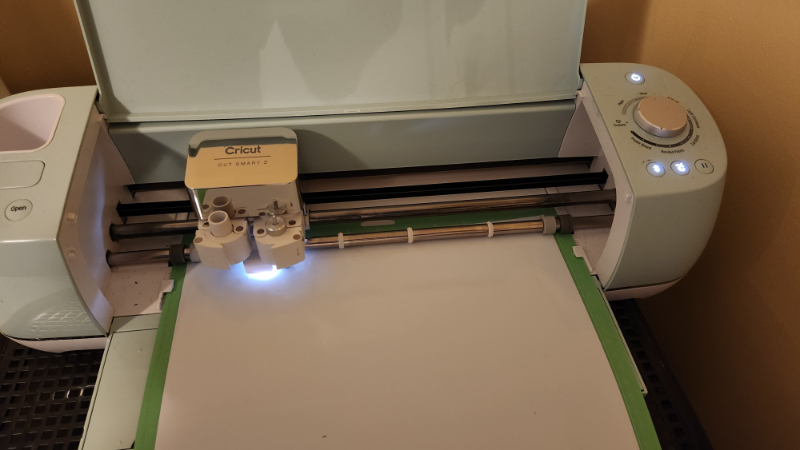
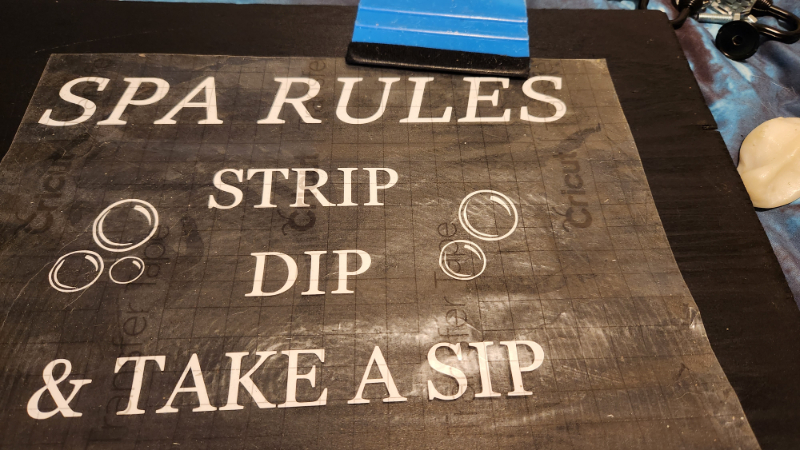
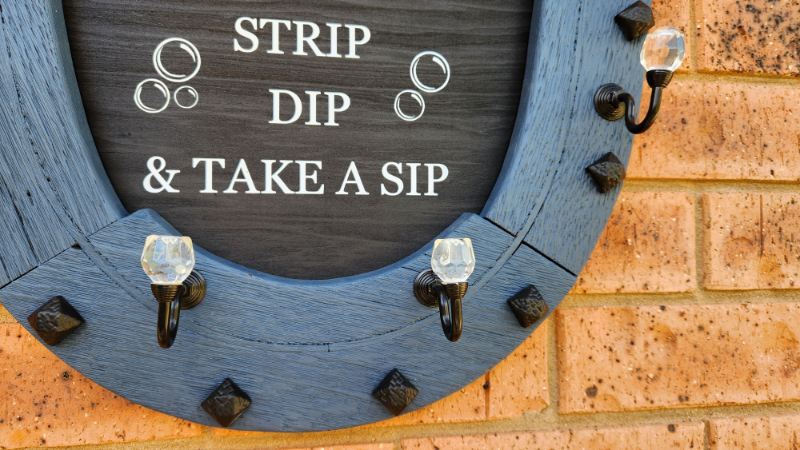
Design and Cut the Spa Rules
In Cricut Design Space, type your Spa Rules (e.g., Hang Towels, No Glass, Rinse Feet, Relax & Enjoy). Choose a legible font, space the lines.
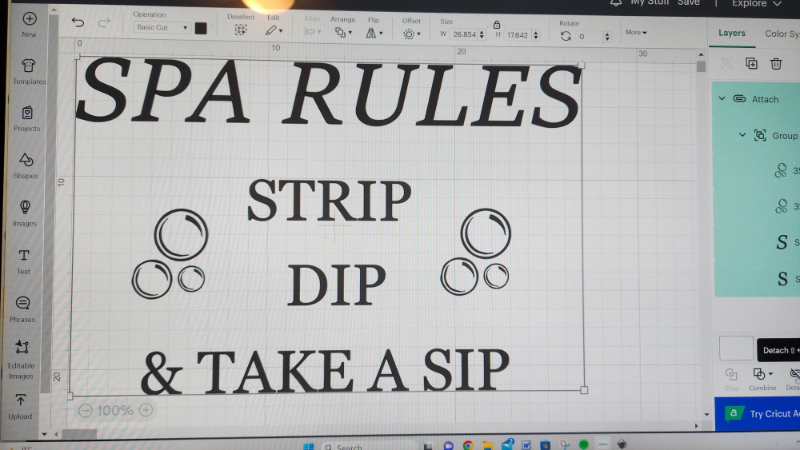
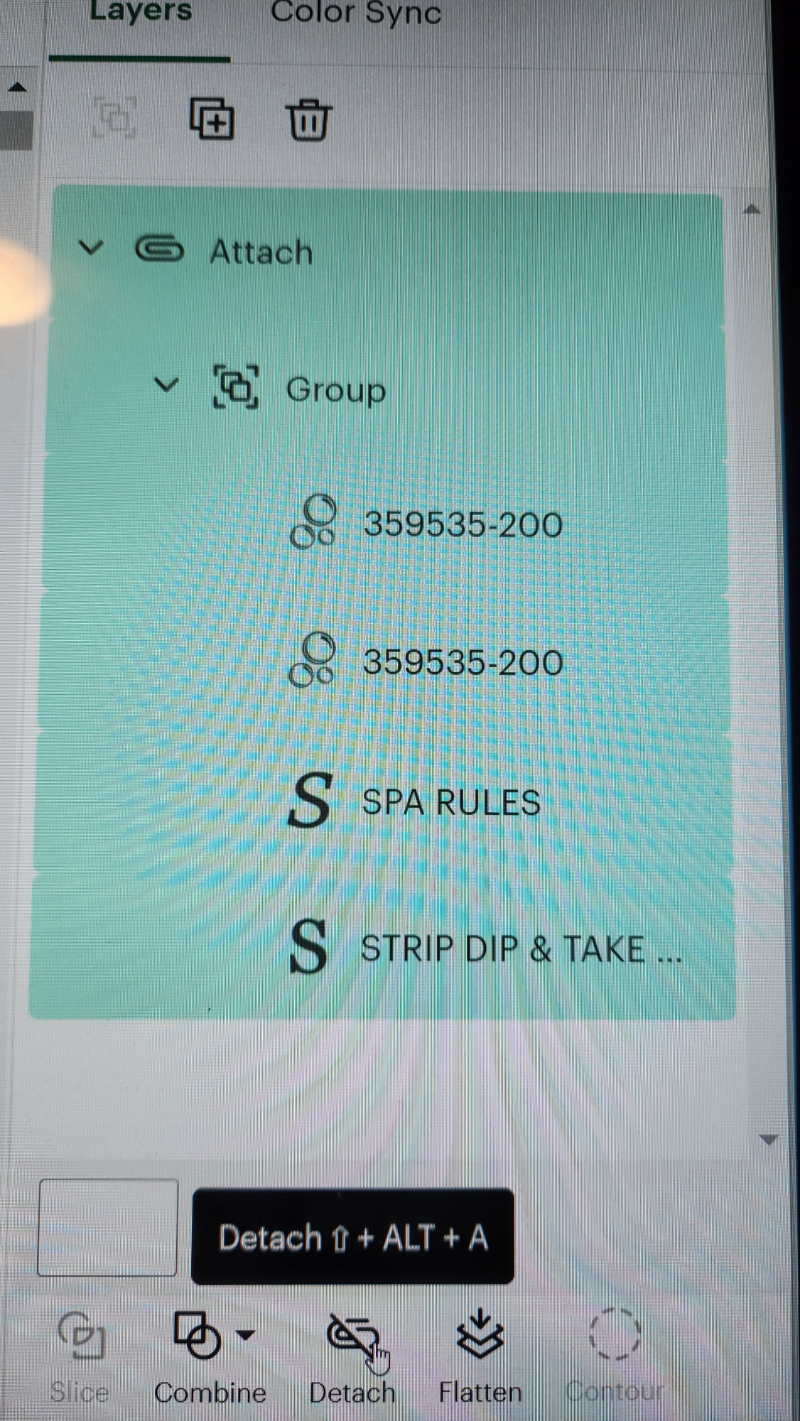
Next, select Group and Attach so the layout cuts the vinyl you see on the screen.
This towel rack will not really be outside in the weather, but I still used a permanent vinyl called Oracal 651.
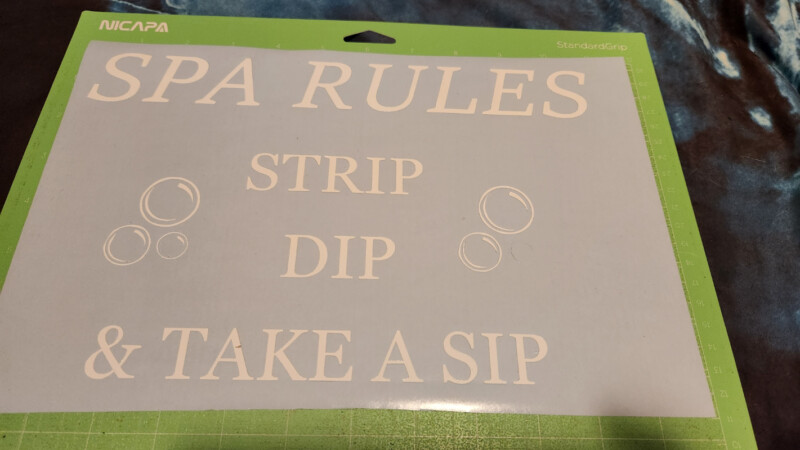
Cut and weed the excess vinyl.
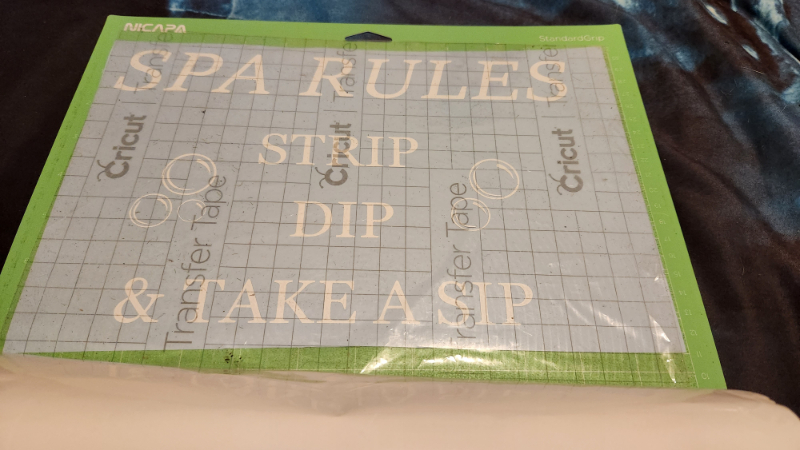
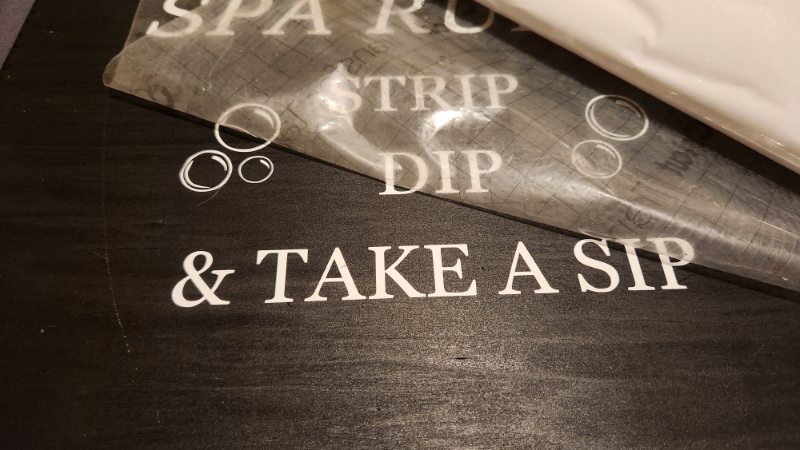
Transfer the Decals
Apply transfer tape over the weeded design and burnish.
Lift the design with the tape, position it on the painted backboard, and burnish again.
Peel the tape back on itself slowly. If a letter lifts, lay the tape back down and burnish once more.
Assemble the Rack
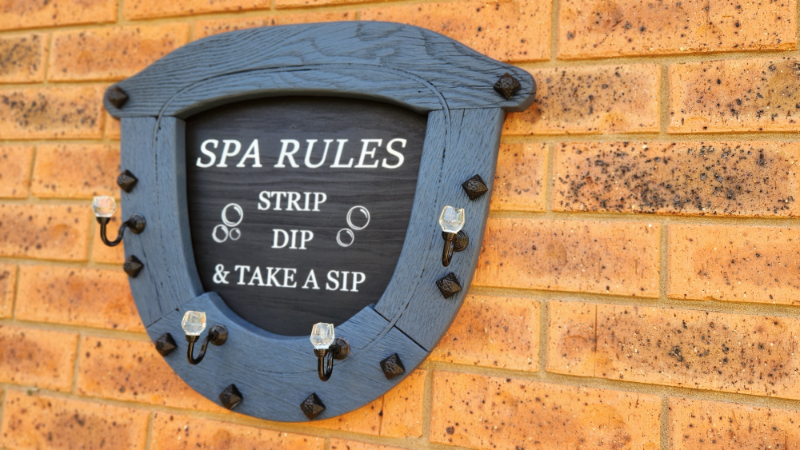
Glue the backboard into the chair frame and clamp or weight it until set. Reinstall the hooks.
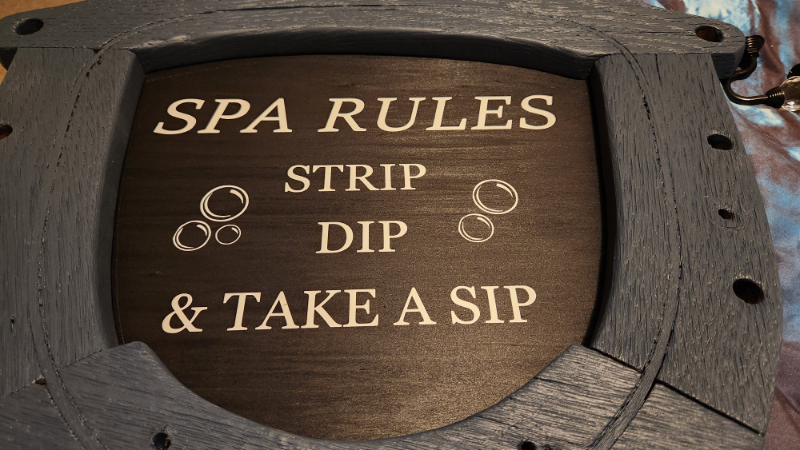
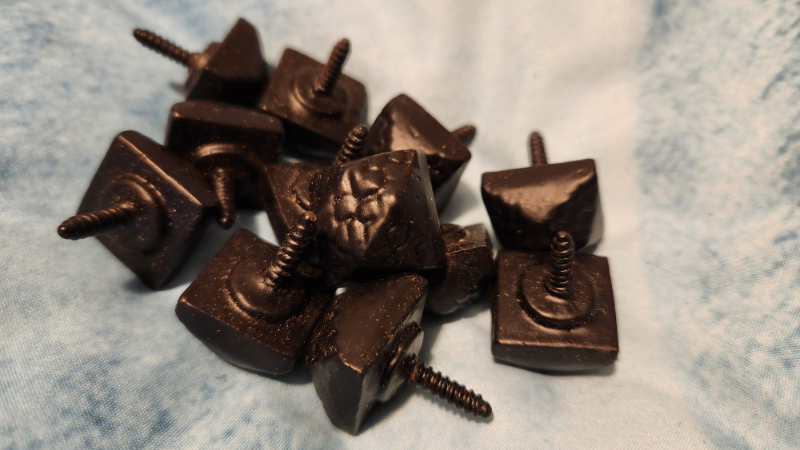
I had some leftover studs from this custom wine barrel table project, which I glued over the holes, which looked great.
Hang It Securely
Fix one or two keyhole hangers on the back. Use wall plugs and screws suited to your wall type. Test with a couple of wet towels to be sure everything feels solid.
If your rack will face moisture or sunlight, add two light coats of clear exterior sealer to the painted frame and backboard.
You can find more of my repurposed furniture projects here.
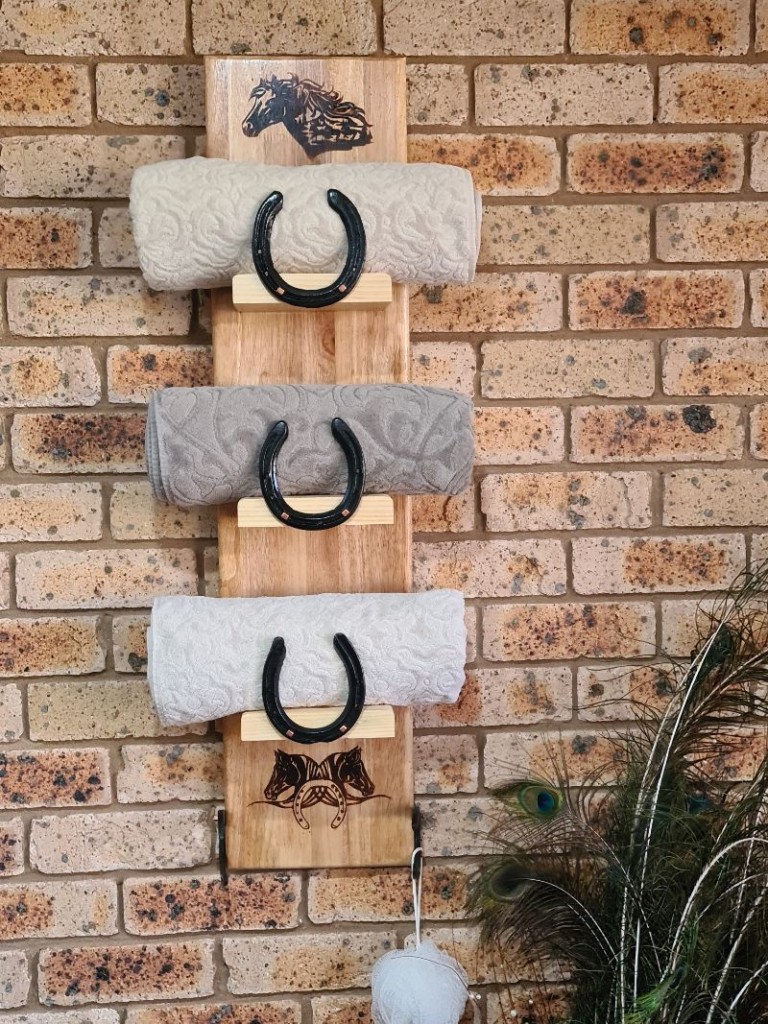
Another towel rack idea: a rustic rack crafted from recycled horseshoes.
More about IBC

If you follow my blog, you will know I am part of the IBC (International Bloggers Club), which is a group of talented bloggers from around the world. We have members from Spain, South Africa, Australia, the United States, and Canada. Each month, we come together and create a project with a common theme.
To see the “Broken Dreams ” contributions from my fellow bloggers joining us this month, keep scrolling. Please feel free to jump over and give them some love.
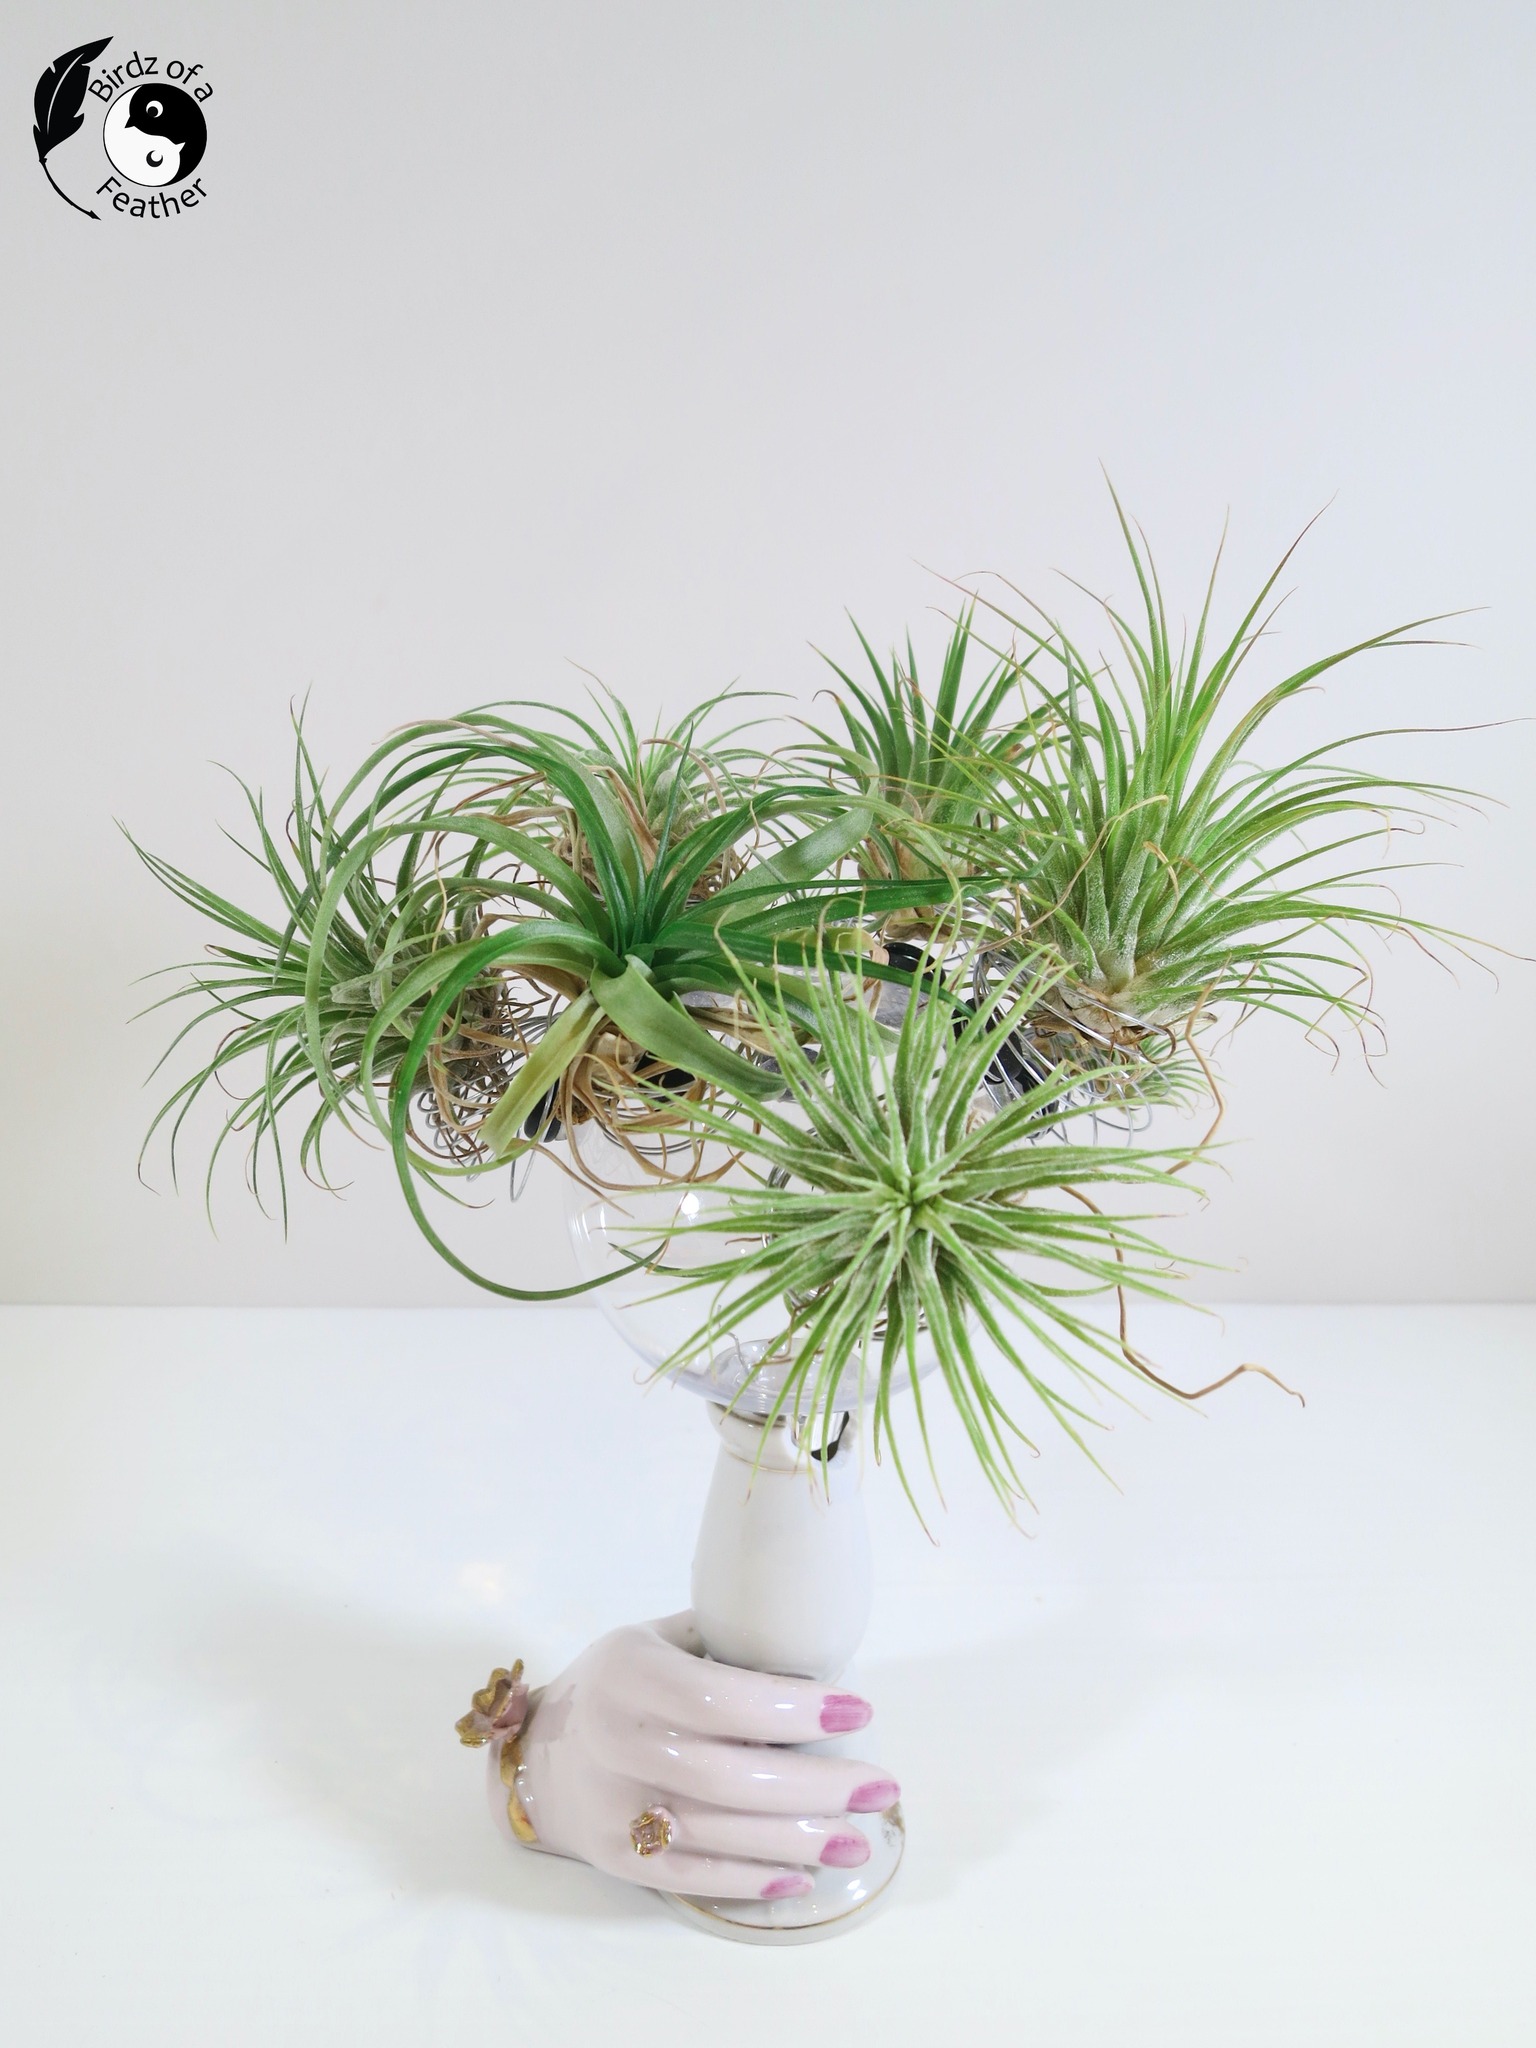
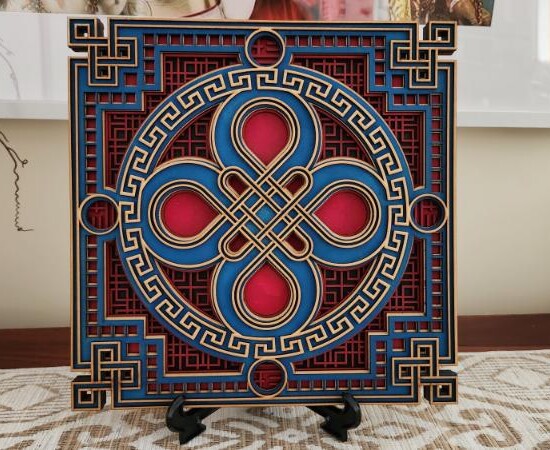
Sara from Birdz of a Feather made this ceramic air plant holder.
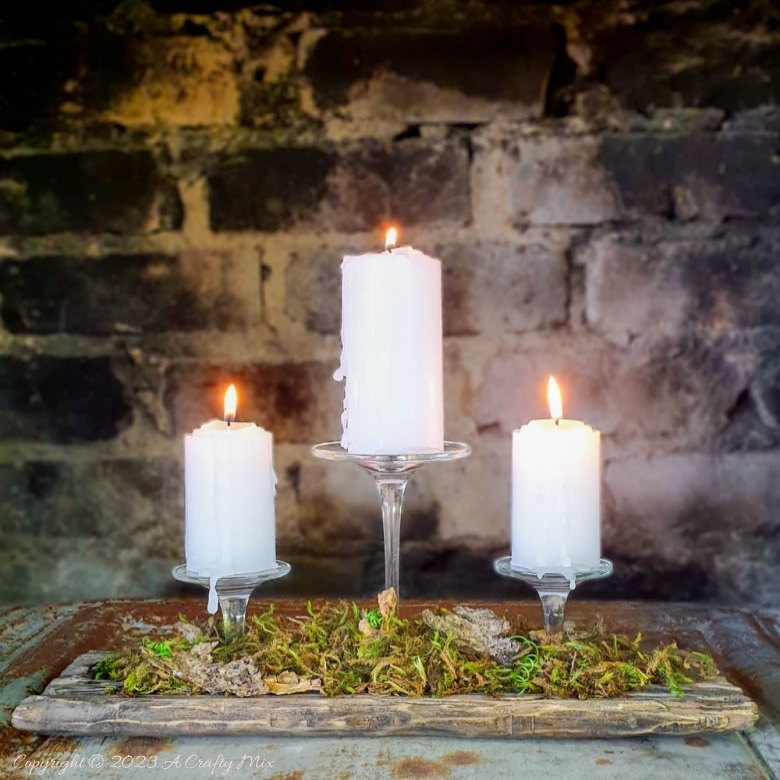
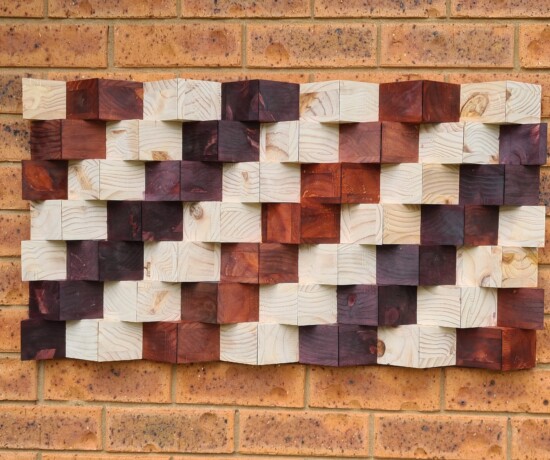
Michelle from a Crafty Mix made these awesome candlesticks from broken wine glasses.
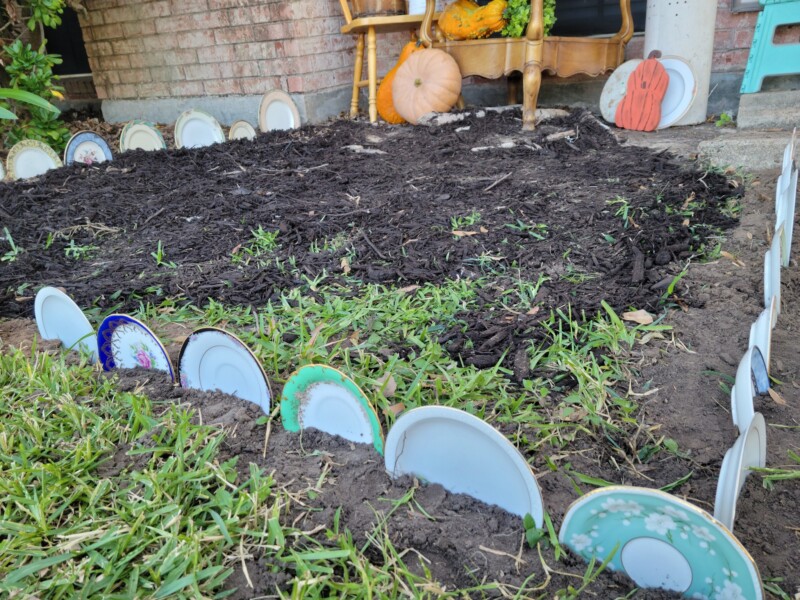
Kristin from Fifth Sparrow No More shared a great way to use broken plates in the garden.

If you’re interested in any of the items used in this project, we’d appreciate it if you used our affiliate links. Clicking these links earns us a small commission at no extra cost to you, helping us create more inspiring and exciting projects to share. We’d also love to hear your thoughts—feel free to leave a comment or share this post!

3 Comments
Michelle Leslie
April 17, 2023 at 10:20 pmShame, it’s such a pity that poor chair couldn’t be saved. She has such gorgeous bones, but knowing how talented you are when restoring the unrestorable, I bet you tried everything. I do love what you did with the seat though, and the sign wording is classic. It’s so apt. I hope you make lots of great memories in your “new” spa, Anita.
sara allen
April 17, 2023 at 11:15 pmThat was a gorgeous chair but I love your project! You definitely would have needed that spa if you tried to restore it! I knew it was a chair seat but the same thought as your husband did cross my mind lol. Fabulous idea to cover the holes with those studs; they look amazing.
Upcycled Dreamy Wine Glass Stem Candle Holder - A Crafty Mix
September 6, 2024 at 3:57 pm[…] Unique Creation by Anita took a chair on its last legs and turned it into a sign for their spa. I’m guessing there’ll be a few more wine glasses to repurpose soon 😉 […]