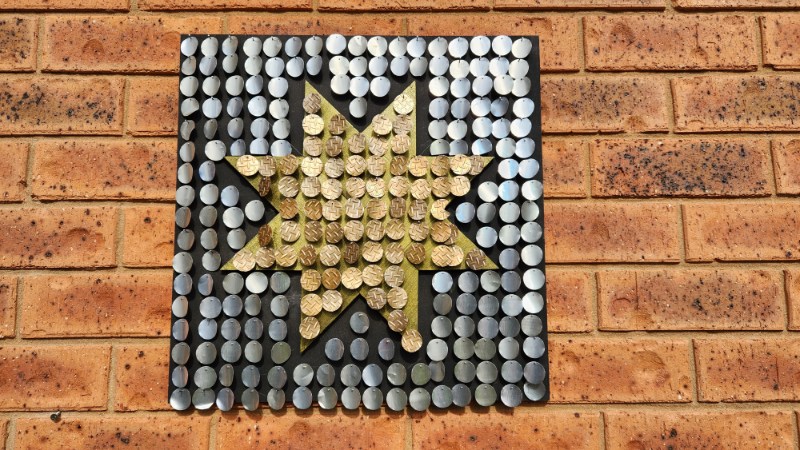
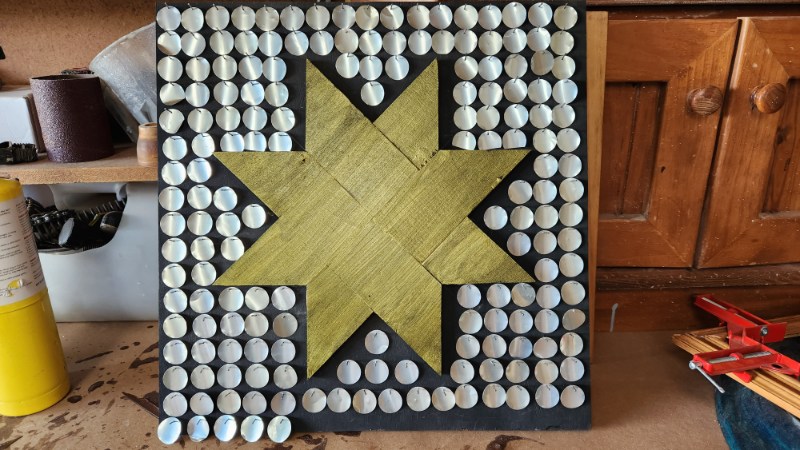
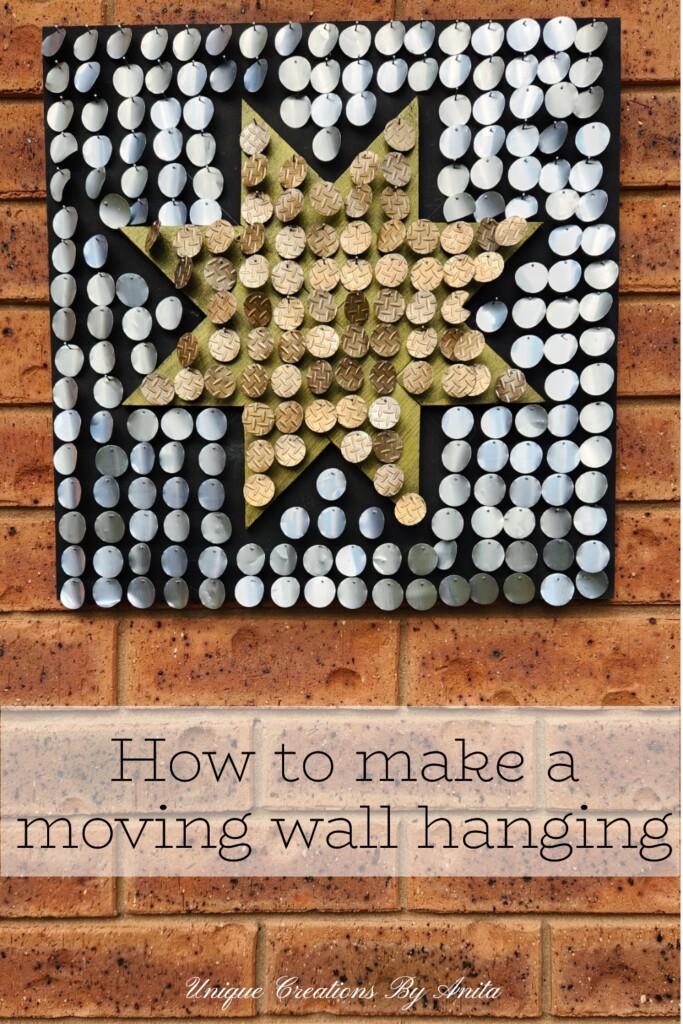
I am always on the lookout for new ways to recycle everyday household waste, and this project turned out to be one of my favourites. In this tutorial, I’ll show you how I transformed empty drink cans into a Shimmering Aluminium Can Art wall hanging. The design features a wooden star, decorated with small circles cut from recycled aluminium cans.
As the breeze blows, the circles gently move, creating a dazzling twinkling effect that makes the piece come alive.
This was my first attempt at using aluminium drink cans in this way, so I started small to test the process. To my surprise, it was quick to make, very affordable, and gave me plenty of ideas for future recycled art projects. Along the way, I picked up some helpful tips, solved a few challenges, and learned what I’d do differently next time.
Before we dive into this tutorial, be sure to subscribe to my bimonthly newsletter to be the first to see my latest projects. You can also follow me on Pinterest and Facebook, where I also include my unique mixed-media art projects
How to make Shimmering Aluminium Can Art
**This post may contain affiliate links. This means I earn a small commission on links used at no extra cost to you. Please see my disclosure policy for more information.**
Materials Needed
- Aluminium drink cans (around 20 for a 45cm square board)
- Circle hole punch (I used 2.5cm, but other sizes will work)
- Wooden board (plywood works well, cut to the size you want)
- Nails with wide heads
- Hammer
- Sandpaper
- Paint (black, gold, or colours of your choice)
- Wood glue and hot glue
- Safety gloves and goggles
- Drop saw, jigsaw, or hand saw
- Utility knife or strong scissors
- Clamps (scissor clamps or long-nose pliers to hold nails)
- Drill and drill bits
- Embossing folder and press (optional for texture)
- Polyurethane (if displaying outdoors)
Cutting the Aluminium Cans
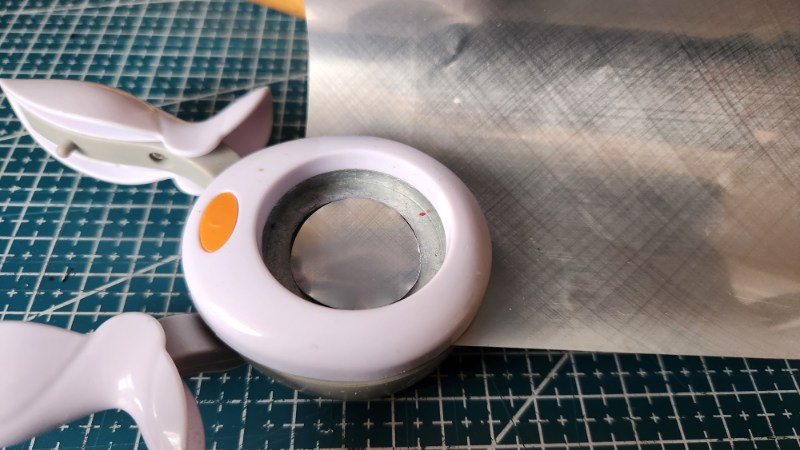
Working with aluminium cans requires care because the edges can be razor sharp. Always wear safety gloves and goggles. Start by rinsing and drying your cans. Cut off the top and bottom with a utility knife or scissors, then cut down one side to open the cylinder. Flatten the sheet of aluminium.
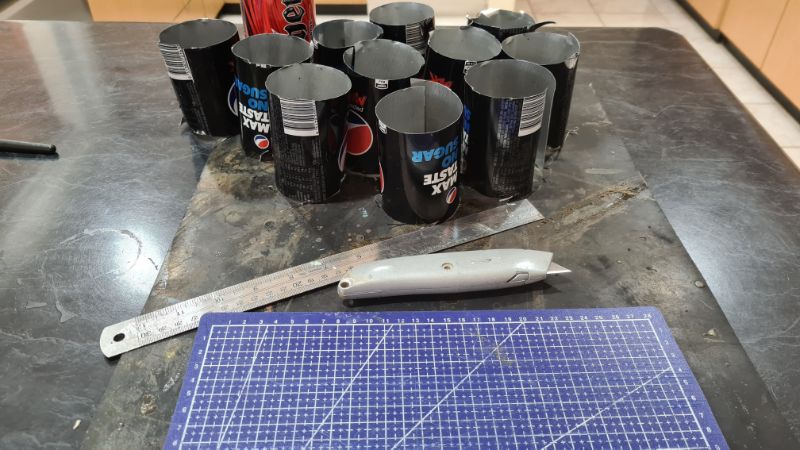
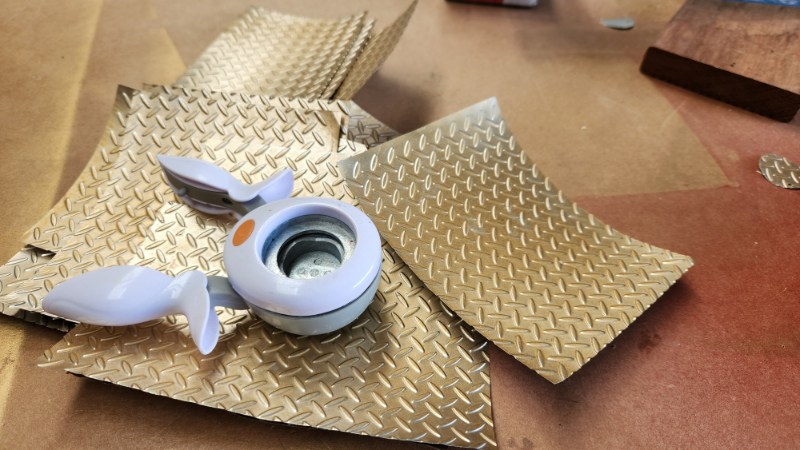
Using your circle punch, cut out as many discs as you can from each can. I found it easiest to cut around the edges first, remove the excess, and then keep going until the sheet was too small to punch.
Drilling the Holes
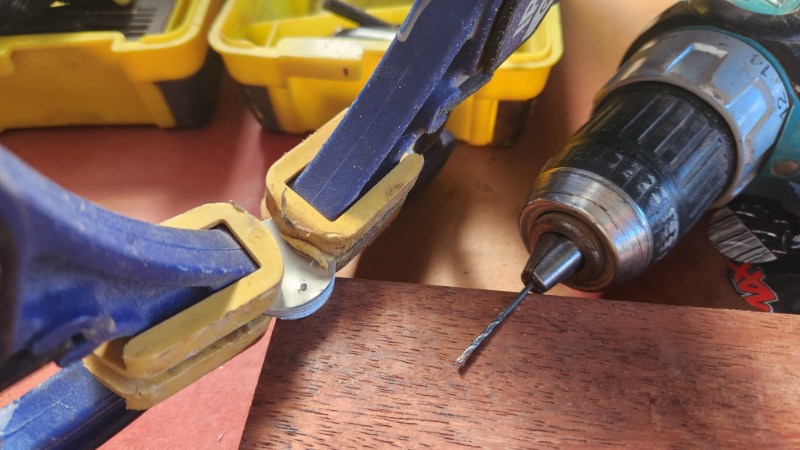
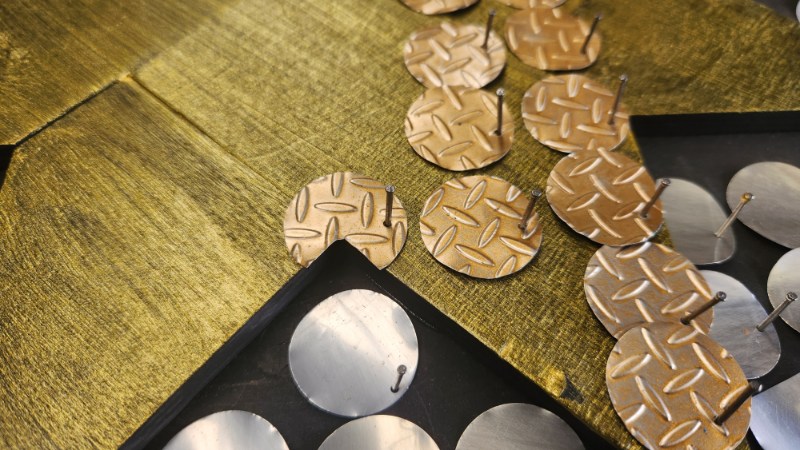
To give the discs movement, drill a small hole just slightly larger than the nail shaft. If the hole is too tight, the discs won’t shimmer freely. Instead of drilling each one individually, I stacked about 20 discs together, clamped them tightly, and drilled through the pile.
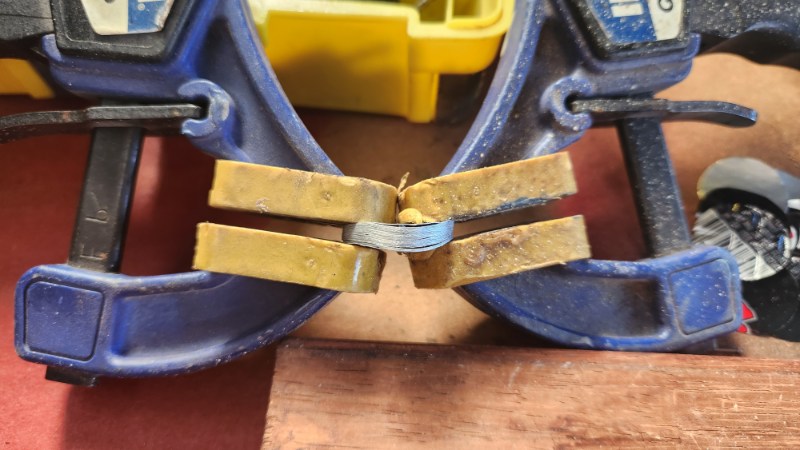
To keep the hole placement consistent, I used one disc as a template for each new stack.
Making the wooden star
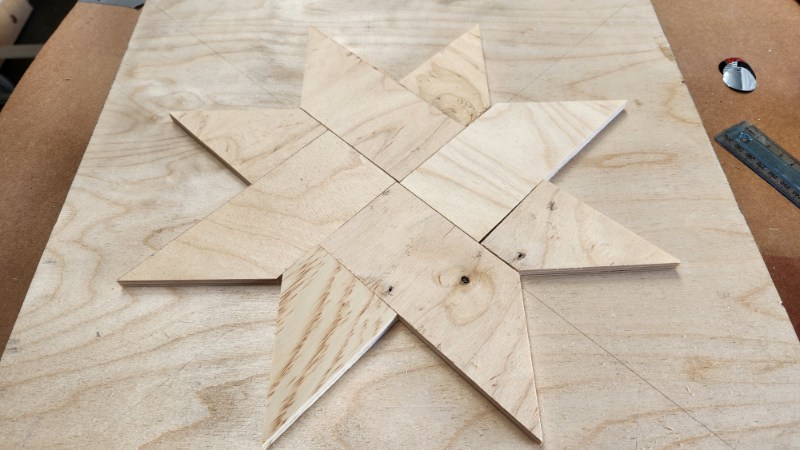
The idea I had was to create a wooden star for the board so it would stand out from the background and add dimension. Since I didn’t want to spend too much time on it, I chose a simple star design made in the same way as a barn quilt.
This part only takes a few quick steps. Begin by cutting plywood into 7cm lengths—I used offcuts for mine. I then clamped four pieces together and trimmed the ends at a 45-degree angle.
Next, I made a straight cut across the wood, leaving me with 17cm pieces. To position the star correctly, I drew diagonal lines from each corner of the board to find the centre point. I then repeated the angled cuts on the opposite side of the mitre saw to create the other half of the star. I chose this method because only one side of the plywood had a clean surface, and I wanted to avoid unnecessary sanding.
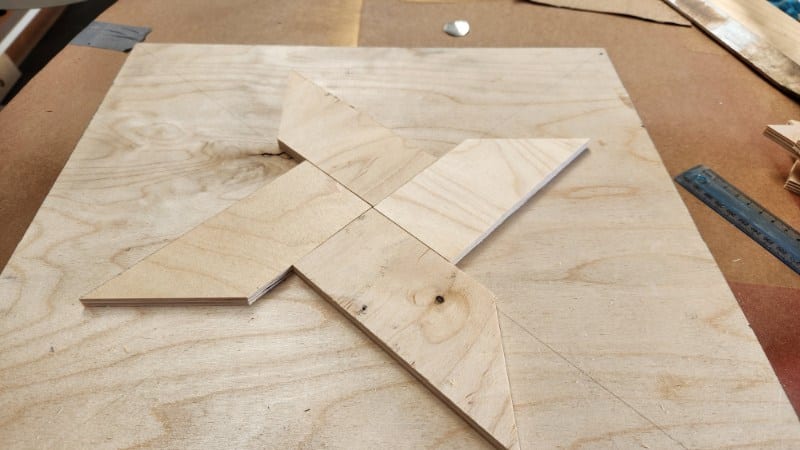
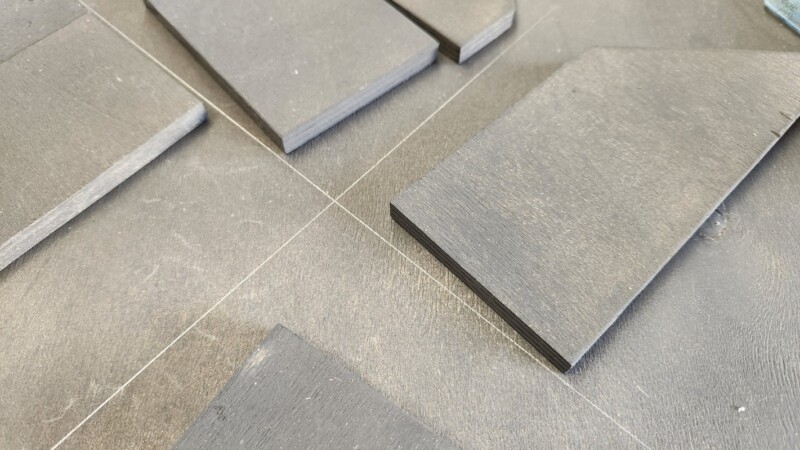
To determine the length of the smaller pieces, I laid out the star design and marked each spot where the wood needed to meet. I then cut the pieces to size. These smaller sections slotted neatly into the gaps, as you can see in the image below.
Painting the wood
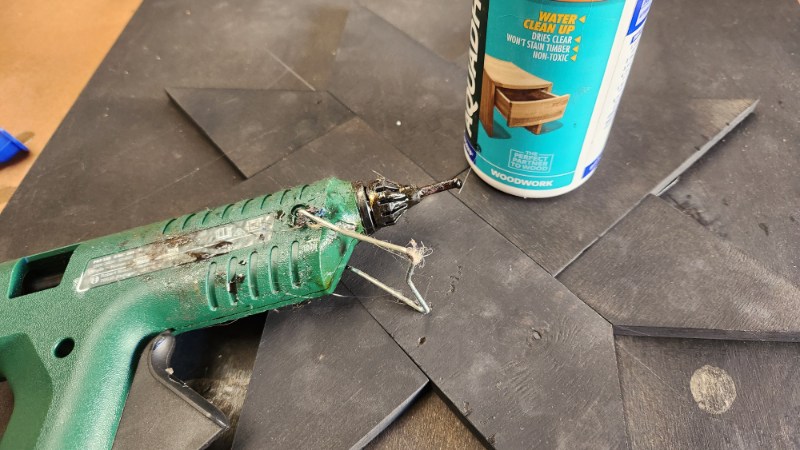
Once cut, I painted all the pieces black. I later went back and painted the star gold, which gave it much more contrast against the aluminium. To attach the star to the board, I used wood glue for a strong hold and added a small blob of hot glue to keep it in place while the wood glue dried. If your art will hang outdoors, coat the wood with outdoor polyurethane before assembly.
Adding the Aluminium Circles
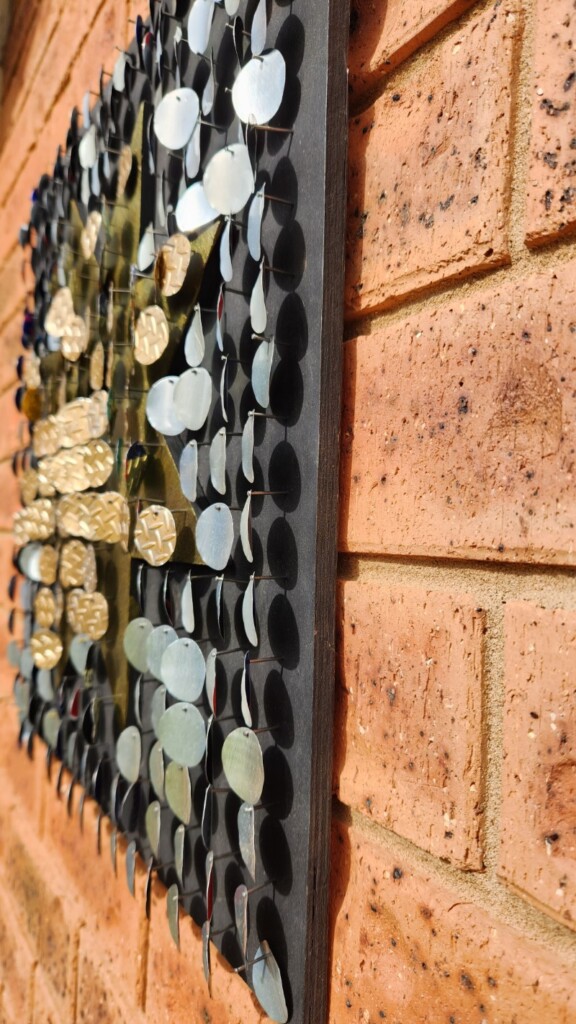
With the star in place, I began attaching the aluminium discs, starting at the top and working my way down. I quickly realised that nails with larger heads would have worked better—smaller-headed nails can allow discs to slip off in strong wind.
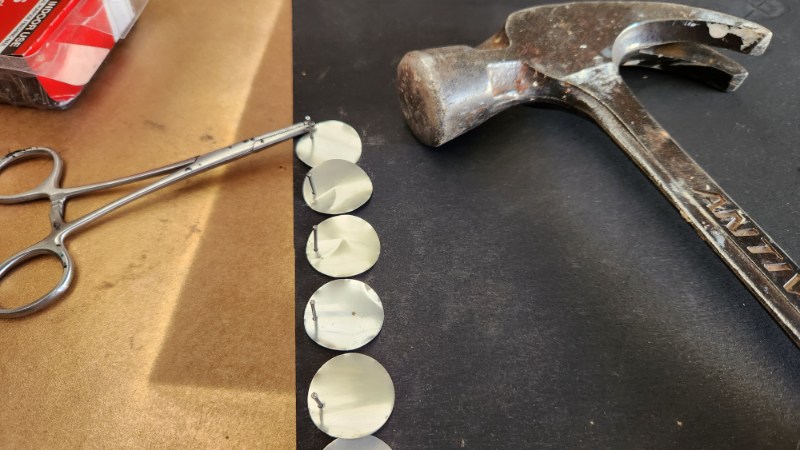
To avoid hitting my fingers while hammering, I held each nail in place with scissor clamps. This step sped things up and kept everything aligned.
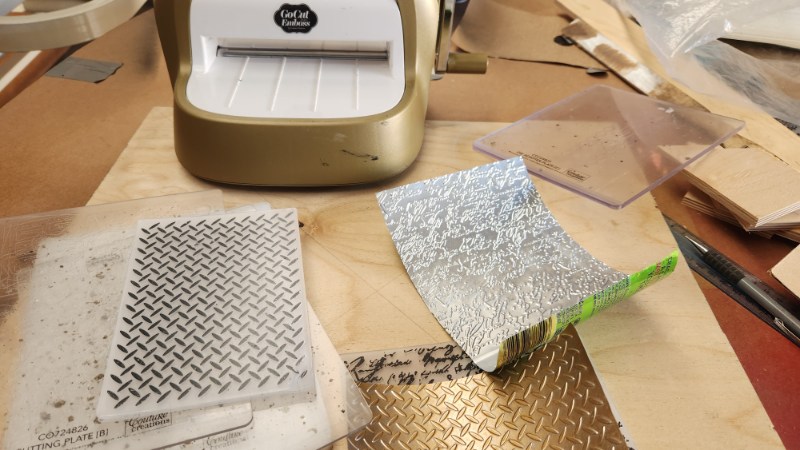
For extra texture, I embossed some discs before punching them. I spray-painted them gold, ran them through an embossing press, and then added them to the star section. This gave the piece dimension and made the star stand out beautifully. I have used this technique before on another Aluminium Can Art project when I decorated a shop mannequin using embossed recycled cans.
When I started adding the gold circles, I had some overlap and decided to trim them so the star would stand out.
Hanging Your Shimmering Art
To hang the board, I attached a keyhole bracket to the back so it could slide neatly onto a wall screw. Before hanging, I tipped the board forward so all the discs fell to the nail heads. This allows the breeze to catch them easily, giving maximum movement.
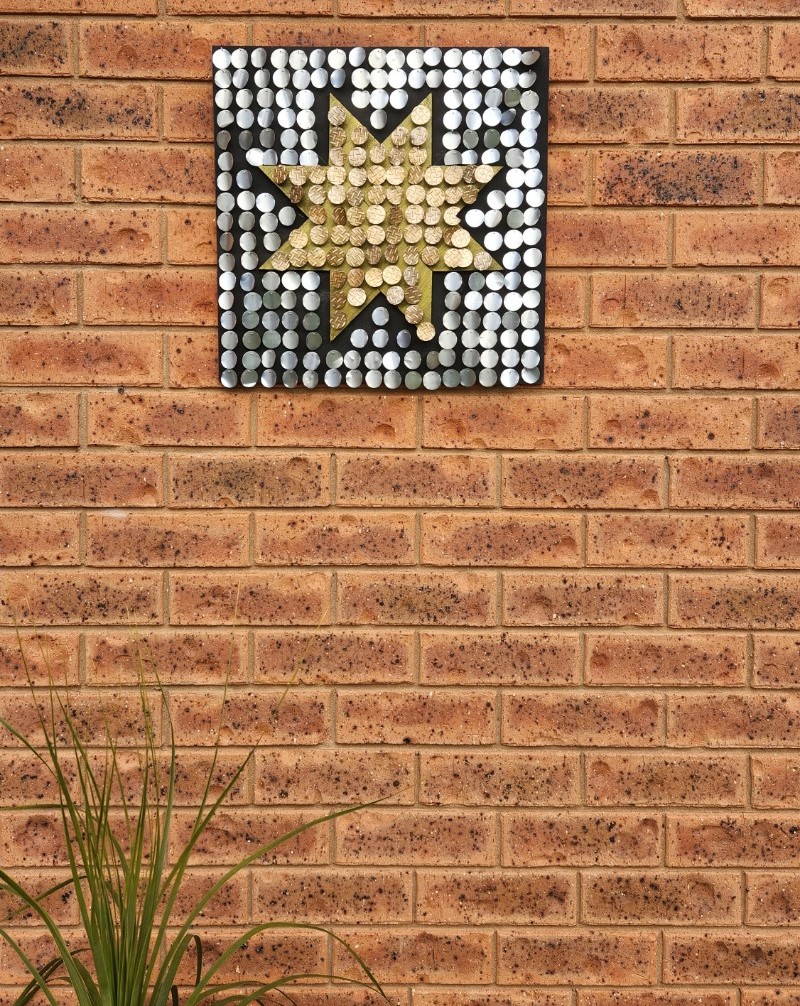
The result is a striking wall feature that glimmers and dances in the wind. It’s an easy way to recycle aluminium cans into art that’s unique, eye-catching, and eco-friendly.
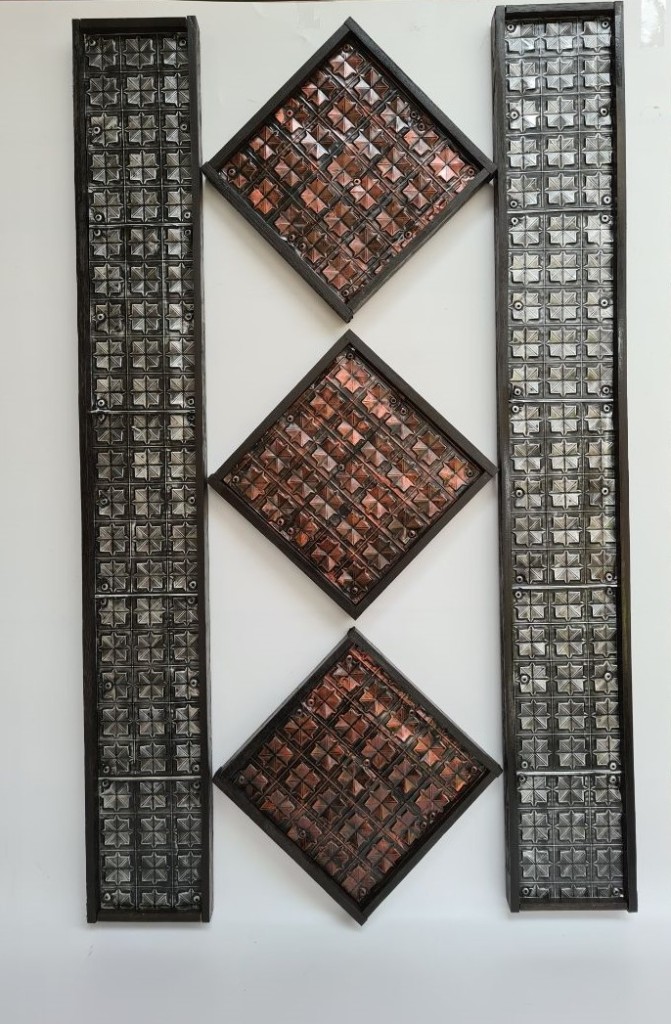
Here is another Aluminium Can wall hanging I made using recycled aluminium cans and pop rivets.
Recycling project ideas
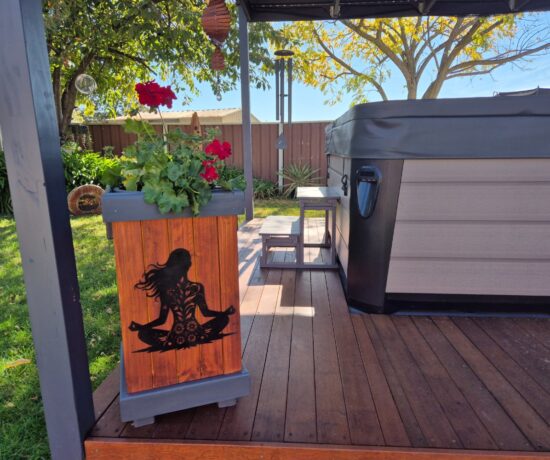
If you are looking for more unique project ideas, check out these. My good friend Michelle from A Crafty Mix made this really awesome handbag planter from recycled pallet wood.


If you’re interested in any of the items used in this project, we’d appreciate it if you used our affiliate links. Clicking these links earns us a small commission at no extra cost to you, helping us create more inspiring and exciting projects to share. We’d also love to hear your thoughts—feel free to leave a comment or share this post!

4 Comments
A Crafty Mix | Easy Recycled Soda Can Rope Planters - A Crafty Mix
August 21, 2023 at 10:57 pm[…] Trim the top of the cone so it’s even. Don’t throw away the off-cuts until you see this gorgeous aluminum wall art. […]
Michelle Leslie
August 22, 2023 at 2:44 amThis is sooooooo cool. I love how they move in the video and can kick myself for all the tins we’ve given away to the recyclers. I guess the hubby is just going to have to drink more beer out of cans 😉
Anita Holland
August 22, 2023 at 10:34 amThanks Michelle, drinking more beer is the perfect excuse to collect cans.lol
Kim
May 20, 2024 at 9:21 pmDid you sand the edges of all the aluminum churches? This is awesome!🤩