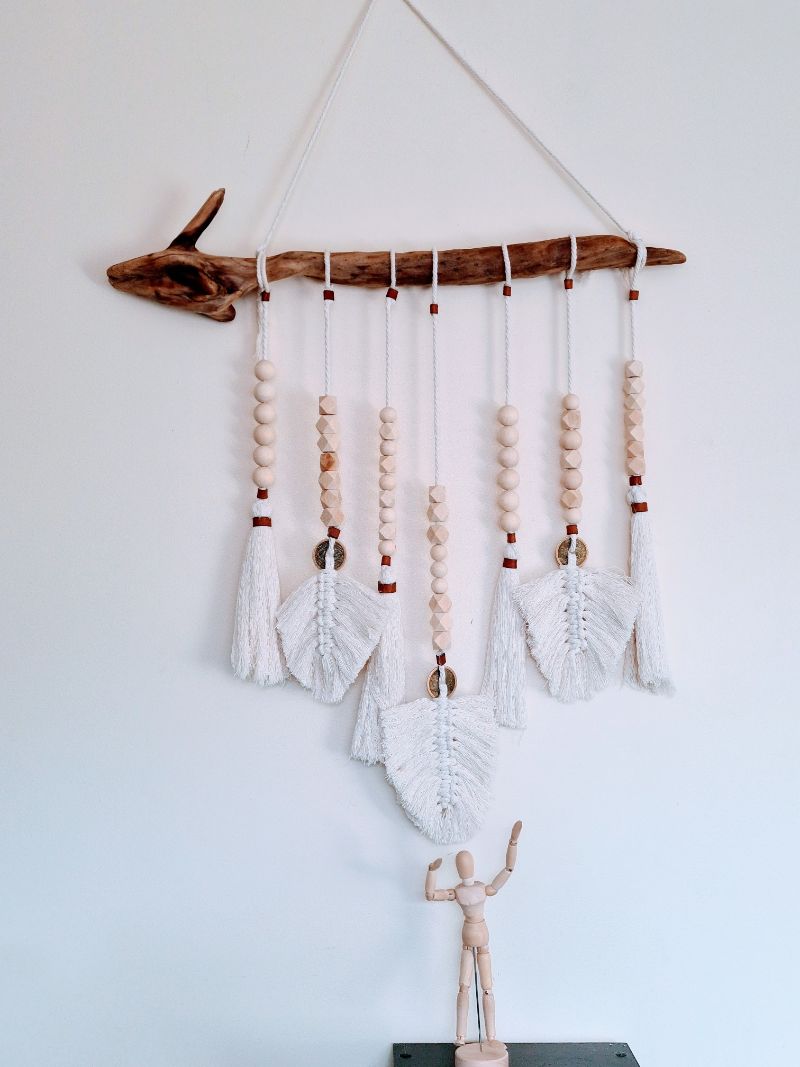
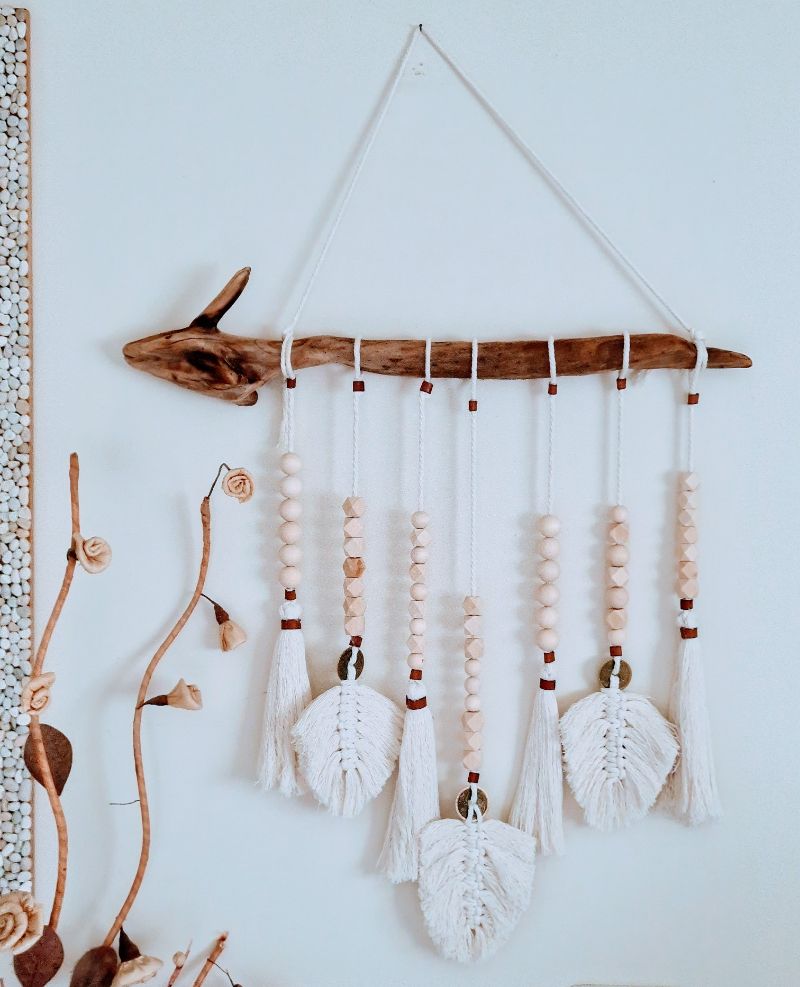
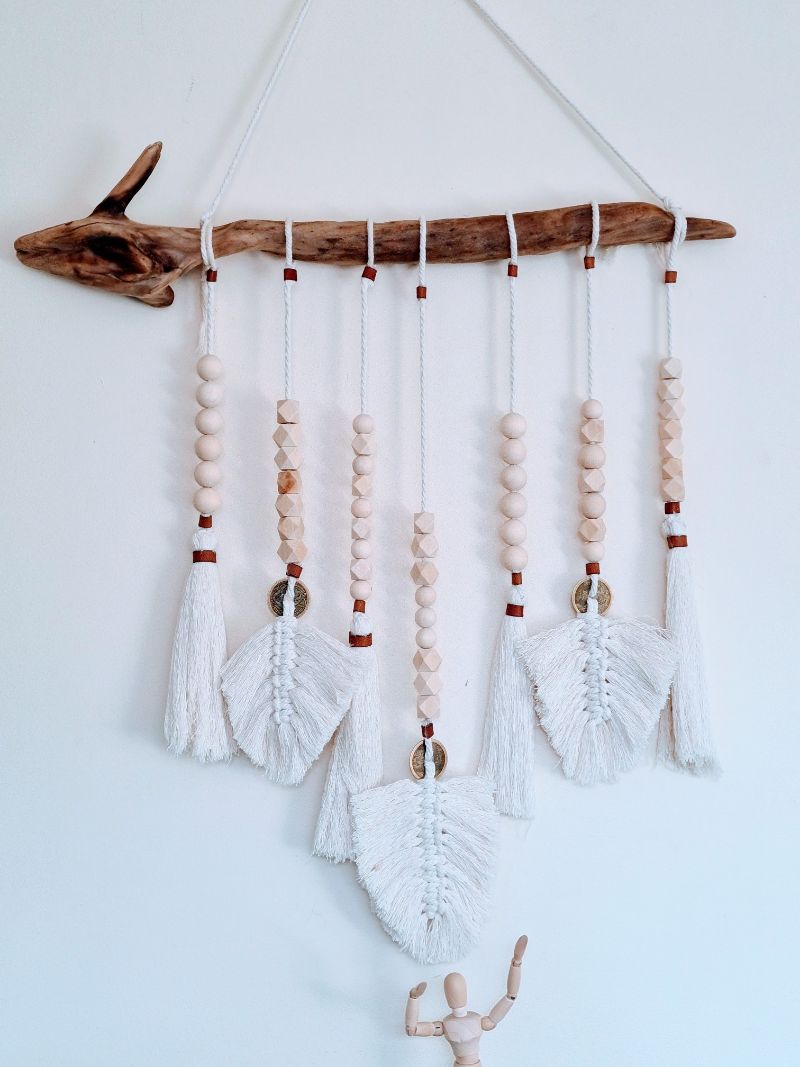
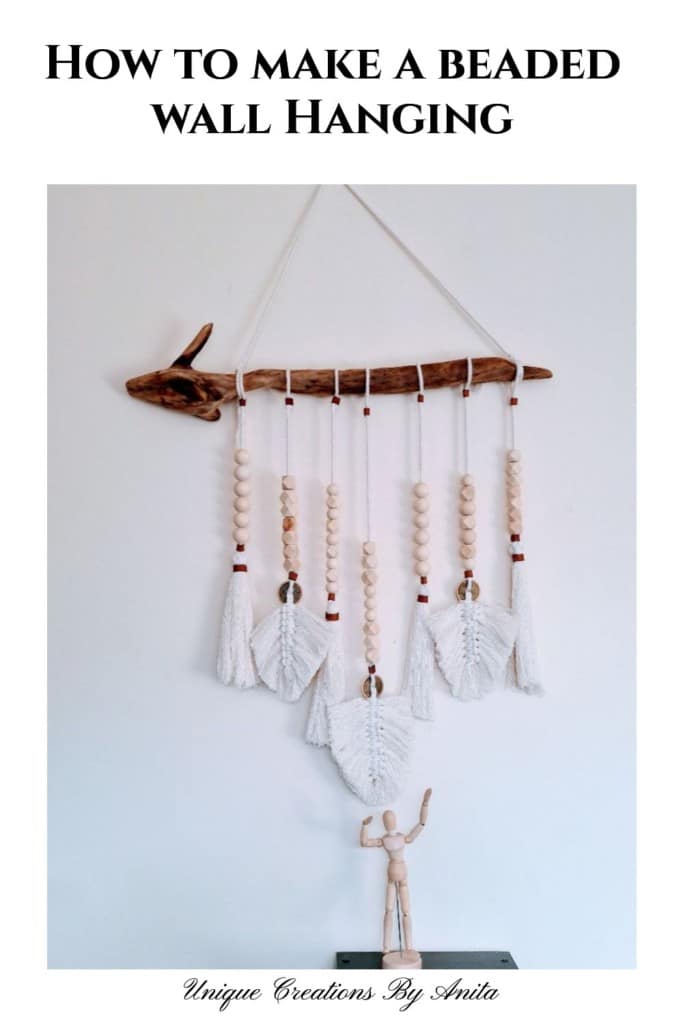
It’s time again for this month’s International Blogger Challenge (IBC), and the theme is “Beads Galore.” Our task is to create a project using beads in any way we like. I decided to make a beaded wall hanging. What seemed like a simple challenge turned into a series of mishaps, with everything that could go wrong, going wrong. More about the IBC at the bottom of this post.
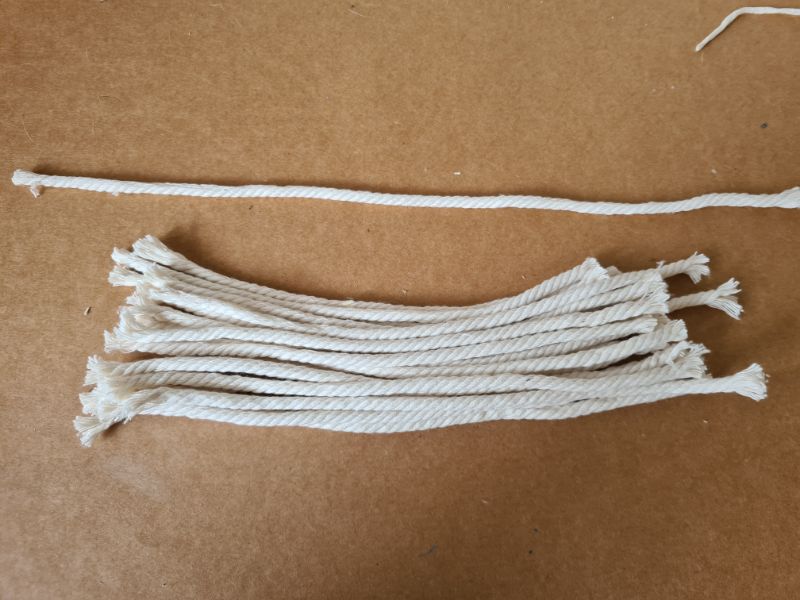
As with many of my projects, I dove in headfirst and purchased my beads and rope without doing any prior research. When I finally got started, I quickly realised that the rope was too thick to fit through the holes in the beads, throwing a wrench in my plans. But rather than giving up, I got creative and found a way to make the materials I had work. I’m no macrame expert, but I can walk you through how I made this beaded wall hanging, the hurdles I faced, and how I solved them.
Beaded Wall Hanging: A Creative Macrame Challenge
**This post may contain affiliate links. This means I earn a small commission on links used at no extra cost to you. Please see my disclosure policy for more information.**
Materials Needed
- 4mm macrame rope (90m)
- 20mm wooden beads round, shaped
- Driftwood or any wooden stick
- 1cm leather strips (for joint cover)
- Craft glue
- Scissors
- Fishing line
- Decorative discs (optional)
- Comb for fluffing rope
- Hot glue gun and glue sticks
Making the frame
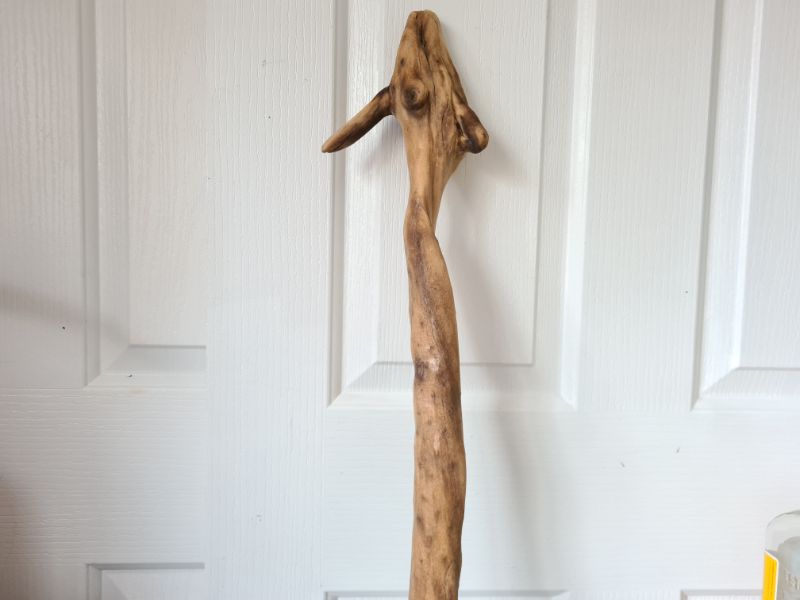
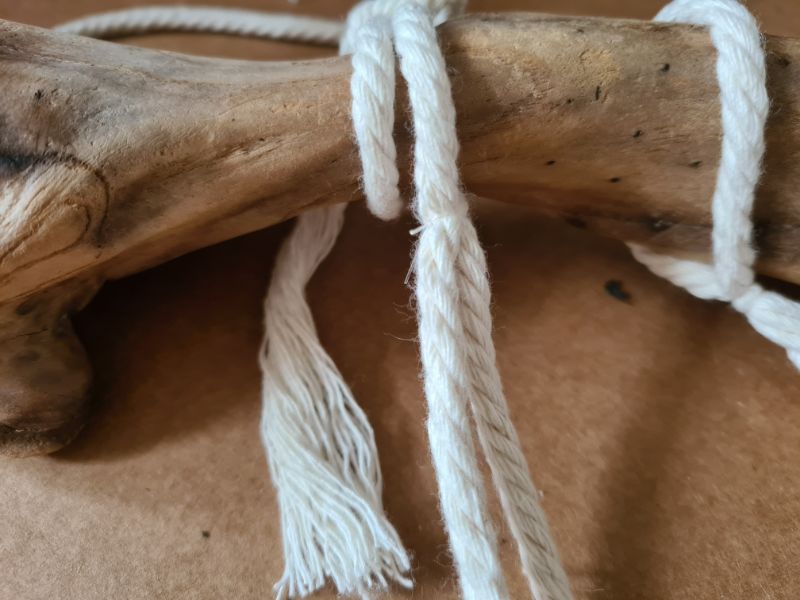
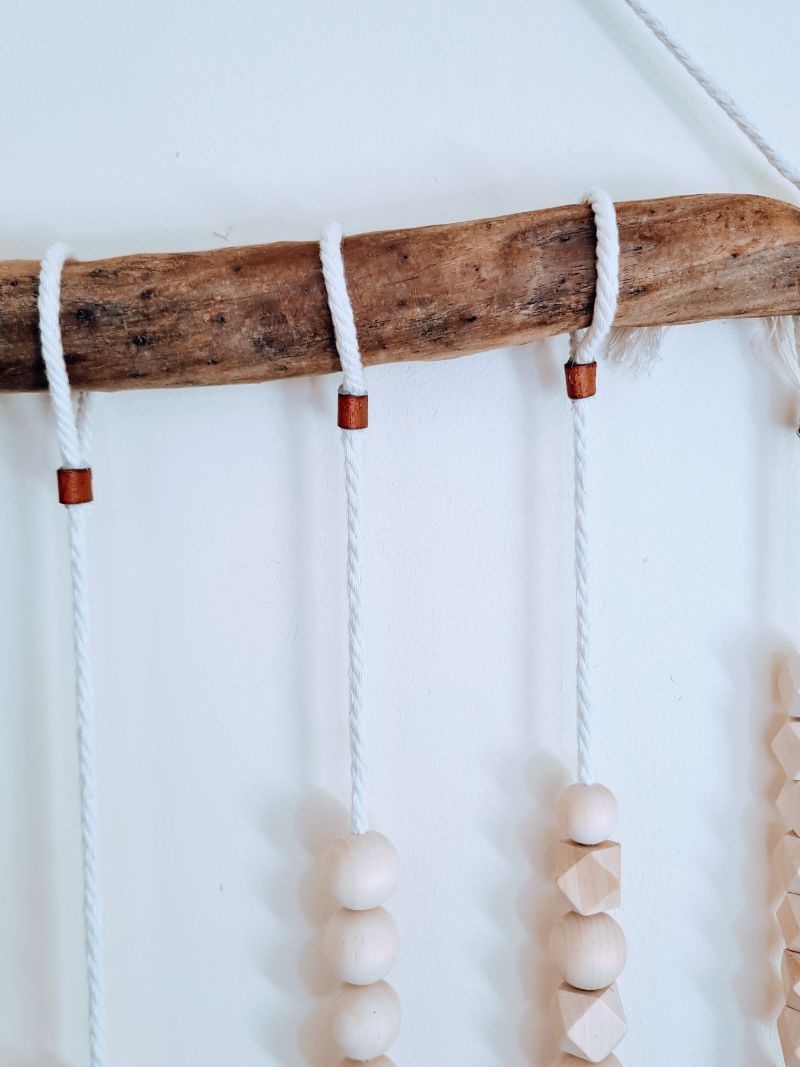
I was walking down by the river a few years back and found this really interesting piece of driftwood. I took it home, where it sat for years waiting for a project to come along. It was perfect for this project. You can start by cutting a piece of rope long enough to tie on each side of the stick to start your beaded wall hanging.
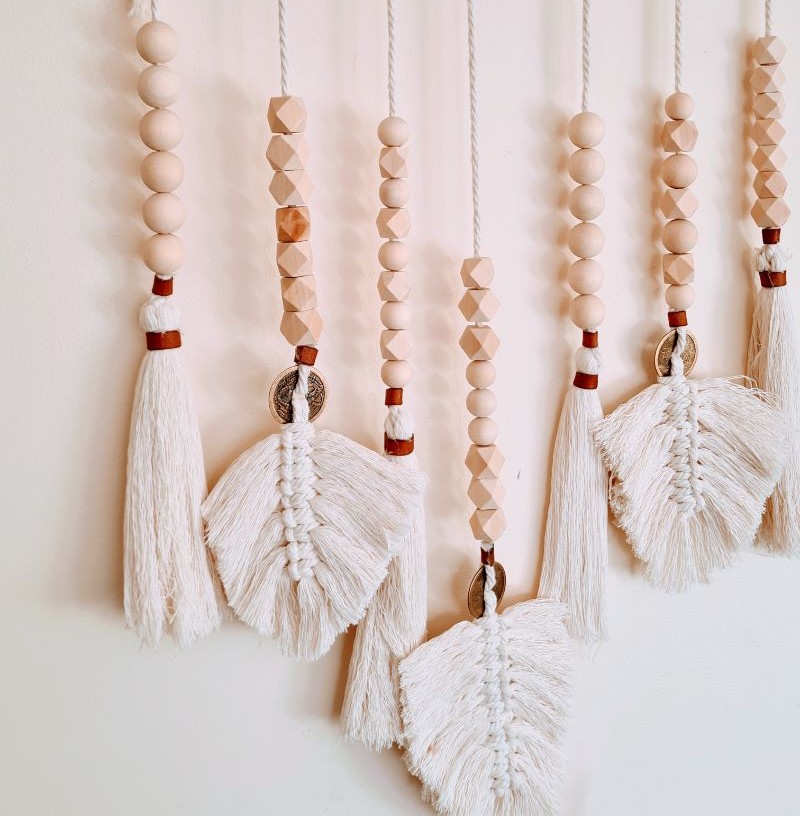
Making the macrame leaves
To make the leaves you will need to cut 1 piece of rope 30cm long and 18 pieces at 20cm long.
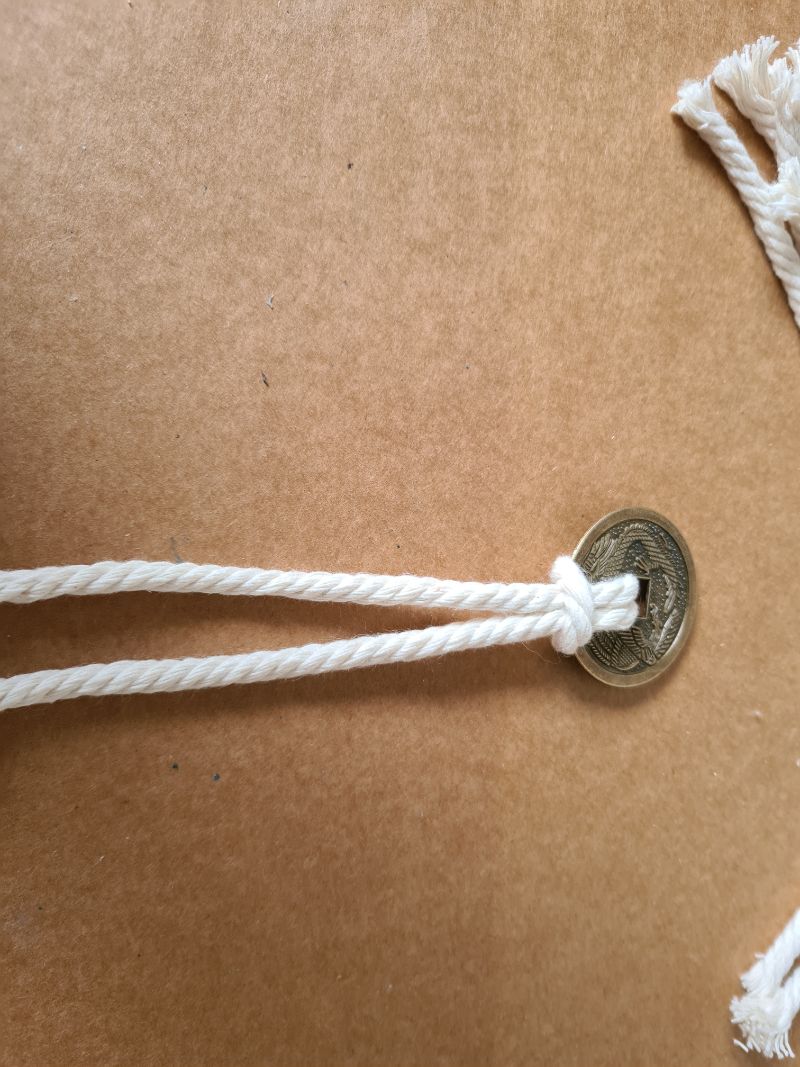
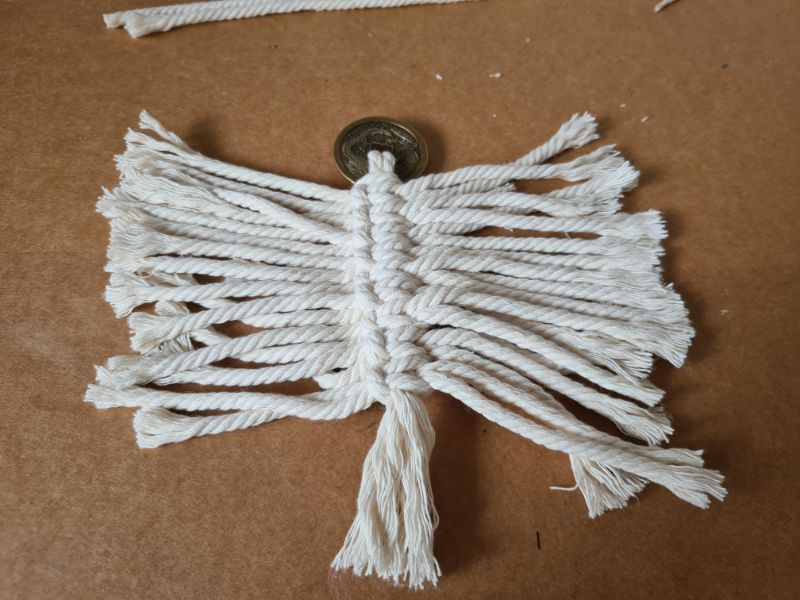
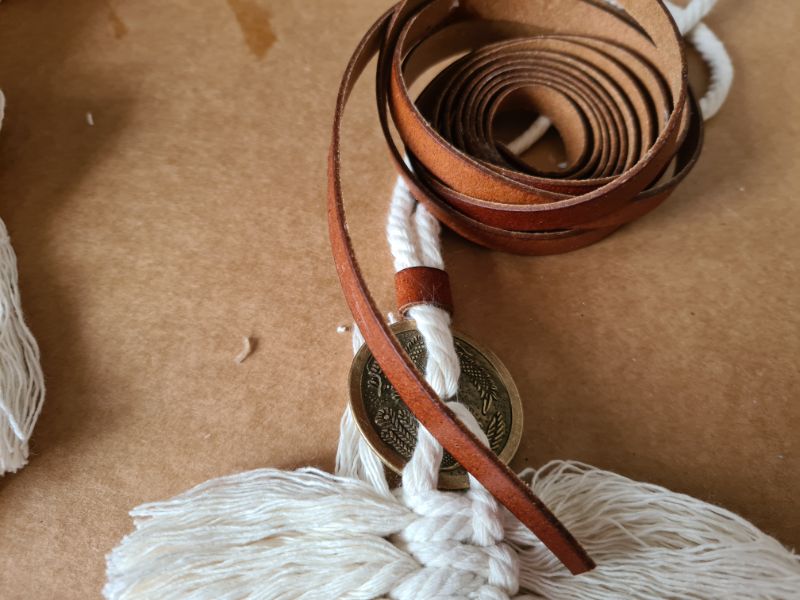
Start by folding the 30cm piece of rope in half and looping it around the middle of the disc, as shown below.
Next, using the 20cm pieces of rope, fold them in half and put one piece above the and one below the middle piece of rope.
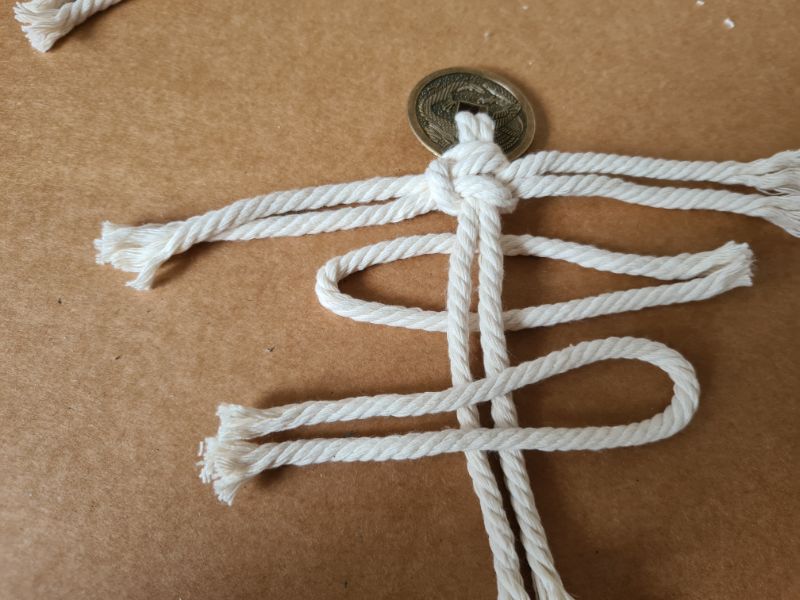
You then feed the loose ends through the hoop on both sides.
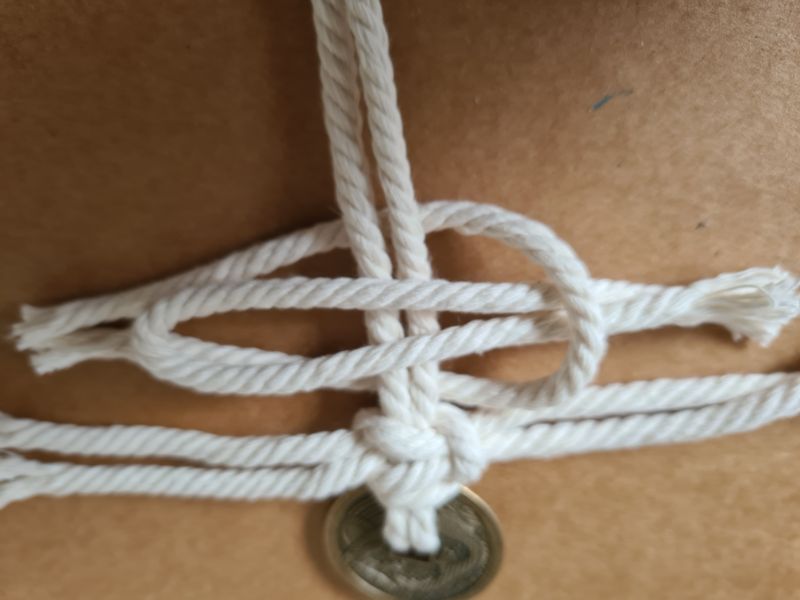
Pull the loose ends on both sides at the same time, and it will form a knot in the middle.
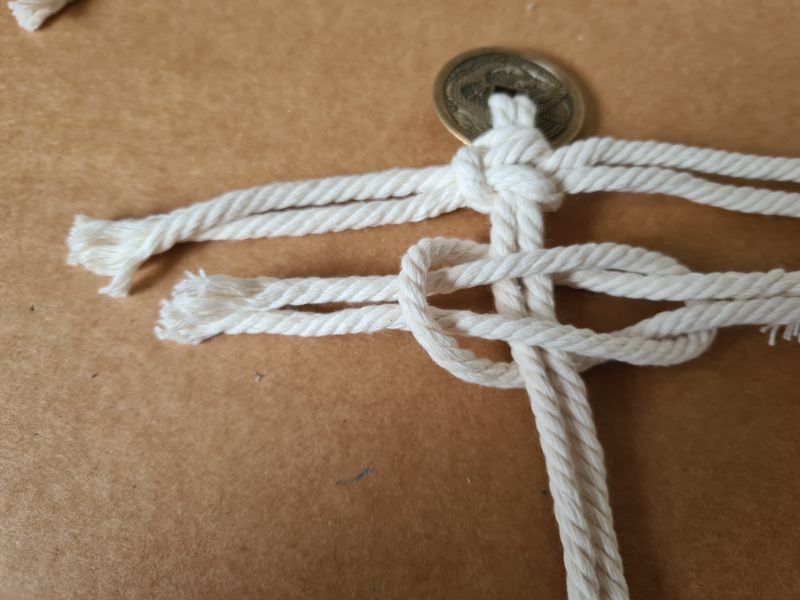
Next, slide the knot up to the top. Repeat this process until all the rope pieces are added.
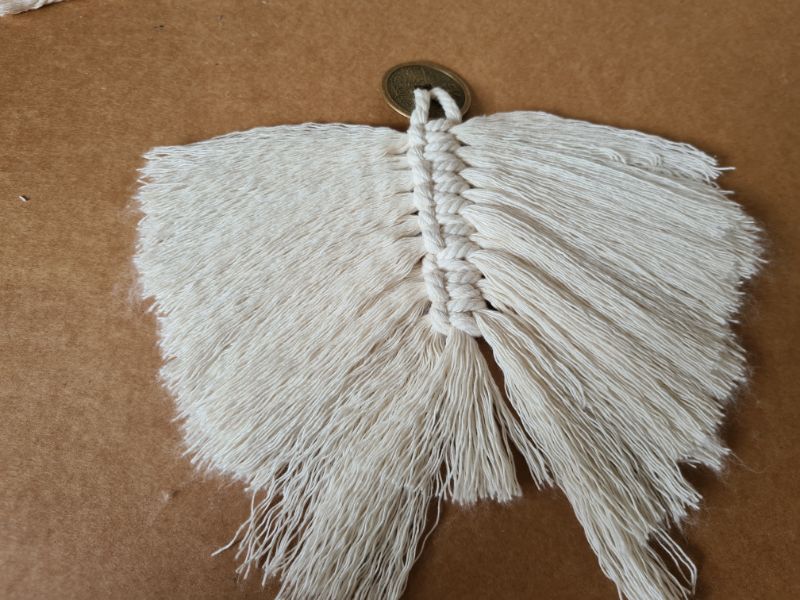
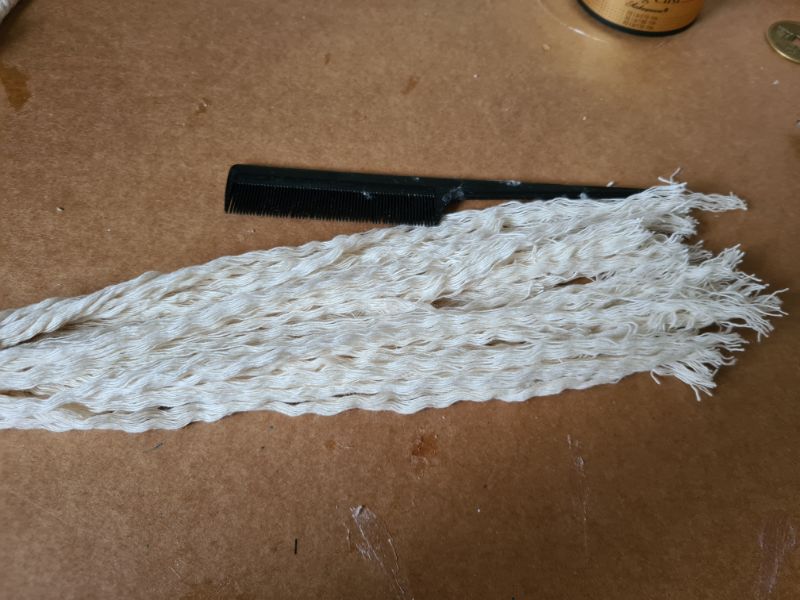
Once done, use a comb to unwind the spirals in the rope, giving it a fluffy texture.

Trim the ends of the rope into a leaf shape using sharp scissors.
Making the tassels
Tassels are very simple to make by cutting lengths of rope to the size you want. I cut mine to 30cm and folded them in half and tied the centre with some rope to hold it in place.

You can use the comb again to Un spiral the rope and comb it to create a fluffy look.
Adding the beads to the rope
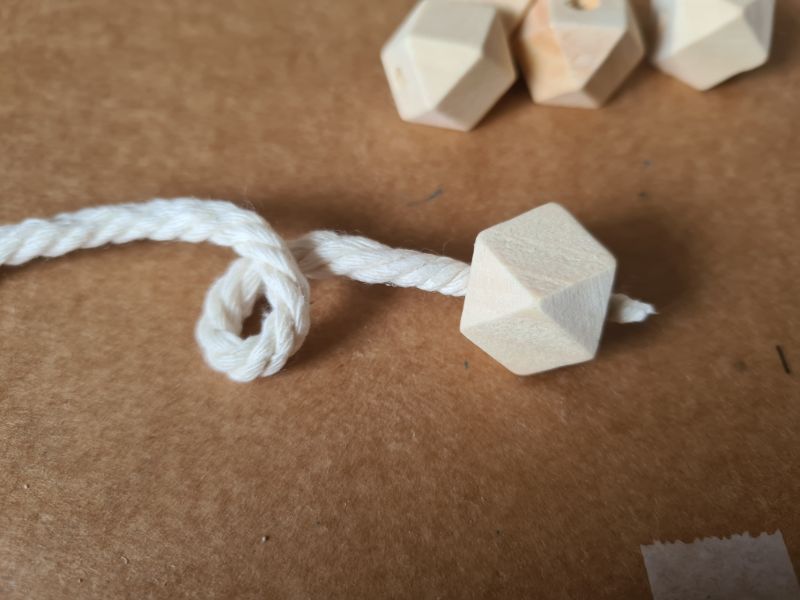
As I mentioned above the rope, I bought was too thick to go through the beads that I had. It was too late to get more beads because I live in a little country town in the middle of nowhere. So, I had to try and use what I had. I used some craft glue and added a generous amount to the end of the rope and rubbed it into the threads. Next, I twisted the rope as tight as I could and left the glue to dry.
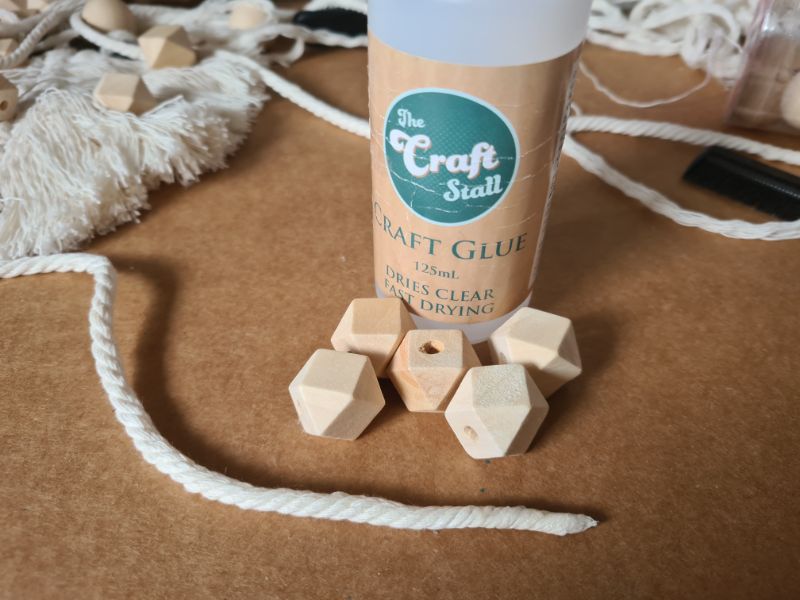
By doing this I was left with a stiff end of the rope that I could twist through the beads without the rope unravelling. This was time-consuming but at least I was able to get the beads onto the rope. I made 7 strands of beads for this wall hanging.
Attaching the beads to the leaves
When I originally planned out this project, I was going to be using a double length of rope to attach the strands of beads to the stick. But because the rope was too thick, I had enough trouble getting one piece of rope through the hole of the bead never mind two. So, I had to come up with another way to attach them together. At first, I tried tying the two pieces of rope together. But because the rope was too thick, I had this ugly big knot of rope.
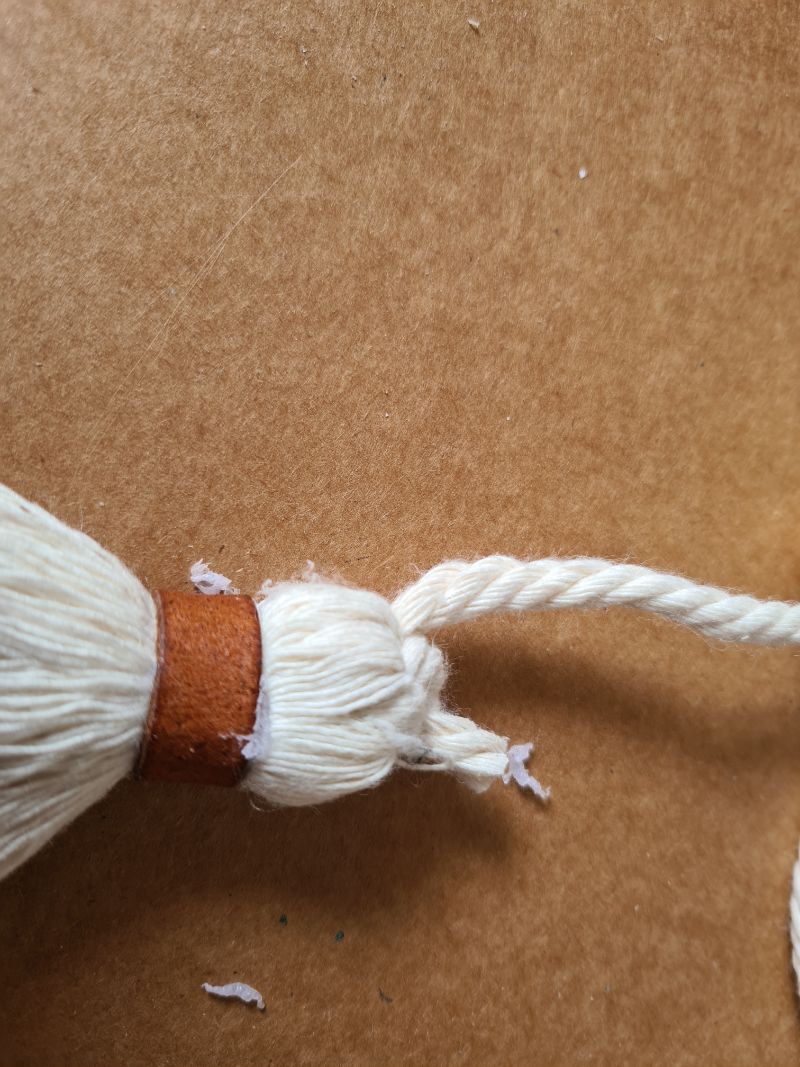
To solve this issue, I attached the rope together with strips of 1cm wide leather. I used some hot glue to glue the leather around the rope.
Adding the beaded strands to the stick
I had the same issue here with the ugly big knot. I used some fishing line to secure the two pieces of rope together and then added some leather strips to hide the joints.
While nothing on this project went to plan, I was still happy with the outcome. For my next Macrame project, I will defiantly take more time to plan it out properly.
More craft project ideas
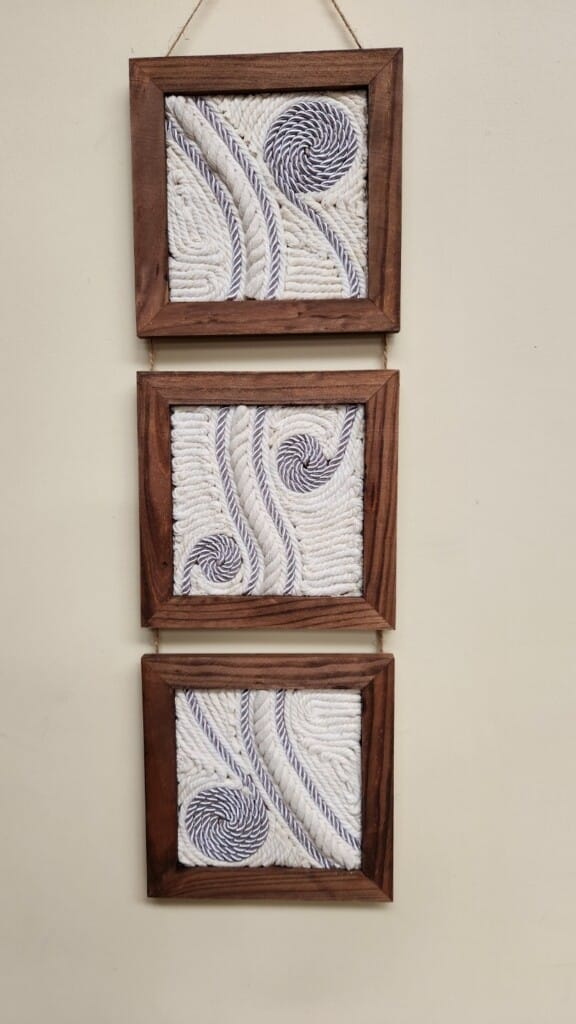
If you have any rope left over like I did you can also try this simple rope wall art.
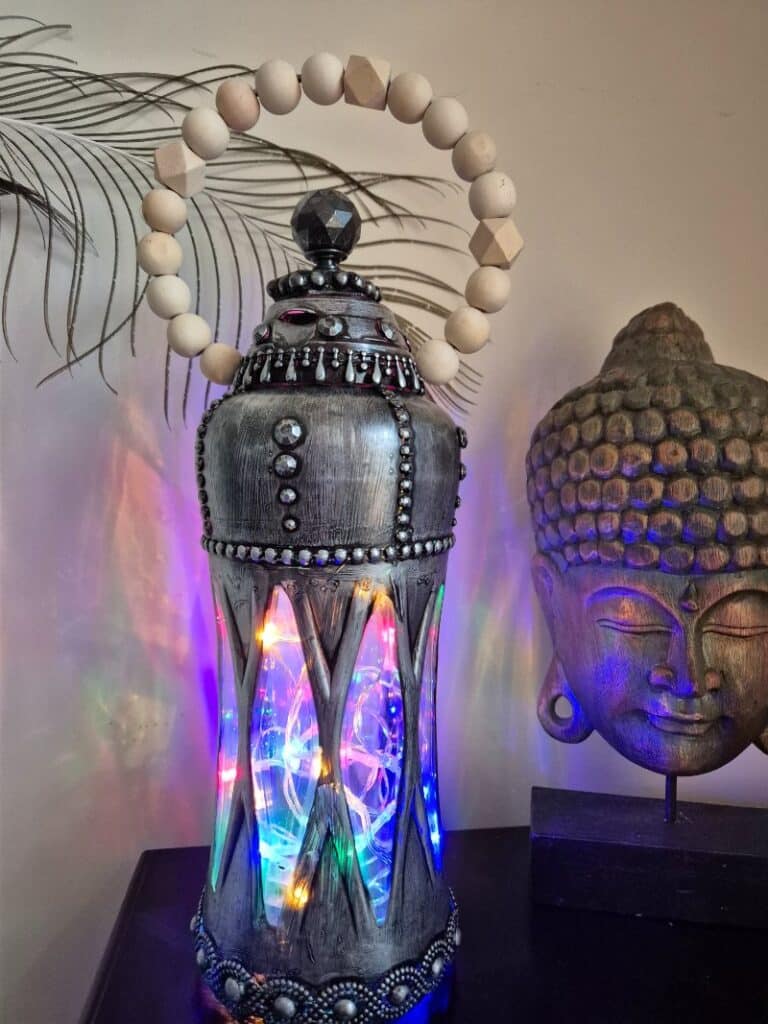
I repurposed the leftover wooden beads from this project in a lantern I made using a recycled Downy bead bottle.
More about IBC
If you follow my blog, you will know I am part of IBC (International Bloggers Club) which is a group of talented bloggers from around the world. We have members from Spain, South Africa, Australia, the United States, and Canada. Each month we come together and create a project with a common theme.
If you missed last month’s “Spin me a spindle ” theme here is the link to my Cement Grim Reaper. The “Beads Galore ” contributions from my fellow bloggers for this months challenge are listed below, please feel free to jump over and give them some love.

- Interior Frugalista|Bedazzled wire pumpkin Halloween wreath
- Me
- Meegan Makes|Handmade bead and driftwood wall hanging
- A Crafty Mix|Half Moon Dream Catcher bead detail
- Birdz of a feather |DIY Dream Catcher

If you’re interested in any of the items used in this project, we’d appreciate it if you used our affiliate links. Clicking these links earns us a small commission at no extra cost to you, helping us create more inspiring and exciting projects to share. We’d also love to hear your thoughts—feel free to leave a comment or share this post!

13 Comments
Sara
October 19, 2021 at 12:12 pmThis is So beautiful Anita and I think it’s so interesting with the leather straps! Would you have used the leather in your original plan too?
Anita Holland
October 19, 2021 at 12:46 pmThanks Sara. I dont think I would have. My plan was to have beads and knots. I added the leather last minute so I could complete the challenge.
Michelle Leslie
October 19, 2021 at 5:12 pmI’m really loving the leather bits wrapped around the macrame cord, Anita. It adds a whole new dimension and loads of interest to the wall hanging. Isn’t it just amazing how we come up with some incredible ideas when things don’t go according to plan and we have to find alternatives?
Anita Holland
October 21, 2021 at 10:58 amThank you so much Michelle. You know the famous saying ” A boer maak a plan” lol
Meegan
October 19, 2021 at 8:52 pmOh, Anita! This is so gorgeous. The driftwood is full of character and then with the leaves, macramé details, metal disks and leather strips, it’s s lovely piece of art. All of this came together so well. I can definitely see my daughters and grand-daughters wanting to make this for their homes. AND me, as well. Thanks for always sharing your incredible talents!
Anita Holland
October 21, 2021 at 11:00 amThank you so much Meegan, It would have been nice to make one with all the proper knots but there is always next time.
Ann
October 20, 2021 at 5:16 amYou definitely had to problem-solve during this project, Anita, but you sure did it well! The white against the driftwood is stunning and I love how you used the leather. Great project!
Anita Holland
October 21, 2021 at 11:01 amThank you so much Ann. Problem-solving is something I have got used to doing my projects because I make them up as I go along with just an idea in my head.
Marie - Interior Frugalista
October 20, 2021 at 6:02 amI’m so glad I’m not the only one who dives right in and figures it out as I go. You did a superb job macgyvering your way through. It looks amazing, Anita and that piece of driftwood looks like an arrow!
Anita Holland
October 21, 2021 at 11:03 amThank you so much Marie, diving in feet first seems to be a common trait with me. Funny how we all see something different in the driftwood. My first thought was a dragons head. lol
Linda Johnston
November 1, 2021 at 1:56 amTurned out so pretty ; I like that it is not over done like some macramé pieces!
Anita Holland
November 1, 2021 at 4:09 pmThanks Linda, I had no idea how to do Macrame, so no danger of overdoing it. LOL
A Crafty Mix | DIY Half-Moon Dream Catcher With Bead Detail - A Crafty Mix
May 24, 2022 at 2:56 am[…] Unique Creations by Anita totally faked this macrame wall hanging with bead detail. […]