
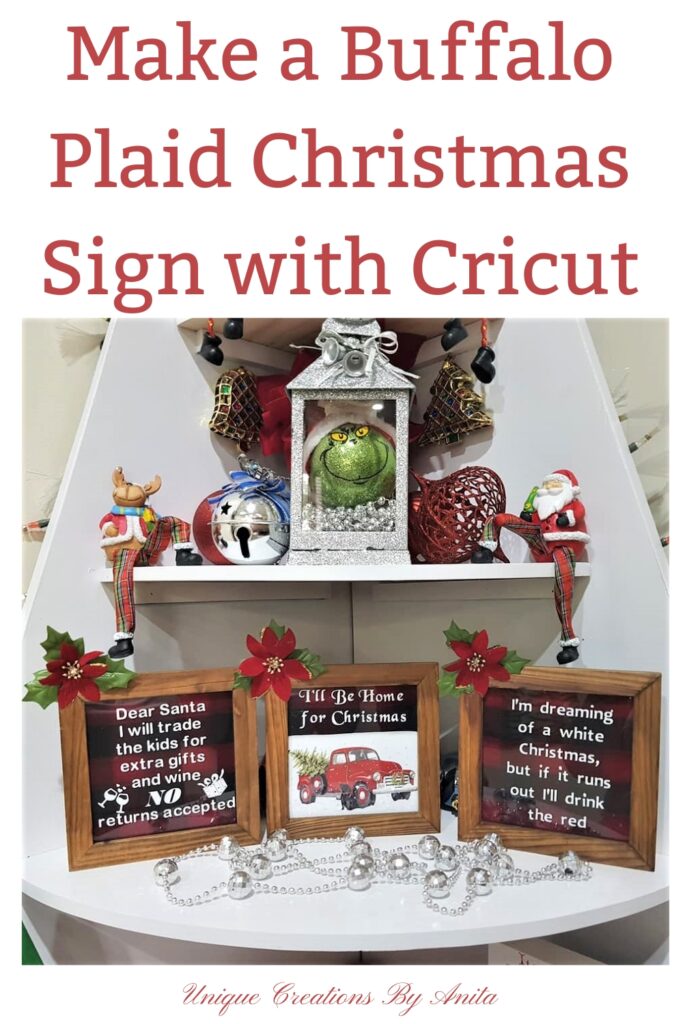
With Christmas fast approaching, I couldn’t help but notice one festive trend popping up everywhere—buffalo plaid Christmas crafts. Inspired by the bold red and black pattern that dominates Pinterest, I decided to make these DIY Framed Christmas Signs using recycled photo frames and leftover fabric from an old shirt. Paired with vinyl decals cut using my Cricut, these simple signs add a charming rustic vibe to any holiday display. Even better? They’re easy to customise and reuse for different seasons!
Before we dive into this tutorial, be sure to subscribe to my bimonthly newsletter to be the first to see my latest projects. You can also follow me on Pinterest and Facebook, where I also include my unique mixed-media art projects.

How to Make Buffalo Plaid Christmas Signs with Cricut
**This post may contain affiliate links. This means I earn a small commission on links used at no extra cost to you. Please see my disclosure policy for more information.**
Materials Needed
- Old photo frames
- Red and black buffalo plaid fabric
- All-purpose adhesive
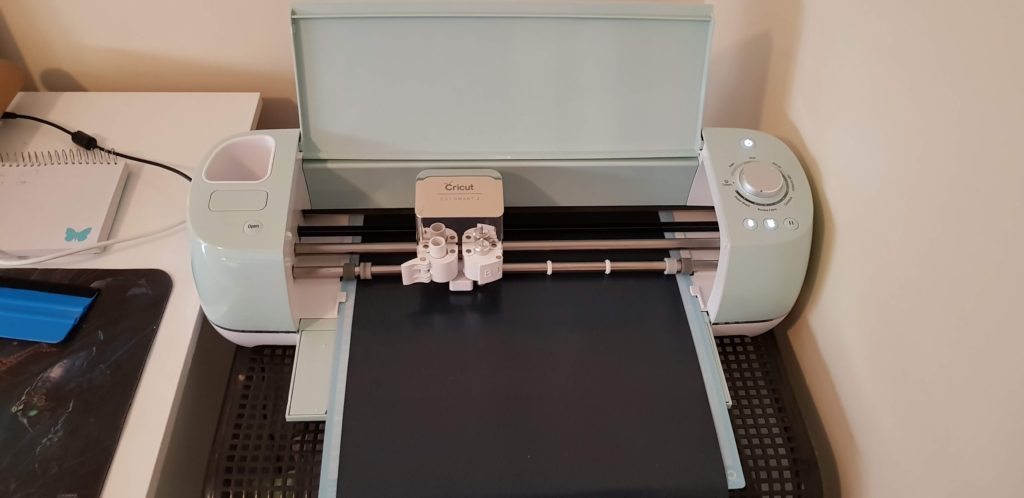
- Cricut or Silhouette machine (I used Cricut Explore Air 2)
- Permanent adhesive vinyl (Oracle 651 or Metamark M7)
- Cricut transfer tape (used or low-tack preferred)
- Felt scraper or credit card
- Weeding tool or craft knife
- Hairdryer
- Rubbing alcohol and paper towels
- Optional: printed image (e.g., red truck), faux flower embellishments
- Optional: small wooden blocks or triangles for legs
Clean and Prep the Frame
Start by removing the back from your photo frame. Cut your buffalo plaid fabric to size and glue it directly to the backing board using an all-purpose adhesive.

Clean the glass thoroughly using rubbing alcohol and a paper towel. This removes fingerprints and helps the vinyl stick.

Design and Cut the Vinyl
Open Cricut Design Space and create a new text design. Customise the font and spacing to suit your project.

Use Oracle 651 or Metamark M7 vinyl for best results. Stick the vinyl to your cutting mat and smooth it with a felt scraper. Cut the design with your Cricut machine.
Once cut, weed the design by removing the excess vinyl around the text using a weeding tool or craft knife.

Apply the Vinyl to Glass
Place used or low-tack Cricut transfer tape over your vinyl and rub it firmly with a scraper so it sticks.
Tip: If your tape is too sticky, it may pull the vinyl back off the glass. Reusing old transfer tape makes it less tacky and easier to work with.

Warm the glass with a hairdryer for a few seconds. Carefully position your design, press it down firmly, then peel back the transfer tape.

Reassemble and Add Finishing Touches
Put the frame back together and decide if you want to stand it upright.

I glued leftover wooden triangles from my barn quilt headboard project onto the frame base as feet. This makes the sign freestanding—perfect for shelves and table displays.

I printed a red Christmas truck image onto photo paper and placed it behind the glass. A small faux flower in the corner completed the look.

Repurpose the Frame After Christmas
Once the holidays are over, simply change the text and background fabric to suit other occasions like Easter, Halloween, or autumn. These framed signs are reusable all year round.
More Cricut-Inspired DIY Projects
Flashing Christmas Shadow Boxes

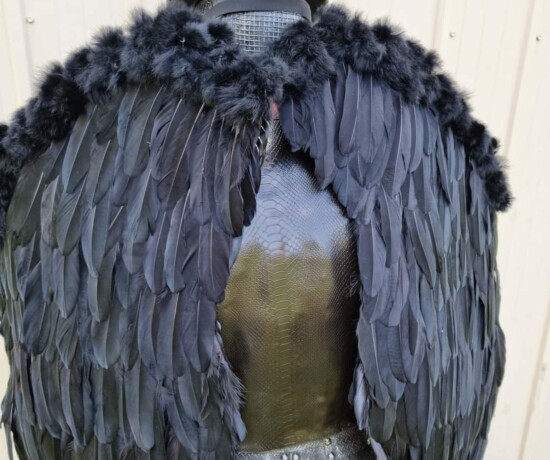
Or check out this unique Game of Thrones lamp made from an upcycled Jack Daniels bottle

Looking for more great craft and DIY projects, check out my go-to websites for inspiration Favecrafts and DIY Idea Centre.

If you’d like to find any of the items used in this project, we’d greatly appreciate it if you used our affiliate links. These links provide us with a small commission at no extra cost to you, allowing us to continue creating and sharing more inspiring projects. We’d also love to hear your thoughts—feel free to leave a comment or share this post!


35 Comments
Dee | Grammy's Grid
December 1, 2019 at 10:20 pmThese look nice, I like using my Cricut to make such things. Thanks so much for linking up at #AThemedLinkup 6 for All Things Christmas. Shared.
Anita Holland
December 2, 2019 at 12:06 amThank you I love my Cricut too, the best machine I own.
Robin
December 4, 2019 at 5:05 pmLove it! Especially the one about trading gifts and wine for the kids. Thanks for sharing your talent with us at the Creative Muster. Looking forward to seeing what you’ll be sharing next week. Pinned!
Robin 🎄
Anita Holland
December 4, 2019 at 11:57 pmThank you so much, I thought it was funny. 🤭🤭
Teresa
December 6, 2019 at 3:28 pmGreat idea. These would make nice Christmas gifts too.
Thank you for sharing at The Really Crafty Link Party. Pinned.
Chandhini
December 7, 2019 at 2:09 pmThis christmas sign looks great, thank you for the detailed tutorial.
Anita Holland
December 10, 2019 at 2:06 amThank you so much 😁
lisa lombardo
December 7, 2019 at 4:40 pmSo cool! I love this!
Thanks for sharing on Farm Fresh Tuesdays! It’s always fun to see what you are creating!
Naush Samama
December 15, 2020 at 5:15 amSuch a fun frame !!Thank you for sharing with us at Meraki link party.
Naush
Anita Holland
December 16, 2020 at 1:23 amThank you so much Naush.
Antionette Blake
December 7, 2019 at 11:32 pmThis is a very nice Christmas Craft, thanks for sharing!
#trafficjamweekend
Anita Holland
December 10, 2019 at 2:06 amThank you, and you are very welcome.
Kimberly
December 9, 2019 at 4:00 pmLove this DIY idea for Christmas, Anita! Thank you for sharing this on Traffic Jam Weekend. It is my fave feature pick for this week’s party going live on Thursday at 5:00 pm CST.
Anita Holland
December 10, 2019 at 2:04 amThank you so much for the comment and the feature. 🥰🥰
Clearissa Coward
December 9, 2019 at 8:21 pmThese are so very cute. I especially love the one about trading kids. So adorable. Thank you for sharing with #omhgww. Pinned and tweeted.
Anita Holland
December 10, 2019 at 2:02 amThank you so much for the lovely comment.
Anita Holland
December 10, 2019 at 2:05 amThank you so much ❤
Anita Holland
December 13, 2019 at 6:10 amThank you so much, it is a great machine. So many uses.
Anita Holland
December 13, 2019 at 6:11 amThank you!
Anita Holland
December 13, 2019 at 6:11 amThank you
Michelle Leslie
December 13, 2019 at 10:56 amLOL Anita, you crack me up. Love the quotes you used on your framed Christmas signs. Brilliant and I have quite a few frames with “bleh” pictures inside that could do with a makeover like this
Anita Holland
December 14, 2019 at 8:22 pmThank you, the kids loved the quotes too. I am sure you could come up with some brilliant ones.
Anita Holland
December 14, 2019 at 8:24 pmThank you!
Dee | Grammy's Grid
December 15, 2019 at 5:13 pmCongrats! Your post is FEATURED at #AThemedLinkup 7 for Christmas Trees and Ornaments from my previous linkup for All Things Christmas!
Anita Holland
December 16, 2019 at 5:40 amThank you so much.😉
Anita Holland
December 19, 2019 at 6:36 amThank you so much for the lovely comment on my Christmas signs. 😁
Sara
October 26, 2020 at 10:03 pmWhat’s Christmas without a little humour! Love these signs 🙂
Anita Holland
October 27, 2020 at 2:33 pmThanks Sara, It is humour to others but facts to me lol
Julie
December 7, 2020 at 11:41 pmThese are so much fun, I may enjoy a slightly red Christmas myself !
Anita Holland
December 11, 2020 at 4:04 pmYay, my kind of girl. lol
Lydia C. Lee
December 8, 2020 at 6:33 amJust lovely!! You’re so clever!
Anita Holland
December 11, 2020 at 4:07 pmThank you Lydia.
Cherryl Ehlenburg
December 10, 2020 at 4:33 amThese are cute ideas! I have had my Cricut since March, and love it!
Anita Holland
December 11, 2020 at 4:24 pmThan k you so much Cheryl, I love my Cricut and try and add a Cricut item into most projects.
Anita Holland
December 21, 2020 at 2:44 pmThank you so much michelle.