
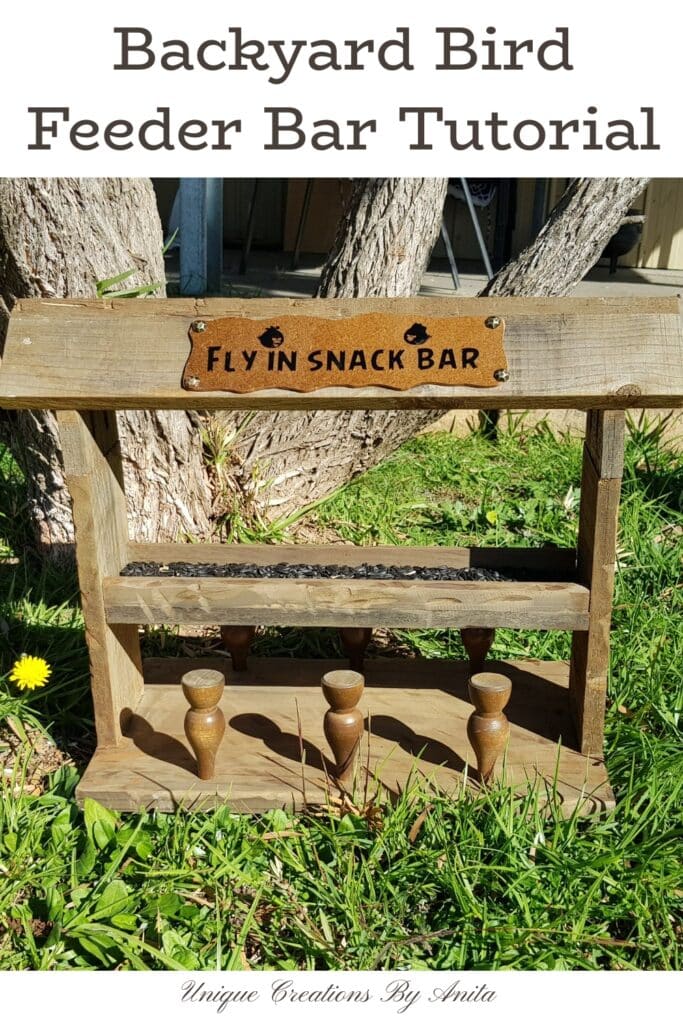
Easy DIY Weathered Pallet Wood Bird Feeder Bar: For the past few weeks, my Pinterest feed has exploded with gorgeous DIY bird feeders, so I took it as a sign to build one of my own. I’m not a huge bird lover, but my sister adores her daily visitors—king parrots that now eat from her hand! With those colourful regulars in mind, I crafted a weathered pallet wood bird feeder bar that’s both functional and garden‑worthy.

Before we dive into this tutorial, be sure to subscribe to my bimonthly newsletter to be the first to see my latest projects. You can also follow me on Pinterest and Facebook, where I also include my unique mixed-media art projects.
Easy DIY Weathered Pallet Wood Bird Feeder Bar
**This post may contain affiliate links. This means I earn a small commission on links used at no extra cost to you. Please see my disclosure policy for more information.**
Materials Needed
- Reclaimed pallet wood (weatherproof)
- Jigsaw
- Orbital sander & sanding disc
- Table saw
- Pocket hole jig and screws
- Wood glue
- Drill with assorted bits (including large bit for dowels)
- Dowels or sturdy branches (for perches)
- Grinder with sanding disc
- Steel wool
- Rusty nail stain solution (homemade)
- Exterior varnish
- Scrap MDF (for signs)
- Cricut or vinyl cutter + vinyl sheets
- Silicone adhesive or decorative studs
- Nail gun (or hammer + nails)
- Clamps
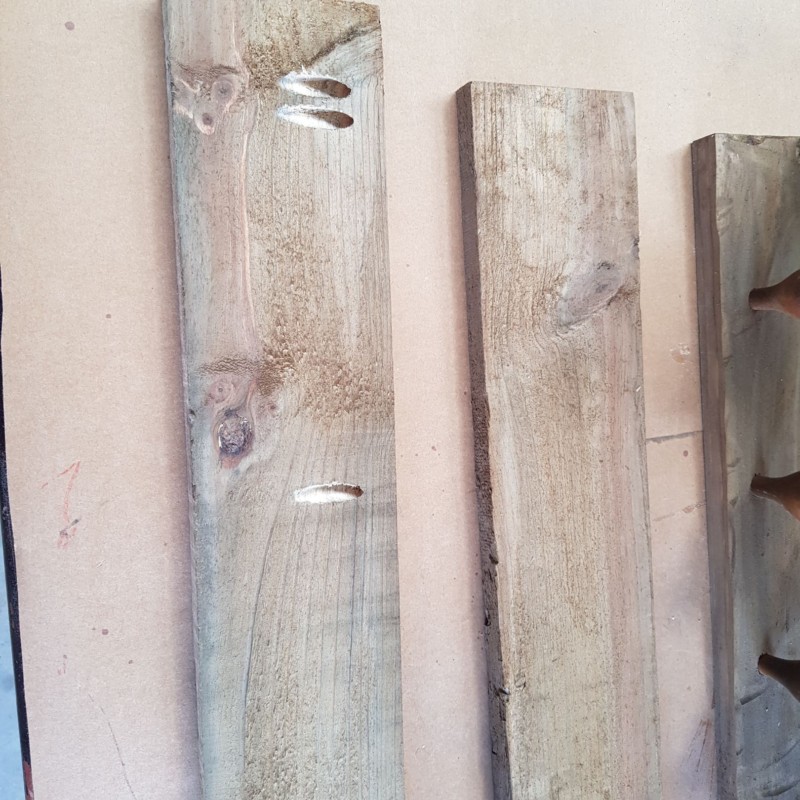
Step 1: Prepare the Wood
I chose pallet wood because it’s both weather‑proof and free, though dismantling a pallet without a proper breaker tool can be a real headache. Luckily, I only needed smaller boards, so I skipped the full teardown and cut the middle sections out with my jigsaw—much faster and just as sturdy.
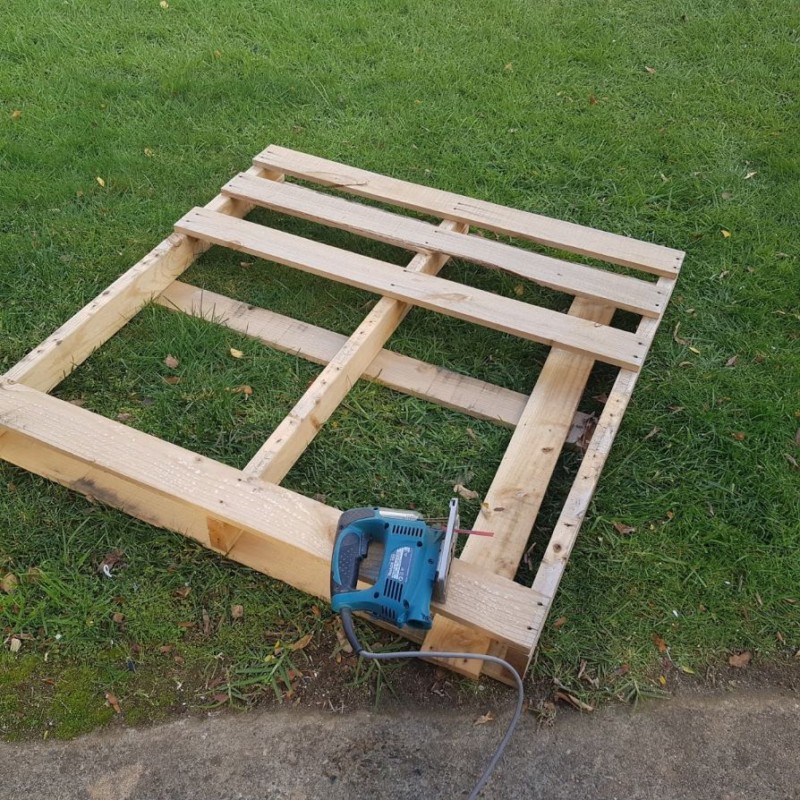
To clean up any rough or damaged sides, I trimmed 50 mm off each edge on the table saw—safe perches make happy birds!
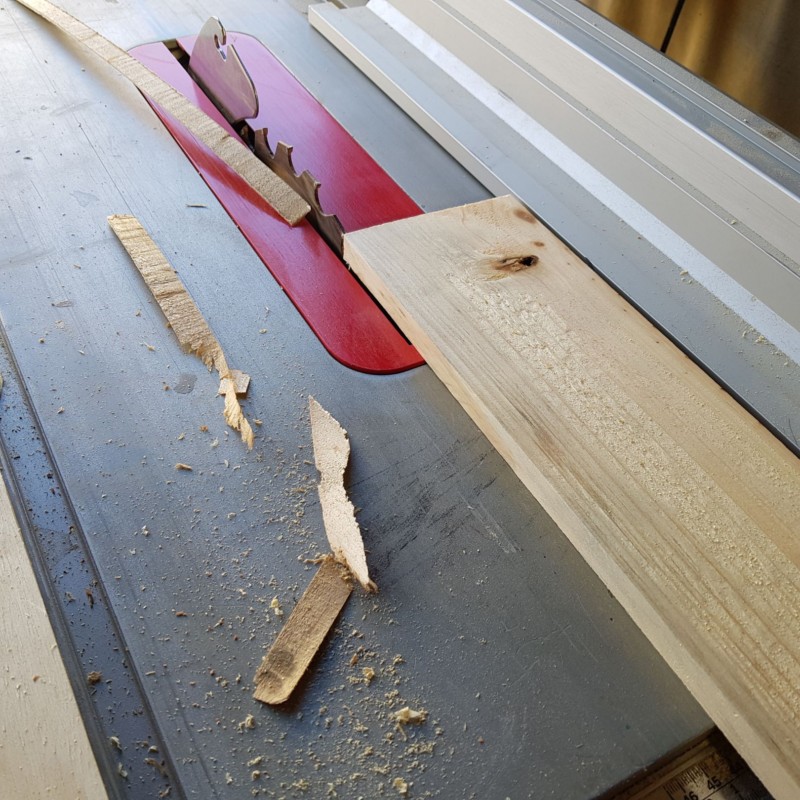
I gave each plank a quick once‑over with an orbital sander—just enough to knock off loose splinters while preserving the wood’s naturally rustic texture.
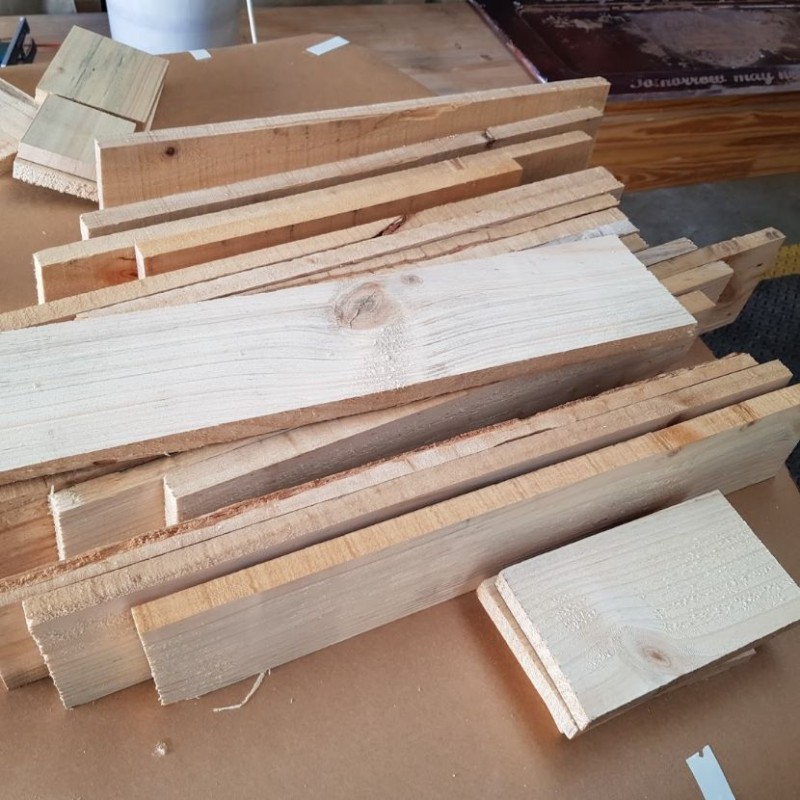
Step 2: Cut the Pieces to Size
Measure twice, cut once. I marked and cut these parts:
- 1 × 400 × 200 × 20 mm (Base)
- 2 × 410 × 90 × 20 mm (Side supports)
- 1 × 360 × 90 × 20 mm (Feeding tray)
- 2 × 360 × 20 × 20 mm (Tray supports)
- 2 × 500 × 90 × 20 mm (Roof panels)
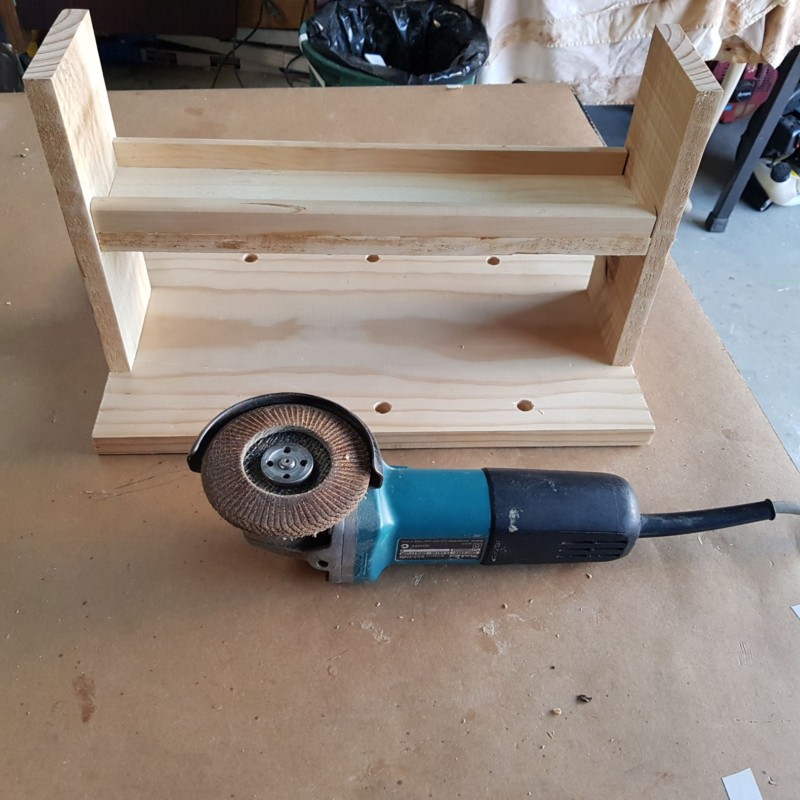
Step 3: Assemble the Base and Tray
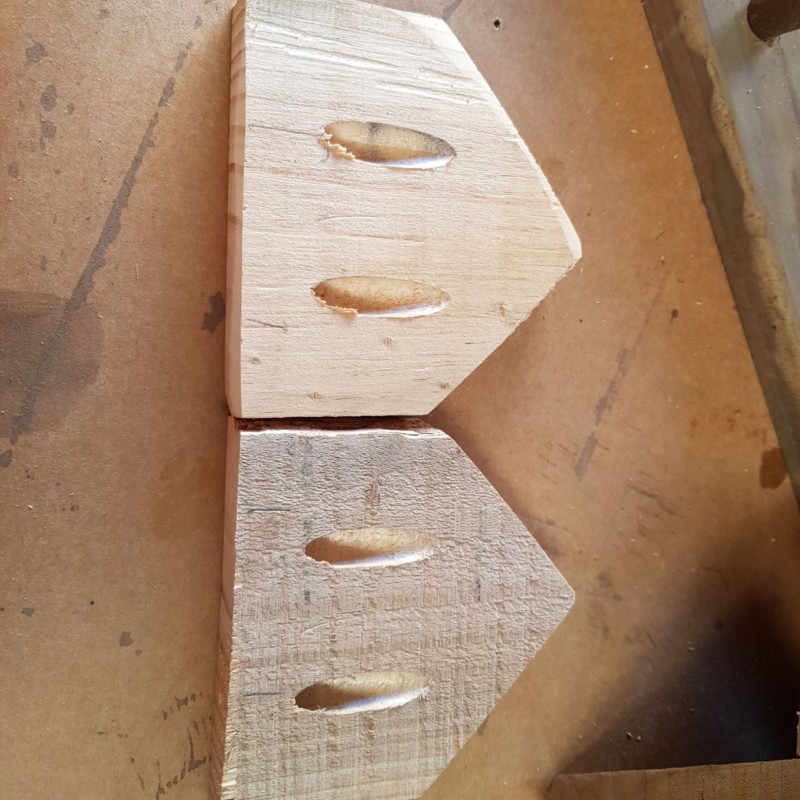
Using a pocket‑hole jig to join the boards hides your screws, but if you don’t have one, pre‑drill holes and screw into place instead. Begin by drilling and countersinking holes in the base—pallet wood can split when it’s sun‑dried—then spread a little wood glue on the mating faces and drive in the screws to attach the side supports.
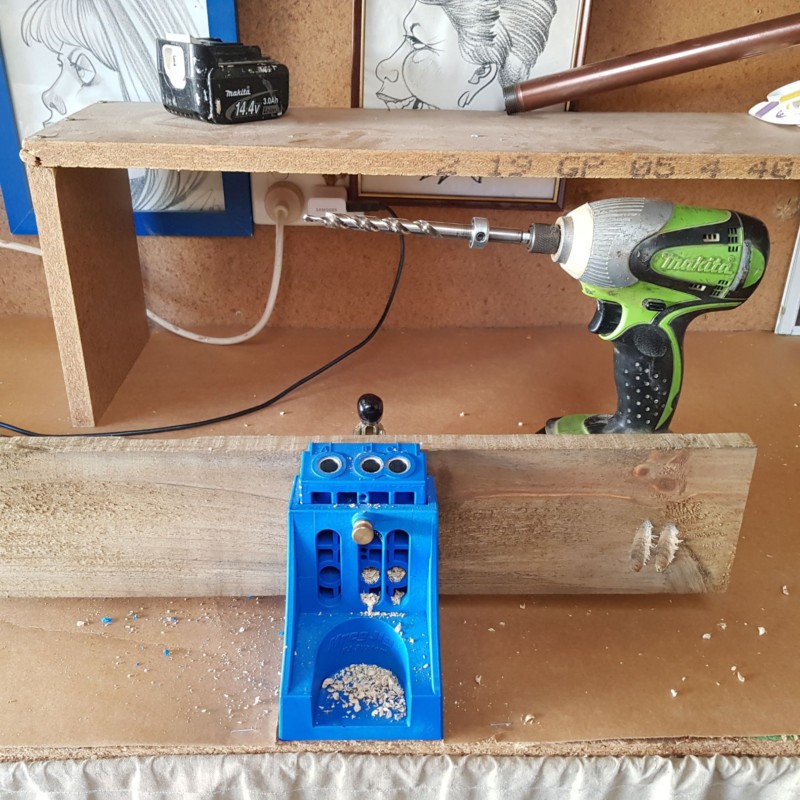
Next, drill a few small holes in the bottom of the feeding tray for drainage, screw the tray’s side rails into place to keep seed from spilling in wet weather, and fasten the entire trough assembly to the side supports. Finally, choose a large drill bit to bore evenly spaced holes in the base for your dowel perches or a sturdy branch.
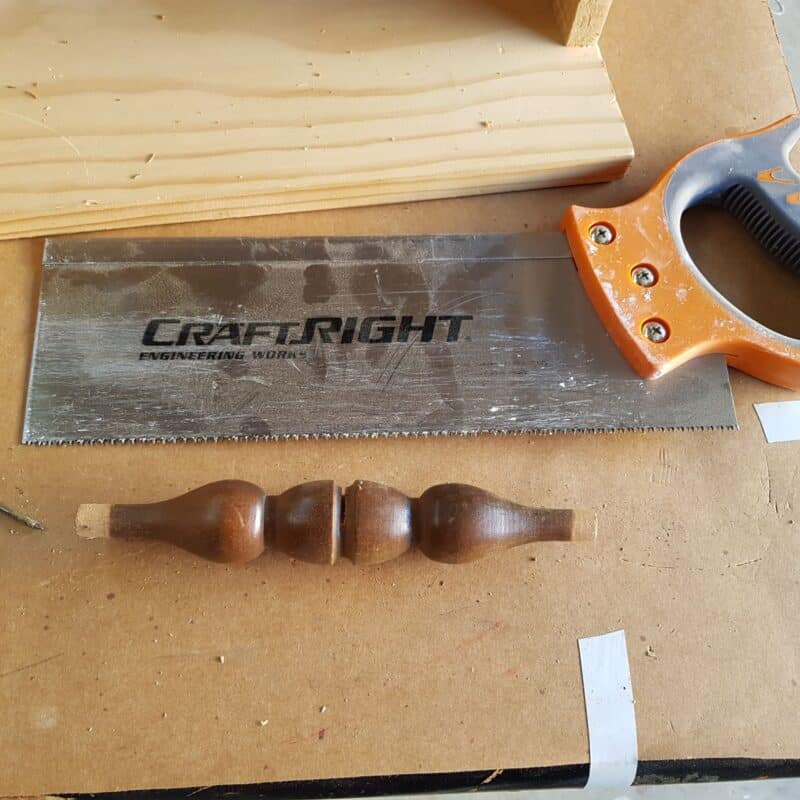
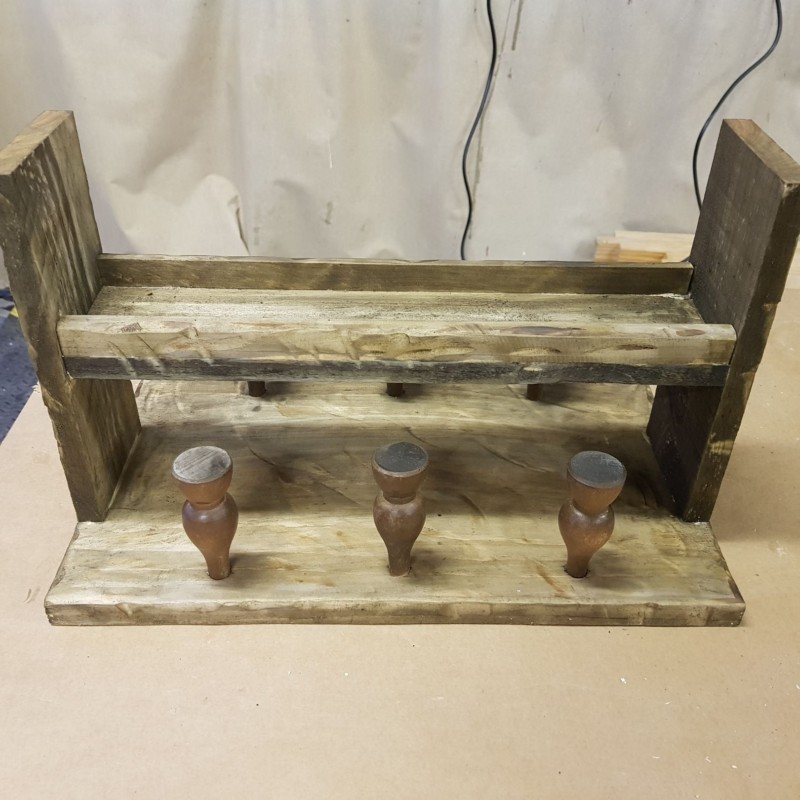
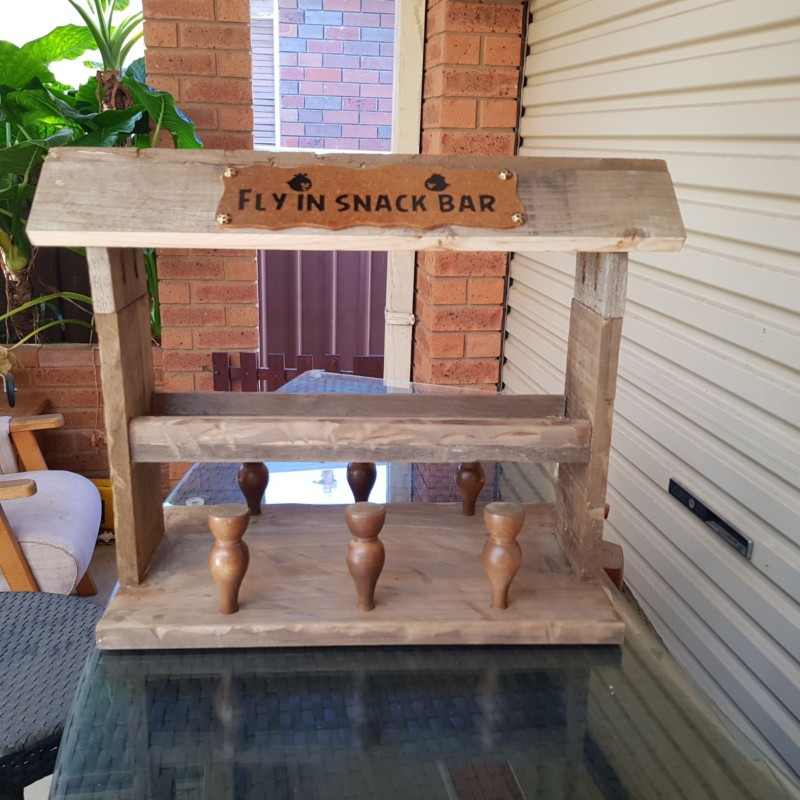
Step 4: Install the Bar Stools
I cut old chair spindles in half, glued them into the holes, and let them set. These little stools give the parrots a perfect landing spot.
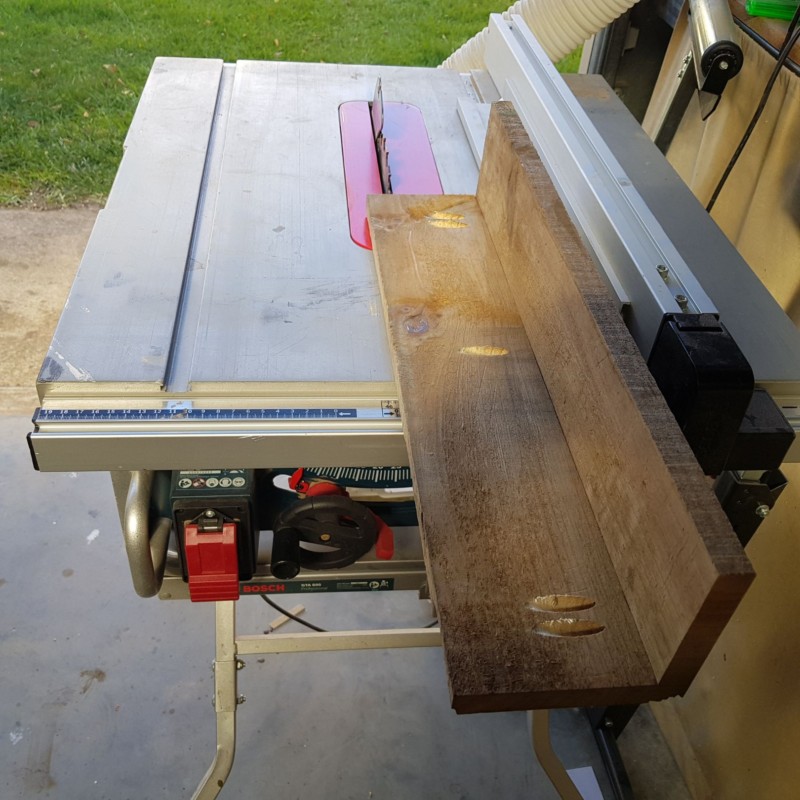
Step 5: Build the Roof
I aligned the two roof panels and joined them with pocket holes.
One panel overhung, so I trimmed it on the table saw for a neat, even roofline. Clamps held everything square as I cut.
Step 6: Age the Wood with Rusty Nail Stain
To achieve an authentic weathered look, I roughed the surfaces with a grinder and sanding disc.
I achieved the weathered finish by making a simple iron‑oxide stain: I let steel wool and rusty nails soak in water until it turned a rich reddish‑brown, then brushed that rust‑infused liquid onto the wood with the same steel wool. The iron oxide reacted with the wood’s natural tannins to create the aged, weathered patina I wanted.
Step 7: Attach the Roof
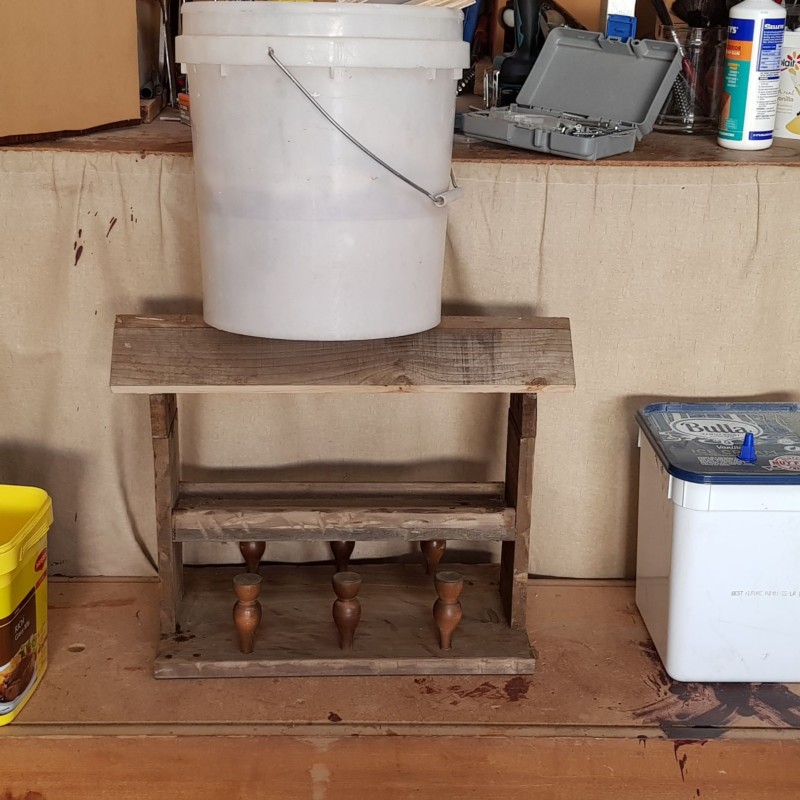
This is where my project came undone: I hadn’t planned how the roof would attach, and the side supports ended up too short. Once the roof was in place, there wasn’t enough clearance for the birds to reach the feeding trough—a classic reminder of what can happen when you make up projects as you go along.
I fixed the clearance issue by splicing in a scrap of pallet wood cut precisely to the roof’s pitch and pocket‑holing it onto the existing side supports. Then I spread wood glue along the top of the supports, positioned the roof panels, and reinforced the joint with finish nails—though you can use screws if you don’t mind the heads showing.

Finally, I weighted the assembly down with heavy books while the glue cured, ensuring a snug, gap‑free fit.
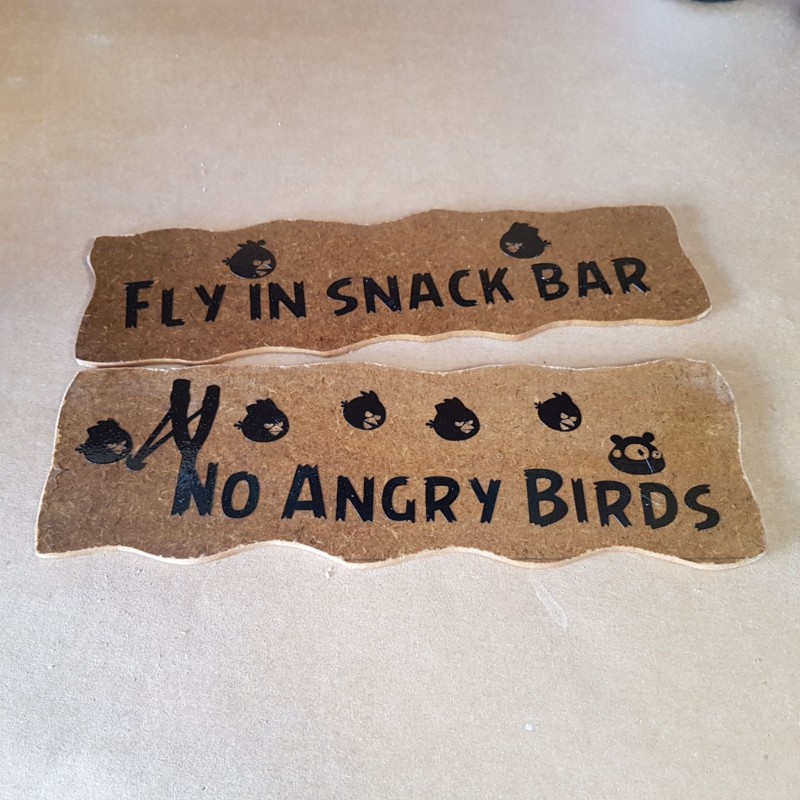
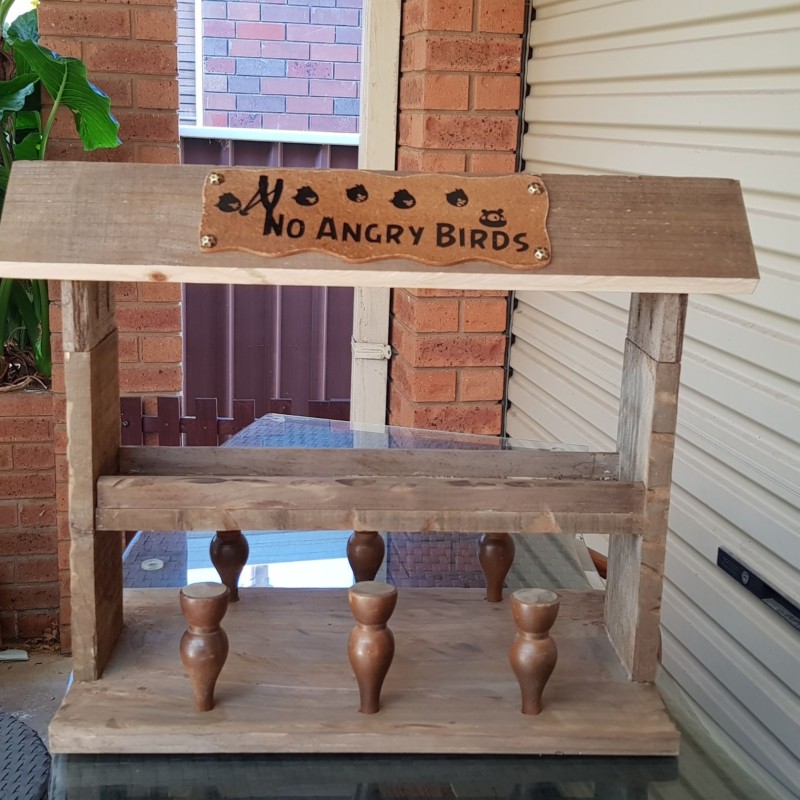
Step 8: Add Decorative Details
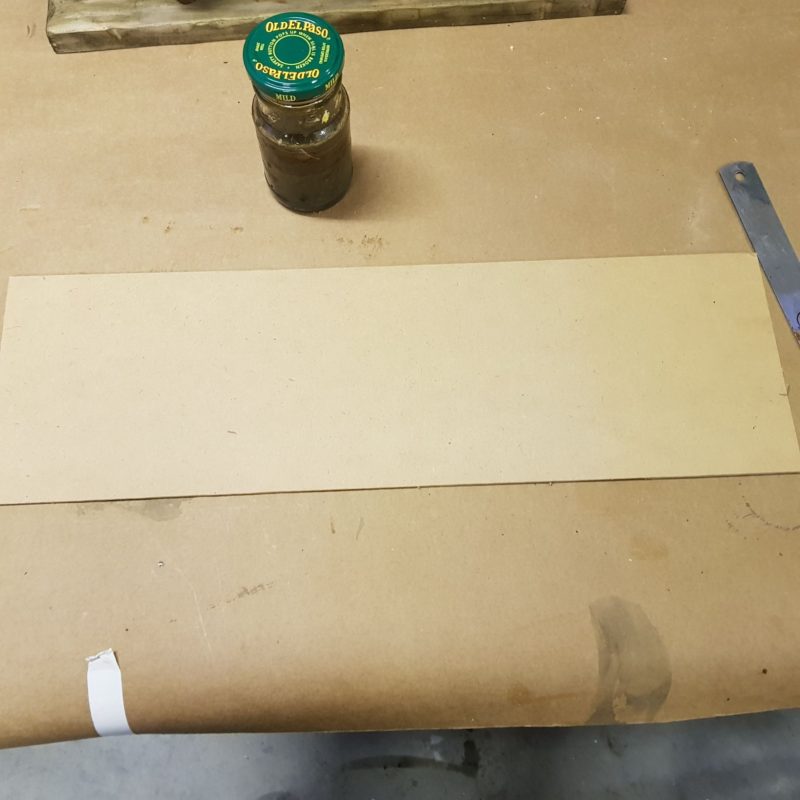
For a playful finishing touch, I cut two freehand shapes from scrap MDF with my jigsaw, then brushed them with my homemade rust‑nail stain and sealed each sign with exterior varnish.
Next, I designed vinyl lettering on my Cricut and adhered it to the boards, using silicone glue for a seamless bond, and topped everything off with decorative studs.
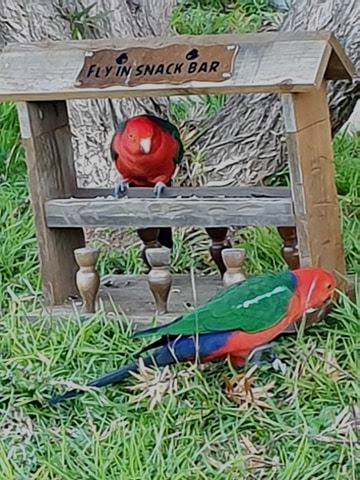
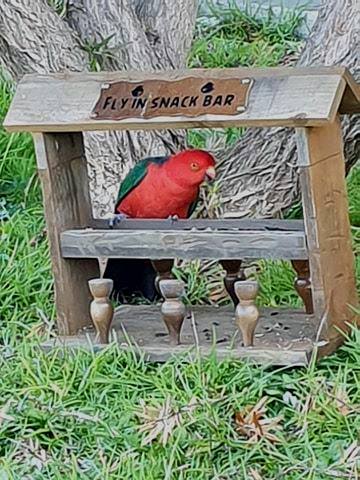
Despite my earlier clearance hiccup, the final bird feeder looks fantastic—and I’m pretty sure the king parrots will approve too!
The photos aren’t perfectly clear—I had to keep my distance so the birds wouldn’t fly away—but it’s obvious they’ve wholeheartedly embraced their new feeder.
More project ideas
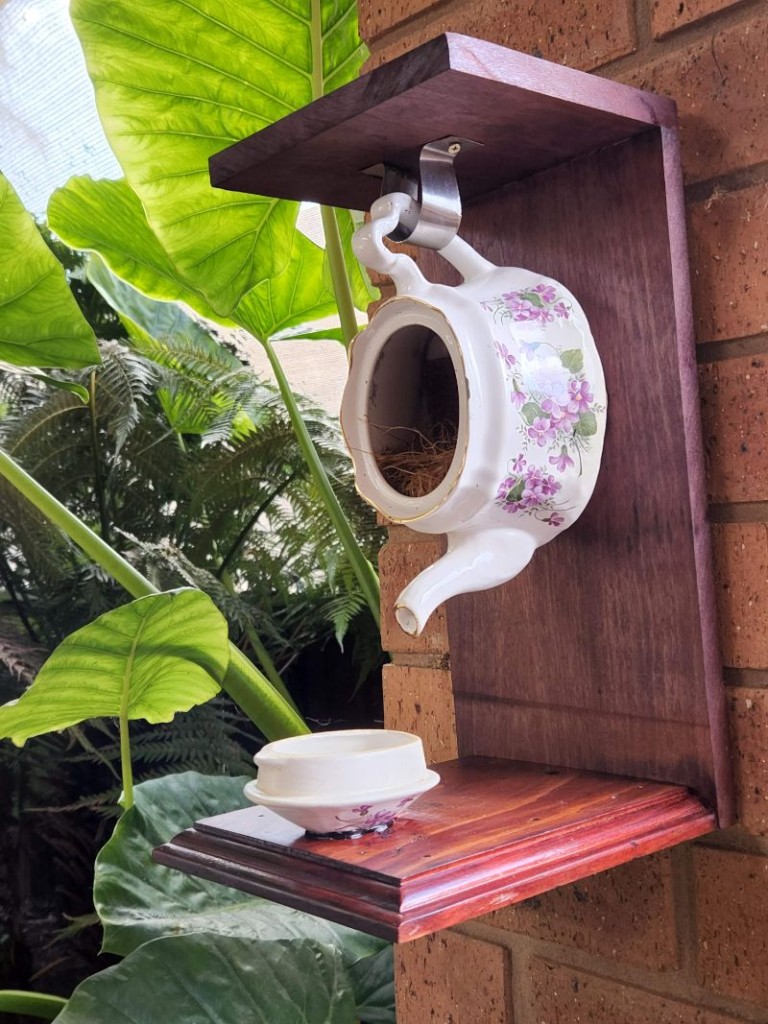
This whimsical birdhouse transforms a vintage teapot into a cosy haven for backyard songbirds.
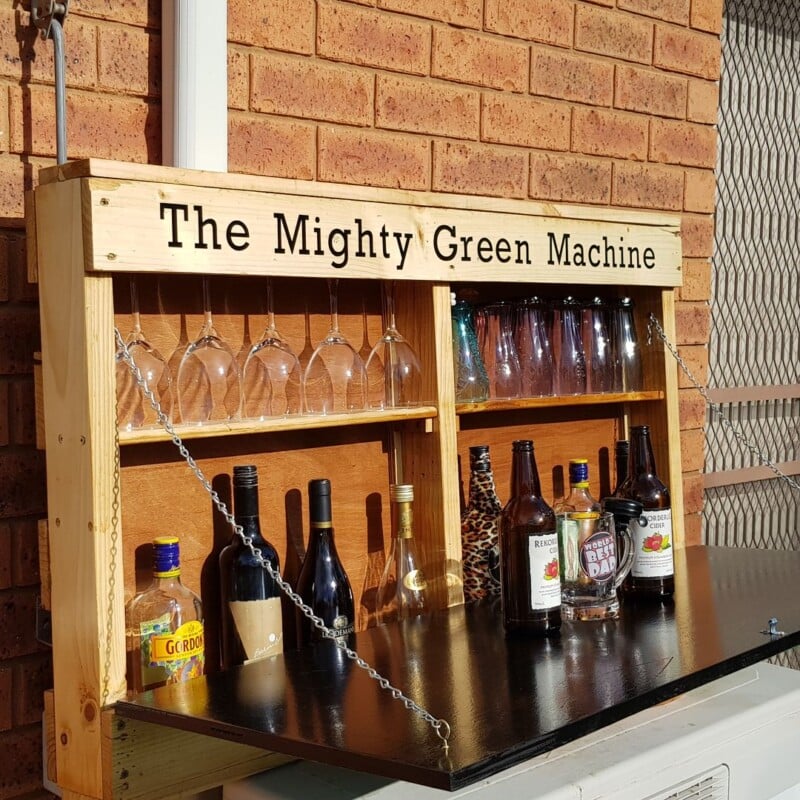
I upcycled a single pallet into a rustic, wall‑mounted bar perfect for outdoor entertaining

If you’d like to find any of the items used in this project, we’d greatly appreciate it if you used our affiliate links. These links provide us with a small commission at no extra cost to you, allowing us to continue creating and sharing more inspiring projects. We’d also love to hear your thoughts—feel free to leave a comment or share this post!


25 Comments
Virginia
June 14, 2020 at 10:25 pmGreat project!
Anita Holland
June 16, 2020 at 5:00 pmThank you so much.
Marie-Interior Frugalista
June 14, 2020 at 11:24 pmVery cute bird feeder, Anita! Wow, the photo of your sister feeding the birds is awesome. She’s like a bird whisperer.
Anita Holland
June 16, 2020 at 5:01 pmThank you so much Marie, she just loves them. I find them creepy and run away cringing. lol
Lydia C. Lee
June 15, 2020 at 3:08 pmThat’s beyond me but I would like to attract more birds somehow..;.Good idea for the skilled! #AnythingGoes
Anita Holland
June 16, 2020 at 5:03 pmYou may surprise yourself. I have no training just willing to try and you can see by my mistakes. lol
Lisa | Handmade in Israel
June 15, 2020 at 8:50 pmYou did a beautiful job. I love that photo of your sister with her feathered friends! #MMBC
Anita Holland
June 16, 2020 at 5:09 pmThank you, she is like the mad bird lady. lol
creativejewishmom/sara
June 16, 2020 at 6:03 amWow Anita, amazing project, and those birds eating out of your sister’s hands, amazing! Thanks so much for sharing in craft schooling Sunday!
Anita Holland
June 16, 2020 at 5:10 pmThank you so much, it is so crazy to think they are all wild king parrot that are so tame. I think they are expensive in some countries.
Dee | Grammy's Grid
June 16, 2020 at 7:54 pmThanks so much for linking up with me at my #UnlimitedMonthlyLinkParty 13, open June 1 to 26. All party entries shared if social media buttons installed.
Debbie-Dabble
June 16, 2020 at 10:28 pmThose parrots are amazing and so was your project!! It turned out really nice!! Thanks so much for stopping by!!
Stay safe, healthy, happy!!
Hugs,
Debbie
Anita Holland
June 17, 2020 at 4:14 pmThank you Debbie, it is very nice to think they can learn to trust her to this extent and they are pretty.
Michelle Leslie
June 16, 2020 at 10:46 pmLove how it turned out Anita and the birds are not going to mind about the roof join, as long as they have food. I’m a little scared of birds too. Especially parrots. My hubby had an African Grey that wouldn’t stop pecking my toes. Nastee beast 😉 Apparently they can get quite jealous.
Anita Holland
June 17, 2020 at 4:16 pmThanks, Michelle, I remember them from when we lived over there. A friend had one that learnt to mimic the telephone, many crank calls in their house. I will play with power tools but birds scare me lol
Martha
June 17, 2020 at 9:27 pmGood morning just saw this on fortheloveto link up this is one of my favorites I always wanted a bird feeder I will be making one with my teenage son this weekend thanks for sharing your creative idea love it
Anita Holland
June 20, 2020 at 3:04 pmThank you so much, Martha, I am sure your son will enjoy doing it.
Ann
June 22, 2020 at 10:21 amI love your Bird Snack Bar, Anita! Thank you for sharing at Party In Your PJ’s.
Anita Holland
June 22, 2020 at 12:44 pmThank you so much, Ann.
Amy Johnson
June 23, 2020 at 9:44 pmI can’t even imagine living in a place where that many beautiful wild parrots live. Your sister is so lucky.
Anita Holland
June 25, 2020 at 10:54 amThey can be a curse to be honest, between them and the wild cockatoos the noise is horrendous. lol
Sarah @ The DIY Mommy
June 24, 2020 at 7:43 amThose parrots are amazing! the feeder is great, they clearly love it!
Anita Holland
June 25, 2020 at 10:54 amThank you so much, they are so trusting they will walk right up to her.
Linda at Mixed Kreations
November 11, 2020 at 10:49 pmOh, what a fun birdfeeder! I love the bar stools. Super cute idea! I one for the birds and squirrels.
Anita Holland
November 13, 2020 at 7:06 pmThank you so much, I hate to through out good wood, but you are limited with a pallet.