
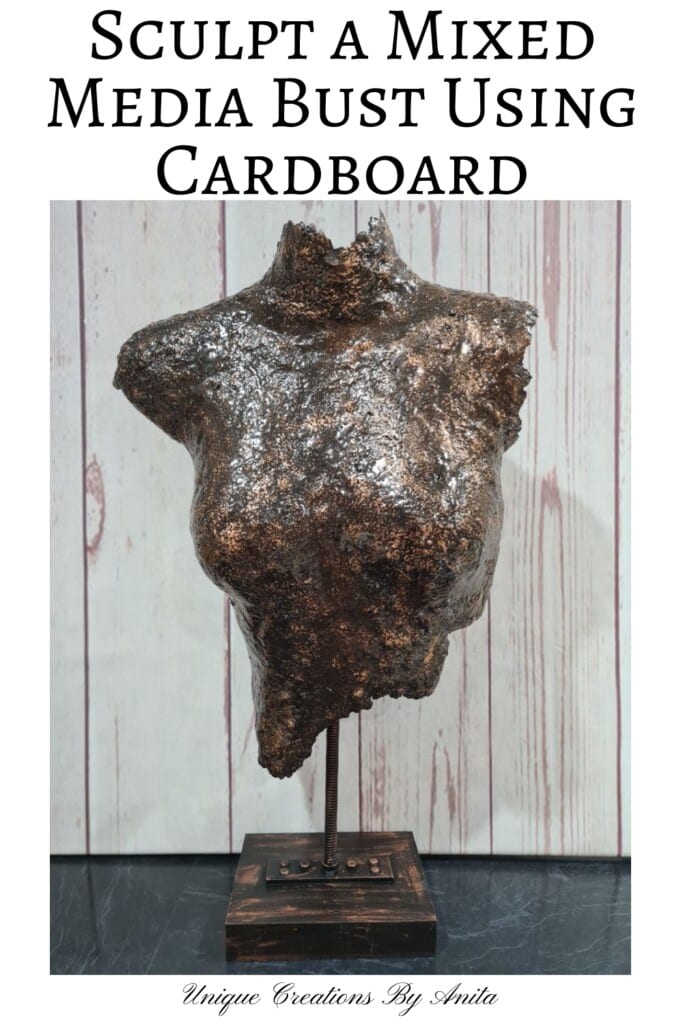
When the theme for this month’s International Bloggers Club (IBC) challenge was “cardboard creations,” I felt stuck for ideas—until inspiration struck from one of my failed mannequin projects. That moment sparked the idea for this unique tutorial: How to Make a Cardboard Bust using recycled cardboard boxes and a plastic mannequin as the base. It’s a perfect blend of DIY craft and mixed media sculpture, and a great way to repurpose cardboard into artistic home décor.
Whether you’re into eco-friendly crafts, sculpting, or simply want to create something unusual, this tutorial will guide you through every step to transform pulp into a decorative cardboard bust.
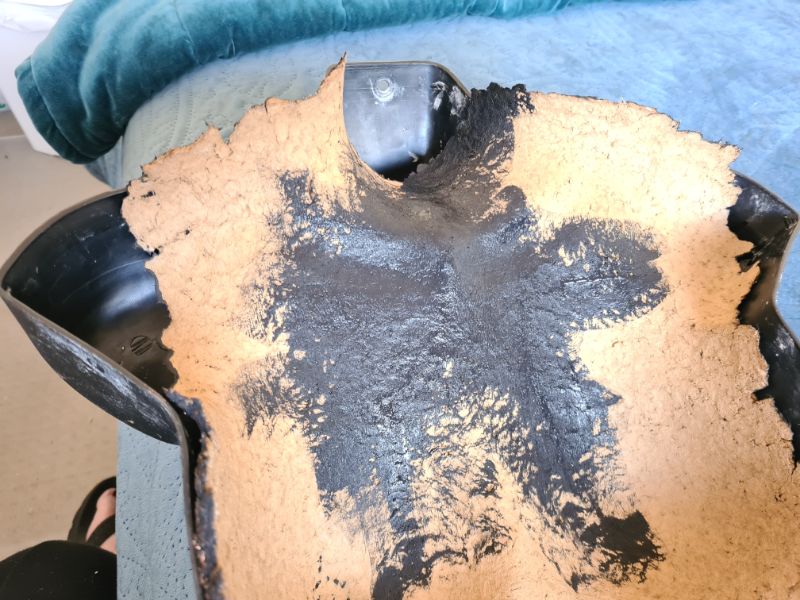
My original plan was to use thick Kraft paper to cover the mannequin as a base layer. At first, it looked fantastic—I was over the moon with how it turned out.
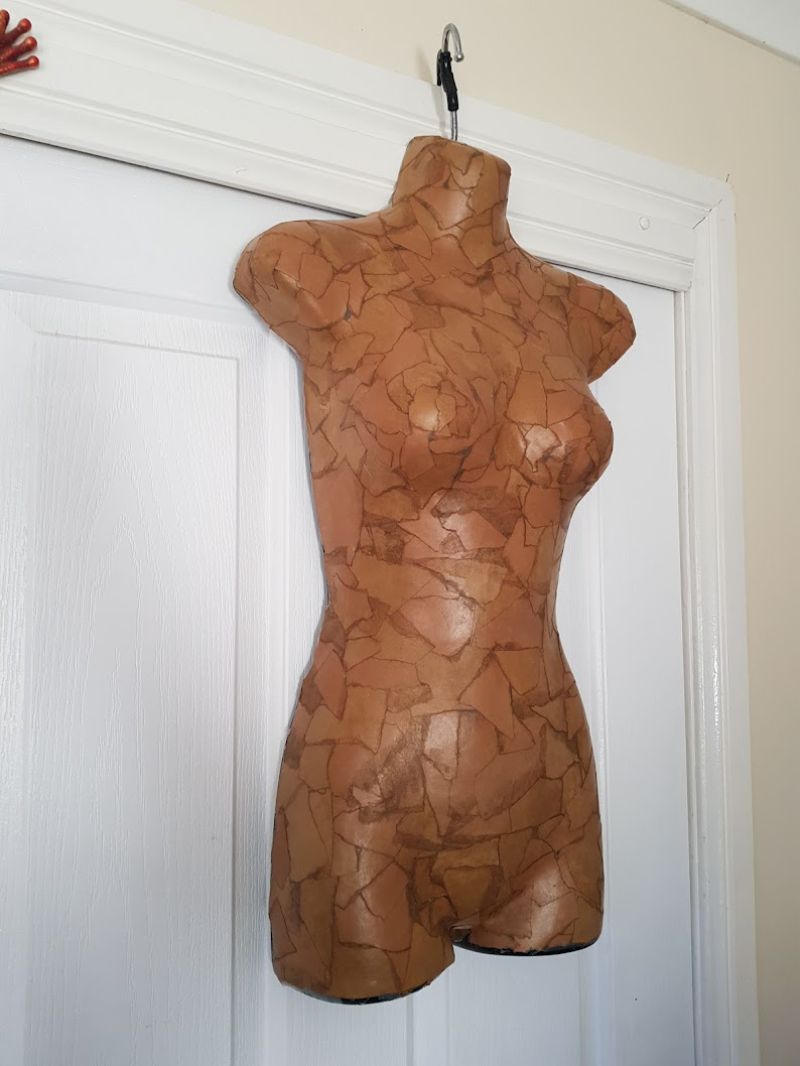
But within a couple of weeks, the entire covering slipped right off. The issue? I’d used cheap glue that didn’t bond properly. That failure actually sparked the idea for this cardboard bust. I figured if the paper could slide off, so could cardboard, making it perfect for moulding a temporary form.

Before we dive into this tutorial, be sure to subscribe to my bimonthly newsletter to be the first to see my latest projects. You can also follow me on Pinterest and Facebook, where I also include my unique mixed-media art projects.
How to make a cardboard bust sculpture
**This post may contain affiliate links. This means I earn a small commission on links used at no extra cost to you. Please see my disclosure policy for more information.**
Materials Needed
- Large cardboard box (thick cardboard)
- A bucket and boiling water
- Blender or stick mixer
- Mesh fabric or stockings
- Craft PVA glue
- Plastic mannequin torso
- Black gesso or acrylic paint
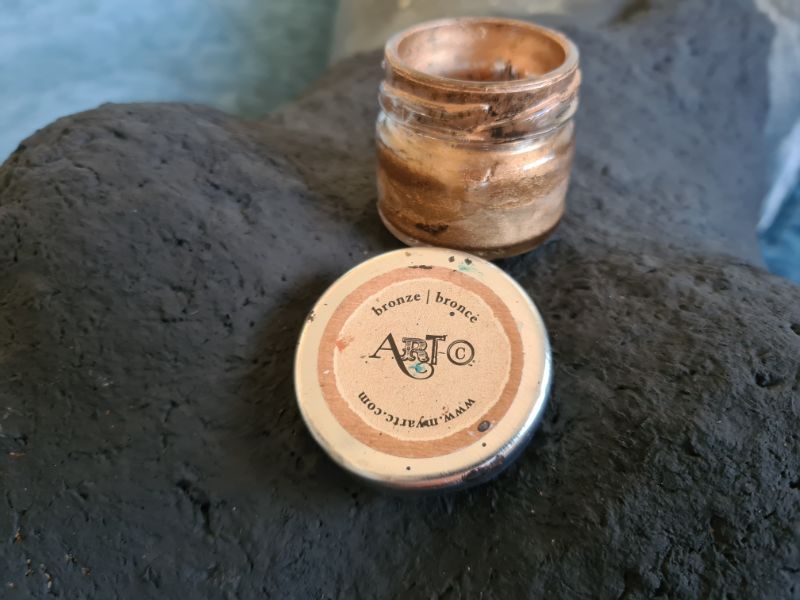
- Metallic wax paste (I used bronze)
- Epoxy resin
- Gloves
- Metal stand or recycled base
- Nut and threaded rod (to attach the bust to the stand)
- Epoxy adhesive
Step 1: Preparing the Cardboard
Start by tearing the cardboard into small strips and placing them in a bucket of boiling water. Top up the water as needed if it cools too quickly.
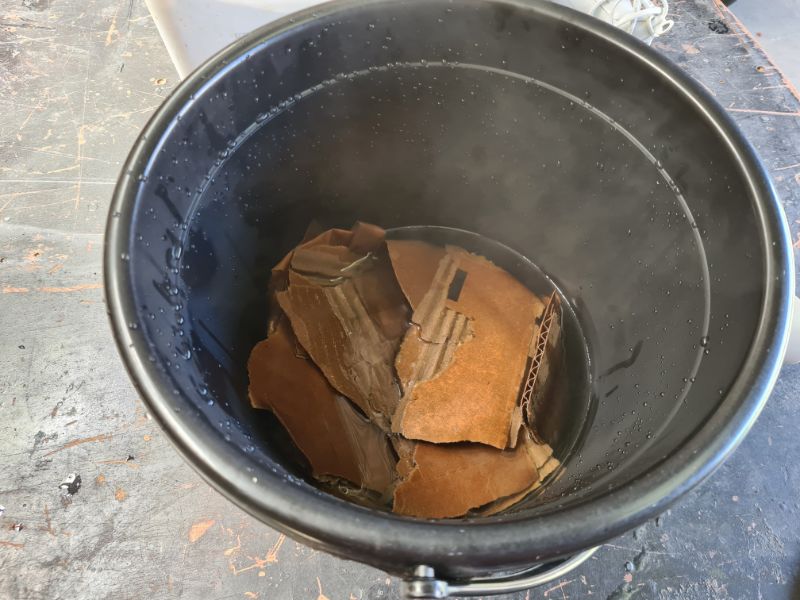
I’m not the most patient person, so to speed things up, I tried using my hand blender. It worked—but only in small batches, which took forever.
Step 2: Blending into Pulp
Then I remembered the kitchen blender I’d owned for 20 years and never used. I decided to give it a go—and it worked brilliantly! It shredded the cardboard into pulp in no time, saving both effort and time.
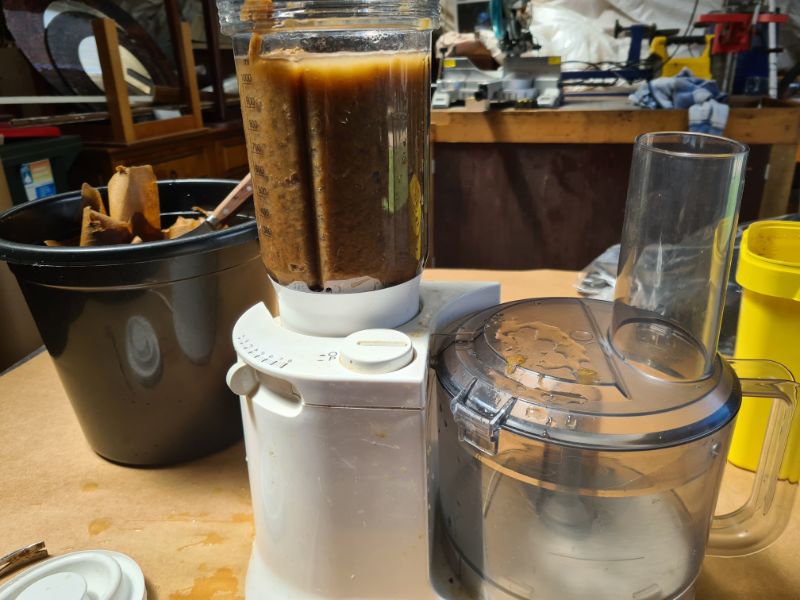
I suspect the cardboard I used came from a heavy-duty box, which made it harder to break down. If you’re using thinner or standard-quality cardboard, it should soften much faster in the boiling water.
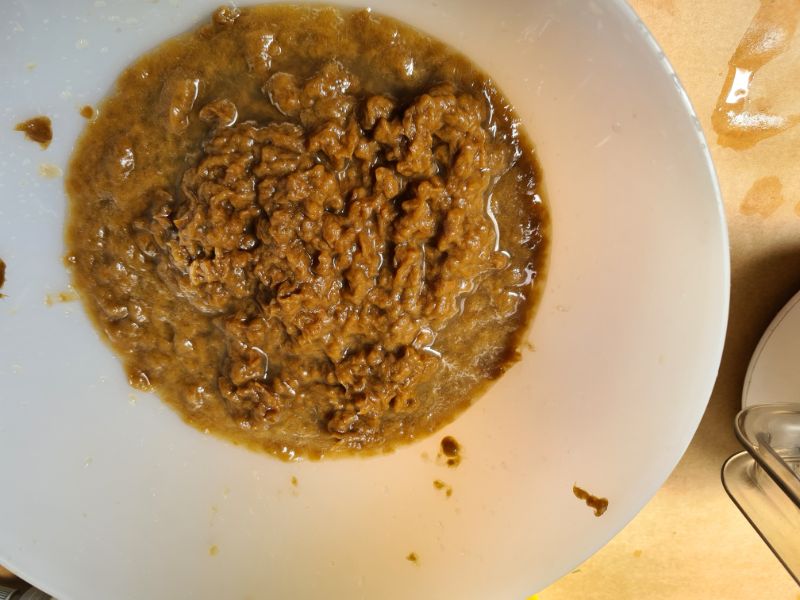
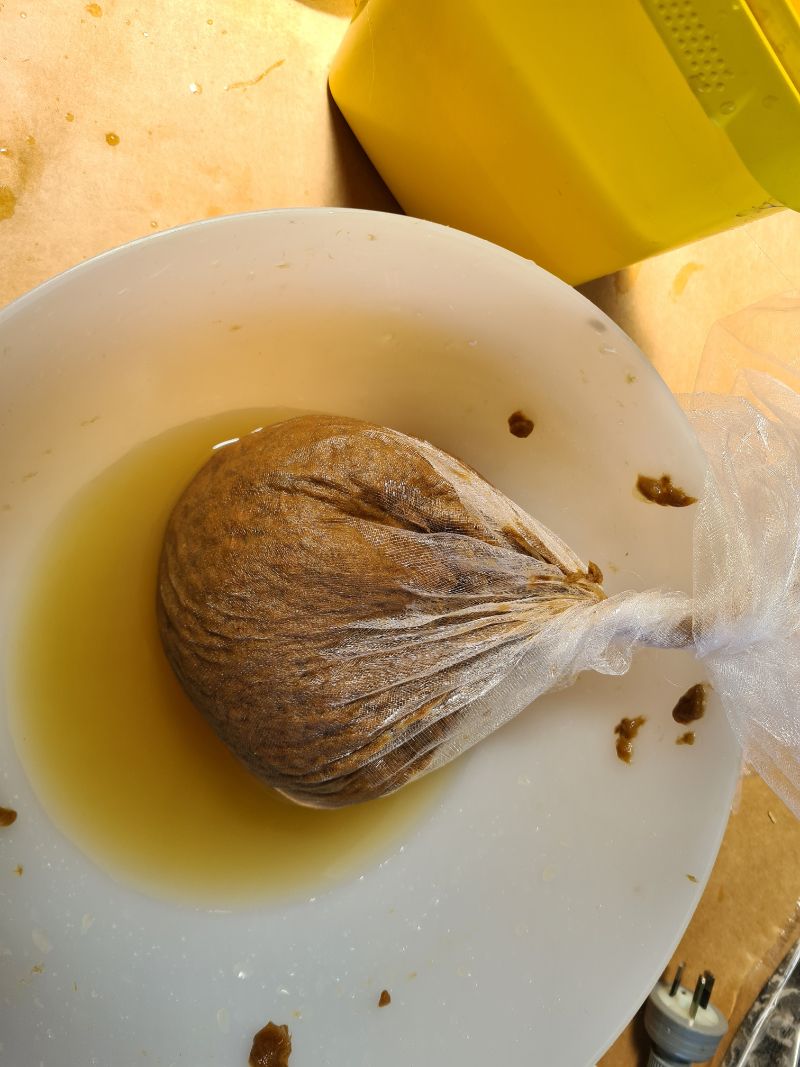
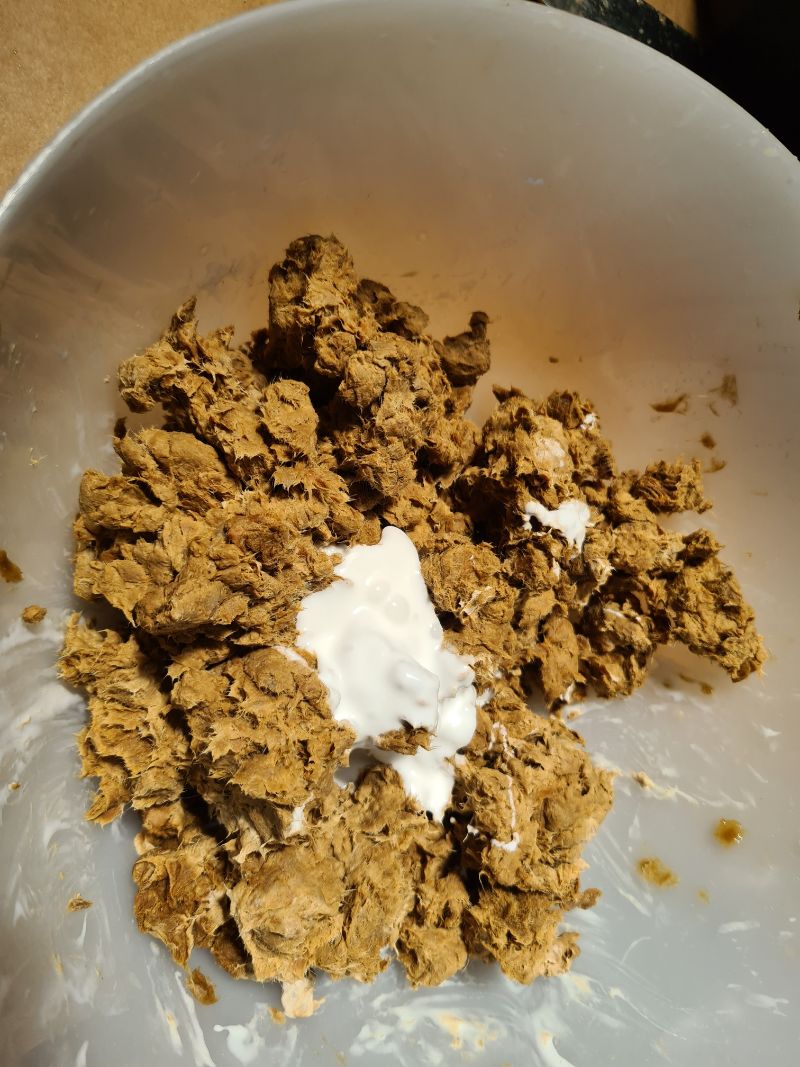
Step 3: Straining the Cardboard Pulp
Place the pulp into mesh fabric or a stocking and squeeze out as much water as possible. You want the pulp damp but not dripping.
Now, mix in PVA glue using gloves. I used a cheap craft glue so the pulp wouldn’t stick permanently to the mannequin.
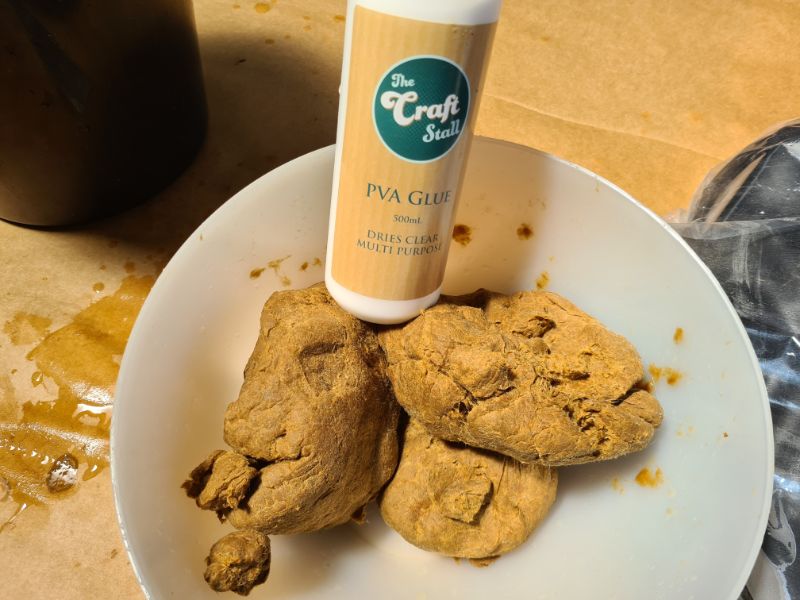
The texture should be thick and mushy, like wet paper mulch.
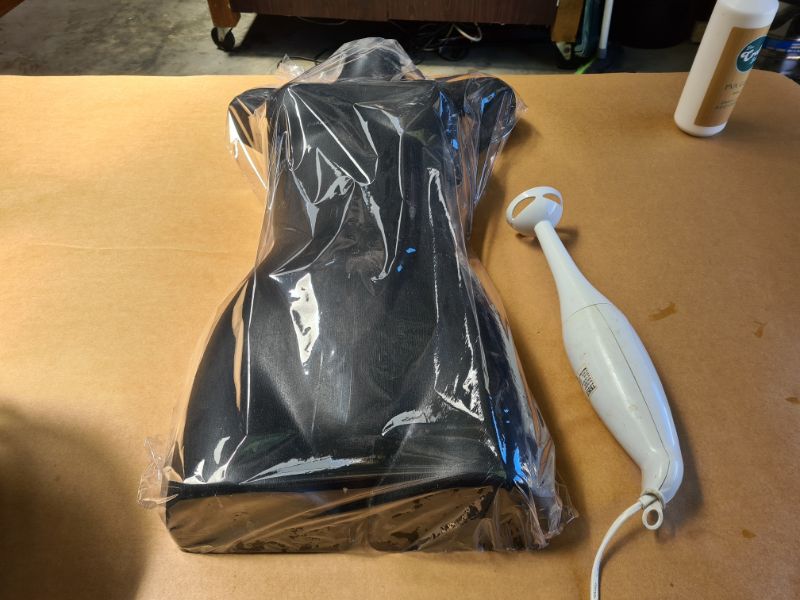
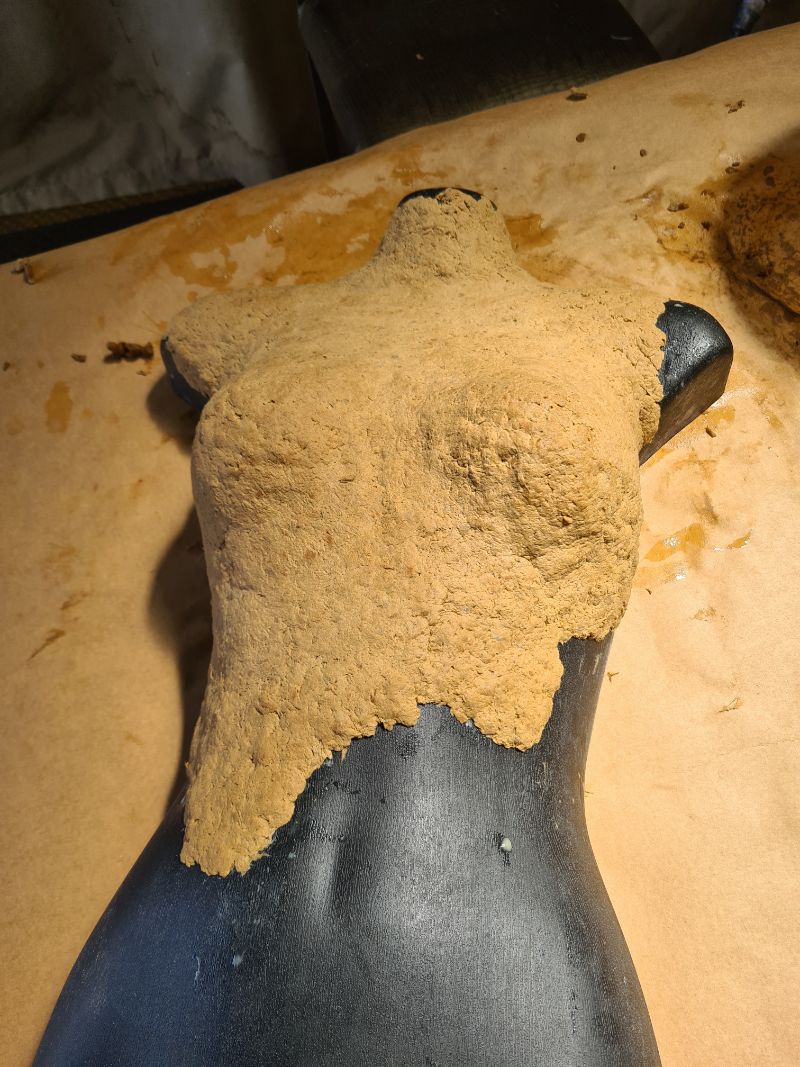
Step 4: Applying the Pulp to the Mannequin
I pressed the pulp directly onto the bare mannequin surface. It’s best to apply it in thin layers rather than large clumps—this helps maintain the body’s shape and gives you more control over the final form.
Rather than covering the entire form, I sculpted selected areas to mimic the look of a broken classical bust. The pulp should be applied fairly thick so it’s strong enough to hold its shape once removed from the mannequin.
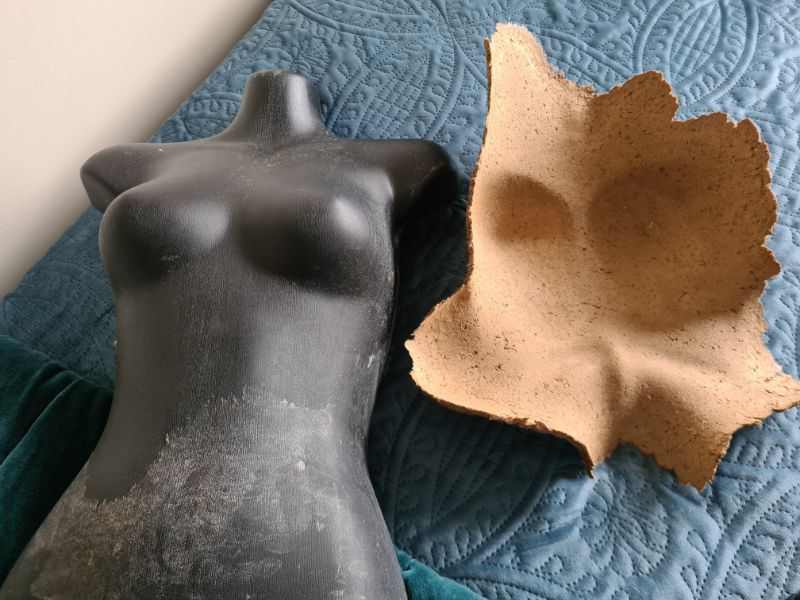
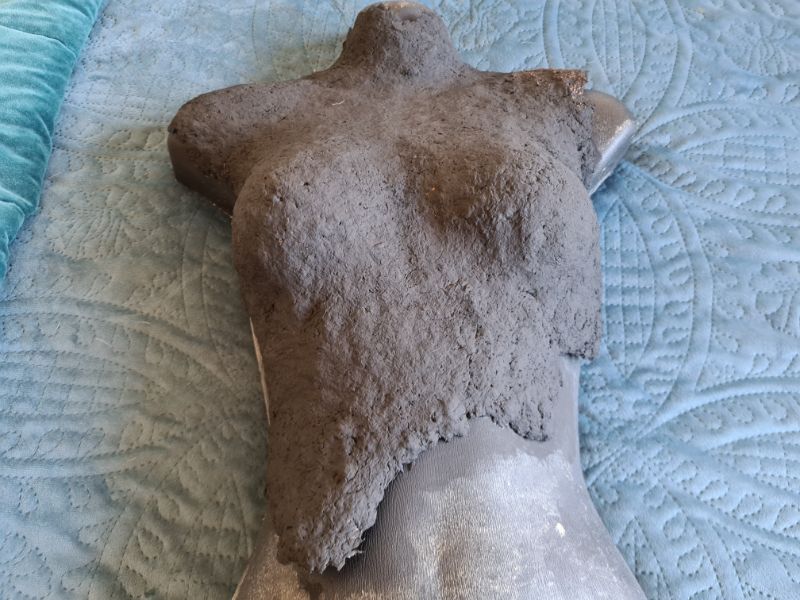
Step 5: Drying the Bust
Let the cardboard dry completely. Mine took 2 days for the exterior and another day after I lifted it off the mannequin to dry the inside. Patience here ensures your sculpture sets solidly.
Step 6: Painting the Bust
Coat the bust with black gesso or acrylic paint. Don’t forget to paint the inside for a professional finish.
You can use any colour of metallic wax paste to highlight the texture—I chose bronze to give the piece an aged, antique feel. To apply it, lightly dab your fingertip into the wax and gently rub it over the raised areas of the cardboard. Avoid covering the entire surface; you want the black paint underneath to remain visible and create contrast for a more dramatic, weathered effect.
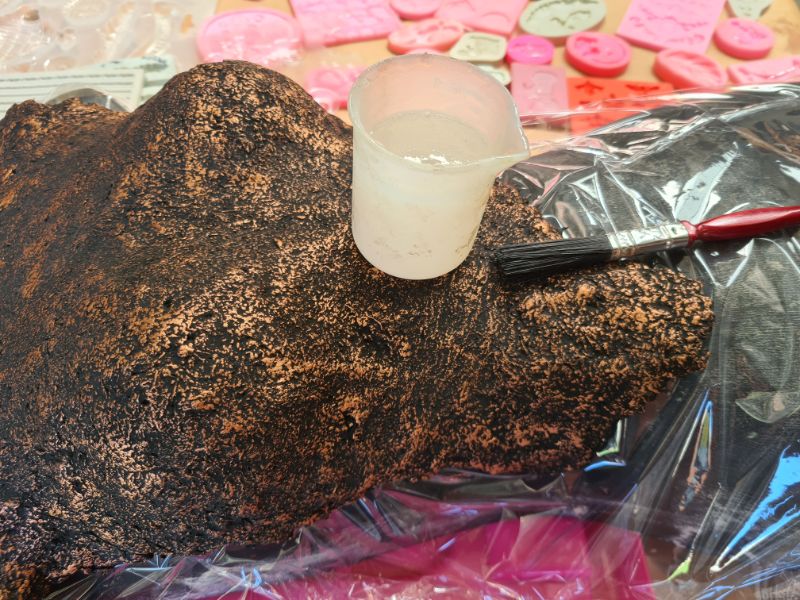
Step 7: Sealing with Resin
To strengthen the bust and protect the finish, I brushed on two coats of epoxy resin inside and out. This gave the piece a hard, durable shell.
Step 8: Attaching to a Stand
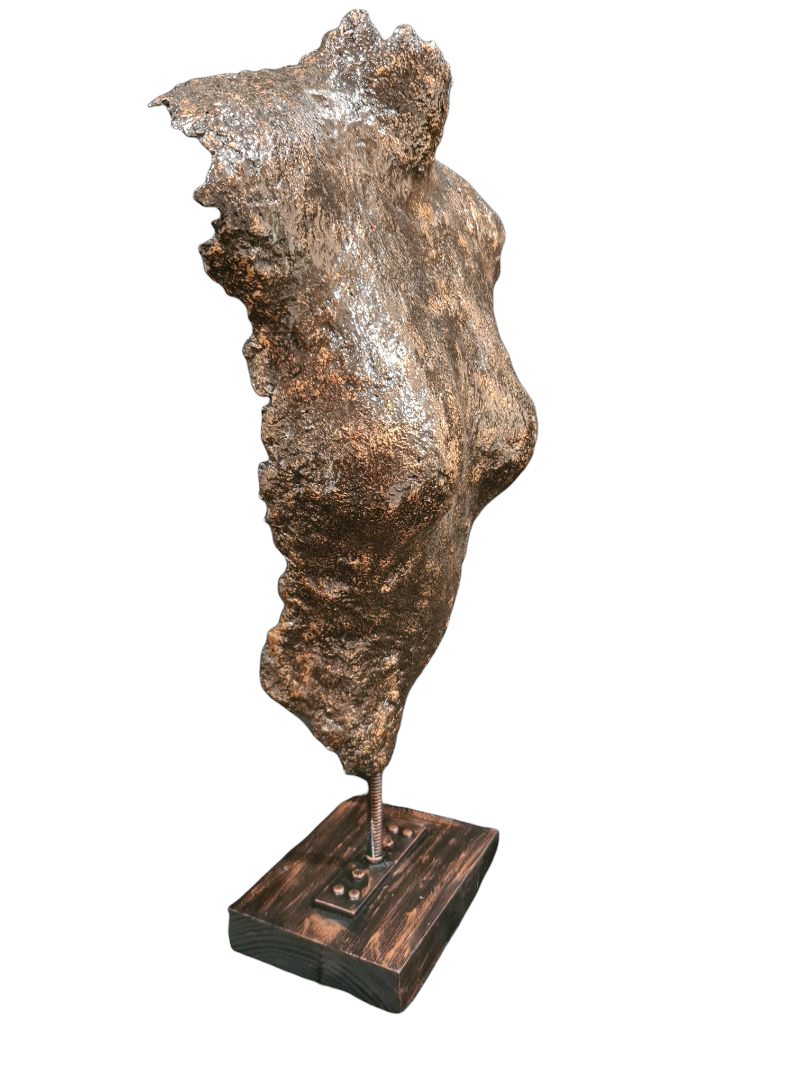
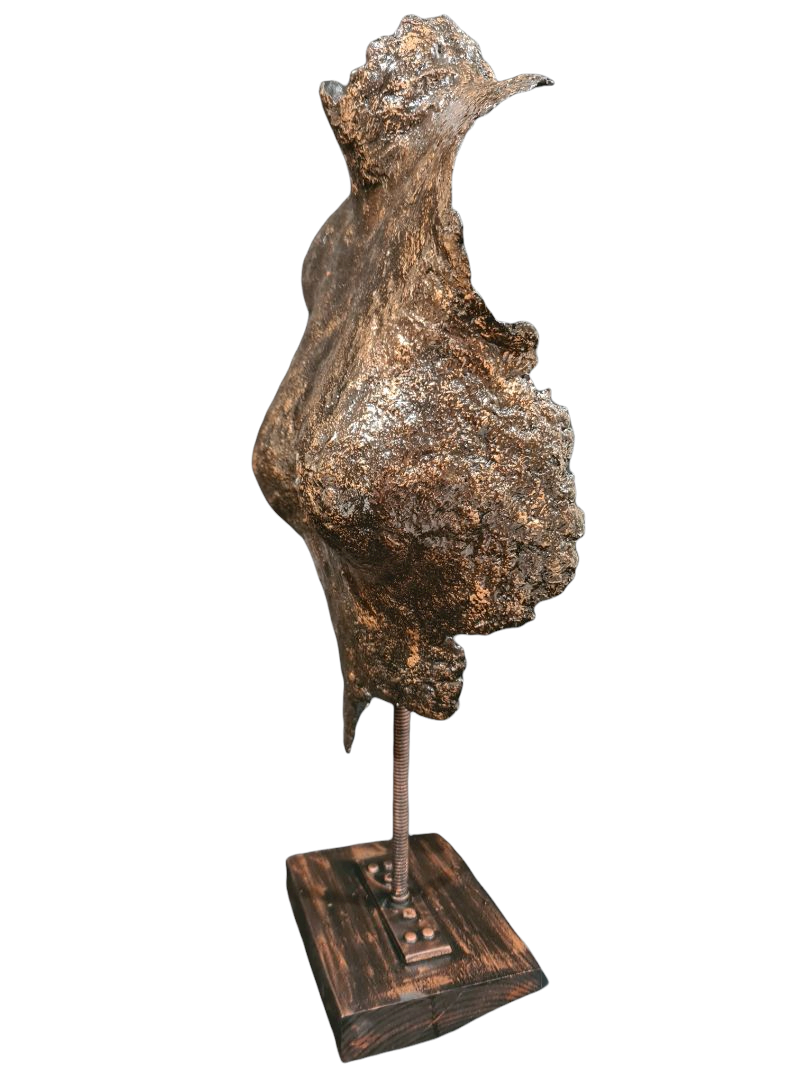
I reused a metal stand from a past Steampunk Christmas tree project. To secure the bust, I glued a matching nut onto the back using epoxy adhesive. Once dry, I screwed the bust onto the threaded rod of the stand.
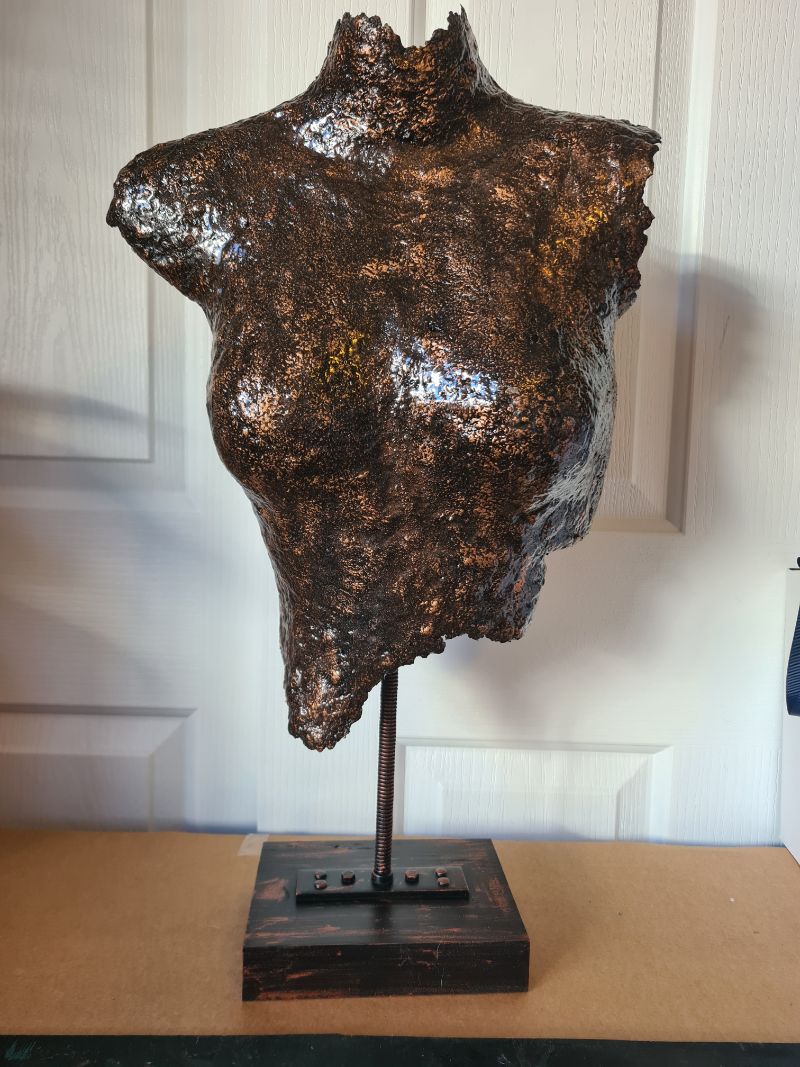
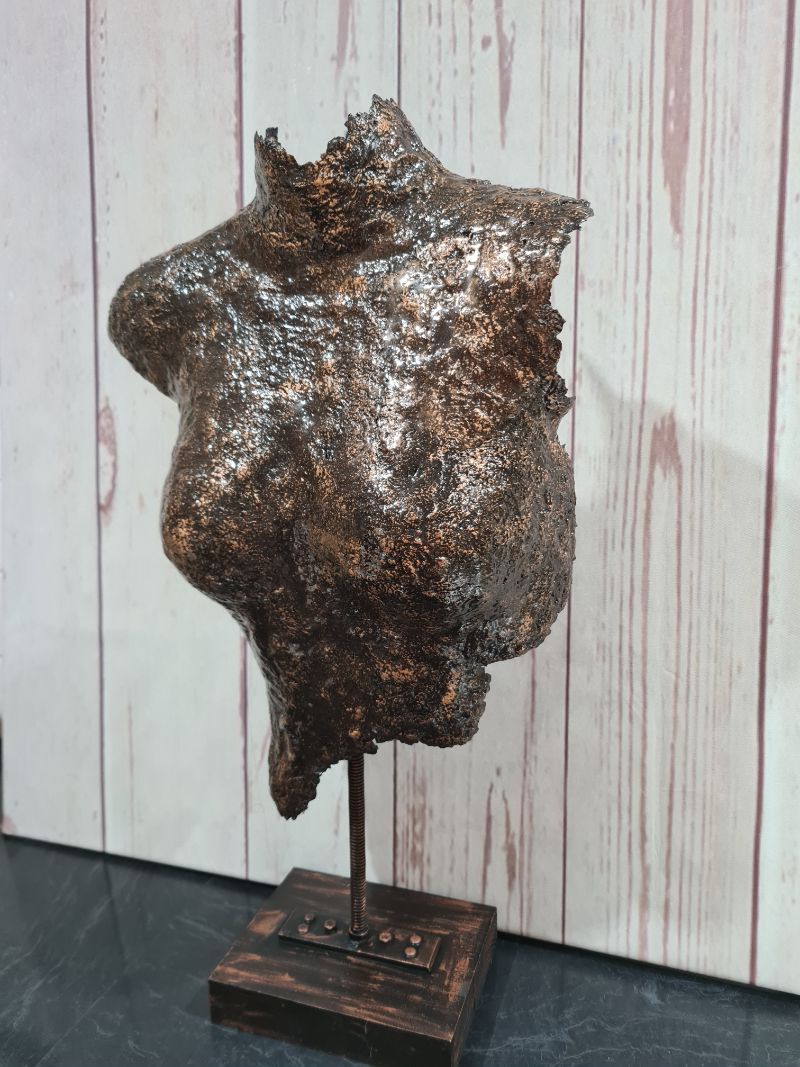
Step 9: Displaying the Bust
This sculpture has a classic feel with a modern edge. It makes a stunning home décor feature and is a great example of creative cardboard upcycling.

For better photos, I removed the background to highlight the details.
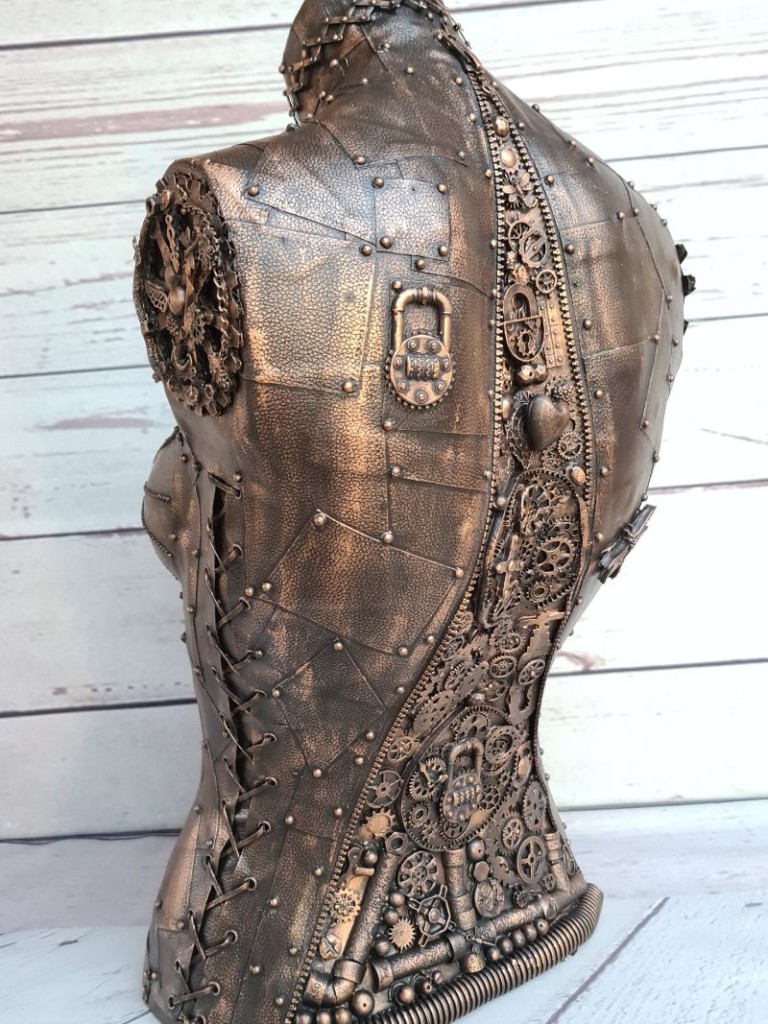
DIY has always been my first hobby, but in the last 2 years, I have discovered mixed media art. One of my favourite projects to do is to decorate mannequins
For more inspiration, I also created a mannequin using recycled soda cans to form the surface—another fun and eco-friendly twist on mixed media design.

More about IBC
If you follow my blog, you will know I am part of the IBC (International Bloggers Club), which is a group of talented bloggers from around the world. We have members from Spain, South Africa, Australia, the United States, and Canada. Each month, we come together and create a project with a common theme.
If you missed last month’s “All bottled up ” theme, here is the link to my “How to add texture to mixed media art“. The “Cardboard creation” contributions from my fellow bloggers for this month’s challenge are listed below. Please feel free to jump over and give them some love.
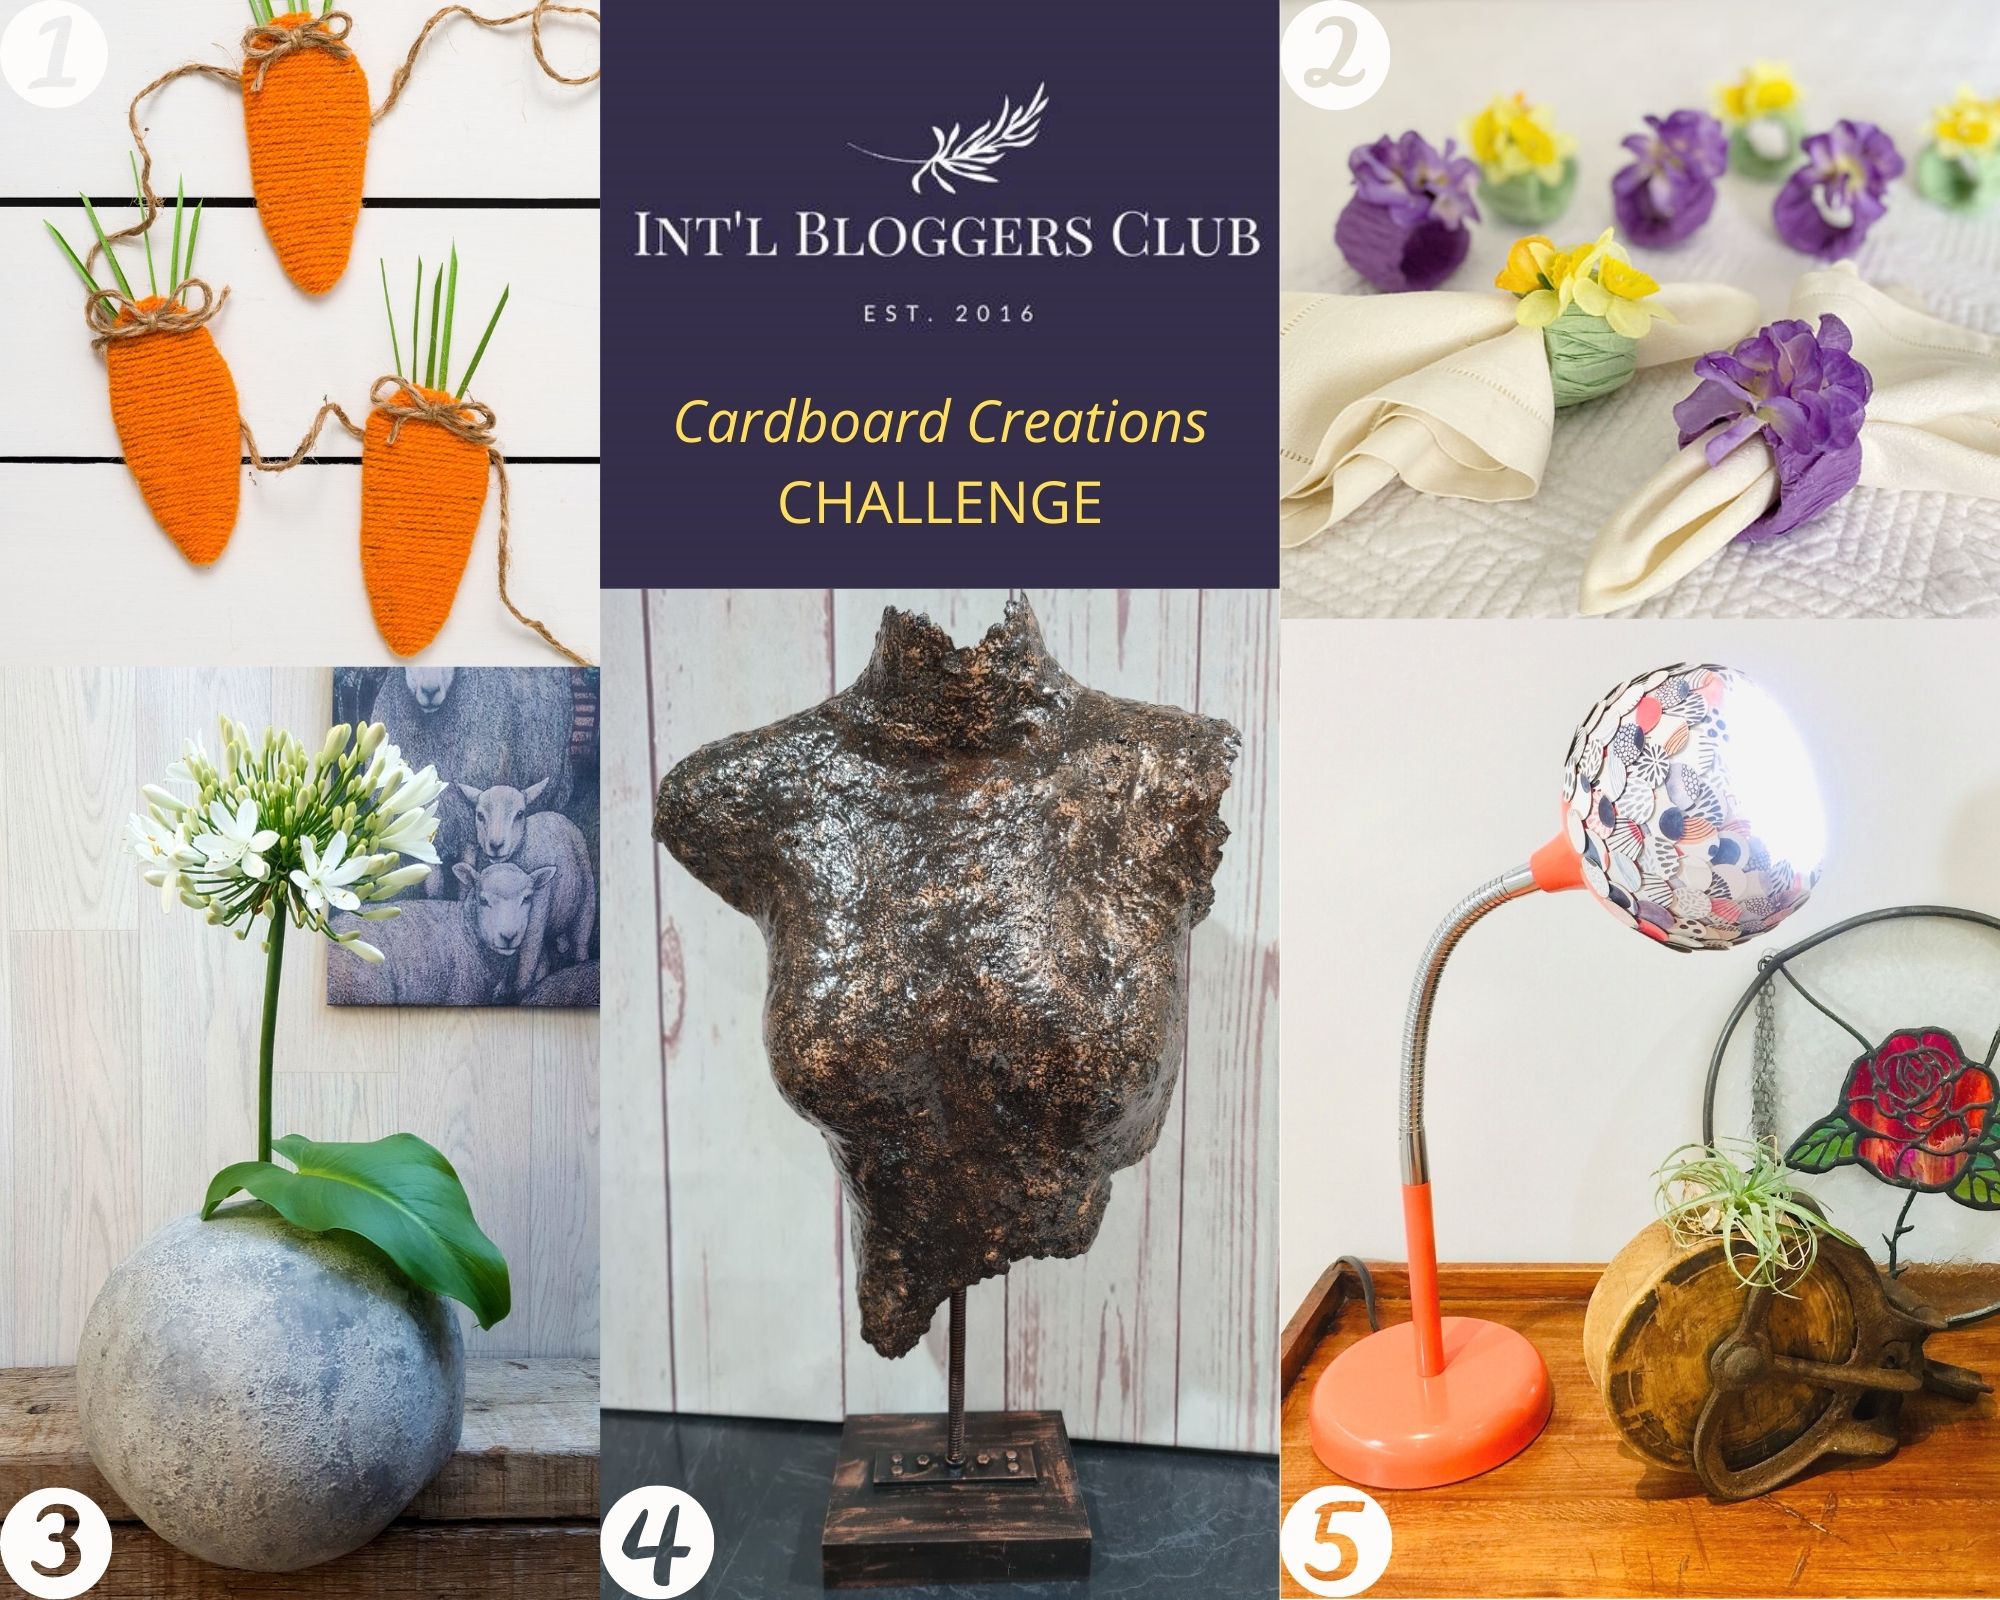
- Kippi At Home|DIY Yarn carrots
- Interior Frugalista|Easy cardboard tube spring napkin rings
- A Crafty Mix| Upcycled cardboard vase
- Me
- Birdz of a feather | Lampshade makeover DIY

If you’d like to find any of the items used in this project, we’d greatly appreciate it if you used our affiliate links. These links provide us with a small commission at no extra cost to you, allowing us to continue creating and sharing more inspiring projects. We’d also love to hear your thoughts—feel free to leave a comment or share this post!

21 Comments
A Crafty Mix | Upcycled Cardboard Vase with Charcoal Ash Texture - A Crafty Mix
March 21, 2022 at 10:49 pm[…] uber talented Anita made a bust that looks nothing like it’s humble cardboard […]
Michelle Leslie
March 21, 2022 at 11:31 pmBlow me over with a feather, Anita. Just WOW!!!! It looks amazing. Never in a million years would I have guessed that the bust was made from cardboard. Thank goodness for flops that can be turned into amazingness
Anita Holland
March 22, 2022 at 3:17 pmThanks Michelle, I have learnt never to right off flops that can always help in other areas.
Sara
March 21, 2022 at 11:53 pmThis is a gorgeous piece of sculpture Anita! And for the record, I think the name of your blog does you justice; your pieces are always so unique!
Anita Holland
March 22, 2022 at 3:19 pmThanks so much Sara. And believe it or not, the name was not even my idea, it was my sister’s idea. Luckily I do have a different imagination.
Marie B.
March 22, 2022 at 1:39 amSara took the words right out of my head and I ditto what she said on both points. One would never guess this amazing sculpture is made with cardboard!
Anita Holland
March 22, 2022 at 3:20 pmThanks so much Marie, you always give such great feedback.
Kippi at Home
March 22, 2022 at 6:11 amYour cardboard bust is brilliant. I cannot believe how gorgeous it turned out.
Happy spring,
Kippi
Anita Holland
March 22, 2022 at 3:20 pmThank you so much Kippi, that is so kind of you to say.
CC
March 22, 2022 at 10:16 pmwould NEVER believe that was a cardbord creation! gorgeous art piece!!
Anita Holland
March 23, 2022 at 2:06 pmThank you so much.
Kim
March 22, 2022 at 10:48 pmVery talented and creative. You inspire me!
Anita Holland
March 23, 2022 at 2:06 pmThank so much Kim, I am really glad I have inspired you.
Layla
December 9, 2024 at 10:42 amIs there a link as to where you purchased your mannequin?
Anita Holland
December 13, 2024 at 9:38 amYou can ask a clothing stores for old ones or google shop mannequins for sale near me. I have got most of mine from advertising on my local buy, swap and sell site on facebook.
Tamara Alberts
June 29, 2025 at 6:07 pmMost beautiful art piece. So creative, this truely inspires me to pick up my paint brushes, which I have neglected for so long.
Anita Holland
June 30, 2025 at 2:39 pmThanks so much for the awesome comment Tamara!
Damianne Fischer
April 24, 2026 at 9:55 amThis is beautiful piece. How awesome that things we throw away or send to the recycle center can be made into art. I make similar pieces (female forms) from dryer lint that I turn into clay. I will definitely try this process with the cardboard.
Anita Holland
April 25, 2026 at 3:03 amThank you. I would be so interested to see some of your pieces if you want to send them to me on my facebook page. They sound great.
hjm0198jk
June 27, 2026 at 7:35 ambonne continuation , dont l’attente d’une autre œuvre , aussi artistique que la présente ou plus encore .
Anita Holland
July 26, 2026 at 2:35 pmThank you