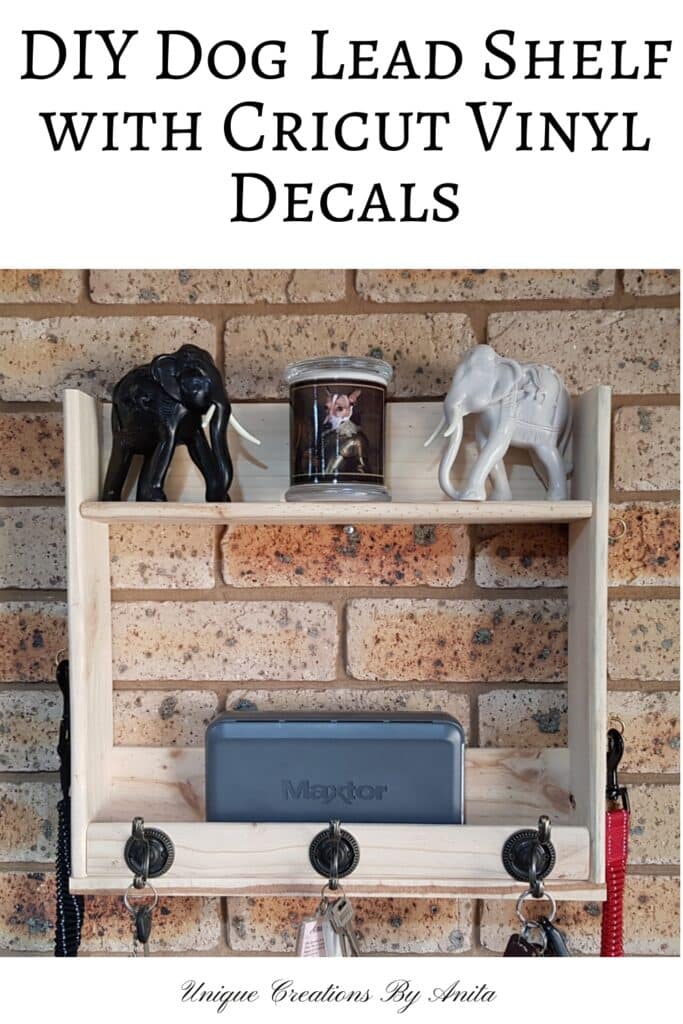
When my daughter moved into her new home, she asked me to make a simple wall shelf to hide her modem and messy wires. The modem was mounted in the centre of the wall, with wires trailing down to a small table, which was always in the way. She didn’t want anything fancy—just a basic wall-mounted shelf. Of course, I had to add a few personal touches, like hooks and vinyl dog decals, to give it some personality while keeping the function she needed.
Before we dive into this tutorial, be sure to subscribe to my bimonthly newsletter to be the first to see my latest projects. You can also follow me on Pinterest and Facebook, where I also include my unique mixed-media art projects.

Simple DIY Wall Shelf with Hooks and Personalised Touches
**This post may contain affiliate links. This means I earn a small commission on links used at no extra cost to you. Please see my disclosure policy for more information.**
Materials Needed
- Recycled pallet wood or timber offcuts
- Wood glue
- Screws or a nail gun
- Power drill and drill bits
- Cricut or vinyl cutter
- Orbital sander & discs
- wood planer
- Jigsaw or handsaw
- Measuring tape and pencil
- Wall mounting hardware
- Hooks for dog leads or keys
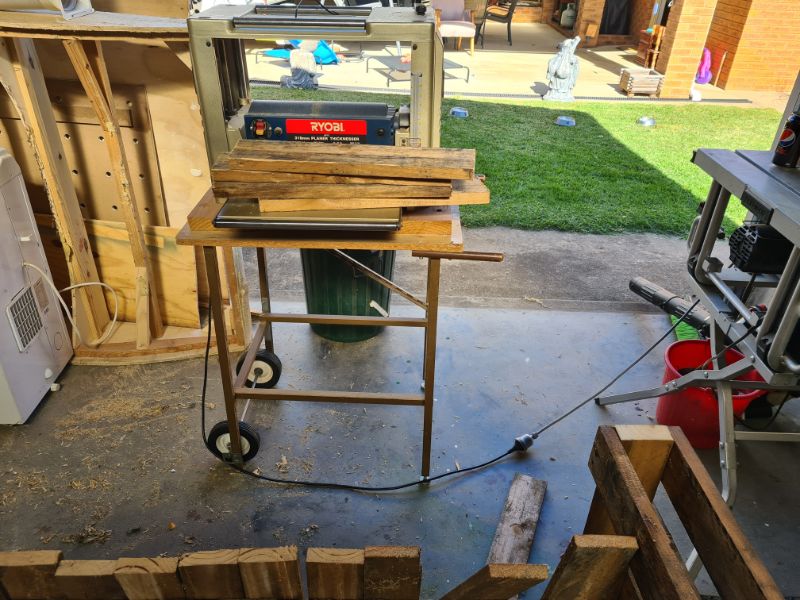
Step 1: Choose and Clean the Wood
I had leftover timber from a wall-mounted spa bar I built, so I repurposed it for this shelf. Pallet wood is great, but often rough. If you’re using pallets, clean the wood thoroughly. I used a wood planer for quick results, but sanding works just as well.
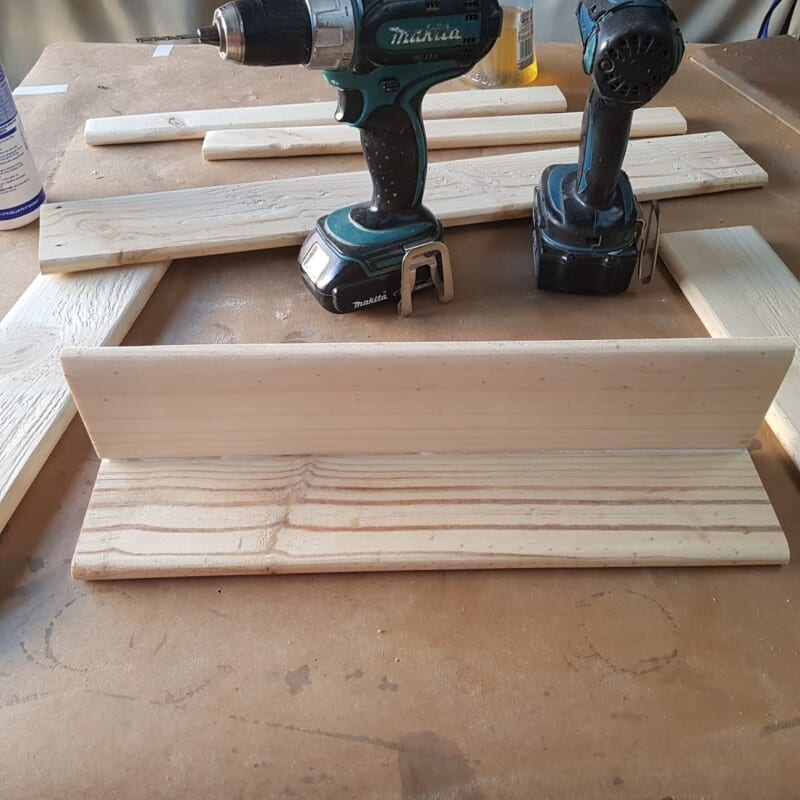
Step 2: Cut and Prepare the Timber
Use a jigsaw or saw to cut your timber to size. A table saw works well to square off rough edges. Pallet wood tends to split if it has been outside in the weather, so it’s best to pre-drill all holes before adding screws.

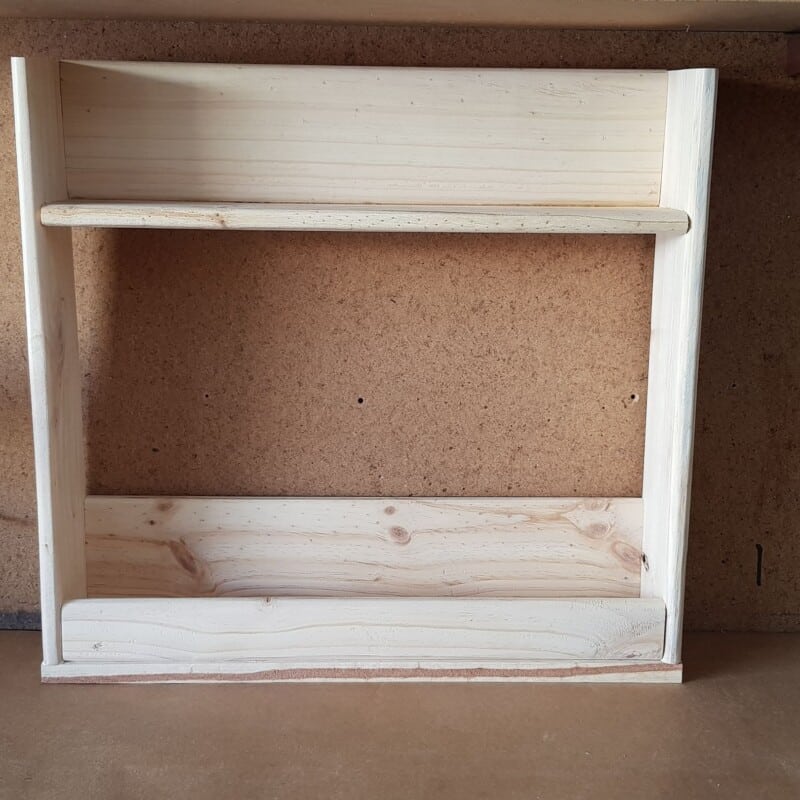
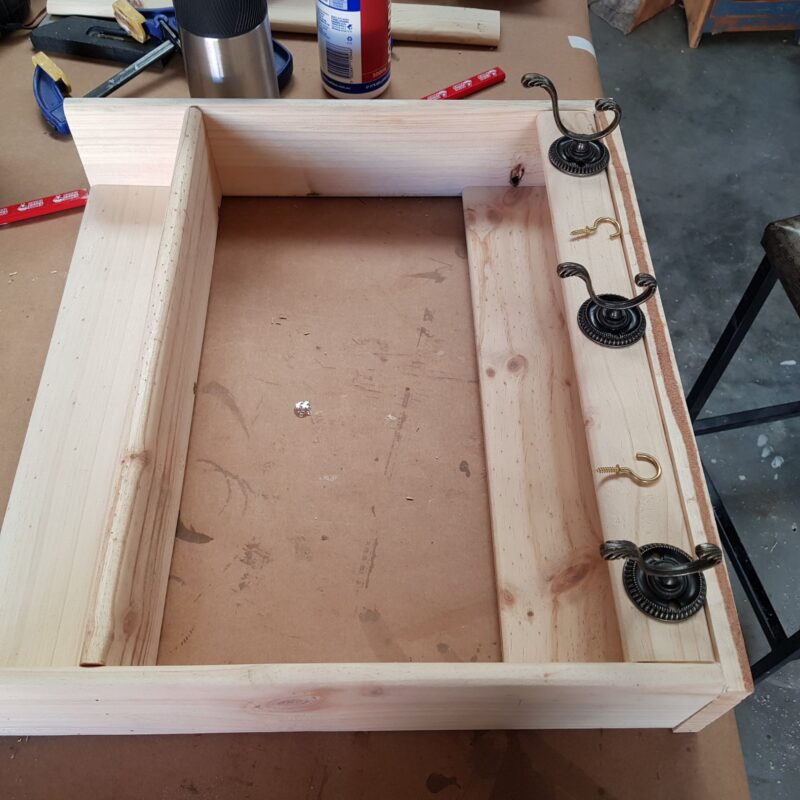
Step 3: Assemble the Shelf
Start by attaching the back to the shelf base using wood glue and screws. Repeat for both the top and bottom shelves.
Add the side panels using glue and either nails or screws.
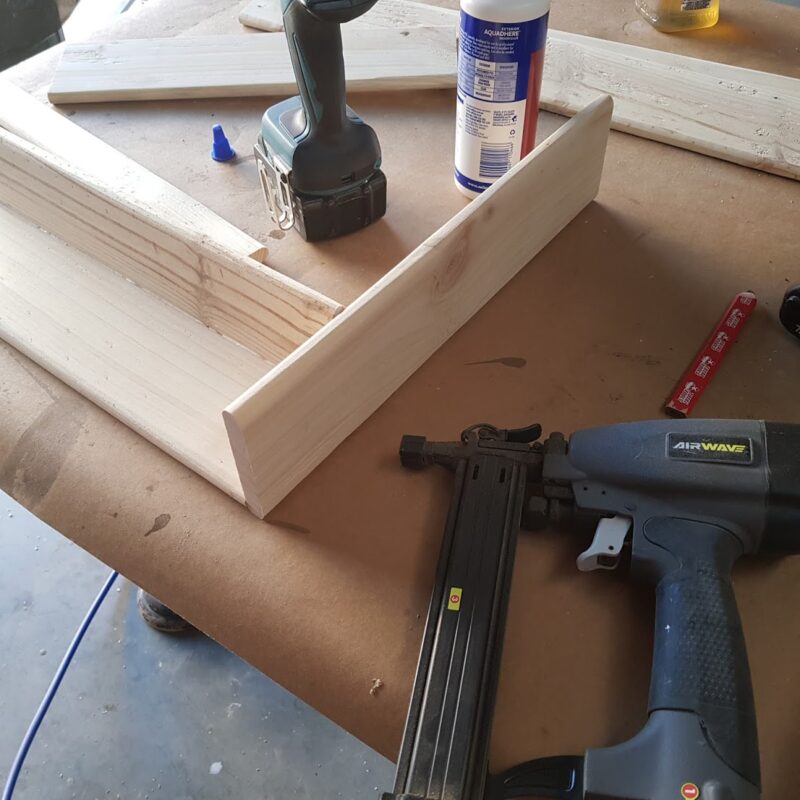
For extra support, attach the front lip to the bottom shelf to prevent the modem from sliding off.

Drill from underneath and secure with screws and glue.

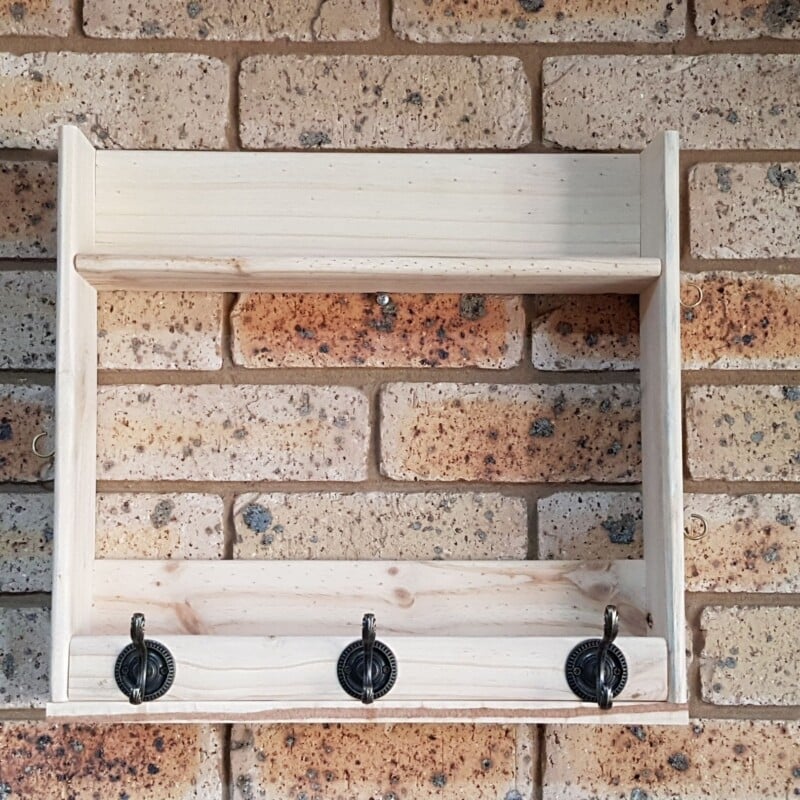
Step 4: Add Hooks and Personalised Decals
To evenly space your hooks, divide the shelf length by the number of hooks. Mine was 410 mm, divided by 3 equals 136.66 mm. To find the centre points, divide that again by 2.
I used my Cricut to cut vinyl dog decals with each dog’s name. These little graphics were applied above each hook to hang their leads—adding function and charm.

Step 5: Mount the Shelf
Use suitable wall anchors or keyhole picture hangers for a strong hold. This version was hung temporarily using a screw in the wall just for photos, but it must be properly secured for everyday use.

A Multi-Purpose Shelf
While this shelf was designed to hide a modem and organise dog leads, it’s also perfect as a key rack, hat shelf, mail organiser, or even a mini display shelf. With a little creativity, the possibilities are endless.

More DIY shelf project ideas
I built this shelf as an alternative to a traditional Christmas tree. After the holidays, I simply switch it back into a practical corner shelf.

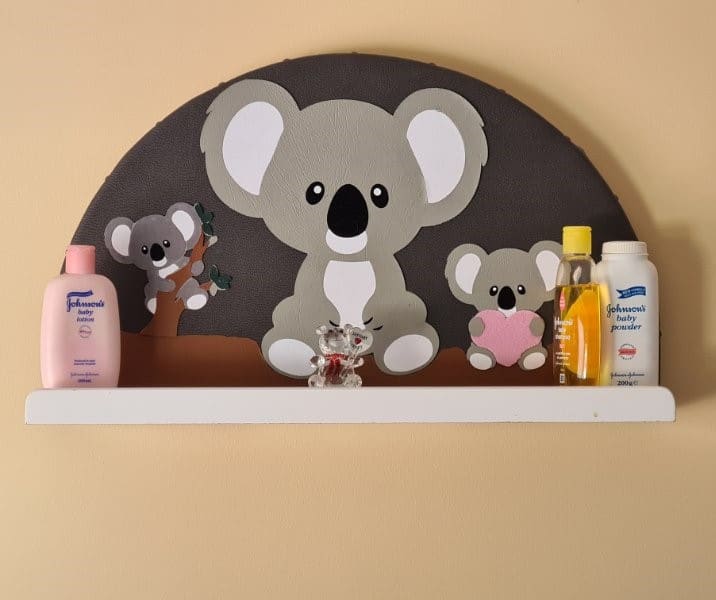
I made this fun koala-themed shelf for my new grandson’s room, which is decorated with an Australian animal theme.

If you’d like to find any of the items used in this project, we’d greatly appreciate it if you used our affiliate links. These links provide us with a small commission at no extra cost to you, allowing us to continue creating and sharing more inspiring projects. We’d also love to hear your thoughts—feel free to leave a comment or share this post!


34 Comments
Janet
June 8, 2020 at 10:09 pmVery cute and especially the dog leash hooks!
Anita Holland
June 10, 2020 at 12:11 pmThank you so much, Janet.
Sara
June 8, 2020 at 10:13 pmThat wood planer is a game changer; the outcome is stunning!
Anita Holland
June 10, 2020 at 12:12 pmIt sure is, you can make any wood good again.
ROBIN LAMONTE
June 8, 2020 at 10:23 pmWhat an adorable wall shelf!
I have to save it to Pinterest!
So cute!
Robin
Anita Holland
June 10, 2020 at 12:12 pmThank you so much Robin, it is greatly appreciated.
Michelle Leslie
June 8, 2020 at 10:40 pmI’m soooooooo jealous. You have a wood planer and you’re crazy creative. Love the little wall shelf and the fur baby bums with hooks. So cute. I bet your daughter loves it.
Anita Holland
June 10, 2020 at 12:14 pmThank you, Michelle! The planer is a gift from heaven so cool for old dirty wood. The stickers were my only contribution to her boring shelf. lol
Kim Purvis
June 9, 2020 at 4:16 amLovin those fun doggy vinyls! So cute! Fantastic job!
Anita Holland
June 10, 2020 at 12:15 pmThank you so much Kim. I thought they were cute lol
Enda Sheppard
June 9, 2020 at 6:32 pmSo simple, but looks great! #SeniSal
Anita Holland
June 10, 2020 at 12:15 pmThank you Edna
andrea
June 9, 2020 at 9:44 pmWow your wood working skills are impressive. I love the dog hooks. Can’t wait to look around your blog to see what else you make.
Anita Holland
June 10, 2020 at 12:16 pmThank you so much Andrea, woodworking is my first love, the rest just fills out my website.
Debbie-Dabble
June 9, 2020 at 10:45 pmLove this cute wall shelf!! Great job!!
Thanks so much for stopping by!! Stay safe, healthy and happy!!
Hugs,
Debbie
Anita Holland
June 10, 2020 at 12:17 pmThank you so much Debbie, I am sure I will pop in again soon. Your photos always catch my eye.
creativejewishmom/sara
June 10, 2020 at 1:00 amlove it Anita and totally jealous of your wood shop! thanks for sharing on craft schooling Sunday!
Anita Holland
June 10, 2020 at 12:17 pmThank you so much, that is very kind of you to say.
Mary from Life at Bella Terra
June 10, 2020 at 2:43 amAnita, I am SO jealous you have a wood planer! OMG! I would love to own one of those. Great looking shelf and those dog decals are the cutest! Thank you for sharing~you are very talented!
Anita Holland
June 10, 2020 at 12:20 pmThank you so much, Mary. My son got the planer off Facebook marketplace for $30… Bargain.
Anita Holland
June 10, 2020 at 12:18 pmThank you so much Marty, you can tell from the stickers which dog is her favourite.
Marie-Interior Frugalista
June 11, 2020 at 2:33 amI’m jealous that you have a wood planer. Your DIY wall shelf is AWESOME and I love the adorable leash hangers!
Anita Holland
June 12, 2020 at 12:06 pmThank you Marie, it is the best machine if you are building from recycled materials like me. It saves so much time.
Karen, the next best thing to mummy
June 11, 2020 at 6:50 pmI love the lead hooks, really cute #alittlebitofecerything@_karendennis
Anita Holland
June 12, 2020 at 12:09 pmThank you so much, Karen.
Catherine Sokolowski
June 11, 2020 at 9:53 pmWhat a great shelf to have right by the front door! All you need is the hooks for your masks 🙂
Anita Holland
June 12, 2020 at 12:10 pmThank you so much, your comment gave me a giggle. I should make a new sticker with a mask on it. lol
rosemary palmer
June 15, 2020 at 10:26 amSo simple ,,, and those tails – extra cute.
Anita Holland
June 16, 2020 at 5:02 pmThank you Rosemary, I had to add my own little touch to it.
Anita Holland
June 17, 2020 at 4:09 pmI totally agree Michelle. That modem is rocking that self.lol
Anita Holland
June 20, 2020 at 3:07 pmThan k you so much Michelle, I really do appreciate it.
Anita Selby
July 7, 2020 at 10:41 pmHi Anita, Could you tell me how you take apart your pallets? I have the hardest time without them splitting.
Anita Holland
July 8, 2020 at 7:40 amHi Anita, To be honest, it was hell trying to do it. I used a crowbar first but the wood kept splitting. I gave up in the end and used a jigsaw to cut away the wood between the support and used that wood.
17 Free DIY Wall Shelves Plans - Epic Saw Guy
May 27, 2023 at 12:16 am[…] Project details: uniquecreationsbyanita.com […]