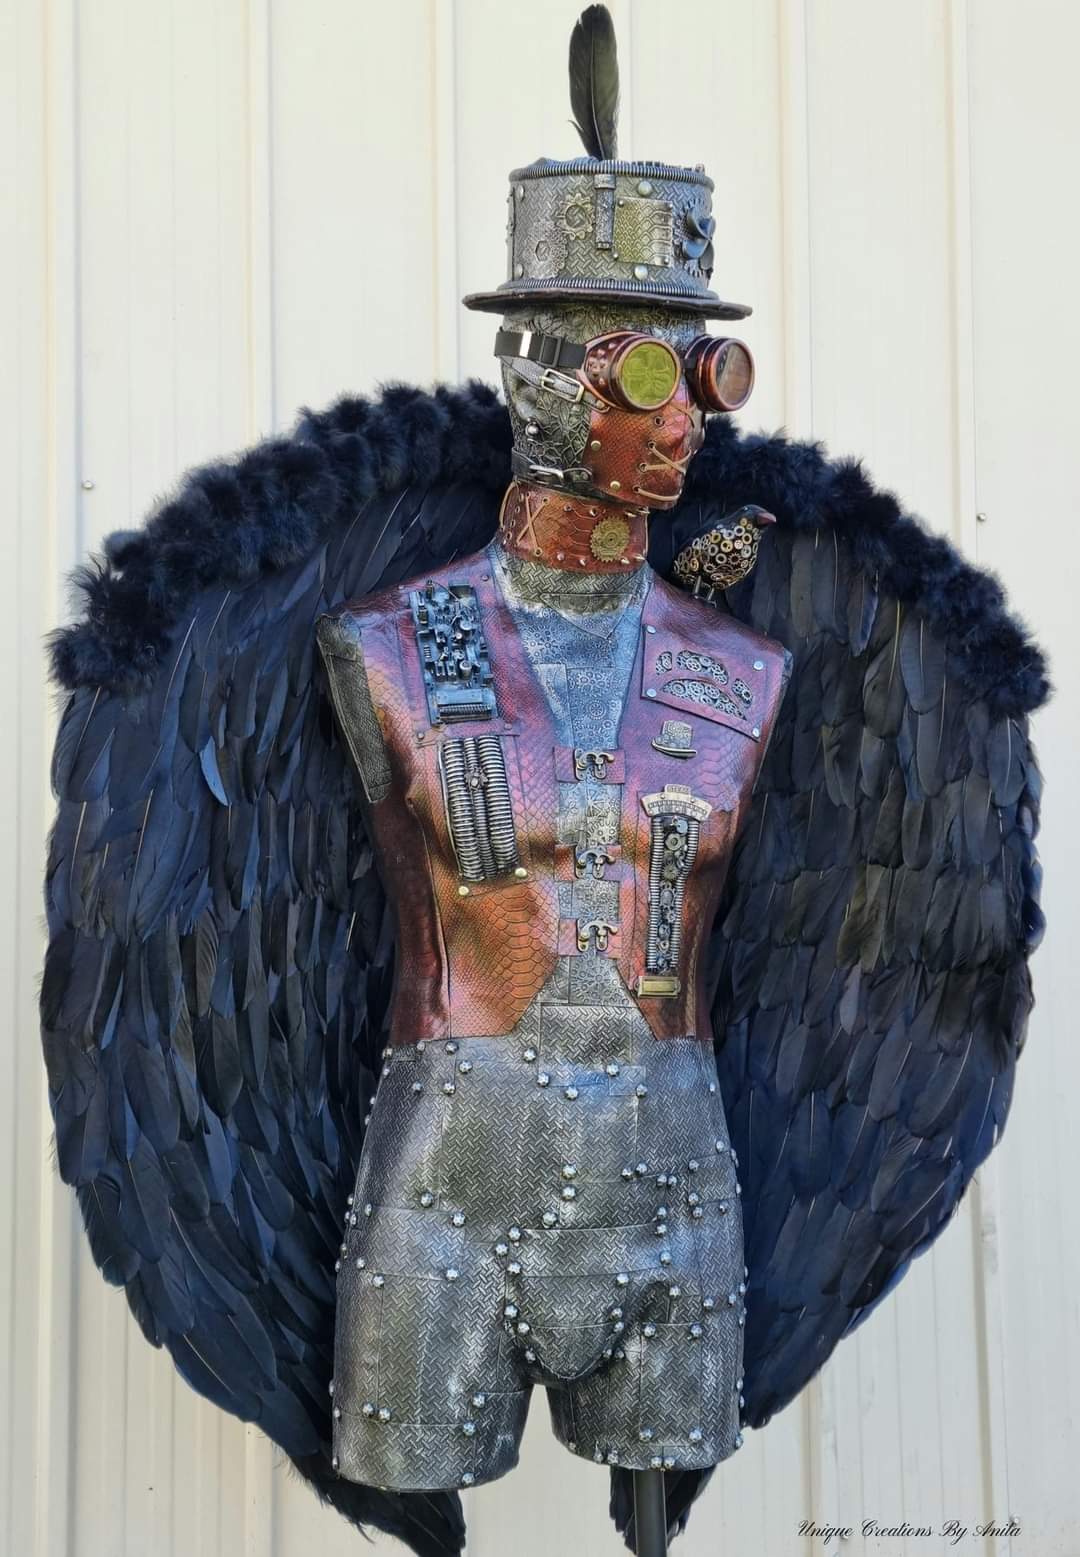
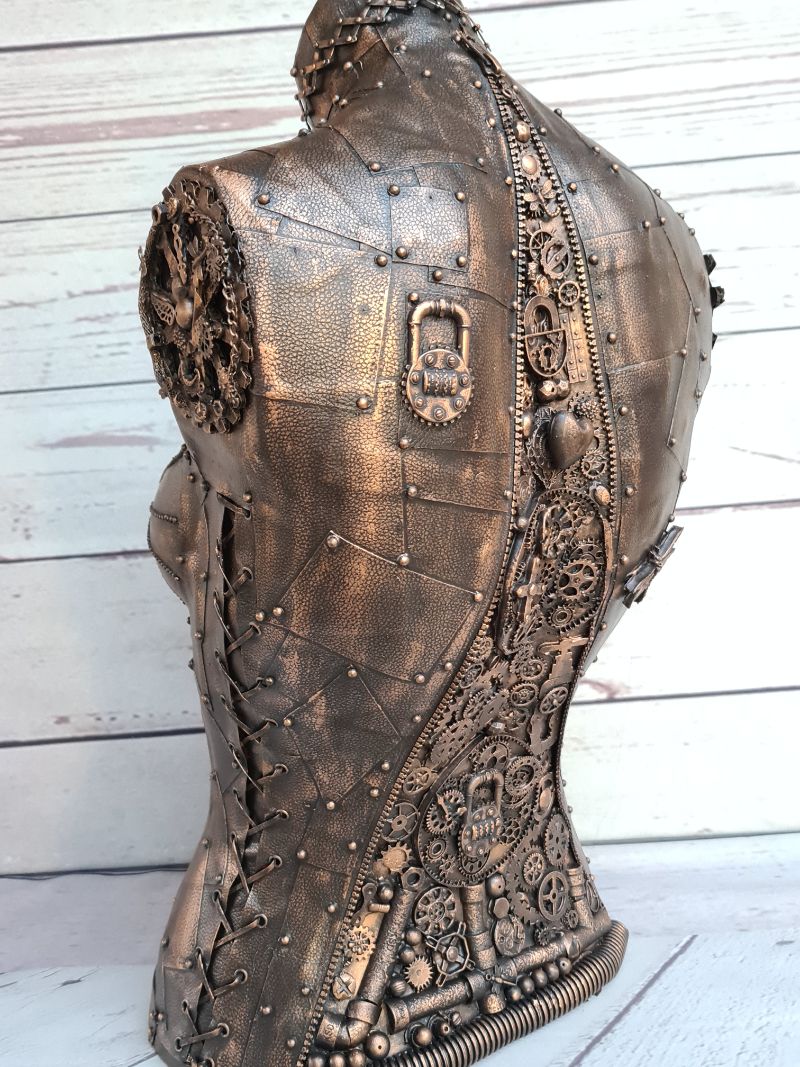
Want to turn heads with a show-stopping, steampunk-inspired display? In this tutorial, I’ll show you how to make feather angel wings using real feathers, recycled materials, and basic tools. These shapable wings were designed to complete my steampunk mannequin makeover, but they’d be perfect for cosplay, costume parties, or mixed-media art installations.
Best of all, they’re durable, lightweight, and truly unique. No sewing skills or expensive templates required—just a little patience and creativity!
Before we dive into this tutorial, be sure to subscribe to my bimonthly newsletter to be the first to see my latest projects. You can also follow me on Pinterest and Facebook where I also include my unique mixed-media art projects.
How to make feathered Angel Wings
*This post may contain affiliate links. This means I earn a small commission on links used at no extra cost to you. Please see my disclosure policy for more information.**
Materials Needed
- Chicken wire (2 layers per wing)
- Kraft paper (for your wing template)
- Blue tack
- Sharpie pen
- Cable ties
- Side cutters
- Duct tape
- Old fabric sheet (or similar)
- Fishing line
- Wood slats (for support)
- Goose feathers (500 approx. – 15 to 20cm) (temu)
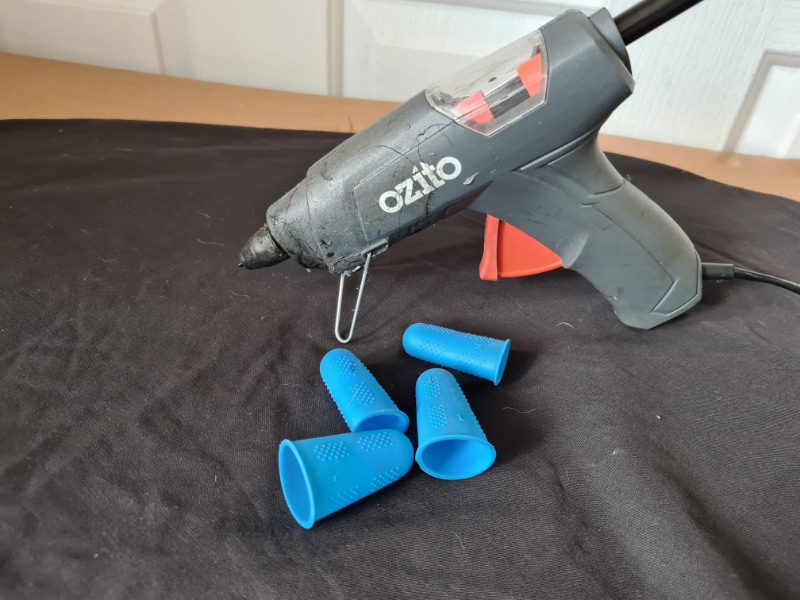
- Hot glue gun (11mm) and black glue sticks (30cm recommended)
- Silicone finger protectors
- Down feather boa
- Nylon thread
- Projector optional
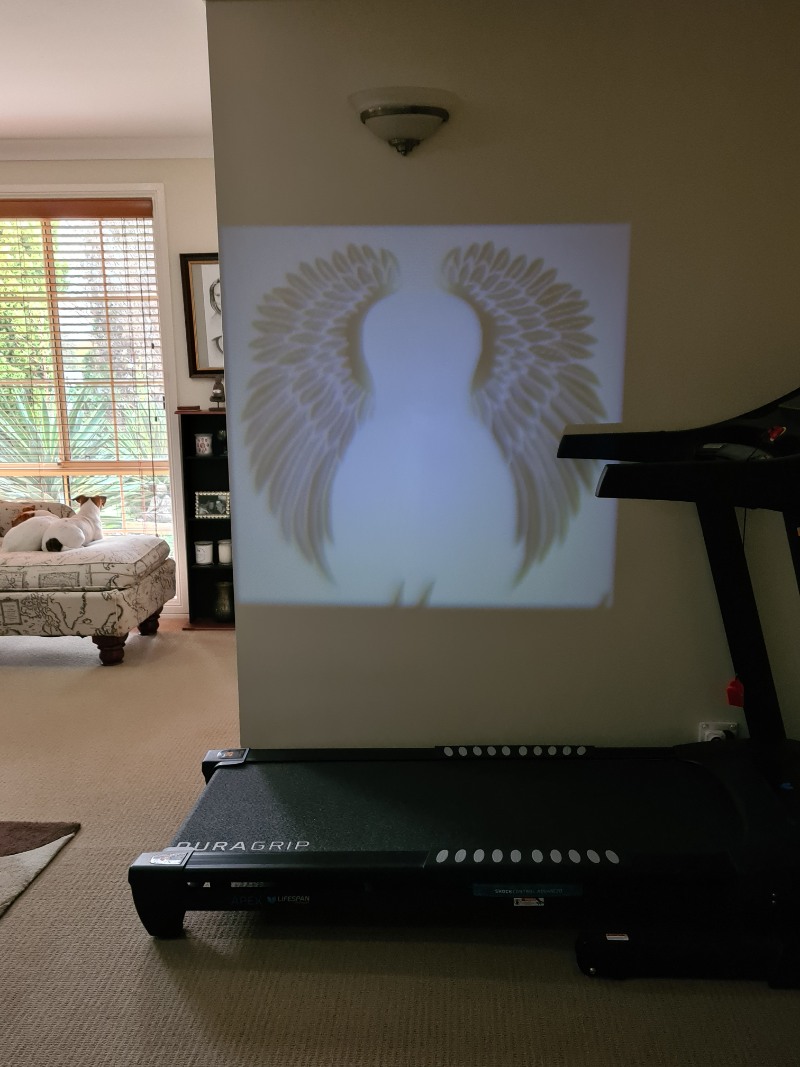
Step 1: Draw Your Wing Template
I can’t draw—but that doesn’t stop me. I use a projector to trace images onto large kraft paper.ttChoose an image of angel wings, project it onto a wall, and resize it to your desired dimensions. Stick the kraft paper onto the wall with blue tack. Trace the wing outline using a Sharpie. The details don’t matter here—it’s all about shape and proportion. You can draw them freehand if you don’t have a projector.
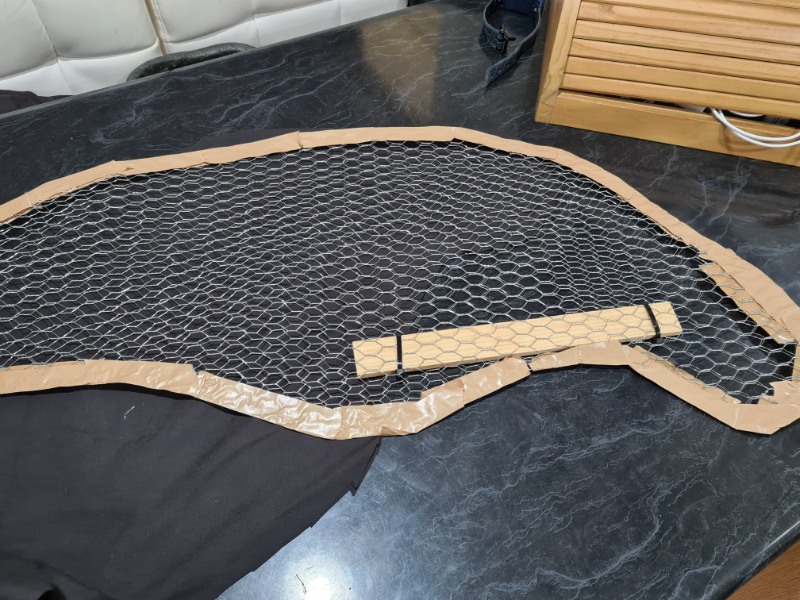
Step 2: Create a Shapable Wing Frame
Cut two pieces of chicken wire slightly larger than your wing shape. Repeat for both wings.
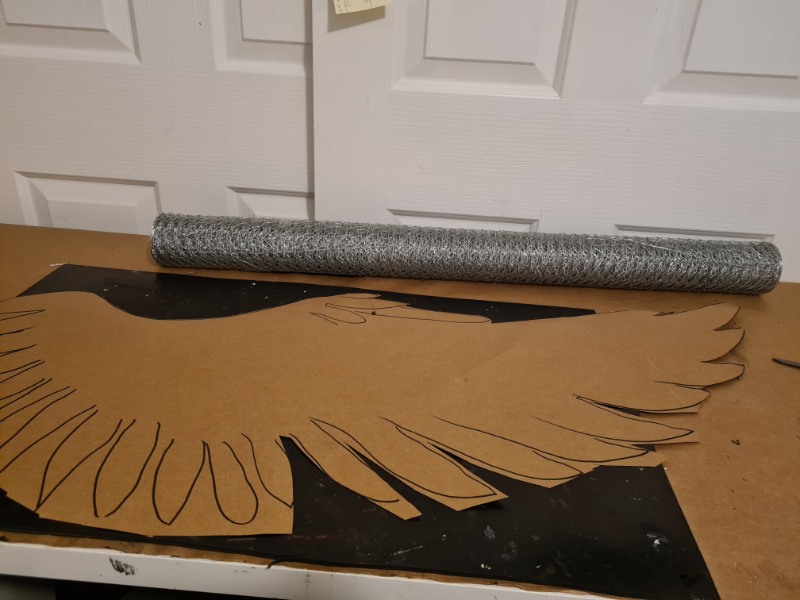
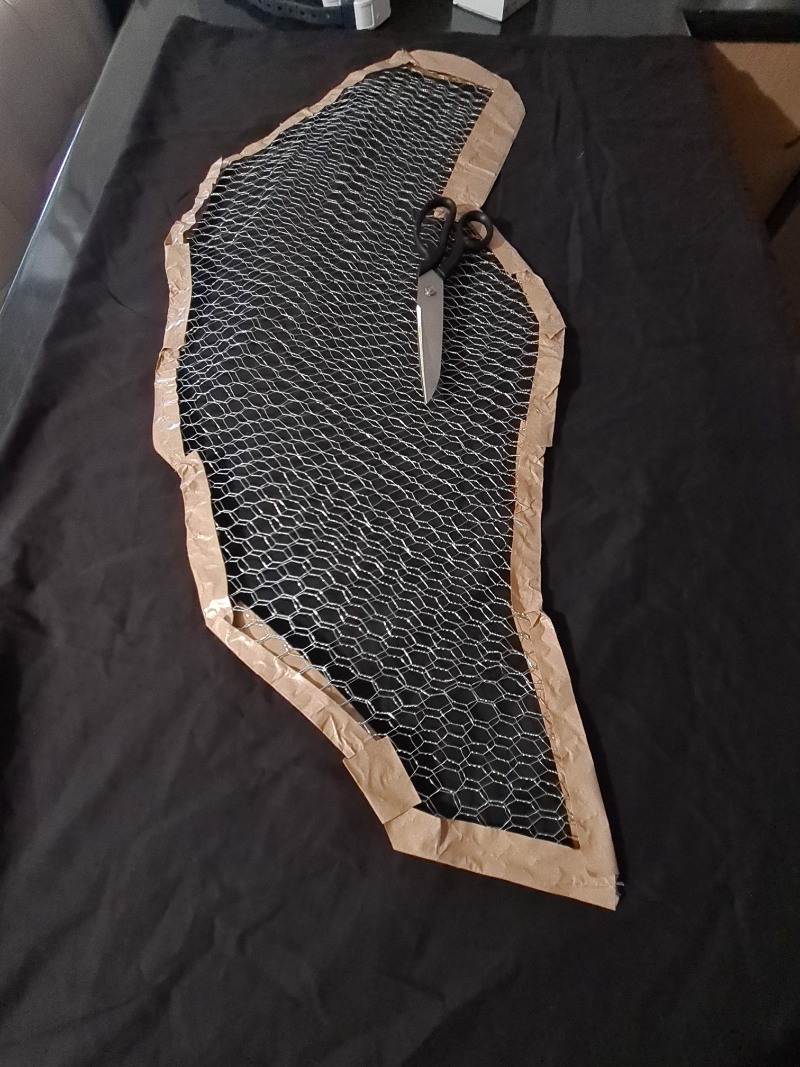
Place your kraft paper template on the chicken wire. Join the two layers using cable ties around the edges. This double-layer method makes the wings sturdy enough to hold their shape.

Use side cutters to remove any extra wire. Bend the sharp edges inward with gloves.
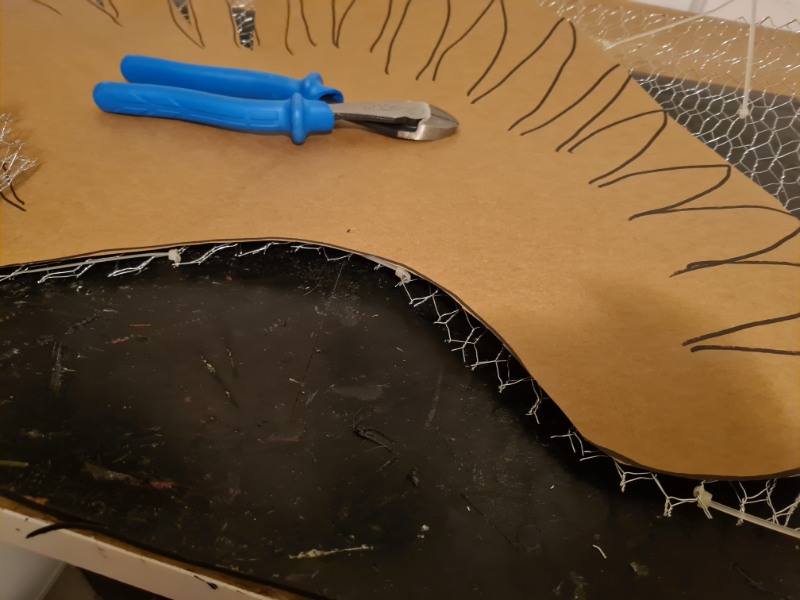
Cover any exposed wire with duct tape to avoid injuries, especially if you’re selling or displaying the piece.
Step 3: Add a Fabric Cover
To glue feathers, you’ll need a solid base. I used an old sheet to cover each wing. Cut the fabric slightly larger than your wing and wrap it around.
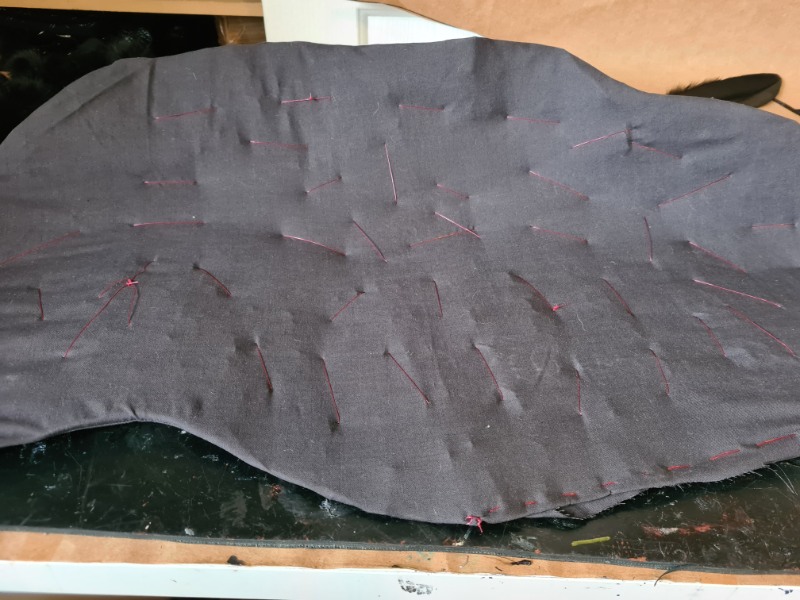
Use fishing line to secure the fabric to the chicken wire. This keeps it firmly in place when you start adding feather weight.
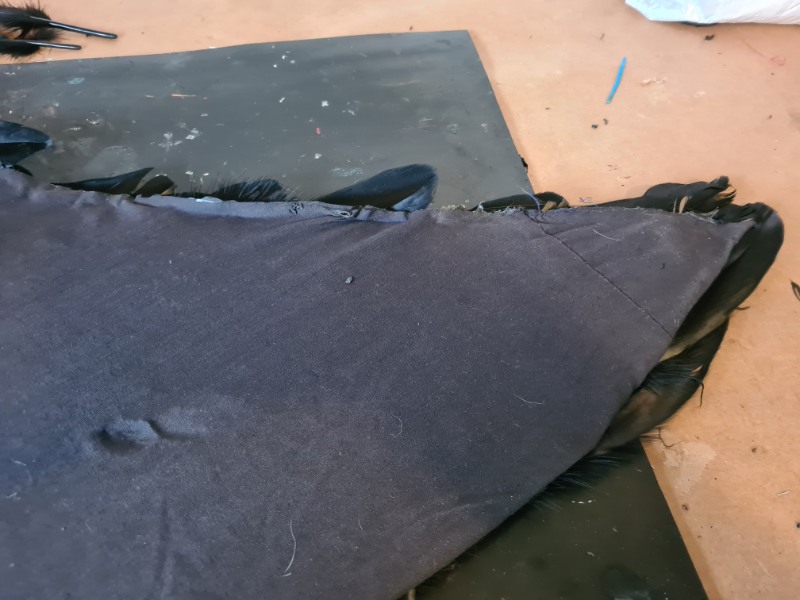
Step 4: Add a Hidden Support
If you’re using these wings for cosplay, add shoulder straps. I needed a seamless look for my mannequin, so I inserted a wooden slat inside each wing.
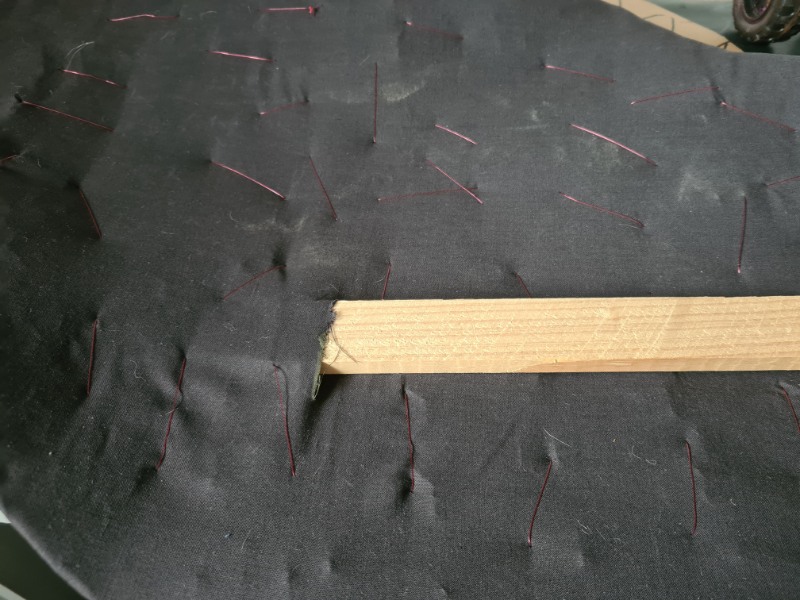
Cut a small slit in the fabric and slide the wood inside. Secure it in place with cable ties. This will anchor the wings to the mannequin later. The image below shows how the wood was positioned in the second wing.
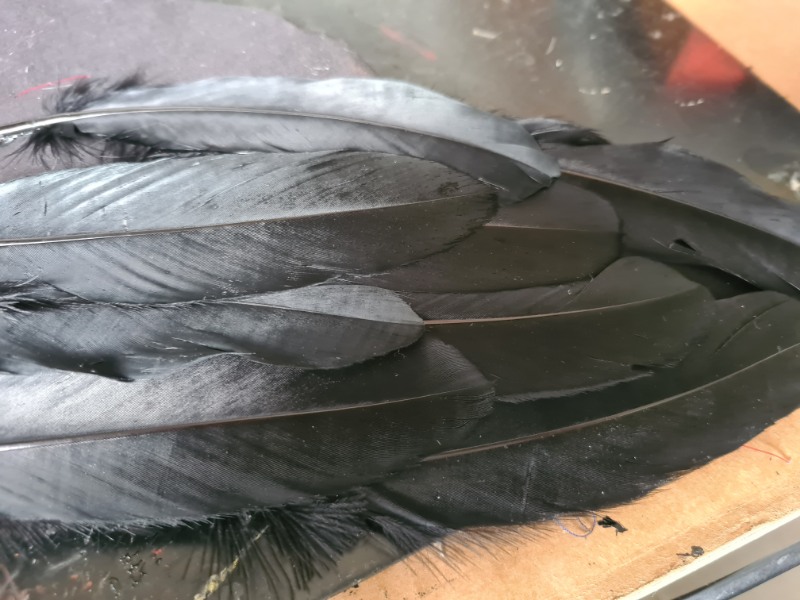
Step 5: Sort Your Feathers
This is critical. Feathers have a left or right contour—don’t glue them randomly.
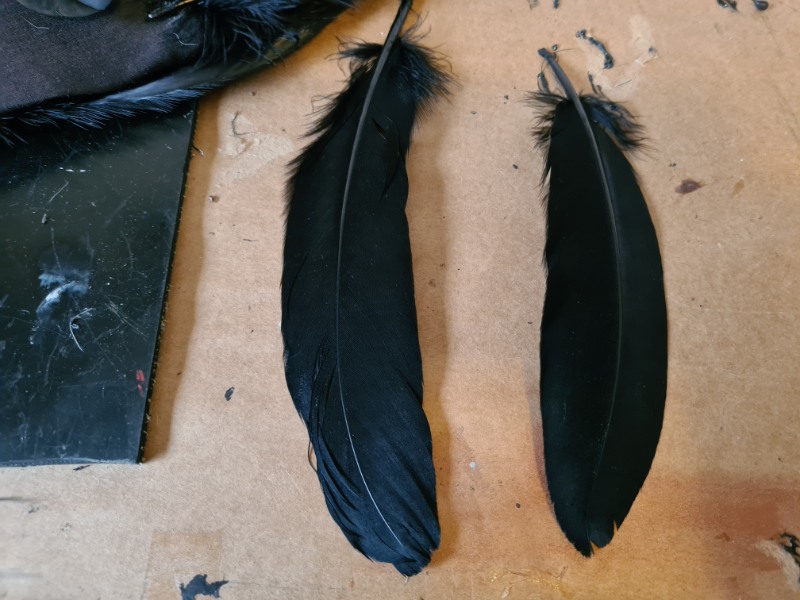
Lay them out first to ensure you have enough matching sets for each side. I used around 500 black goose feathers, 15–20cm long.
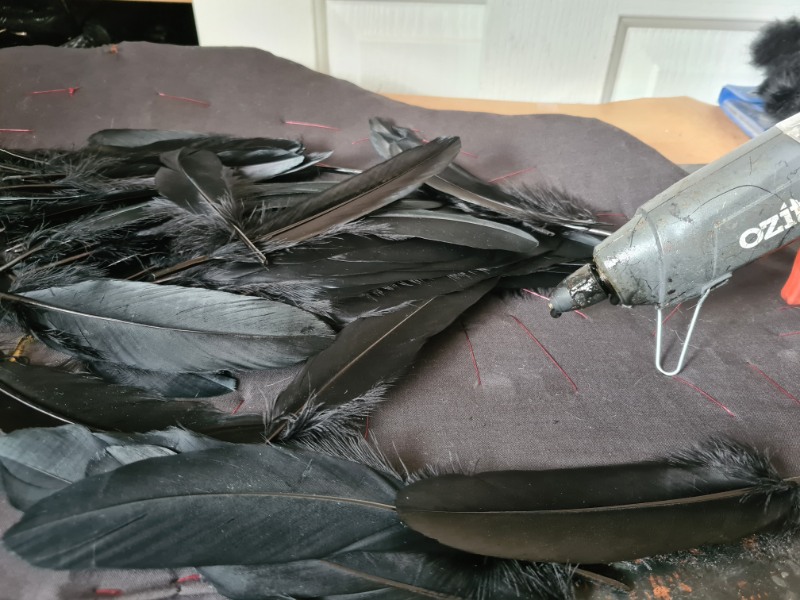
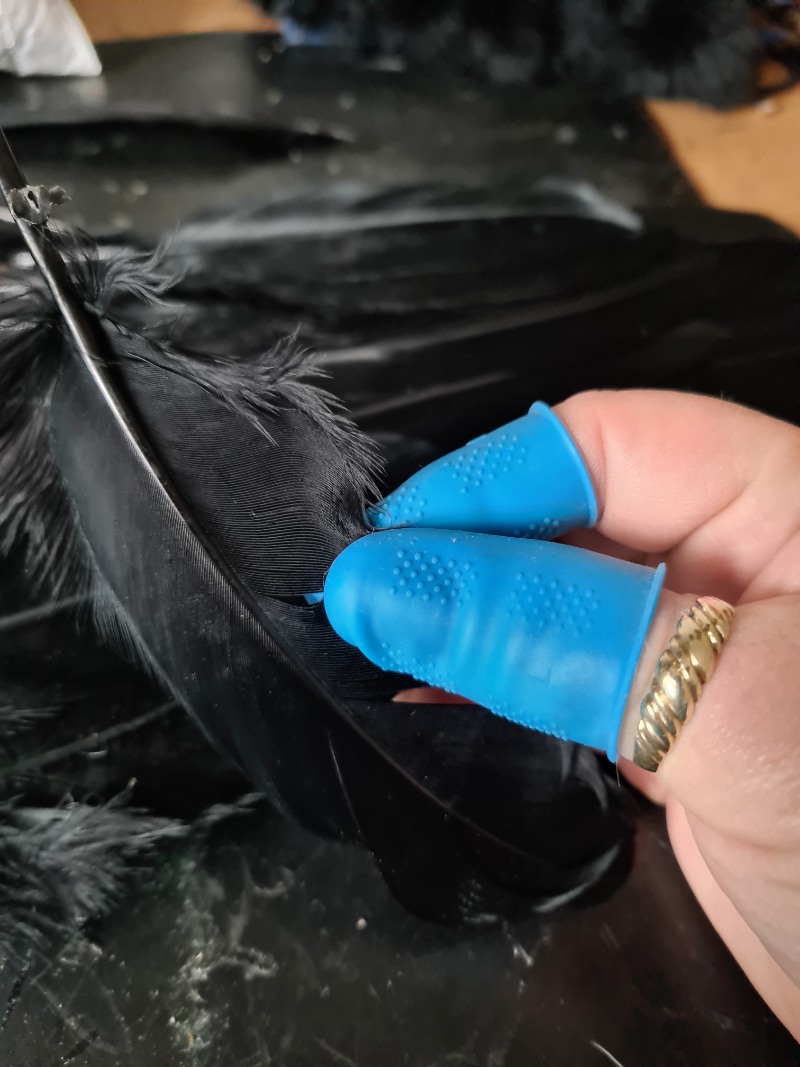
Step 6: Glue the Feathers
Start at the bottom of each wing and work upward. Use hot glue—black glue blends better with black feathers.
Overlap each feather by at least half to hide the fabric beneath. Place each new feather over the shaft of the one below it.
Use silicone finger protectors to avoid burns. Larger glue sticks (30cm) save time and effort.
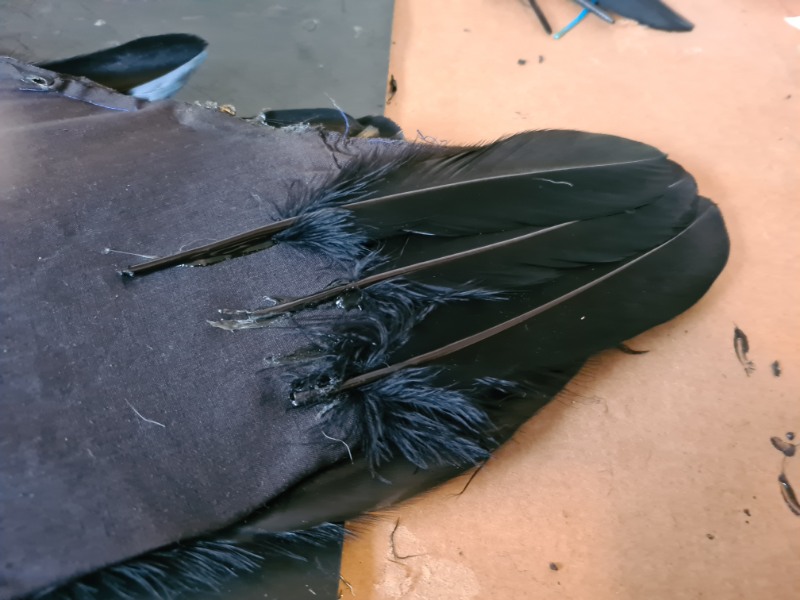
Leave a small area around the wooden support feather-free. This makes it easier to screw the wings onto your mannequin later.
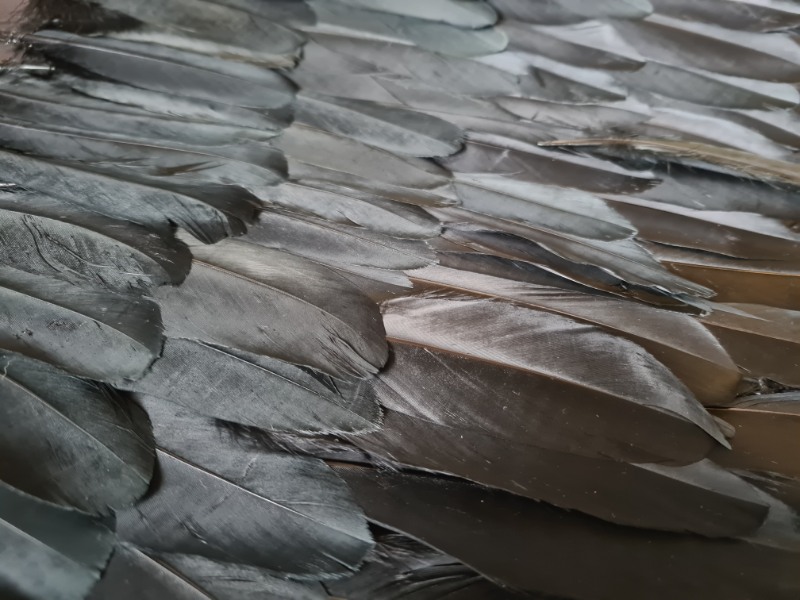
Step 7: Fill Gaps and Add Texture
Birds have soft, fluffy feathers too—set those aside. Use them to fill any gaps and soften the edges of your wings.
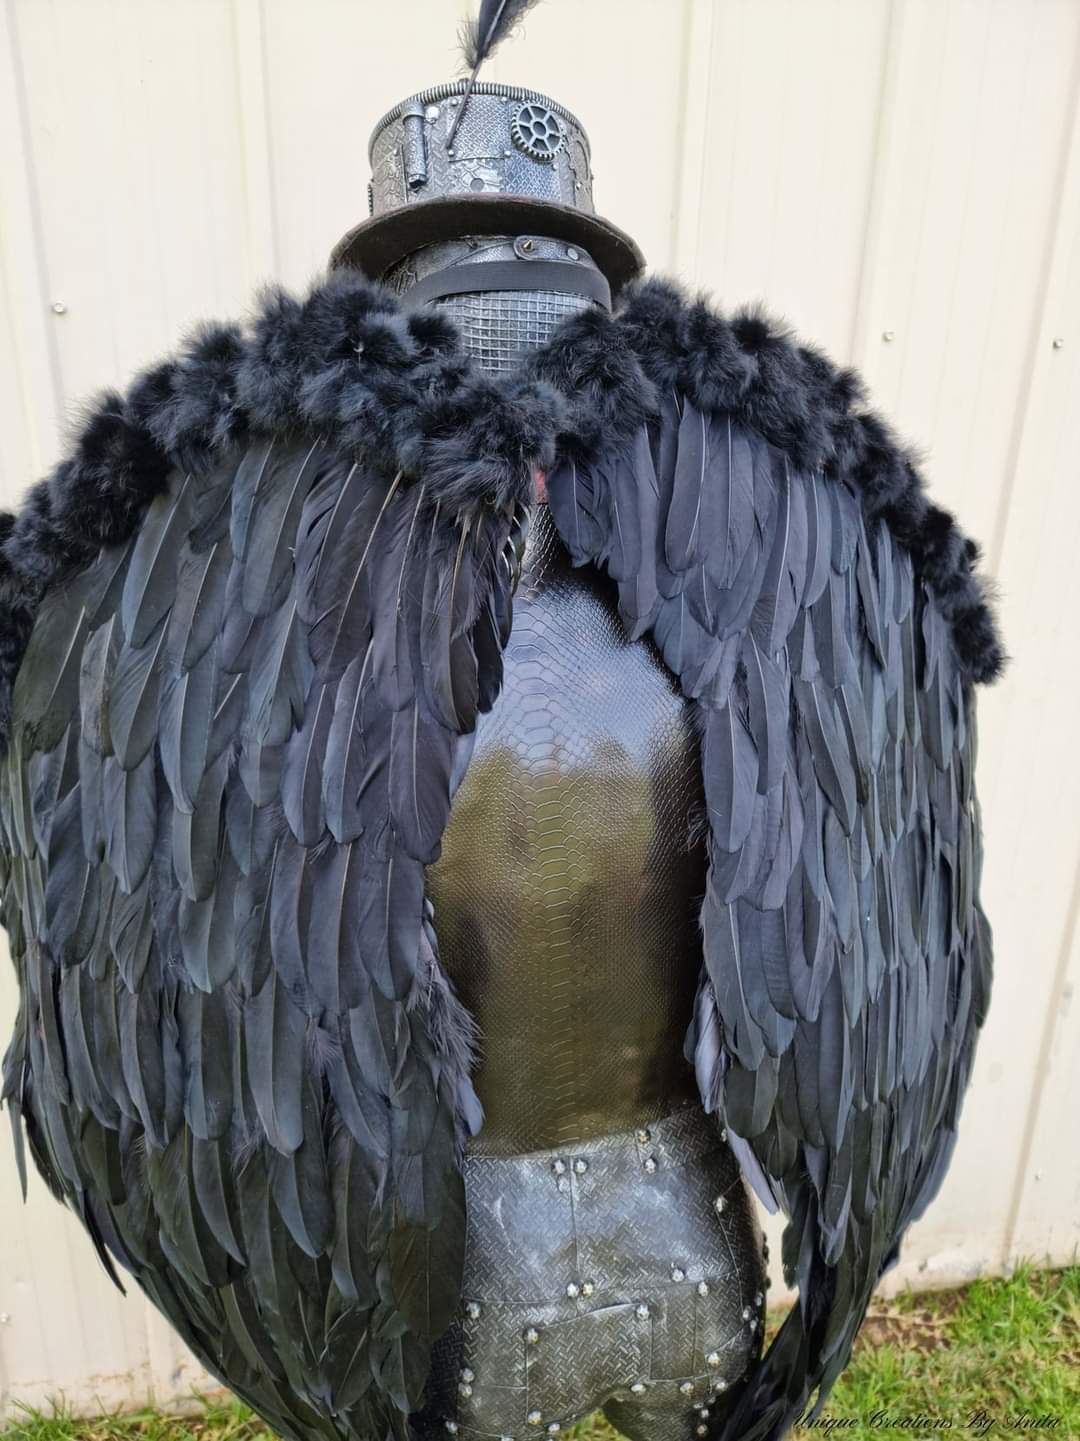
Once one side is done, flip the wing and repeat on the back.
This step makes the wings look full and seamless from all angles.
Step 8: Finish the Top with a Feather Boa
The top row of shafts can look messy. I used a down feather boa to hide them. Sew the boa along the top using nylon thread. This gave the wings a clean finish and added beautiful texture.
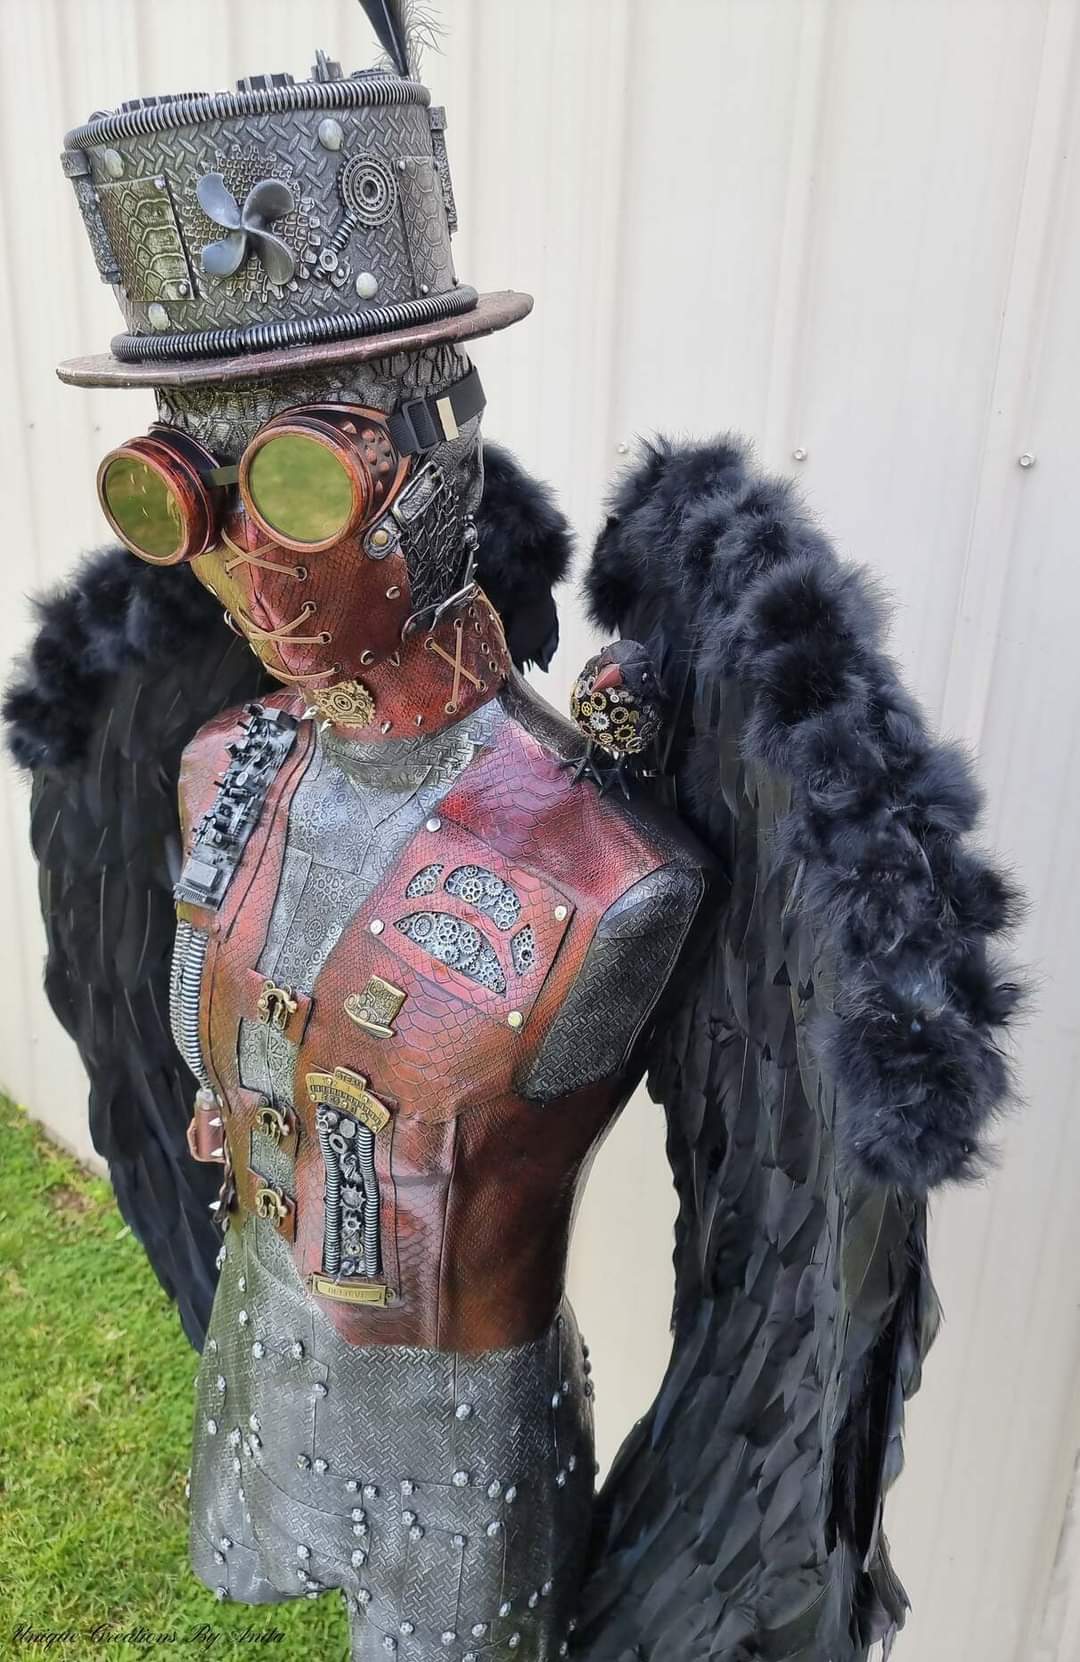
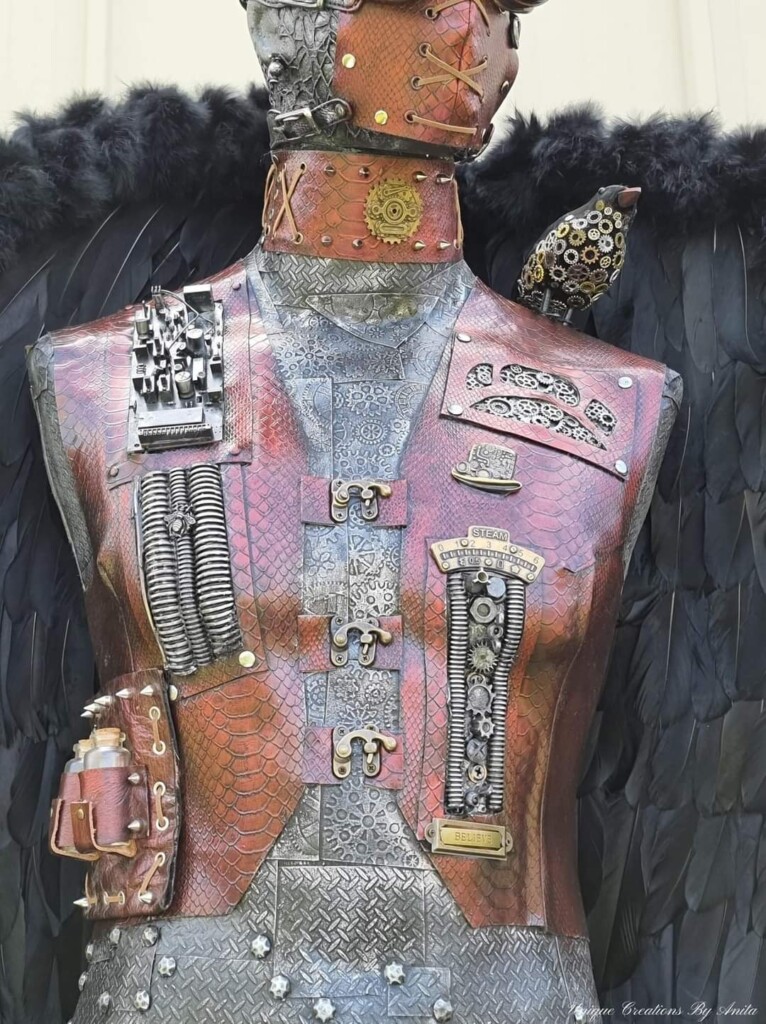
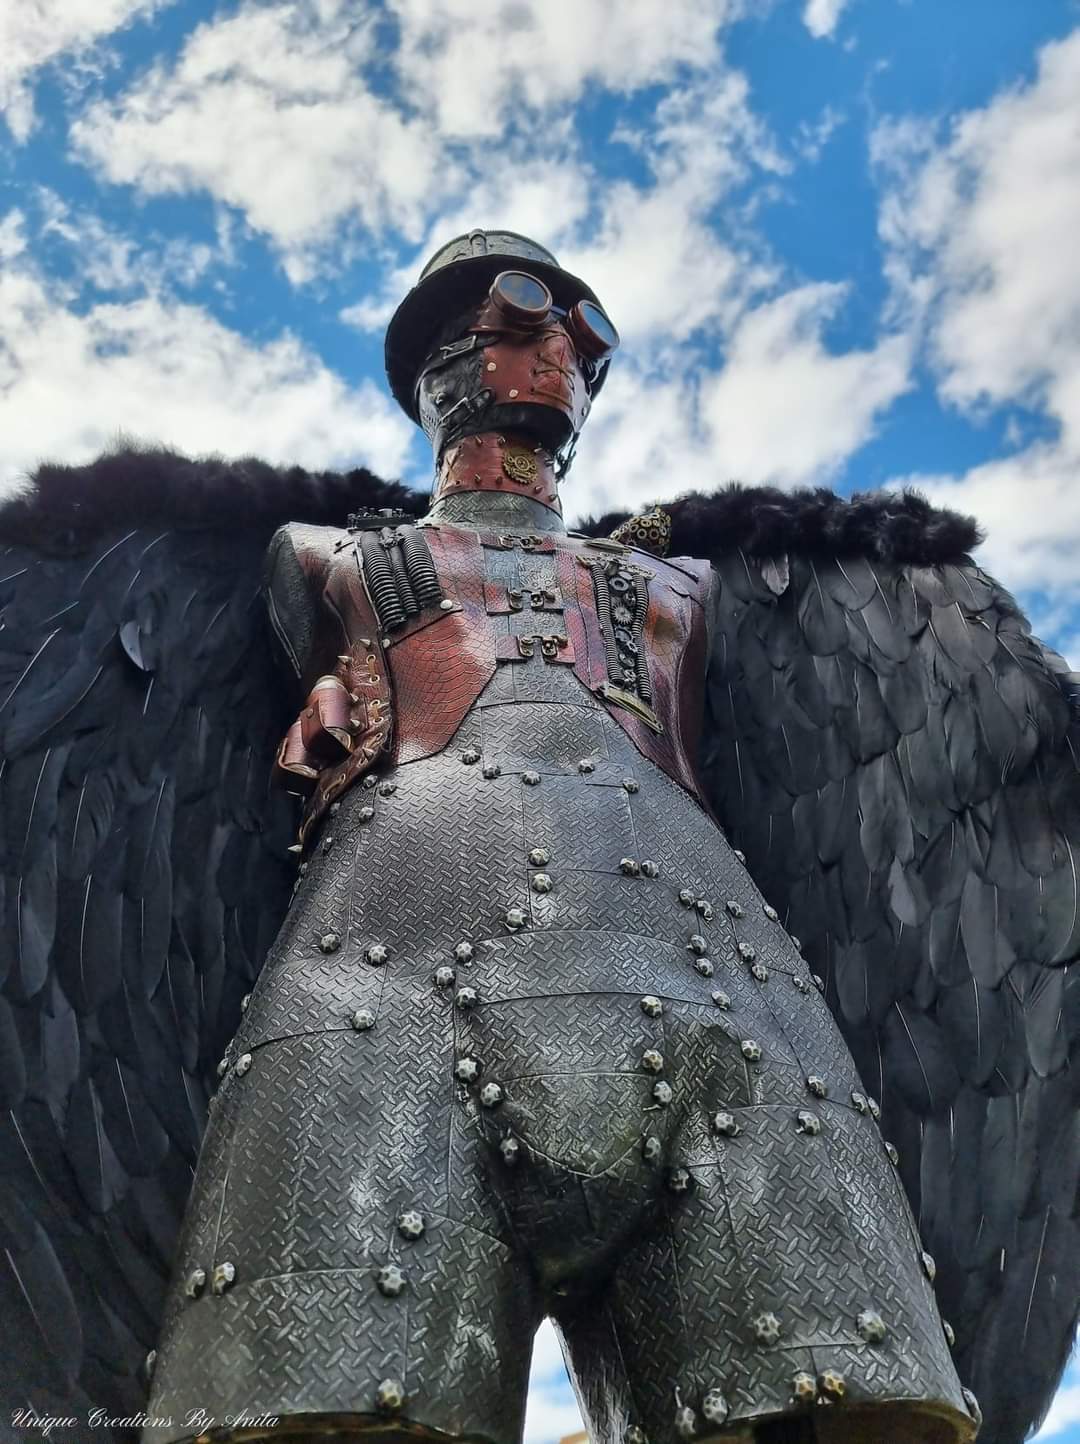
Final Touches and Display
Once done, I screwed the wooden supports into the mannequin’s back and patched up the feathers. The wings curved around the body and looked like they belonged. This piece was my most expensive sale to date, snapped up by a steampunk art collector!
More mannequin project ideas
If you’d like to learn how I created this steampunk mannequin, I’ve included the full step-by-step tutorial for you.
Here’s another mannequin I created, this time using recycled soda cans for a completely different look.


If you’d like to find any of the items used in this project, we’d greatly appreciate it if you used our affiliate links. These links provide us with a small commission at no extra cost to you, allowing us to continue creating and sharing more inspiring projects. We’d also love to hear your thoughts—feel free to leave a comment or share this post!

10 Comments
Sara
April 11, 2023 at 12:39 amWow Anita! Those wings are just incredible!!
Anita Holland
April 11, 2023 at 5:10 pmThanks so much, Sara, they were a labour of love. lol
Kippi Ohern
April 11, 2023 at 1:07 amWow! This is a beautiful mannequin. The featured wings make it so unique. Your work is impeccable!!!
Anita Holland
April 11, 2023 at 5:11 pmThank you for the awesome compliment, that is so kind of you to say.
Lynne Zemaitis
April 12, 2023 at 11:27 amWow! Such a creative and unique project! You are very talented!
Anita Holland
April 13, 2023 at 8:14 pmThanks so much Lynne, I do have some out there ideas 🤣
Marie
April 16, 2023 at 3:43 amWould love to try this for a costume! So cool! Pinned.
Anita Holland
April 16, 2023 at 8:44 amThank you, Marie, It would make a great cosplay costume.
Michelle Leslie
November 24, 2024 at 12:20 amHow did I miss this bit of amazingness? Wow!!!! Anita, they’re gorgeous and take the mannequin to a whole new level. 10/10 for both your patience and creativity.
Anita Holland
November 26, 2024 at 6:30 pmThank you, this was my most expensive mannequin that I sold to an art dealer. I was proud of this one.