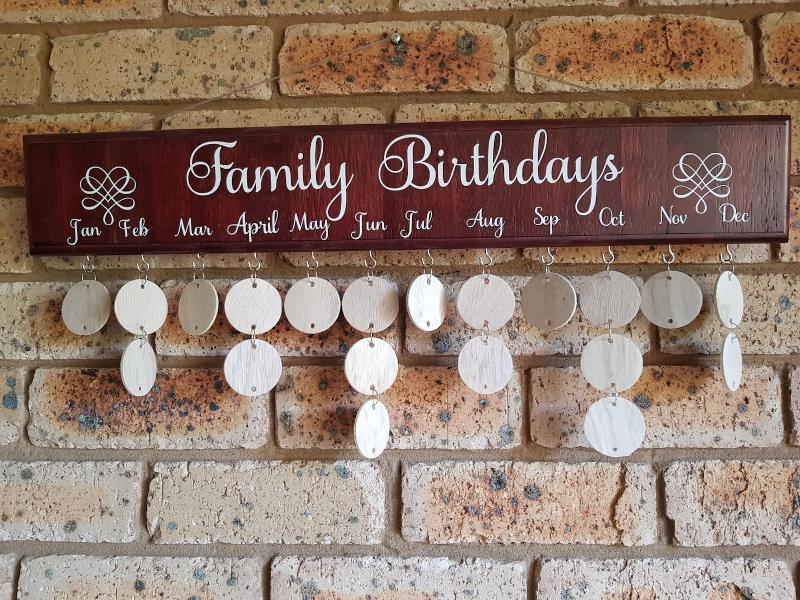
If you’re searching for a Cricut project that’s meaningful, budget-friendly and makes a great gift or item to sell at markets, this Wooden Disc Birthday Calendar is it. With so many of us now owning a Cricut or Silhouette vinyl cutter, the challenge is always finding fresh ideas. I created this calendar for our aged care facility after a resident’s birthday was forgotten. It broke her heart. This calendar now ensures no one is ever overlooked again.
Whether you’re crafting to sell or just love making thoughtful handmade décor, this DIY birthday board is a project worth trying.

Before we dive into this tutorial, be sure to subscribe to my bimonthly newsletter to be the first to see my latest projects. You can also follow me on Pinterest and Facebook, where I also include my unique mixed-media art projects.
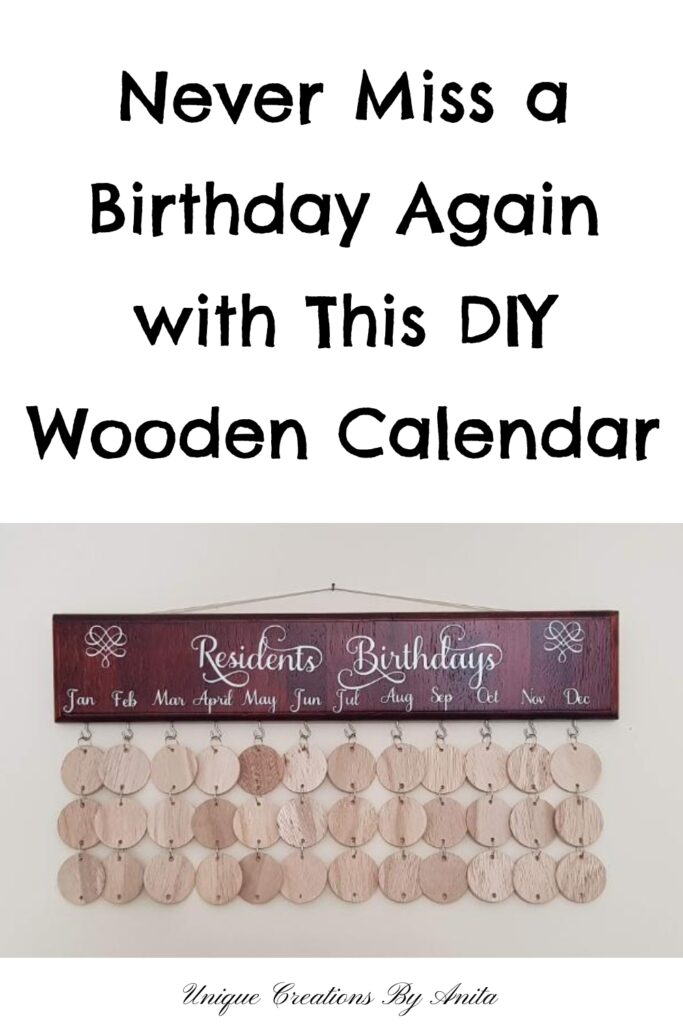
DIY Wooden Disc Birthday Calendar with Cricut – Never Miss a Special Day Again
**This post may contain affiliate links. This means I earn a small commission on links used at no extra cost to you. Please see my disclosure policy for more information.**
Materials Needed
- Wooden board (offcut or store-bought)
- Sandpaper
- Wood stain (e.g. Dark Mahogany)
- Polyurethane or clear varnish
- Vinyl sheets
- Cricut or Silhouette cutting machine
- Transfer tape
- Weeding tool
- Scraper tool
- Pre-drilled wooden discs with jump rings
- Small screw-in hooks
- Ruler and pencil
- Drill or awl
Step 1: Prepare the Calendar Base
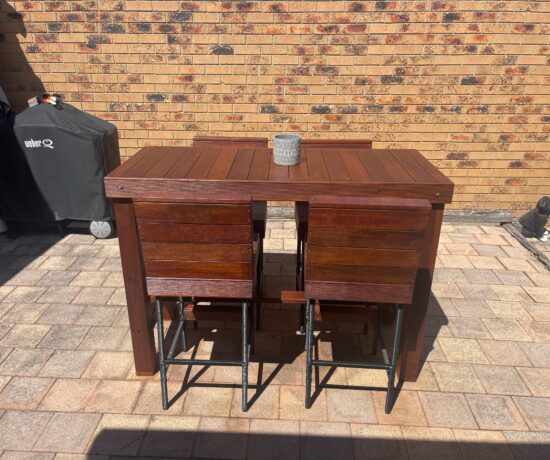
Start with a flat wooden board. I used a tabletop offcut, but you can buy pre-cut boards from Bunnings, Kmart, or craft stores. Sand it smooth to remove rough patches.
")
I used a wood router to remove the edges for a more appealing look.

Stain the board with your choice of wood stain. I used a rich, dark mahogany colour for a warm tone. Once dry, apply two coats of polyurethane or varnish. This step is essential—vinyl doesn’t adhere well to raw wood. Let the sealer dry completely before moving on.

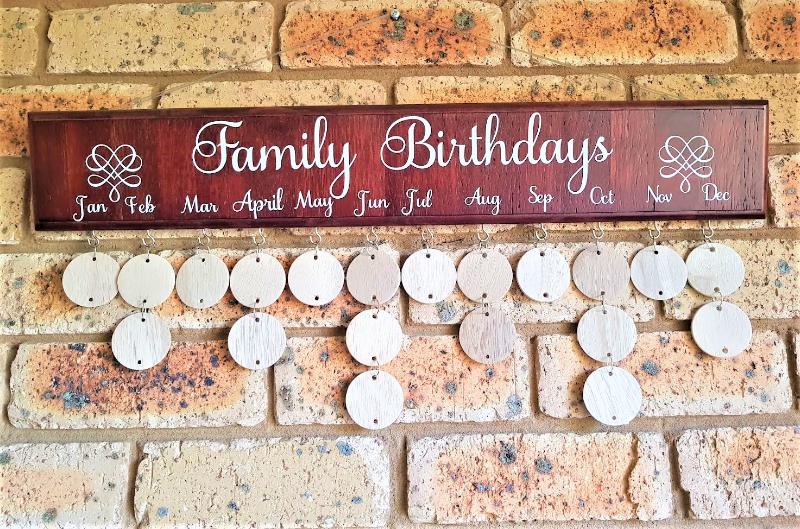
Step 2: Measure and Add Hooks
Divide the length of the board by 12 to evenly space your hooks for each month. Start the first hook at half a segment length in from the edge for even spacing across the board. Mark each spot with a pencil, then screw in the hooks.

Step 3: Create Your Vinyl Decals
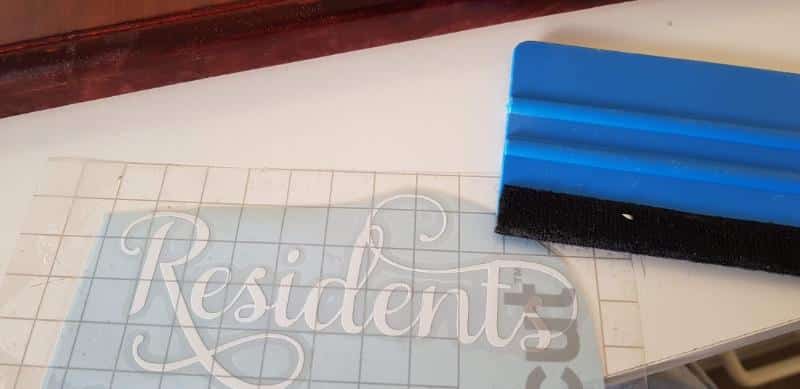
Using Cricut Design Space, type the words you need—like “Birthdays”, the months, or family names. I used the Samantha font, which includes elegant scrolls and flourishes. Position the words close together to save vinyl.

Cut out the design, then use your weeding tool or craft knife to remove the unwanted vinyl.

Apply transfer tape on top, press firmly with a scraper, and peel off the backing. Place the decal onto your wooden board, smooth it again with the scraper, and carefully peel back the transfer tape.

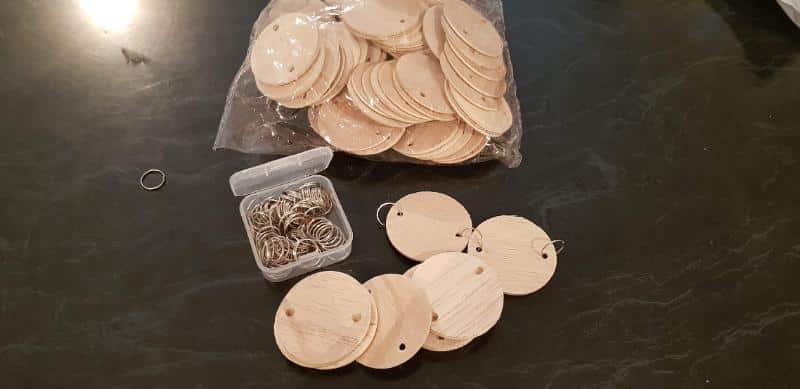
Step 4: Add the Wooden Discs
Instead of cutting them yourself (which is tedious), I recommend buying pre-drilled wooden discs with jump rings online. They’re inexpensive and time-saving.
I chose large discs so the names and dates are easy to read, especially for our elderly residents. Simply write or add decals with names and hook them together in chains, then hang them under the appropriate month.
More projects made with a Cricut
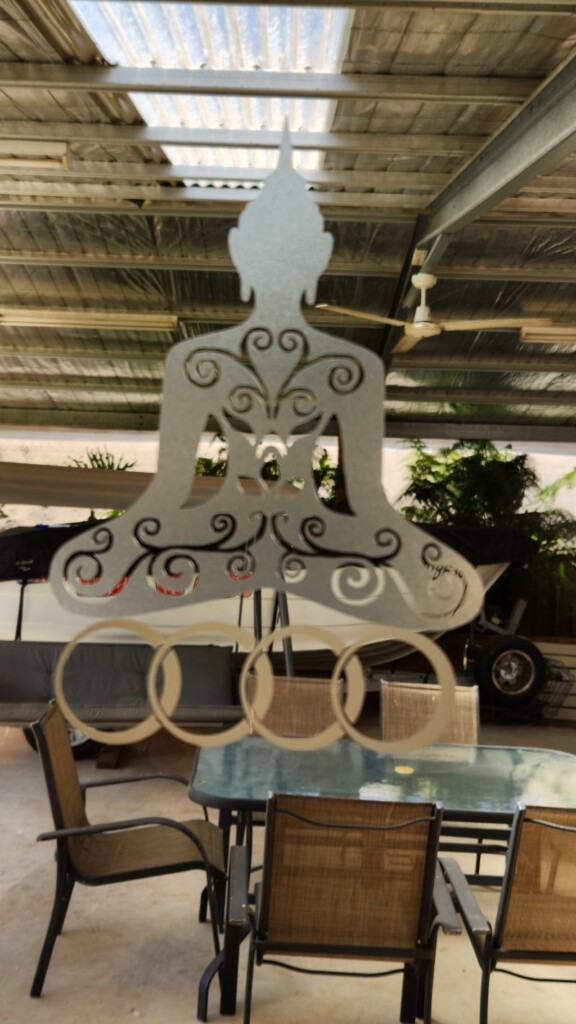
This novelty spa sign was made using my Cricut, and it’s a great example of how you can customise your space with just a few materials.

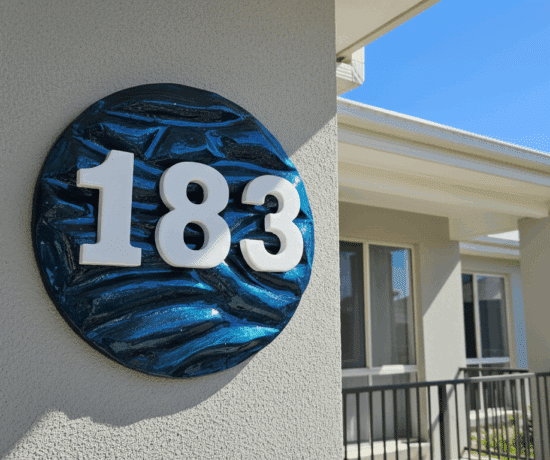
The Cricut is also handy for making more appealing glass door safety decals.

If you’d like to find any of the items used in this project, we’d greatly appreciate it if you used our affiliate links. These links provide us with a small commission at no extra cost to you, allowing us to continue creating and sharing more inspiring projects. We’d also love to hear your thoughts—feel free to leave a comment or share this post!
7 Comments
Ava
September 18, 2019 at 9:26 pmGreetings from New Zealand!
Love this – we have trouble remembering grandies birthdays as there are quite a few – such a great idea.
The link to the discs won’t work – can you please let me know where they can be purchased?
Many thanks
Anita Holland
September 19, 2019 at 10:58 amThank you so much. I have fixed the link.
Ava
September 19, 2019 at 8:24 pmHello Anita – I still can’t get that “large discs” link to work.
Can you advise what diameter the large size is?
Cheers
Anita Holland
September 22, 2019 at 10:12 amThe large ones were 5cm in diameter. Sorry about the link I will check it again.
Anita Holland
September 29, 2019 at 9:27 amThank you so much for the lovely comment, and you are very welcome.
Ariel
January 7, 2021 at 3:31 amWhat size jump rings did you use to connect the discs?
Anita Holland
January 7, 2021 at 1:49 pmHi Ariel, I used 12mm split rings for this project.