")
Recycled art doesn’t get much bolder than this Aluminium Can Steampunk Mannequin: Mistress Metallica. After my first steampunk mannequin fooled people into thinking it was real metal, I set out to build an authentic metallic skin using embossed aluminium cans, pop rivets, and leather accents.
This full tutorial shows how to cut, emboss, hem, and rivet cans to a mannequin, then paint and embellish the surface for a dramatic steampunk finish. You can find my first steampunk mannequin and how it was made in this tutorial.

Why Aluminium Cans?
My first thought was to cut cans and glue them on. That felt lazy, and I wanted something unique. I also can’t draw to save my life, so freehand embossing with a pen was out. While cleaning my craft drawers, I found an embossing folder I’d bought years ago for Cricut cards. I didn’t own an embossing machine then, so the folder went back in the drawer. Now it had a purpose—to emboss aluminium sheets for a rich texture.

Before we dive into this tutorial, be sure to subscribe to my bimonthly newsletter to be the first to see my latest projects. You can also follow me on Pinterest and Facebook, where I also include my unique mixed-media art projects
Aluminium Soda Can Steampunk Mannequin: “Mistress Metallica”
*This post may contain affiliate links. This means I earn a small commission on links used at no extra cost to you. Please see my disclosure policy for more information.**
Materials Needed
- Mannequin or dress form
- 30–40 aluminium drink cans (keep extras for practice)
- Gloves
- Stanley/utility knife
- Strong scissors or tin snips
- Cutting mat and metal ruler
- Embossing folders (assorted designs)
- Embossing machine (or a rolling pin for a manual method)
- Drill with a small metal bit (sized for rivets)
- Pop rivet gun (manual or drill attachment) and ~400 rivets
- Tracing wheel
- Hot glue gun with black glue sticks
- Black gesso or black acrylic paint
- Metallic wax pastes (silver and ruby, or colours of choice)
- Clear spray polyurethane (only needed if you used gesso)
- Leather and faux leather scraps
- Leather hole punch
- Spiked studs and screw-back studs
- Eyelets and lacing
- Old belt (for the waist)
- Chain (junk chain is fine)
- Steampunk charms
- Metal flower (red or repaintable)Temu
Cut and Prepare the Cans
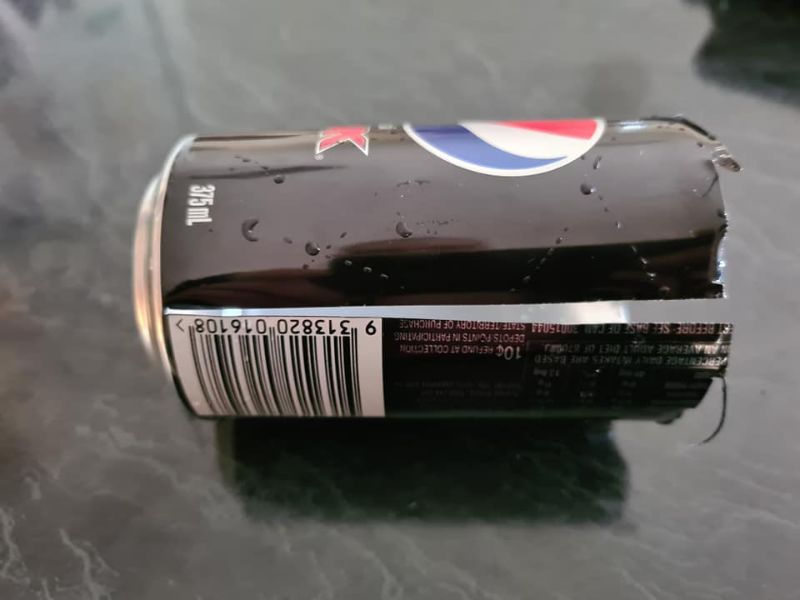
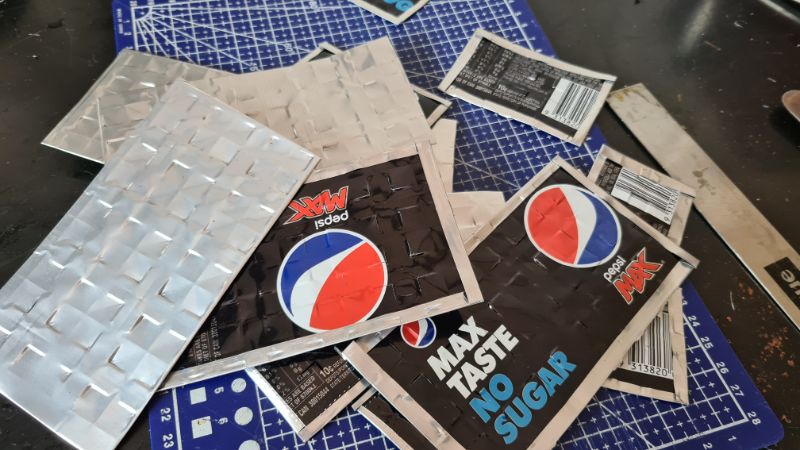
You’ll need at least 30 cans for a medium mannequin. Pierce the upper shoulder of each can with the Stanley knife, then switch to scissors to remove the top cleanly. Rinse, slice down a printed straight line, and cut off the base.

Open the sheet and square it up on a cutting mat so every panel is neat and symmetrical. Straight panels make cleaner seams on the mannequin.


Emboss the Aluminium (With and Without a Machine)
I first tried to emboss without a machine. Placing a panel inside an embossing folder, I pressed with a rolling pin. It worked, but the impression was weak and inconsistent.


Standing on the folder gave deeper texture, but pressure differences sometimes cut through the metal.

The better option is an affordable embossing machine: align the design centrally in the folder and run it through for crisp, repeatable texture. Tip: emboss the correct face—printing can hide detail, and embossing the wrong side flips the pattern. Any mis-embossed pieces still make great wall art or filler patches.

Hem and “Stitch” the Edges
Sharp edges are a hazard, so add a safe hem. Lay a ruler along the edge, fold the metal over it with a butter knife, then flatten.

For a sewn-hem look, run a tracing wheel around all four sides to create neat “stitch” marks. This tiny detail sells the metal-garment illusion and protects your hands while you work.

Rivet the Armour to the Mannequin
This is the most time-intensive stage. Start low and work upwards. Hold the first panel in place, drill a corner, and set a pop rivet. Repeat for the other corners, then move to the next panel. I used about 400 rivets. Go for the smallest ones; they’re quicker to place and kinder on your hands.

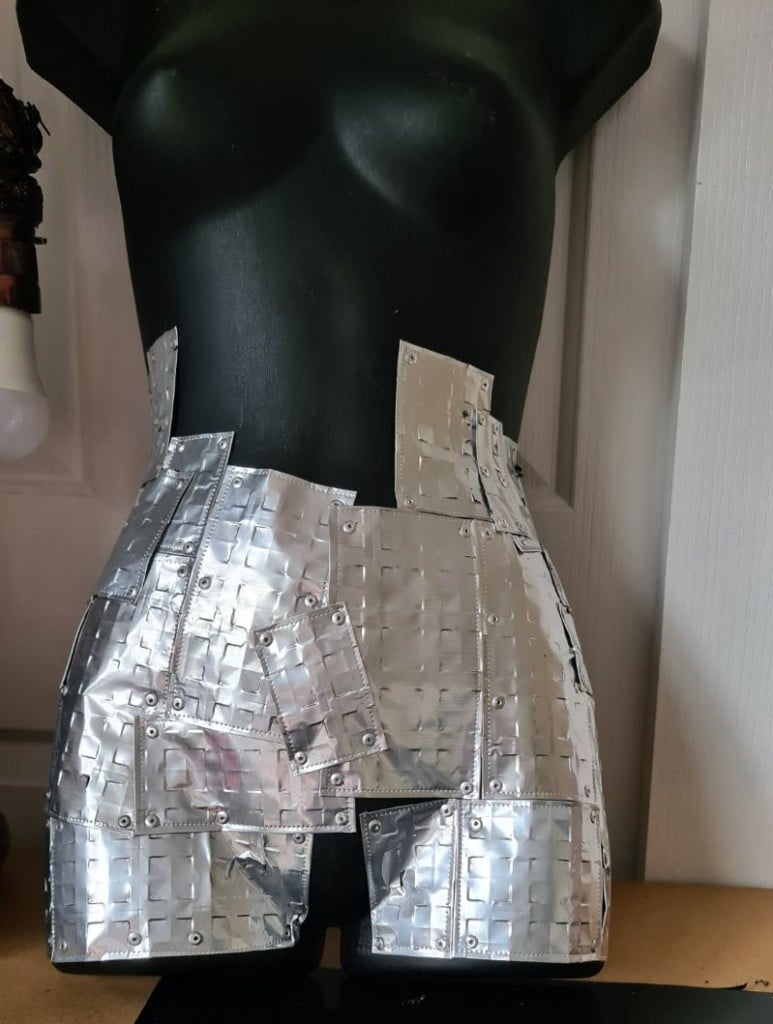
Large panels lay the base; smaller patches fill gaps and build layered interest. Curves around the groin and bust need smaller, overlapped tiles—expect folds and pleats; once painted, they enhance the aged-metal effect. If a manual rivet gun strains your hands, a drill-powered rivet attachment is a worthwhile upgrade.

After I’d covered the body, I added a red metal flower and called it finished. Then it sat in my craft room, and with every glance, I liked it less.

Paint and Metallic Finish
Mixed media assemblage has taught me a simple rule: black base first, metallic highlights second. I painted the cans with black gesso, let them dry, then rubbed silver wax over the raised texture with my fingertip.

After twelve hours, I sealed everything with two light coats of clear spray polyurethane. Lately, I’ve had great results using black acrylic paint instead of gesso, with no need to seal before waxing. If you don’t have silver wax paste at home, you may already have the ingredients to make your own—this post shows you how. She looked better, but something was still missing. I set her aside until inspiration struck.

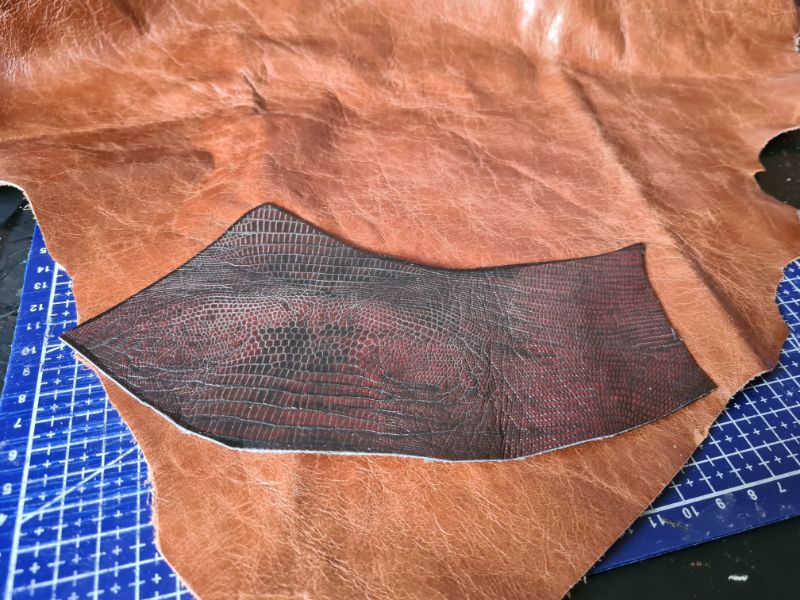
Leather Accessories
I raided my stash of leather and faux leather. If you need scraps, ask a local upholsterer; offcuts often get binned. Colours never match, but that doesn’t matter when you paint. I sketched shoulder pieces to follow the mannequin’s shape. The first cut was too small, so I used it as a template for a larger layer. Stacked together, they looked better than one.

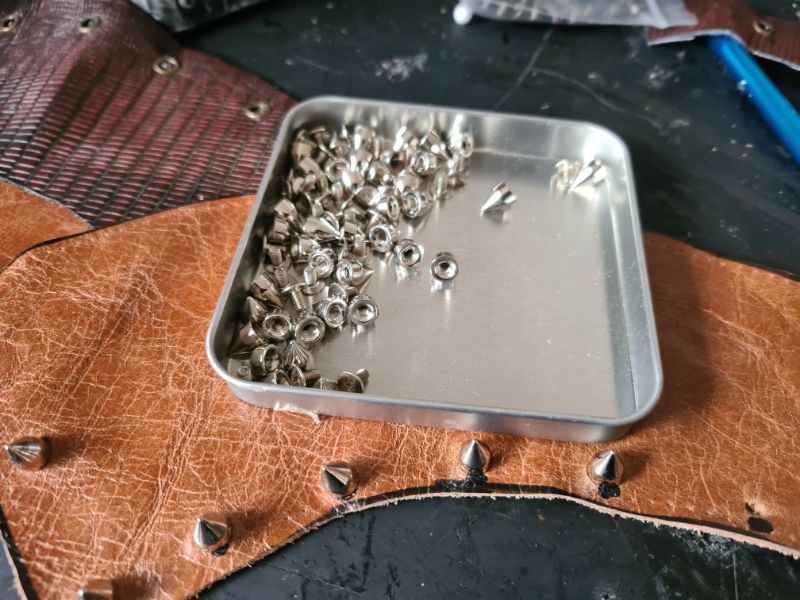
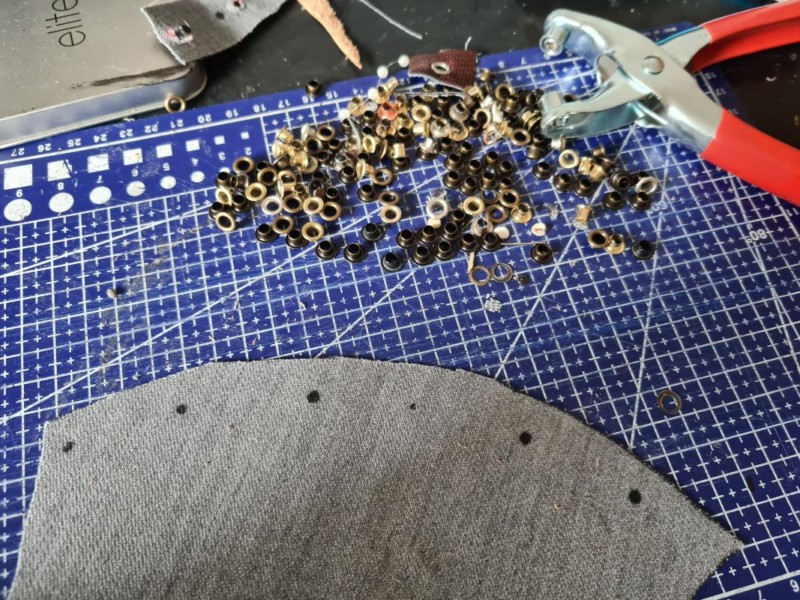
Studs, Eyelets, and Lacing
I punched holes around the edges and added spiked studs. I set eyelets on the second layer and laced it for detail.
The neck and body harness came from folded faux-leather strips glued together until the balance felt right. I recycled my husband’s broken belt for the waist.

For steampunk cred, line the collar with 6 mm half pearls to resemble rivets

Painting the Leather
I painted the leather black to create an even colour base so all pieces matched. I did make one mistake: I fitted the studs before painting and had to remove them. For colour, I brushed ruby metallic wax onto the raised areas using my finger.

Then I refitted the studs and dusted the laces with the same silver wax used on the metal. To keep the palette consistent, I painted several steampunk charms and flowers black and highlighted the raised areas with silver wax.

I tested an apothecary pouch, but it overwhelmed the look, so it ended up on my male steampunk mannequin.
Final Assembly
I glued the leather in place with black hot glue so any squeeze-out blended in. I added a length of junk chain from a charity shop to the front for balance. From the back, the layers read like armour.
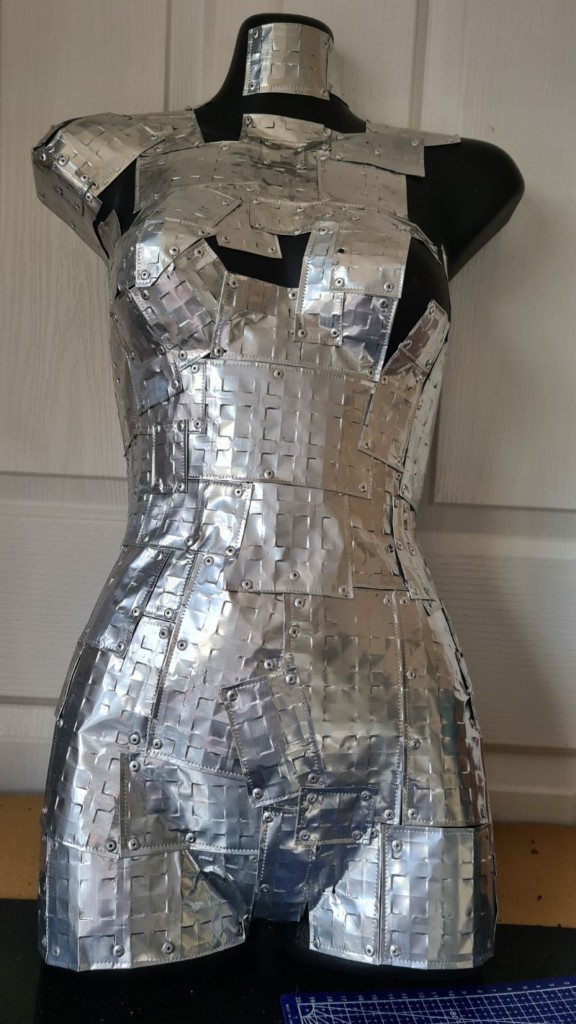
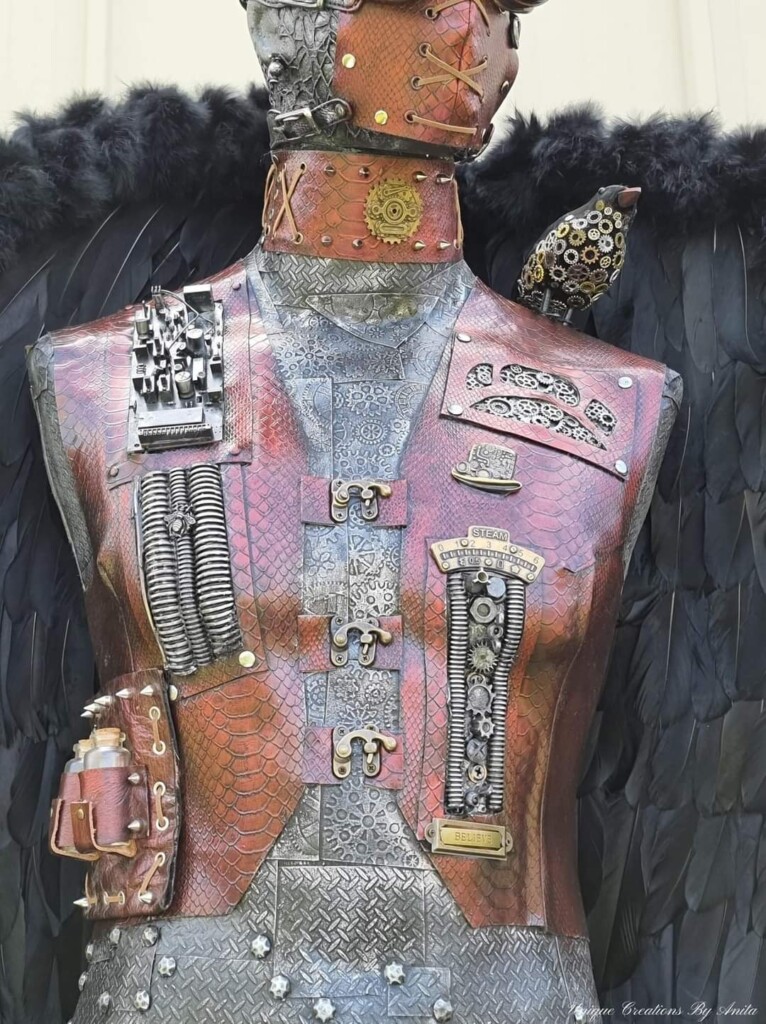
Introducing Mistress Metallica


View of the pop rivets inside the mannequin

If you have a mannequin form at home but feel the above project is too much work, you can always create this mannequin bust sculpture from recycled cardboard boxes.

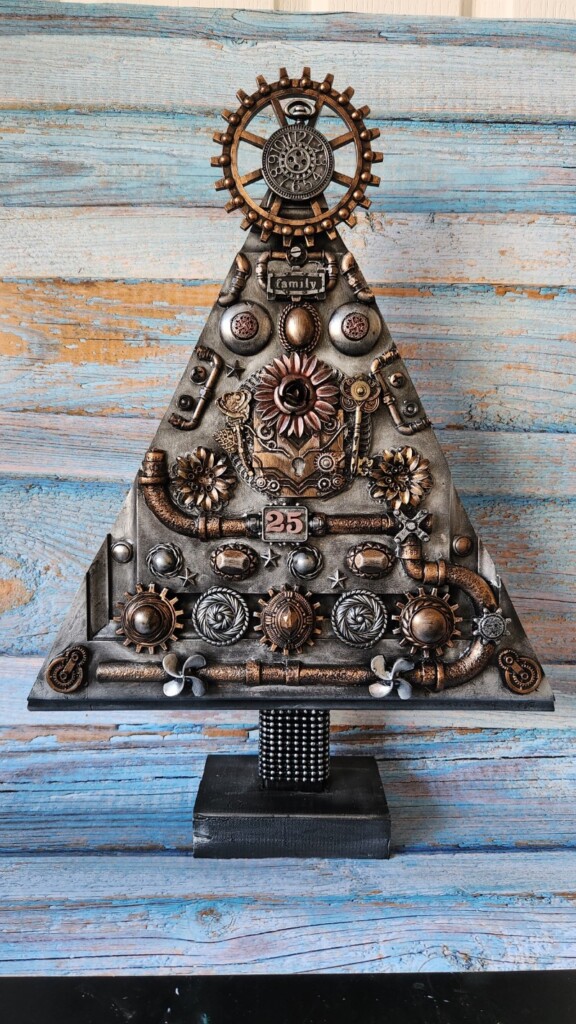
If you don’t have a mannequin, try mixed-media assemblage on other objects—like this Christmas tree—and find more inspiration here.


12 Comments
Julie
August 17, 2022 at 10:44 amFabulous project. Great job. You have explained the project very clearly. Thank you. I’m not sure I understand what an embossing folder is, but I will see if I can gather more information elsewhere. I used your links to pick up a couple of items on Amazon.
Anita Holland
August 17, 2022 at 11:06 amThank you so much for the awesome comment. The embossing folder is a plastic folder that looks like a card. You put paper or cardboard or in this case the aluminium can inside and put the folder through a press or stand on it as I did. It will transfer the design from the folder onto the surface you put inside the folder.
I hope this info helps.
Ruth Weimer
August 17, 2022 at 12:27 pmANITA…HOW DO YOU CONTINUE TO IMPROVE ON PERFECTION?…BUT YOU CONTINUE TO DO SO!!! LOVE YOUR STUFF~~~~~RUTH@97.11!!!!…
Anita O
August 17, 2022 at 1:13 pmHi Anita!
It is unusual to find someone with that name! I just had to say hi, and I love your creation!
Anita Holland
August 17, 2022 at 3:59 pmHi Anita and Thank you for the comment.
Marie B.
August 18, 2022 at 12:38 amMy gosh you do such amazing steampunk mannequins, Anita! Your creative eye for detail is impressive and you have the patience of Job. Cutting, embossing, folding all those cans – wow. Mistress Metallica is freak’n amazing!
Michelle Leslie
August 22, 2022 at 10:12 pmEvery time I see one of your Steampunk creations, I think this is the best one yet and then you share another one that literally makes my jaw drop. I love her name too. So apt.
Anita Holland
August 23, 2022 at 8:17 amThanks Michelle, I love making these types of projects I always have so many ideas swimming around in my head.
AndrejaM
August 25, 2022 at 10:11 pmI was left speechless!!!! Fantastic creation and very inspiring tutorial. Thanks for sharing
Anita Holland
September 1, 2022 at 4:18 pmThank you so much for your awesome comment.
Kaz
December 24, 2022 at 4:09 pmGorgeous project.
I’ve made one too and a heap of tin/ thick foil tiles for my kitchen back splash and wall. The rolling pin was hard work so I grabbed a old pasta rolling machine i had stashed, I removed the base so I could roll them longer and then cut them to length, I did this by passing the folder and foil thru to the end, then putting the folder on the other end of the length and passed it thru the pasta machine, hope that makes sense
Sadly it does limit u to the width of the folder u can put thru it, it meant I had to make smaller tiles but the length wasn’t a problem. My arm ached like hell but very worth it, they were very ’embossed’
haha. I have also stood on them and tried a vice with two bits of wood, that worked well but another set of hands would have been good 🤣
Cheers and thanku, stunning mannequin make over
Kaz from Oz
Kaz
December 24, 2022 at 4:11 pmPs Kaz from Oz here Anita I’ve also steam punked my fridge..🥰🥰😍😁