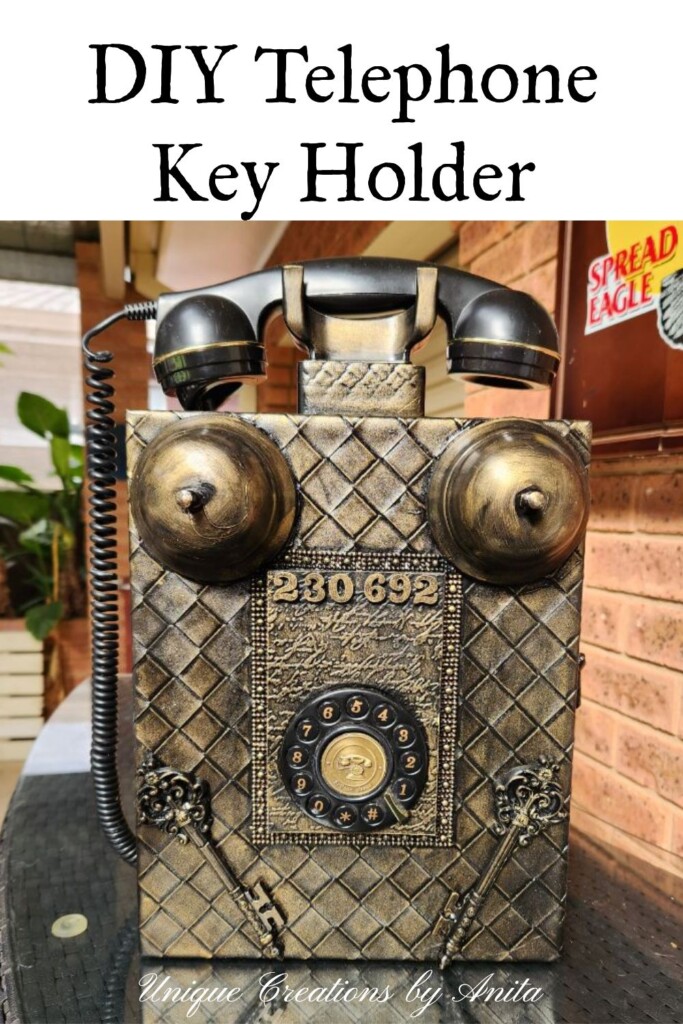
If you’re always misplacing your keys, this DIY telephone key rack is the perfect solution. Instead of leaving keys scattered around the house, I created a one-of-a-kind key organiser using an old replica telephone and a keepsake box. What started as an idea for a lamp turned into a unique vintage-style key rack that keeps our keys neat and in one place. This project is part of the International Bloggers Club (IBC) monthly challenge, where the theme was “phone décor.”
By upcycling recycled materials and a few thrift store finds, I transformed a forgotten telephone into a functional wall-mounted key holder. If you’ve ever thought about blending home organisation with quirky décor, this is a fun and practical project you can easily make at home.
Before we dive into this tutorial, be sure to subscribe to my bimonthly newsletter to be the first to see my latest projects. You can also follow me on Pinterest and Facebook, where I also include my unique mixed-media art projects
DIY Telephone Key Rack – Upcycled Keepsake Box Project
**This post may contain affiliate links. This means I earn a small commission on links used at no extra cost to you. Please see my disclosure policy for more information.**
Materials Needed
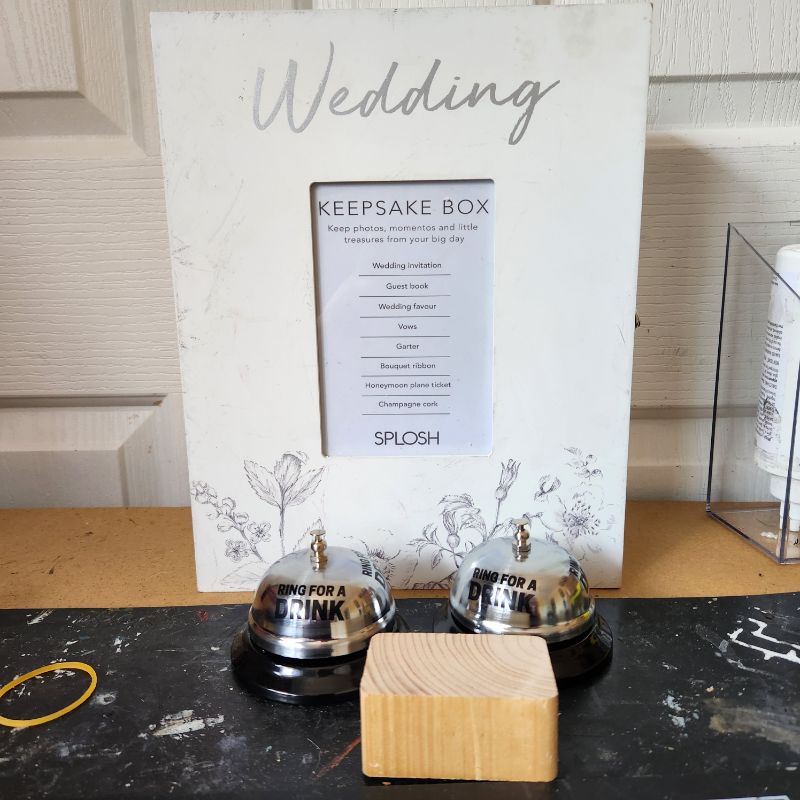
- Keepsake box (mine came from a charity shop for $5)
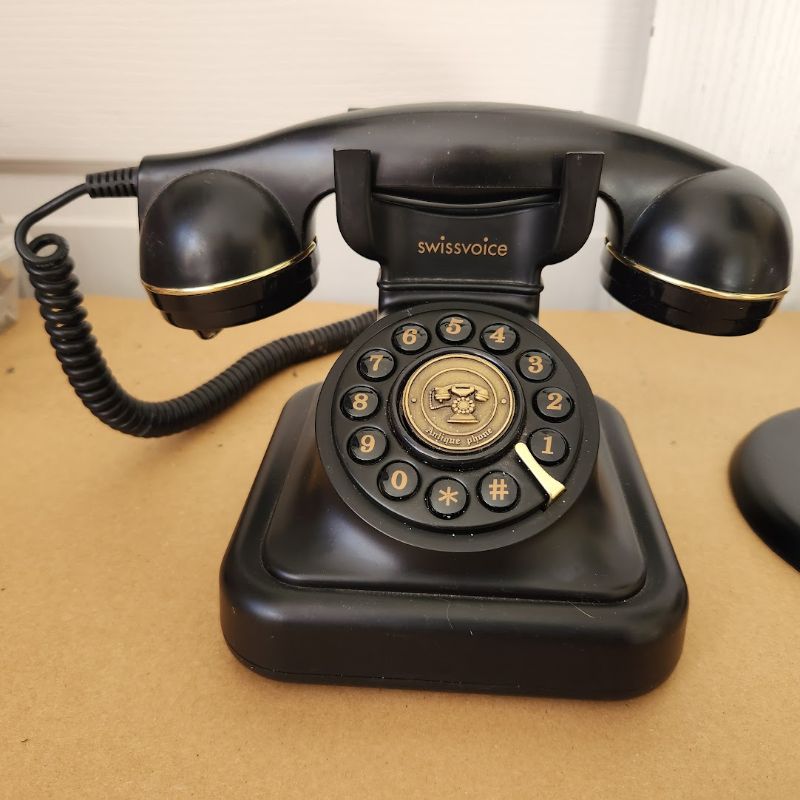
- Old telephone (I found a replica on Facebook Marketplace)
- Reception bells (Kmart $3 each)
- Scrap plywood and small wood offcuts
- Faux leather (textured, for covering)
- Embossed cardstock (made using embossing press and folder)
- Plastic bead trim strips
- Crafter’s “Ultimate” glue or strong craft adhesive
- Hot glue gun and glue sticks
- Small wooden numbers for phone dial details
- Silicone moulds for decorative keys
- Black acrylic paint
- Vintage gold wax paste (or metallic wax in other colours)
- Small hooks for keys
Preparing the Telephone
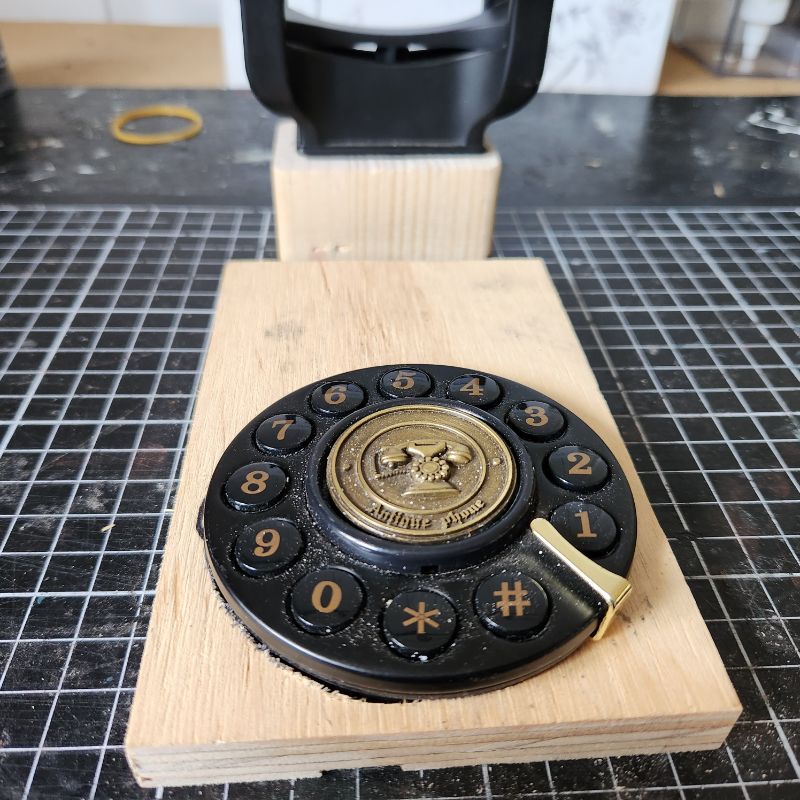
I started by taking the phone apart to remove the dial and the handset. Because the keepsake box had a glass panel in the middle, I replaced it with plywood cut to size.
Using a jigsaw, I cut out a circle for the telephone dial so it would fit securely into the wood. I also reused the handset rest, glued it to a block of wood, and mounted it on top of the box.
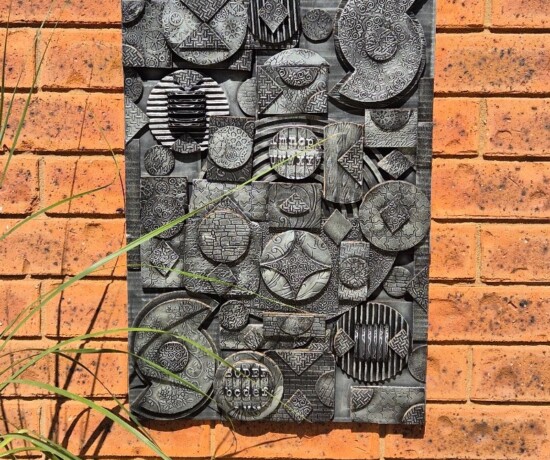
To hide the plywood, I embossed cardstock using my embossing press. This gave the surface texture and detail, similar to techniques I’ve used on soda cans for wall hangings and mannequin art.

Covering the Box
Antique telephones were usually made of wood, but I wanted mine to have a different look. I covered the top of the box with textured faux leather, planning to highlight the detail later with vintage gold wax.
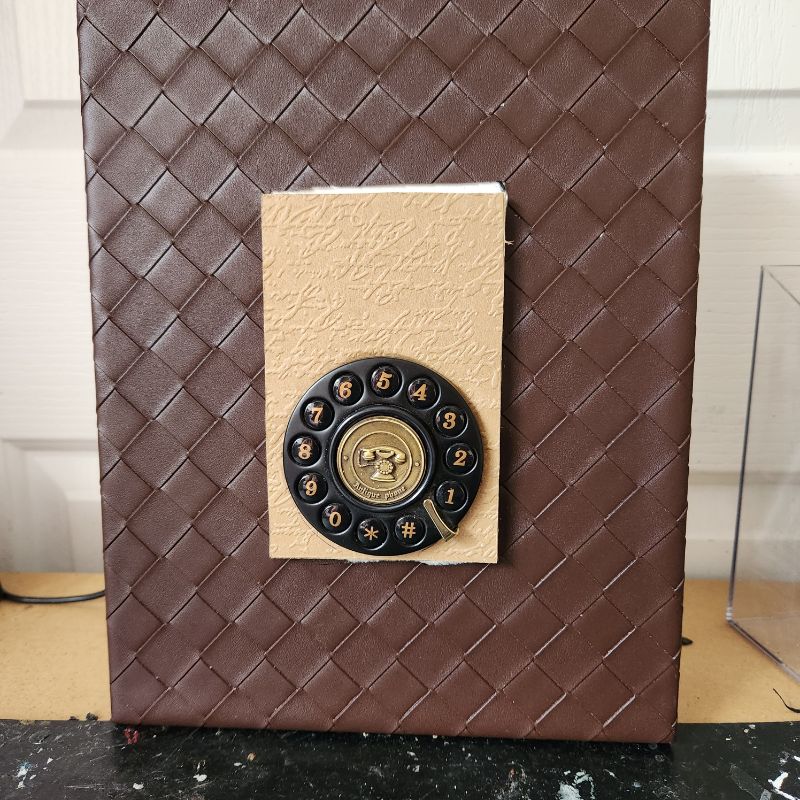
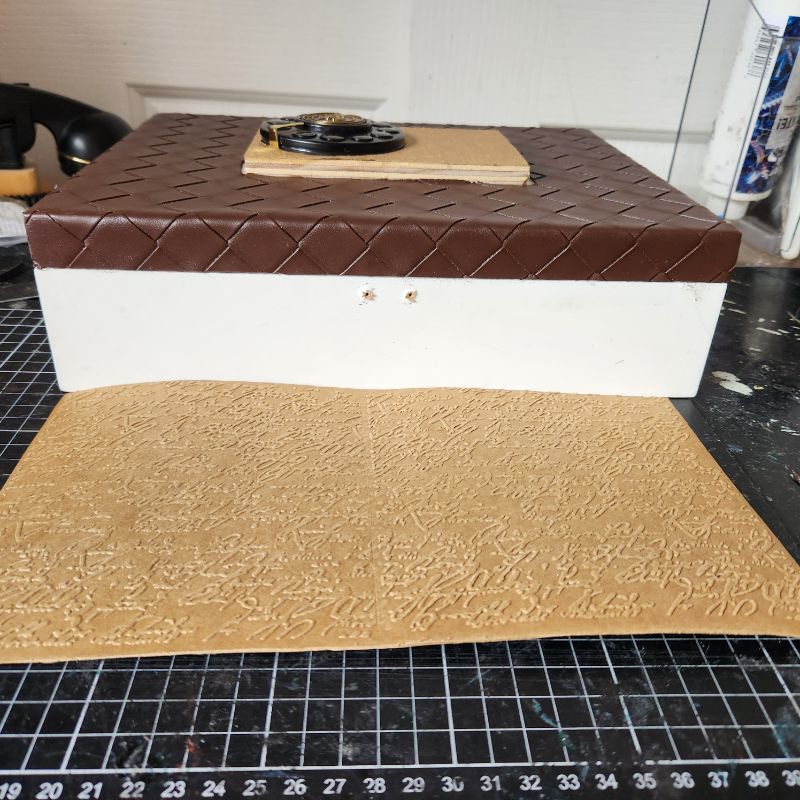
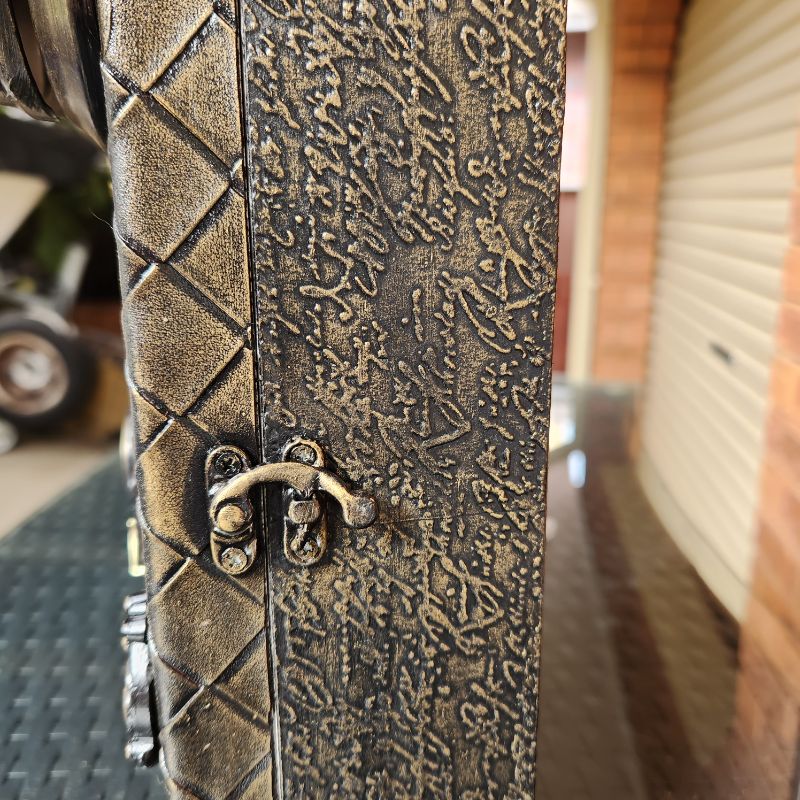
For the sides, I used more embossed cardstock.
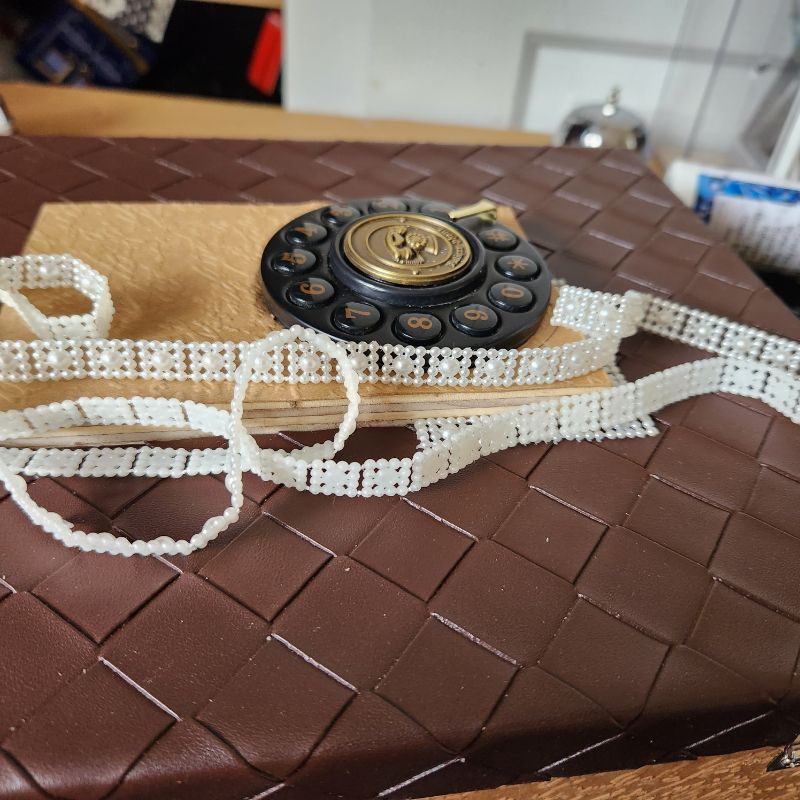
I made a mistake while cutting the faux leather and ended up with a gap around the wood. To fix it, I glued plastic bead trim strips over the gap, which actually turned into a nice decorative detail.
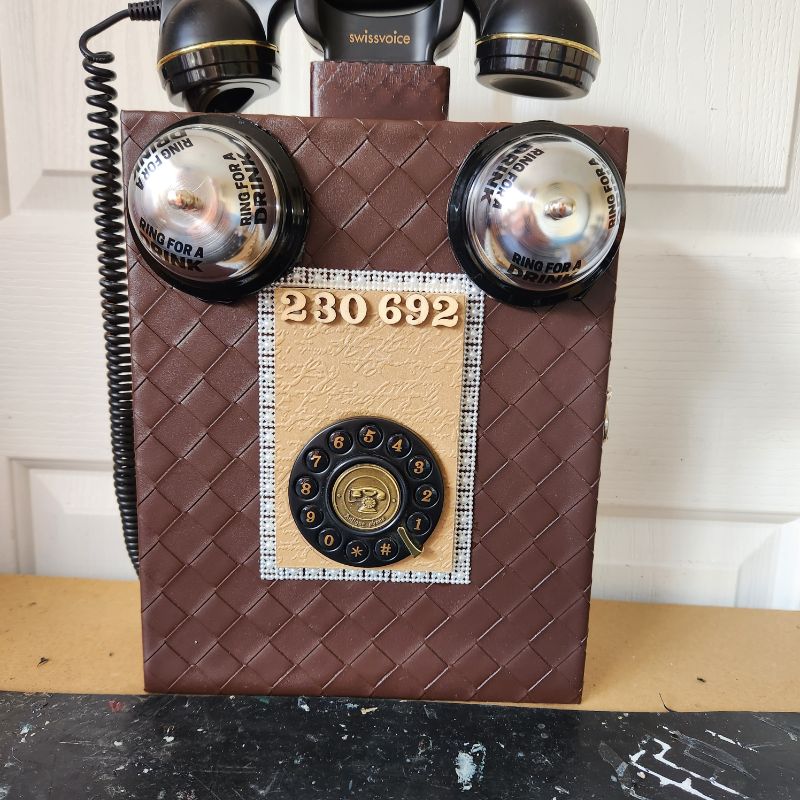
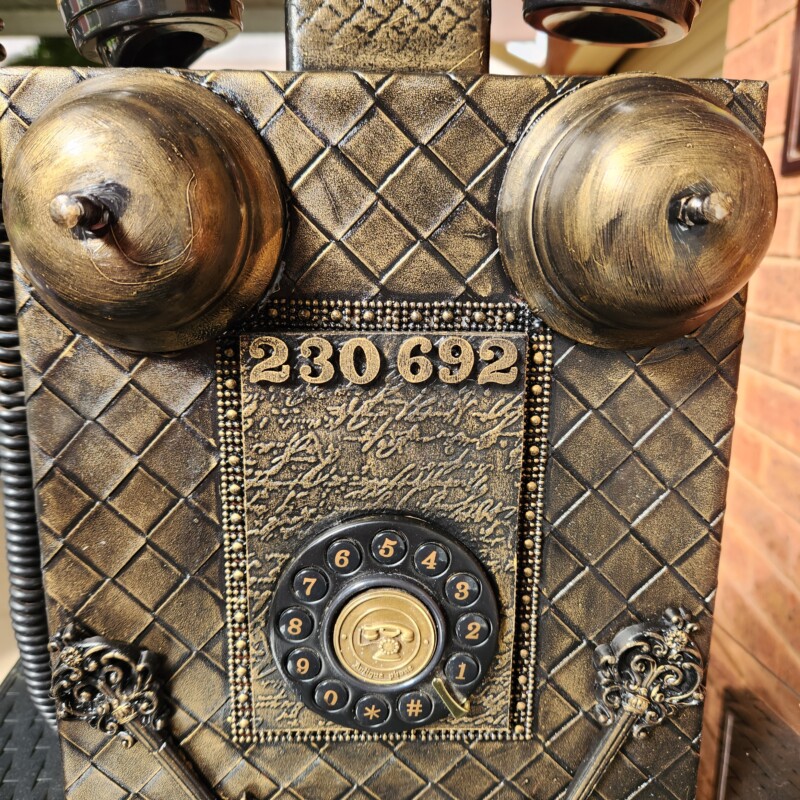
Adding the Bells and Numbers
The reception bells represent the ringing bells on an old-style phone. Because the bells were hollow underneath, they wouldn’t stick easily. I glued cardstock inside each one to give them a flat surface for the adhesive. For the dial numbers, I used small wooden numbers from my craft stash.
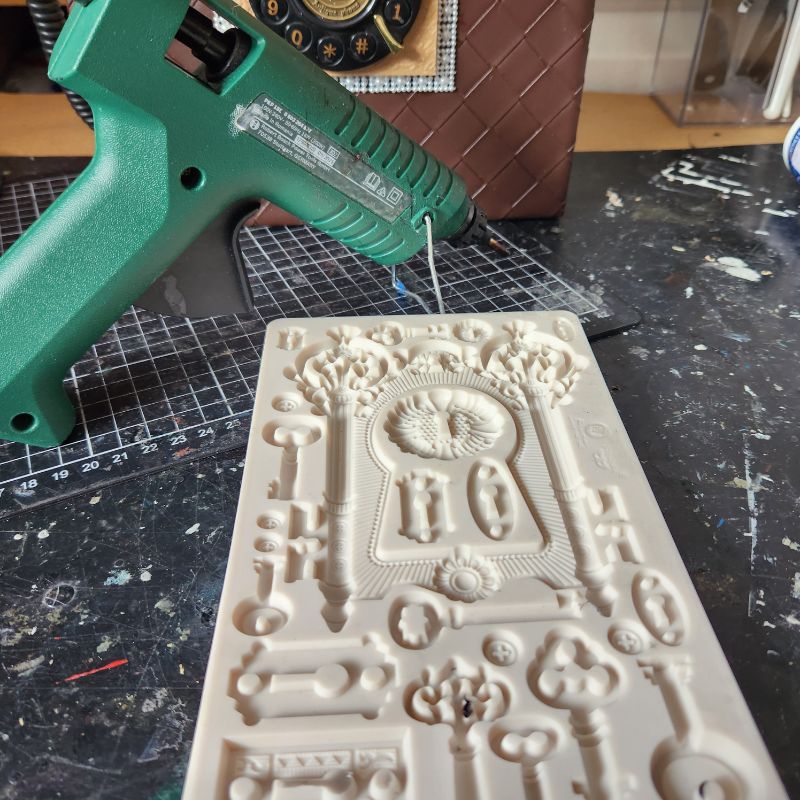
Making Decorative Keys
To add detail to the front, I wanted some vintage-style keys. Since I do a lot of mixed media assemblage art, I have plenty of silicone moulds. Instead of resin, I poured hot glue into the moulds for a quick and easy result.
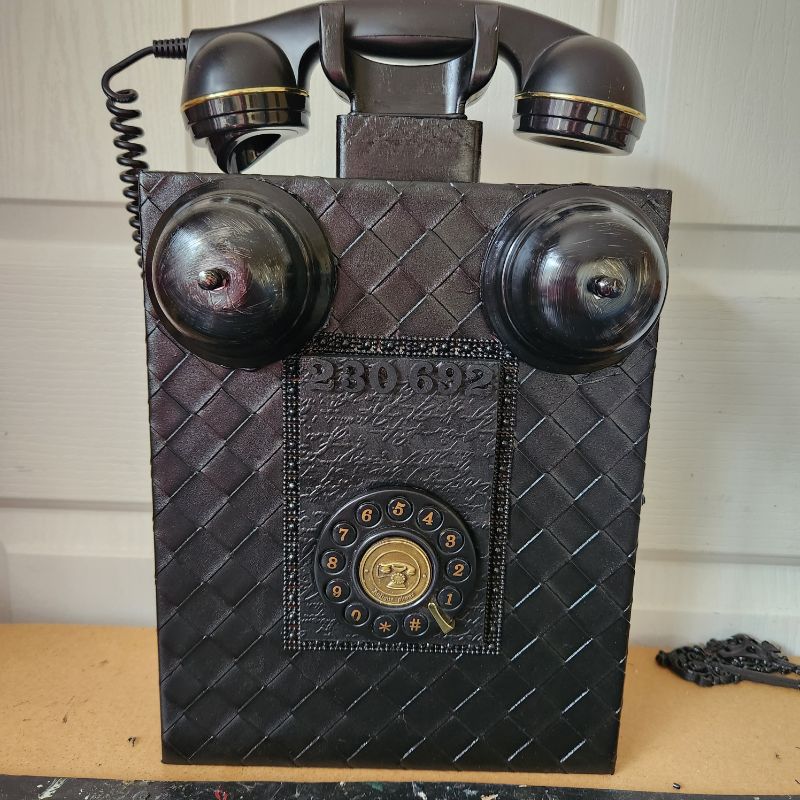
Painting the Box
Once everything was in place, I painted the whole box black with acrylic paint. This tied all the different materials together so it looked like one cohesive piece.
Highlighting with Wax
After the paint dried, I used vintage gold wax paste to highlight the raised areas. The wax gave the faux leather and embossed details an aged metallic look.
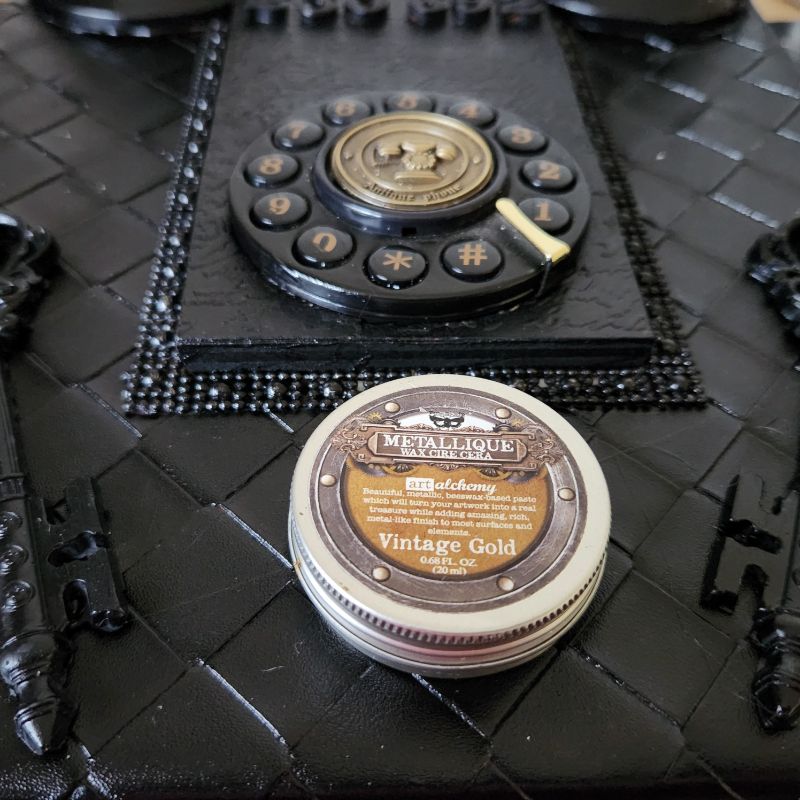
To apply the wax paste, lightly dab your finger onto the surface of the wax and gently rub it across the raised areas to highlight the texture.
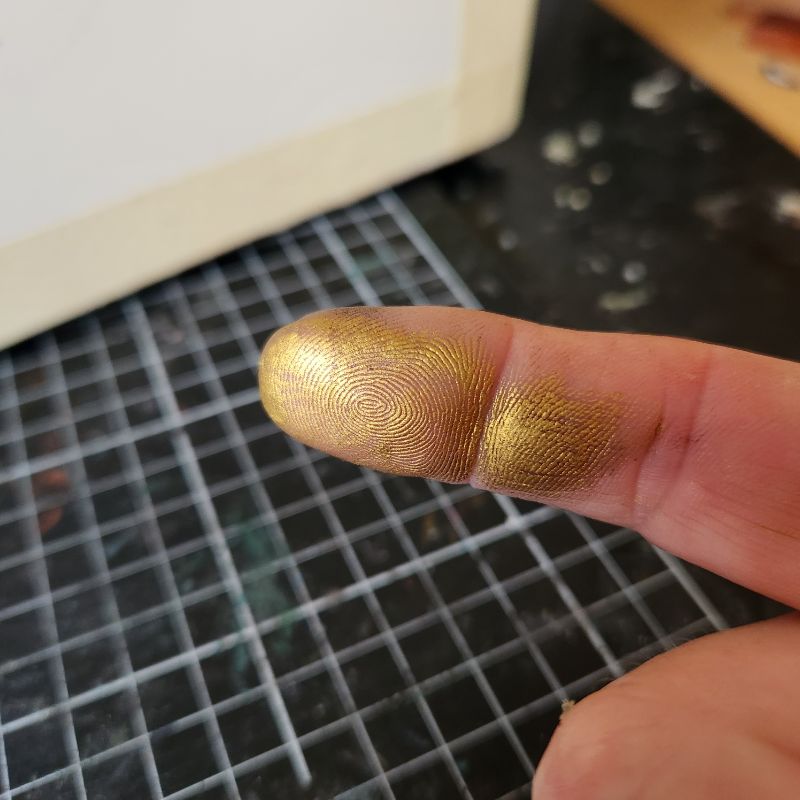
It also picked up the brush marks on the paint, which made the bells look naturally distressed. If you don’t have gold wax paste at home, you might already have the ingredients to make your own, and this post will show you how.
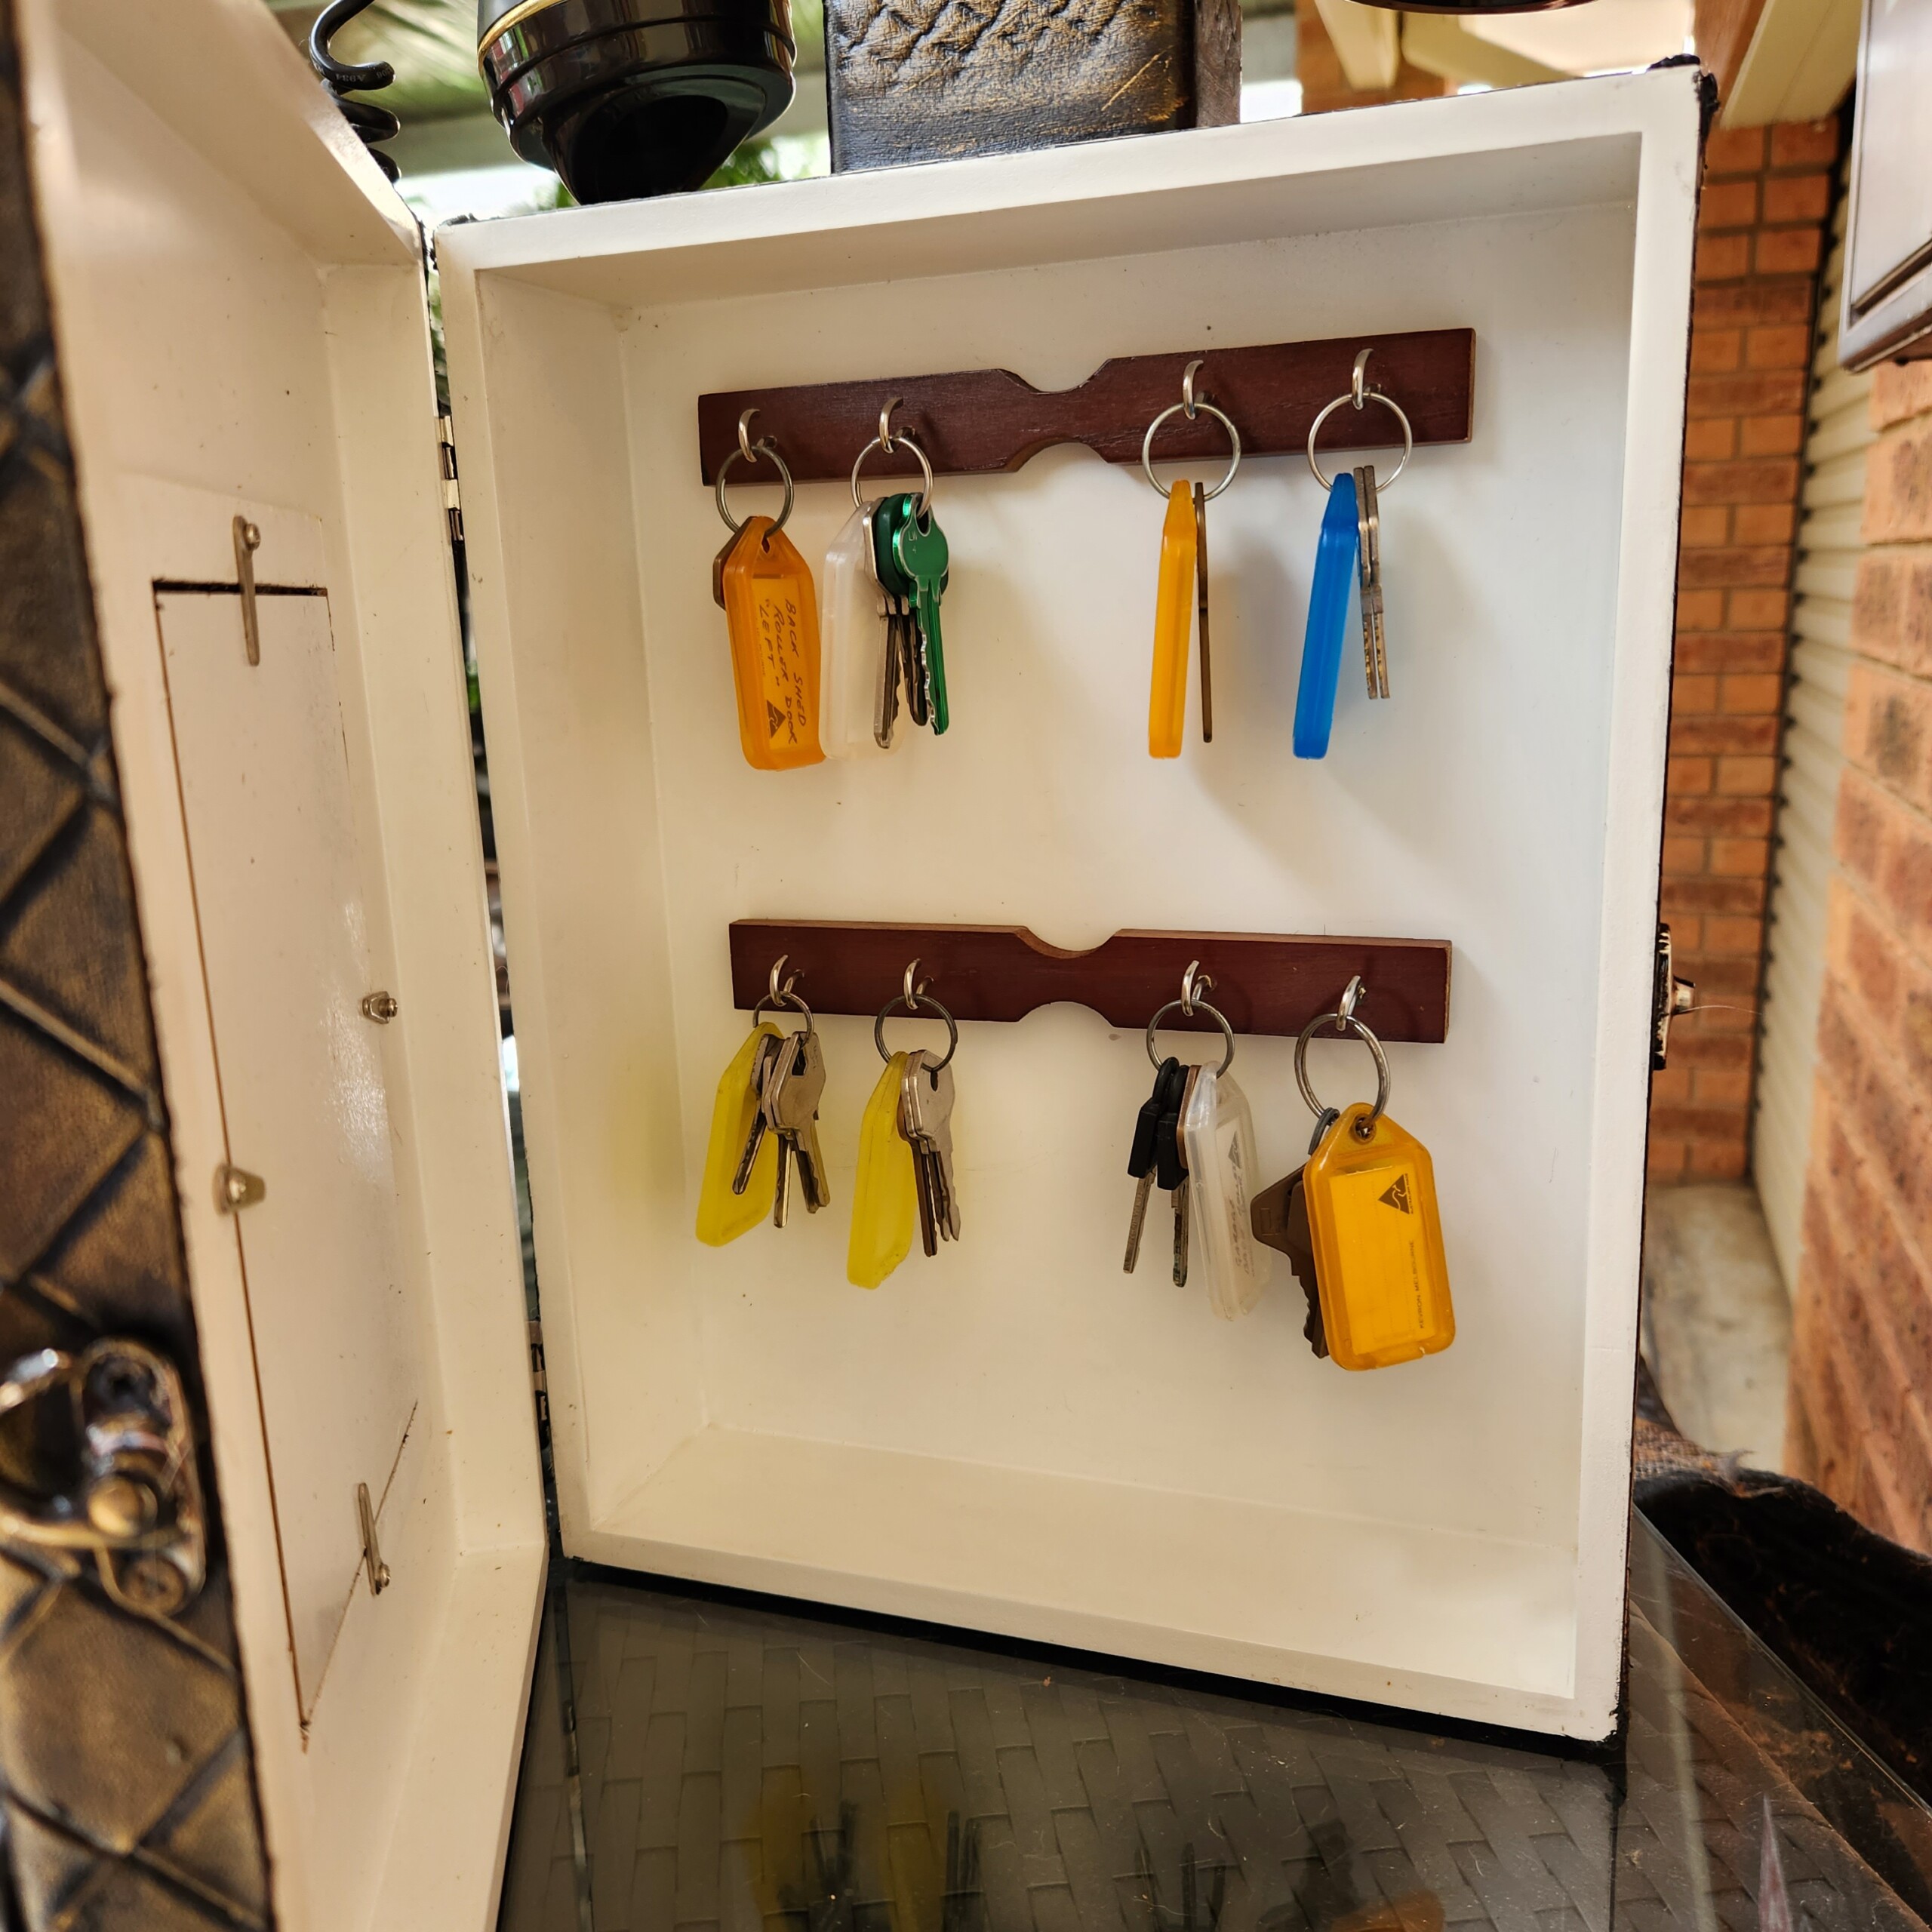
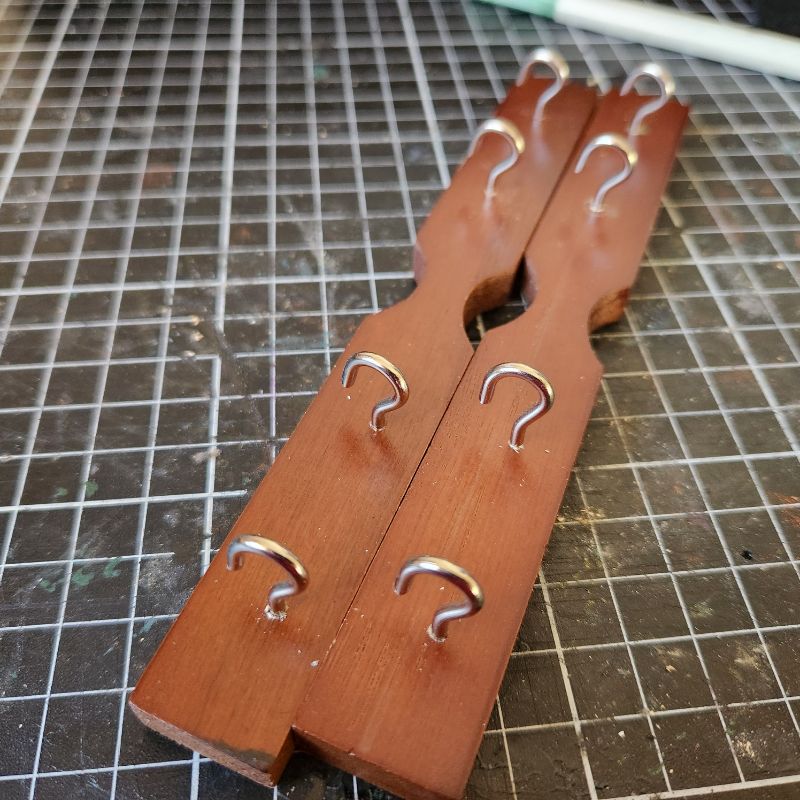
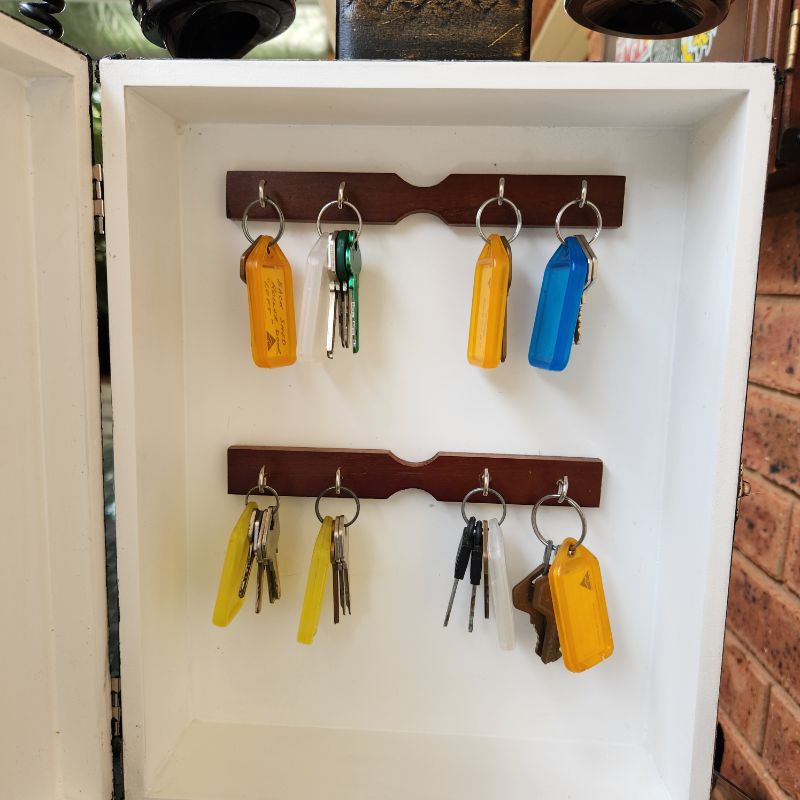
Making the Inside Rack
For the inside, I glued in strips of scrap wood to act as a rack for hooks. If you have heavy keyrings, you can reinforce the strips by driving screws from the back into the wood. Finally, I added small hooks so the keys could hang neatly inside the box.
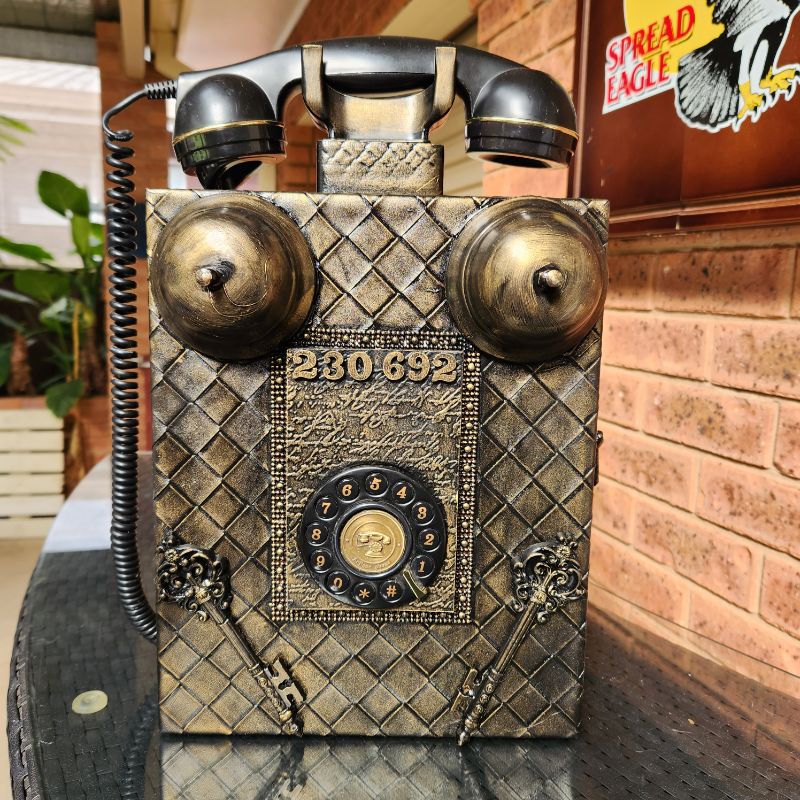
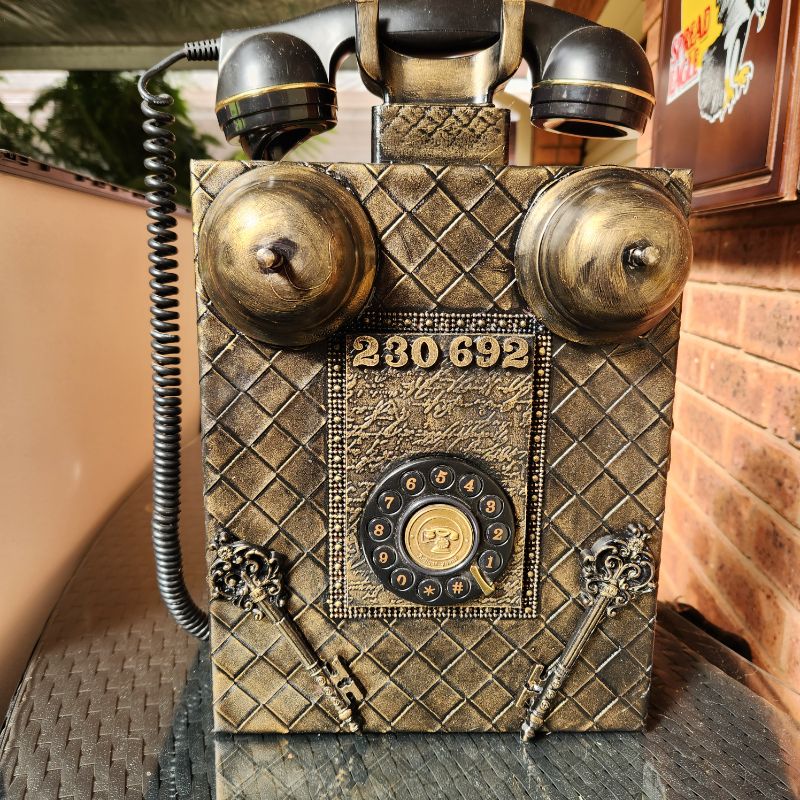
Finished Telephone Key Rack
The finished project is a fun mix of décor and practicality. It looks like a quirky vintage telephone but functions as a handy DIY key organiser. Best of all, it keeps our keys in one place so we don’t waste time searching for them.
Close up view of inside
More about IBC
If you follow my blog, you will know I am part of the IBC (International Bloggers Club), which is a group of talented bloggers from around the world. We have members from Spain, South Africa, Australia, the United States, and Canada. Each month, we come together and create a project with a common theme.
If you missed last month’s “Glass etching ” theme, here is the link to my glass safety decals post. The “Telephone decor ” contributions from my fellow bloggers for this month’s challenge are listed below. Please feel free to jump over and give them some love.
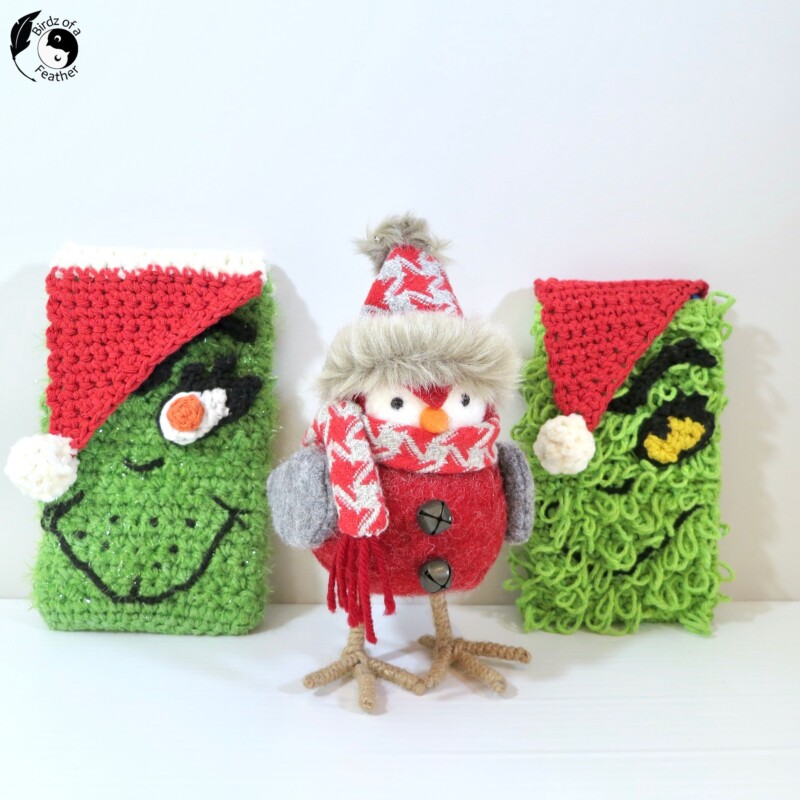
Sara from Birdz of a Feather created these super cute Grinch phone cases
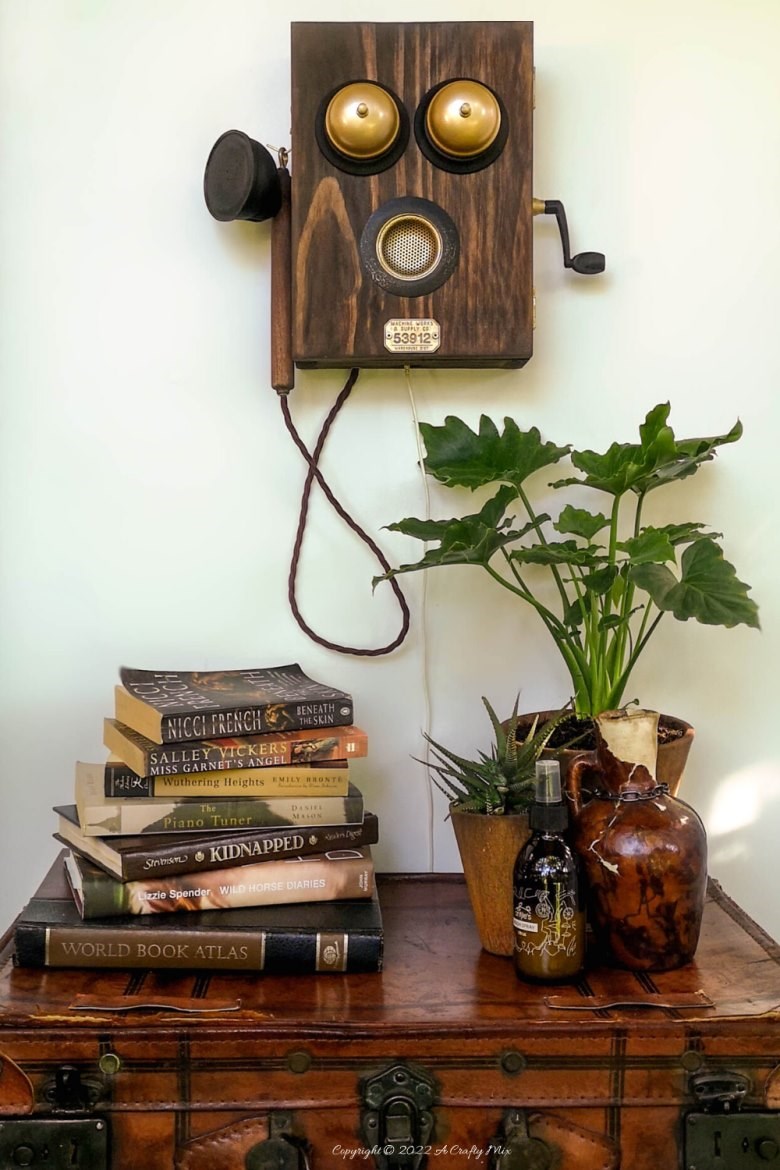
Michelle from A Crafty Mix made this amazing USB charging station, no more ugly wires everywhere.

If you’re interested in any of the items used in this project, we’d appreciate it if you used our affiliate links. Clicking these links earns us a small commission at no extra cost to you, helping us create more inspiring and exciting projects to share. We’d also love to hear your thoughts—feel free to leave a comment or share this post!
6 Comments
Michelle Leslie
November 22, 2022 at 12:02 amVery clever, Anita, and so functional too. I love repurposing ideas that serve multiple purposes. We have an old phone like the one you used too; ours just says Telkom 😉 which is disappointing, but matt black spray paint saved the day, and now it’s just a no-name brand, old-looking phone 😀
Sara
November 22, 2022 at 12:36 amFantastic project Anita! The textures on this are amazing; every time I see one of your creations I’m inspired to try embossing with folders! It’s so cool how it all the steam punk elements blend together in the end.
Anita Holland
December 6, 2022 at 5:08 pmThanks so much Michelle, the wonders of spraypaint. 🤣🤣
A Crafty Mix | DIY Vintage Phone Charging Station - A Crafty Mix
November 22, 2022 at 12:54 am[…] phone craft and decor ideas, so here goes. If Steampunk decor is more your style, then this handy phone-styled keyholder, made by Anita, is a […]
Marie B
November 23, 2022 at 2:31 amYou know how much I love your steampunk ideas, Anita, and this did not disappoint. First, what a clever and creative way to repurpose a wedding keepsake box and such a fabulously unique key holder. As usual, you rocked the phone decor challenge!
Anita Holland
December 6, 2022 at 5:09 pmThanks Marie, this was a last minute change because my other one went wrong. And as you know steampunk is my go too. 🤣