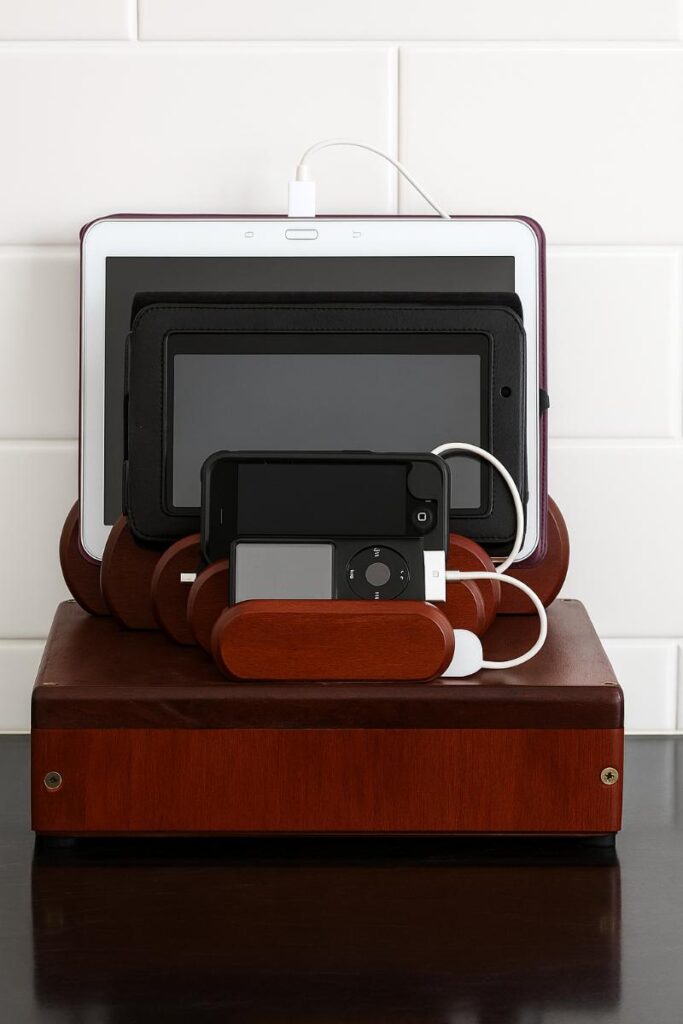
Tired of devices lying everywhere and taking up every power point in your home? That’s exactly why I built this custom DIY phone charging station. With five devices in regular use, I needed one central place to store and charge them without mess, clutter, or tangled cords. After experimenting with a few designs, I created the perfect solution that hides all the cables, accommodates different device sizes, and keeps everything tidy and functional. I think every home could use one of these.

Before we dive into this tutorial, be sure to subscribe to my bimonthly newsletter to be the first to see my latest projects. You can also follow me on Pinterest and Facebook where I also include my unique mixed-media art projects.
How to build a phone charging station
**This post may contain affiliate links. This means I earn a small commission on links used at no extra cost to you. Please see my disclosure policy for more information.**
Materials Needed:
- 12mm plywood or timber panel
- Wood glue or epoxy glue
- Screws
- Wood router + round-over bit
- Hole saw
- Drill + countersink bit
- Cable tidy clips
- 5-port USB charging hub
- Sandpaper
- Paint, stain, or sealer (optional)
Step 1: Design Your Device Layout
Start by designing the shape of each device slot. I used Microsoft Word to print outlines from largest to smallest—iPad to phone—based on my actual devices. Cut these paper shapes out and trace them onto your timber.
Step 2: Cut and Assemble the Layered Slots
Using your traced templates, cut each device slot out of wood. I cut smaller spacer blocks to create ledges between the larger outlines, giving each device a resting point. I used a wood router with a round-over bit to smooth the edges and improve the finish.
To assemble:
- Start with the front piece.
- Drill pilot holes, countersink screws, and then attach the next piece.
- Repeat until all layers are joined.

Step 4: Build a Routed Box
Next, I built a simple wooden box and used a router to carve slots in the top for each device to sit in vertically. This allowed the 5-port USB charger to sit inside the box and hide all the cables.

However, the grooves weren’t deep enough to hold larger items like the iPad securely. That led to my final design.

Step 5: Combine the Best of Both
To get the best result, I combined the clean, internal cable storage of the box with the custom-shaped cutouts from my first design. The top of the box was routered to match the contours of each device for a snug fit.
Additional steps included:
- Gluing the USB charger inside using epoxy
- Cutting holes with a hole saw for cable pass-throughs
- Adding cable clips to stop cords from falling back inside

Final Result
Now, all my devices charge in one tidy location. No clutter. No fighting over power points. It’s neat, functional, and blends in with the décor. You could paint, stain, or decorate it to suit your space. This project would also make a great gift!
Want More DIY Ideas?
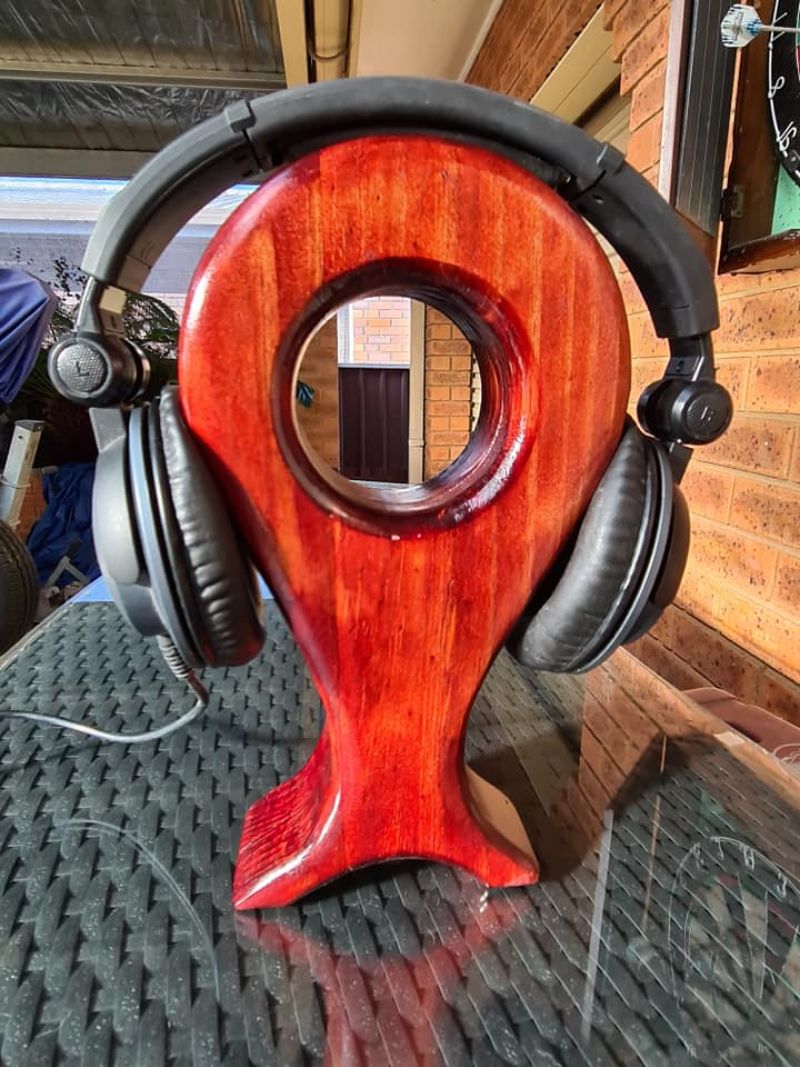
If you’re into clever builds like this, you might also enjoy my DIY headphone stand—a great way to store your headphones neatly and keep your desk clutter-free.
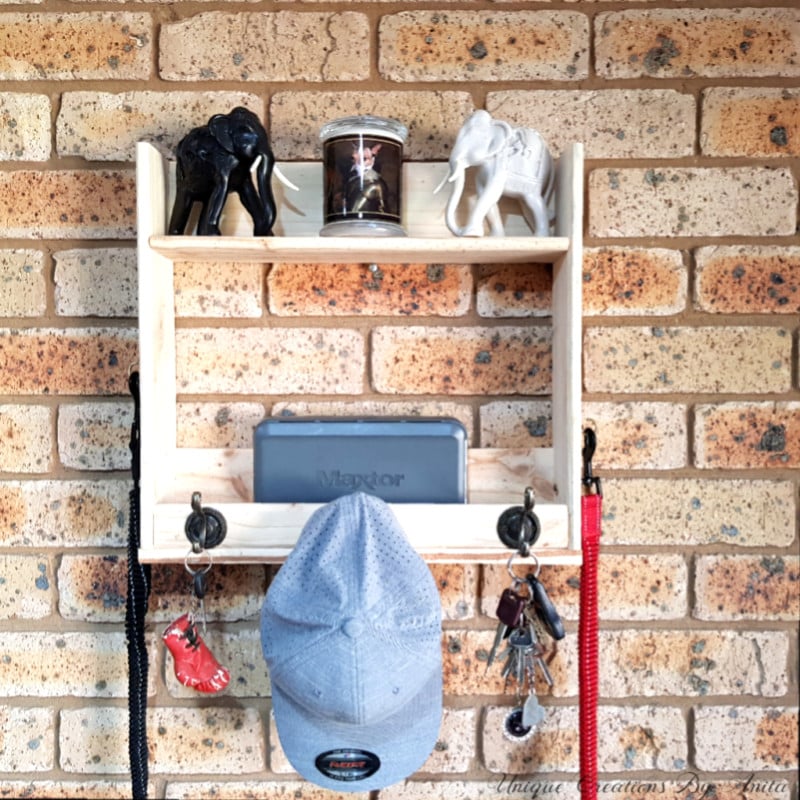
Simple pallet wood shelf – a quick and easy build using recycled timber


If you’d like to find any of the items used in this project, we’d greatly appreciate it if you used our affiliate links. These links provide us with a small commission at no extra cost to you, allowing us to continue creating and sharing more inspiring projects. We’d also love to hear your thoughts—feel free to leave a comment or share this post!


No Comments