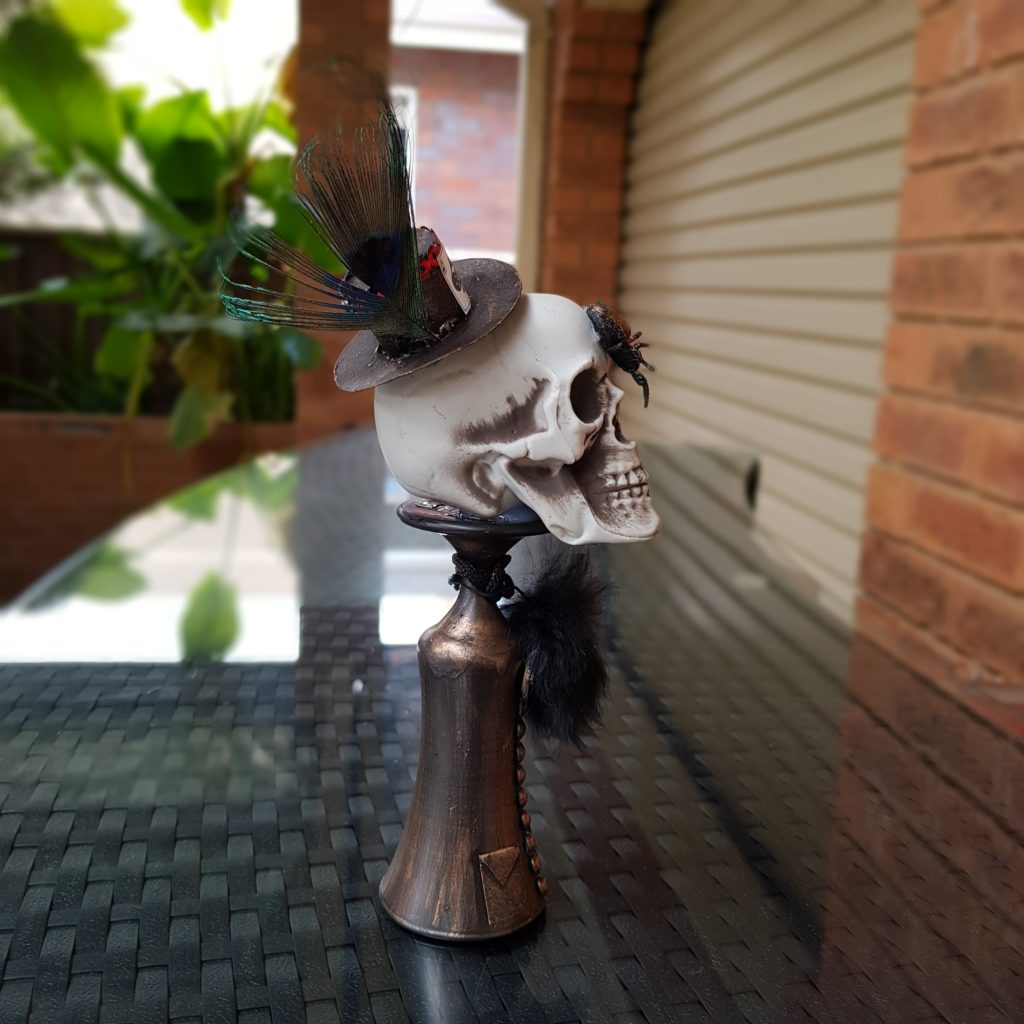
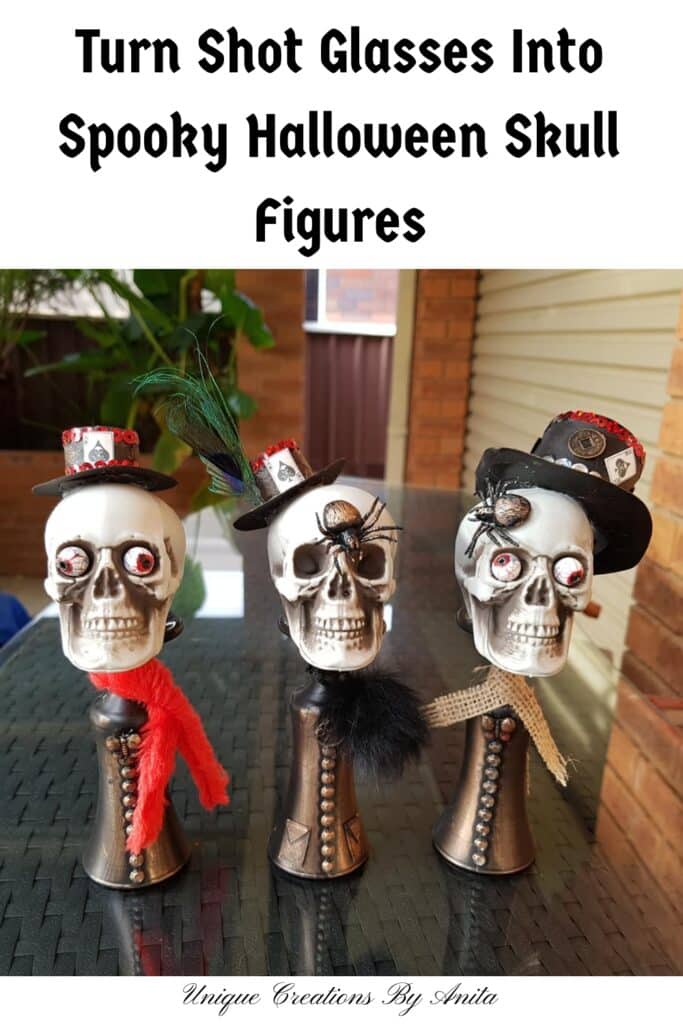
If you’re after a quirky and budget-friendly Halloween craft, you’ll love these Halloween Skull Decor Characters Made from Shot Glasses and Toilet Rolls. What started as a case of buying the wrong-sized skulls online turned into a fun upcycled DIY project using recycled materials I already had at home. These spooky little figures make perfect Halloween table centrepieces or decorations for around the house—and they’re sure to bring a smile (or a scare) to your guests!
")
Before we dive into this tutorial, be sure to subscribe to my bimonthly newsletter to be the first to see my latest projects. You can also follow me on Pinterest and Facebook, where I also include my unique mixed-media art projects.

Halloween Skull Decor Characters Made from Shot Glasses and Toilet Rolls
**This post may contain affiliate links. This means I earn a small commission on links used at no extra cost to you. Please see my disclosure policy for more information.**
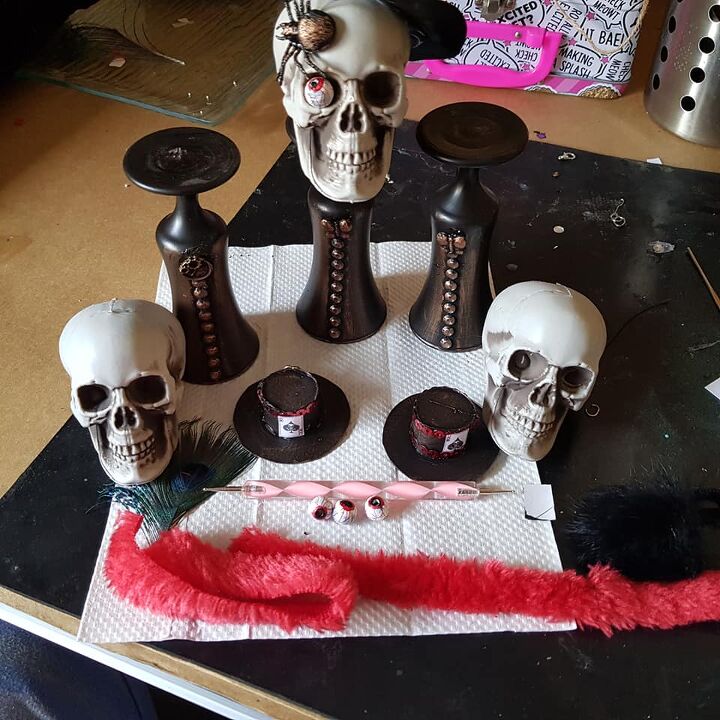
Materials Needed
- Mini plastic skulls
- Alcohol shot glasses (plastic or glass)
- Empty toilet rolls
- Black gesso or black acrylic paint
- Hot glue gun and glue sticks
- Sequin tape, rhinestones, and craft embellishments
- Small charms, beads, or broken jewellery
- White gesso or paint for eyes
- Sharpie pens (black and red)
- Cardboard scraps
- Fabric off-cuts for scarves
- Peacock feathers or faux feathers
- X-acto knife and scissors
- Sellotape
Assembling the Skull Characters
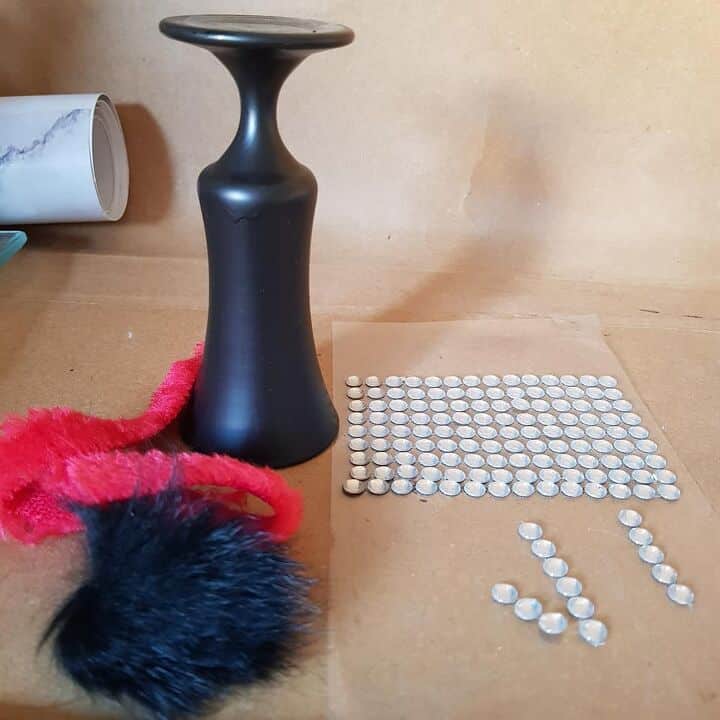
Start by painting your plastic shot glasses black. I used black gesso because I had it on hand, but regular acrylic paint works just as well. If you want to decorate in a different style, this post will walk you through the basic techniques.

Glue the skulls on top of the shot glasses using hot glue. This keeps them secure and stops them from wobbling while decorating.

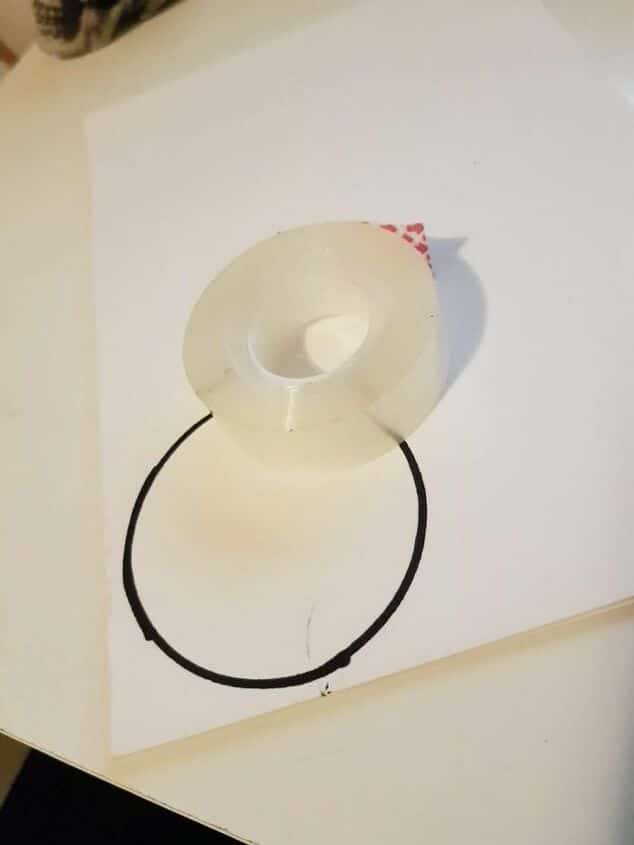
How to Make Mini Top Hats
These mini top hats are crafted from empty toilet rolls. I used a roll of Sellotape as a stencil to trace a circle for the brim.
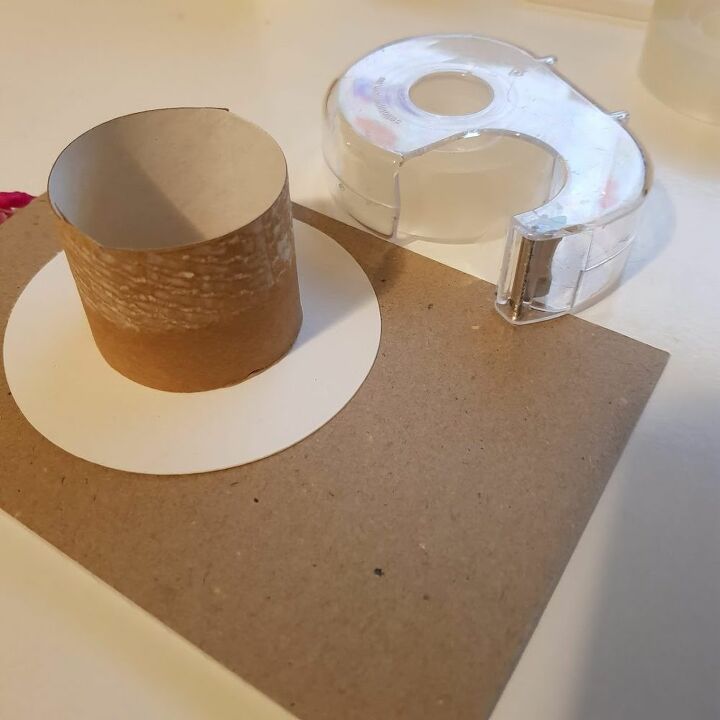
- Cut a piece of toilet roll to your desired hat height.
- Trace and cut a circular brim and a matching top circle using cardboard.
- Tape the toilet roll piece to the brim to hold it in place, then glue it securely with hot glue.
- Add the top circle with glue on the inside.
- Shape the hat sides around a pen or marker for a curved look.
- Paint the hat black and let it dry.

To decorate:
- Add sequin tape around the brim.
- Glue on printed tarot cards, feathers, or other embellishments.

Decorating the Skull Characters
Now it’s time to bring your Halloween skulls to life with costumes and accessories:
- Use clear adhesive rhinestones for bling.
- Turn butterfly charms into cute bow ties.
- Cut up an old Santa hat for scarf material.
- Add cardboard pockets to create a jacket look.
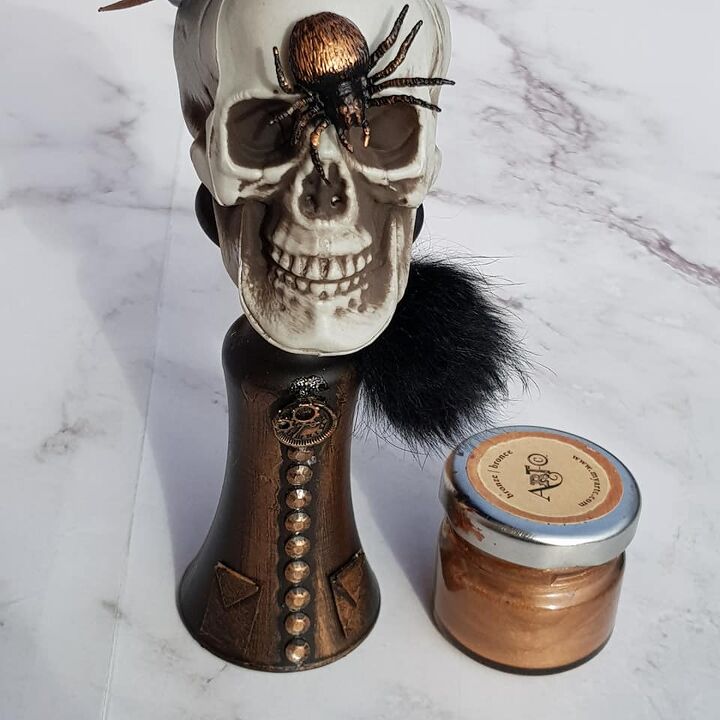
- Highlight the black paint with bronze wax paste for easy detail work.
These little guys start to show personality once you layer on the quirky costume pieces!

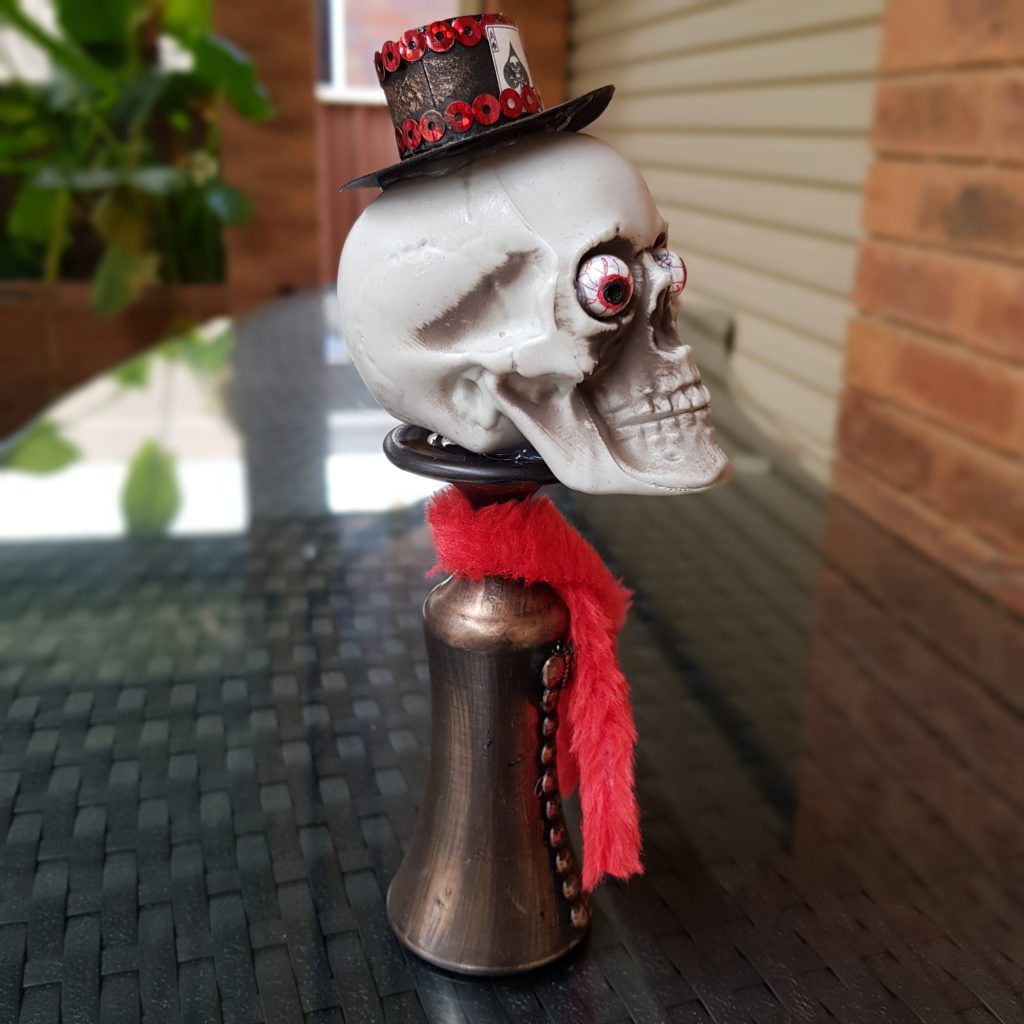
Adding Eyeballs (Optional but Fun)
To give some of the skulls a freaky stare, I used beads from a broken necklace:
- Paint the beads white with gesso.
- Use a black Sharpie to draw the pupils.
- Add red veins for a bloodshot look.
I only had enough beads for four eyes, so one skull was left blind and extra spooky.

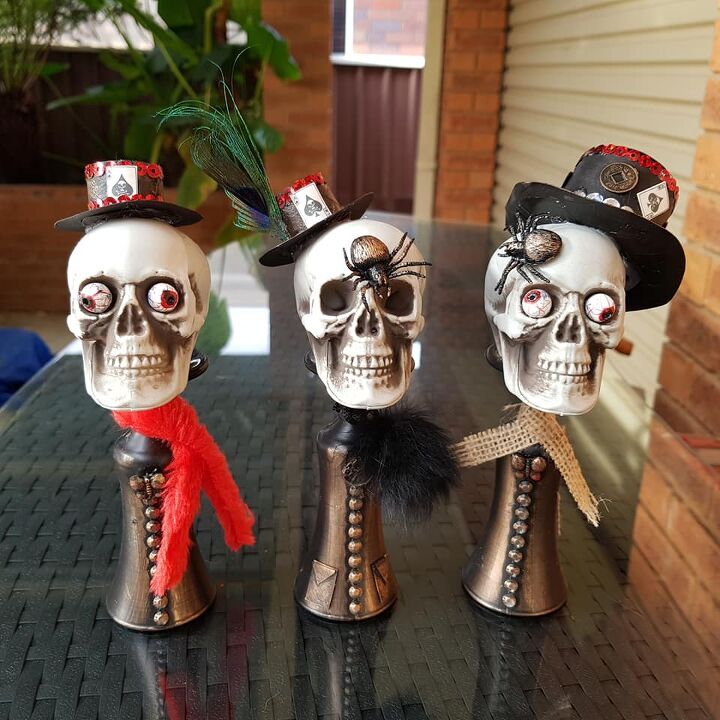
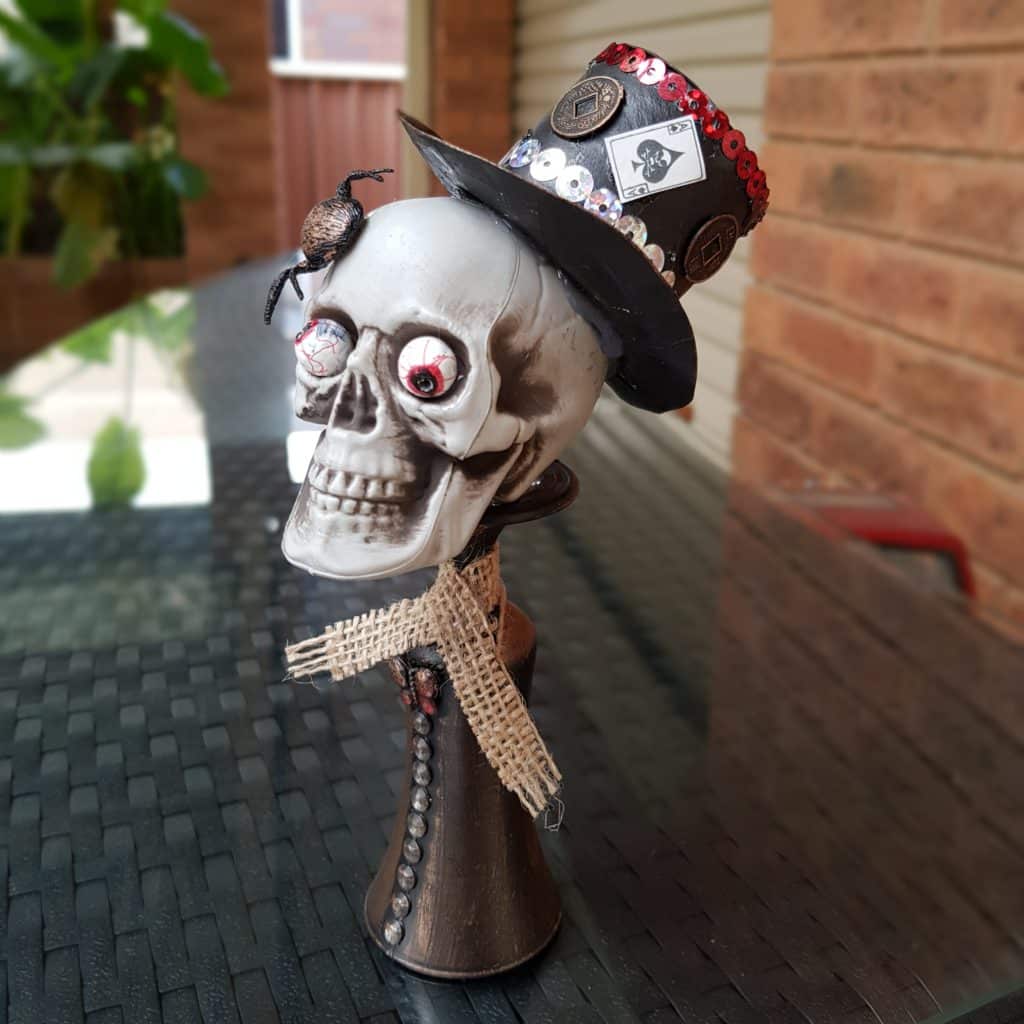
Finished Halloween Skull Characters
Each skull took on its unique personality—some spooky, some silly, and one with a fabulous fashion sense! Whether you’re displaying them on your mantel, dining table, or windowsill, they’re guaranteed to get attention and spark a few laughs.

More Halloween projects
DIY Halloween glasses. You can use this technique to make temporary themed glasses for any occasion.
")
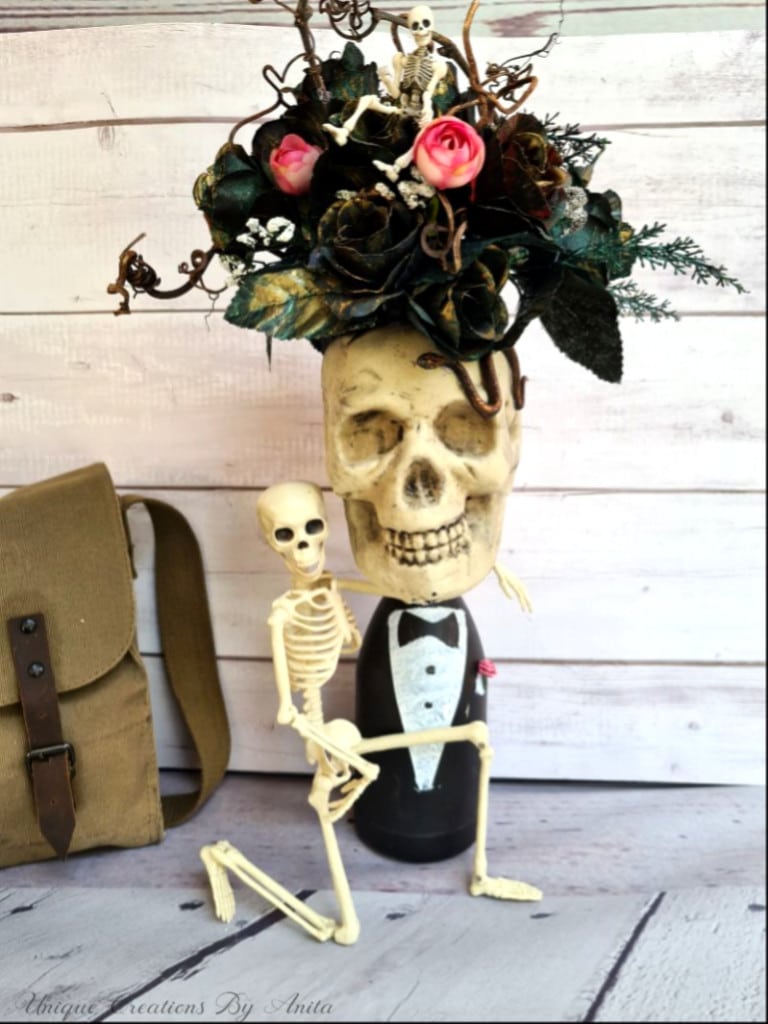
This is another Halloween table centrepiece idea made from a recycled bottle and a plastic skull.

If you’d like to find any of the items used in this project, we’d greatly appreciate it if you used our affiliate links. These links provide us with a small commission at no extra cost to you, allowing us to continue creating and sharing more inspiring projects. We’d also love to hear your thoughts—feel free to leave a comment or share this post!

29 Comments
Michelle
September 10, 2019 at 7:40 pmI absolutely love these! So wonderfully creepy, and artistically done. I realize Halloween is supposed to be one time of the year, but I could keep these up year round. (Yeah, I’m a little weird!)
Anita Holland
September 11, 2019 at 3:30 amThank you Michelle, I thought they were creepy and cute too.
Dee | Grammy's Grid
September 10, 2019 at 10:37 pmPerfect for Halloween! Thanks so much for linking up at the #UnlimitedMonthlyLinkParty 4. Shared.
Anita Holland
September 11, 2019 at 3:32 amThank you, Dee
Julie
September 14, 2019 at 12:57 pmWell it looks like you had a lot of fun here, creating these magnificent decorations! They’ll be one of the features at Handmade Monday tomorrow 🙂
Alissa A Apel
September 17, 2019 at 9:59 pmThose did turn out great! I love the add ons. I better figure out what I’m going to be for Halloween.
Anita Holland
September 18, 2019 at 1:41 amThank you, I just used items laying around the house.
Rhonda Gales
September 22, 2019 at 1:35 amWow, they turned out great. I would love to feature you on Sunday’s Best. We’ve started our Witching Hour theme. Hope to see you there.
Anita Holland
September 22, 2019 at 10:11 amThank you so much Rhonda, I would love to be featured on Sunday best. 😉
Sarah @ The DIY Mommy
September 23, 2019 at 3:36 amThis would be such a fun craft to do with the kids or a ladies night! Too cute!
Anita Holland
September 24, 2019 at 2:00 amThank you so much, I had fun making them.
Michele Michael
September 24, 2019 at 12:49 amSo darn cute. I can see them tucked in every room. Pinning. I was inspired to make some of your bottles. I’ve made journal covers like the bottles but never the bottles.
Anita Holland
September 24, 2019 at 1:53 amThank you so must, Mixed media is my new addiction at the moment.
Penny Struebig
September 27, 2019 at 4:30 amThese are adorable! Just might have to give this craft project a try. Thanks for sharing on Thinking Out Loud Thursday.
Anita Holland
September 29, 2019 at 9:22 amThank you they did turn out cute.
Meegan
October 12, 2020 at 10:01 pmI really like that you show a full detailed tutorial. Each one has it’s own personality, too! Great creativity.
Anita Holland
October 14, 2020 at 1:37 pmThanks Meegan, it is more fun when you mix the up a little.
Sara
October 12, 2020 at 10:04 pmThose are crazy amazing! Love the eyes getting freaked out by the spider!
Anita Holland
October 14, 2020 at 1:38 pmThank you Sara, they looked a little plain without eyeballs. lol
Maria
October 12, 2020 at 11:12 pmThese are so creepy cute! Pinned
Anita Holland
October 14, 2020 at 1:38 pmThank you Maria.
Lori Nell
October 13, 2020 at 12:15 amYou have some fun and fancy skulls, Anita! Such a great DIY!!
Anita Holland
October 14, 2020 at 1:42 pmThank you so much Lori.
Michelle Leslie
October 13, 2020 at 12:20 amOh my booness Anita, aren’t those just the most creepy looking skulls ever. I love how they turned out and the eyes are the best!!!!
Anita Holland
October 14, 2020 at 1:42 pmThank you Michelle, Halloween is the only time I can just go mad.
ROBIN LAMONTE
October 13, 2020 at 12:55 amAnita,
These are so clever!
I love skull decor for Halloween!
This is so good I have to Pin it!
Robin
Anita Holland
October 14, 2020 at 1:43 pmThank you so much Robin for the great comment and for pinning my project.
Kim Purvis
October 13, 2020 at 7:54 amVery cute and creative! Love it! Pinned!
Anita Holland
October 14, 2020 at 1:44 pmThank you so much Kim.