When I started creating this Moving Aluminium Can Mosaic Wall Art, I imagined a colourful wall hanging made from recycled drink cans that would shimmer in the sun. My original plan was to use the printed side of the aluminium cans, and I was almost halfway through nailing the colourful discs onto my board when I stepped back and took it outside. The movement was beautiful, but the colours didn’t pop the way I hoped. The silver circles, on the other hand, shimmered, reflected the sun, and created the most amazing sound as they moved in the breeze. That simple change transformed the whole project into a striking moving mosaic that dances with every breath of wind.

Assemblage art is about more than just combining random objects—it’s about telling a story. In this haunting DIY Halloween project, I upcycled a vintage wall clock into a Gothic mausoleum, crafting an eerie love story that lives on beyond the grave. Titled “Eternal Love in Death,” this Halloween assemblage features two skeletons joined in eternal embrace, surrounded by symbolic flowers, ornate textures, and layered meaning.
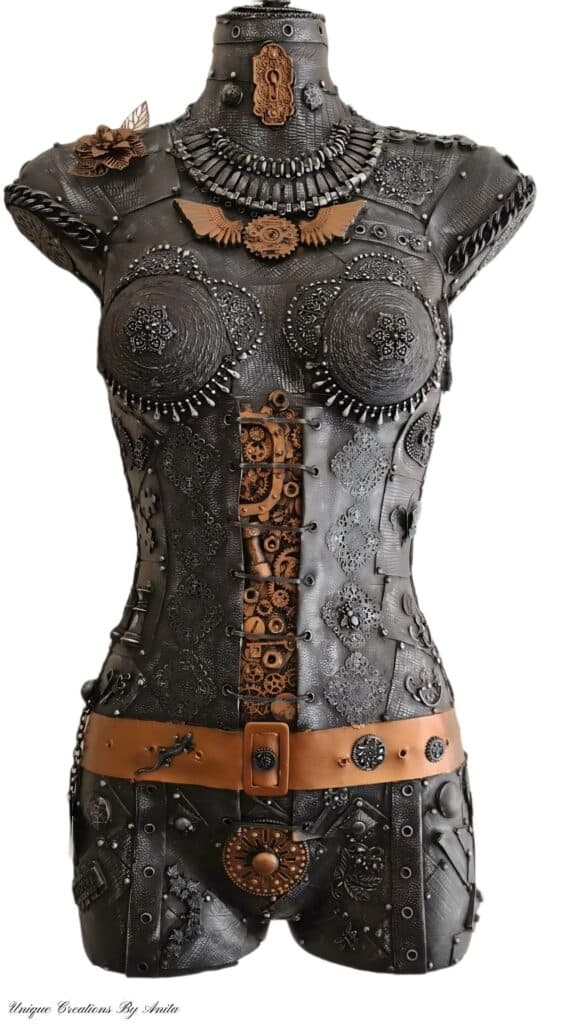
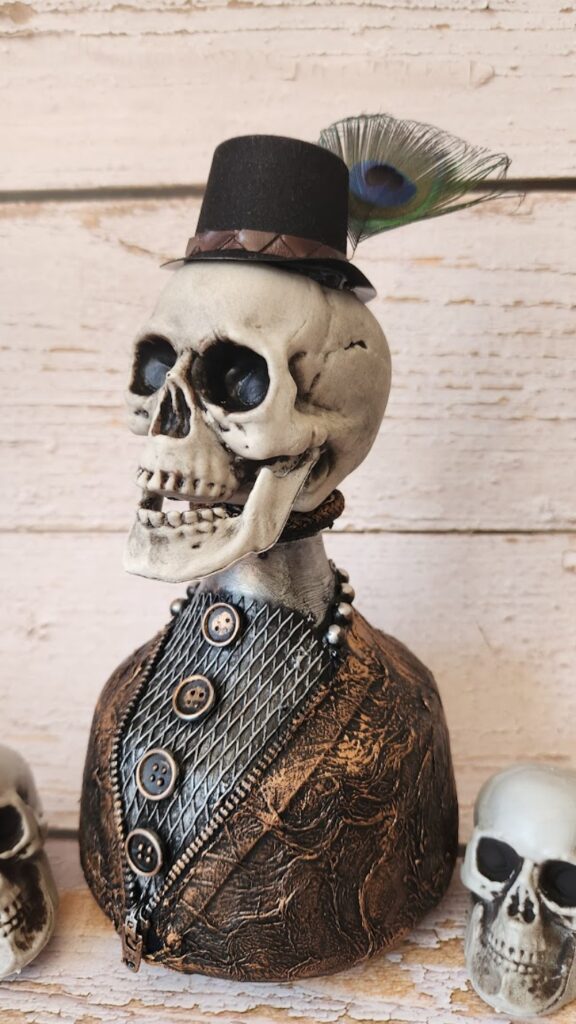
Today I’m sharing my Mixed-Media Assemblage Mannequin Torso (Steampunk-Inspired). I transformed a thrifted torso with found hardware, gears, and copper accents. This project blends upcycling, texture play, and bold metallic finishes. It’s perfect for artists who love layering and dimension. I’ll walk you through priming, building depth, and highlighting those raised details. Create a striking wall sculpture with budget materials and loads of character.

I’m thrilled to be part of this month’s “Do It Over Designers” Blog Hop, and this time the theme is lighting! For my upcycled lighting project, I transformed a recycled Downy Beads bottle into a stunning DIY mixed-media art Lantern. This unique lantern not only saves plastic from landfill but also becomes a charming centrepiece for your dinner table or shelf.
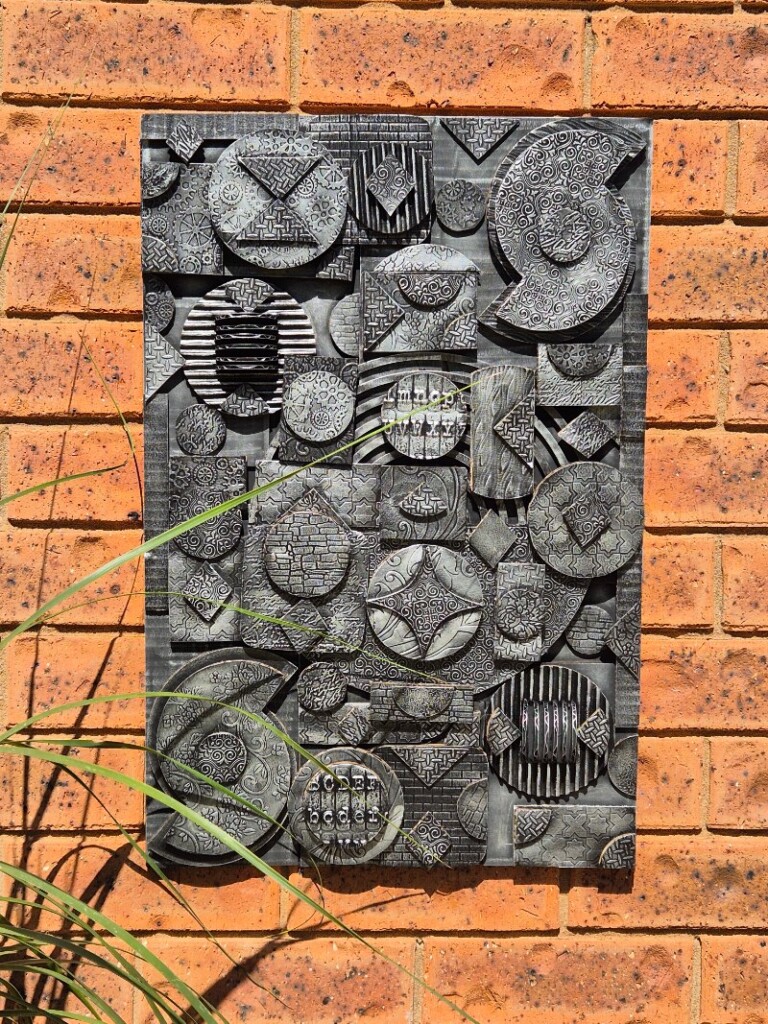
In today’s post, I’ll show you how to recycle cardboard boxes into a textured cardboard wall hanging that adds style and character to your home decor. Using simple techniques and supplies you likely already have in your craft stash, you can create a stunning, modern piece of art with minimal effort. This method is not only easy but also a budget-friendly way to transform everyday materials into a unique, eye-catching design.
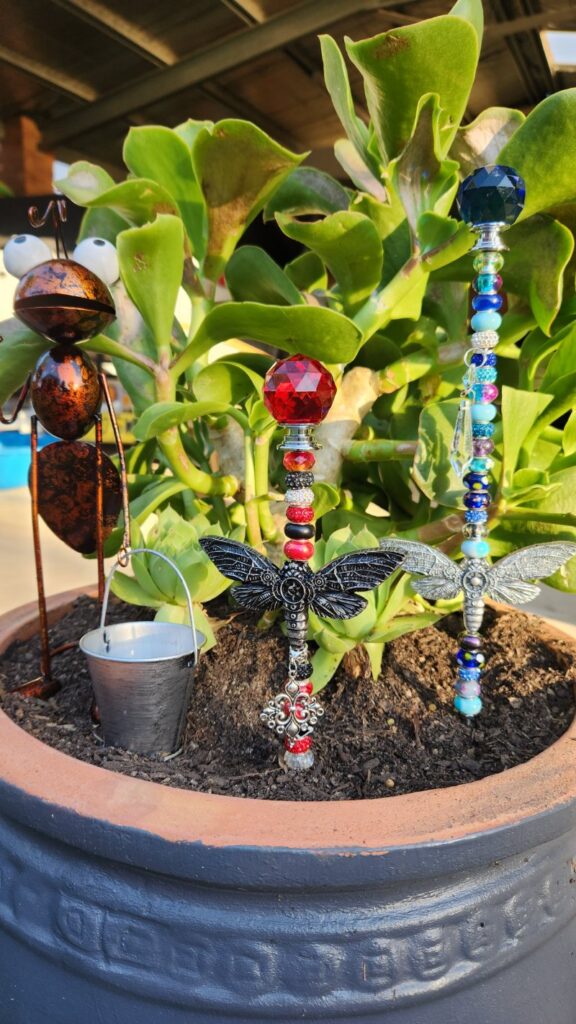
Looking for a creative way to upcycle old jewellery and add a touch of charm to your garden? These DIY beaded garden stakes, made with recycled jewellery and charms, are the perfect project! Not only do they make an eye-catching addition to flower beds and plant pots, but the beads also beautifully reflect sunlight. These unique garden decorations also make fantastic gifts for garden lovers. I loved how mine turned out so much that I couldn’t resist sourcing more materials online to create a garden collection and gift to friends and family!
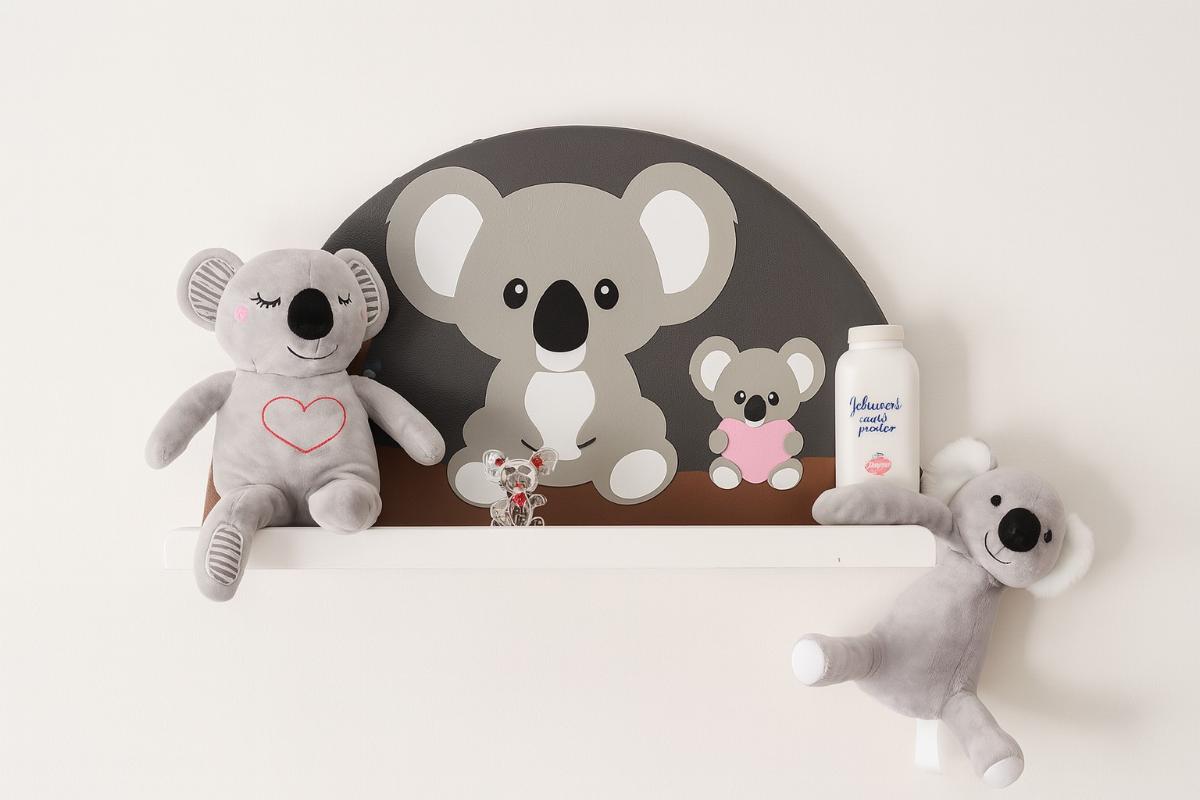
Becoming a Nana inspired this DIY Koala Nursery Shelf—a sweet, space-saving feature that fits my grandson’s Australian native animal theme. I couldn’t find a shelf that matched the look we wanted, so I repurposed a toddler play table and used my Cricut to add layered koala details. It’s budget-friendly, sturdy enough for books and décor, and the faux-leather backing adds cosy texture you’ll love.
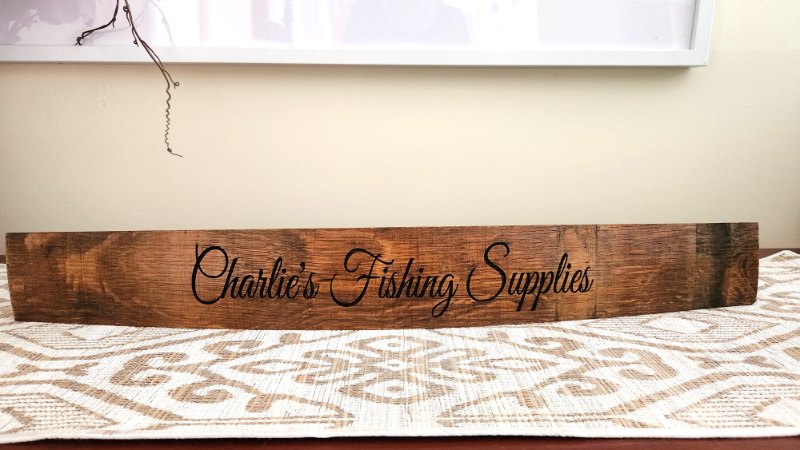
Laser engraving wine barrel staves with the xTool P2 CO₂ laser’s Curved Surface mode is a brilliant way to turn leftover barrel pieces into custom bar décor. In this tutorial, How to Laser Engrave Wine Barrel Staves with xTool P2’s Curved Surface Mode, I’ll show how I set up, mapped and engraved a curved stave, plus how I fixed scorch marks and sealed the finish for indoor or outdoor use.

If you have been looking for ways to add a touch of modern charm to your living space without spending a lot of money, then you are in the right place. In this blog post, we will explore crafting stunning large wall art using geometric shapes, made possible with the incredible precision of the xTool P2 laser cutting machine.Our focus will be on embracing the beauty of circles and half circles to craft boho-inspired, modern wall art that not only captivates the eye but also fits snugly into your budget. Get ready to unleash your artistic spirit and transform your space with unique, with this DIY laser cut Boho wall art.
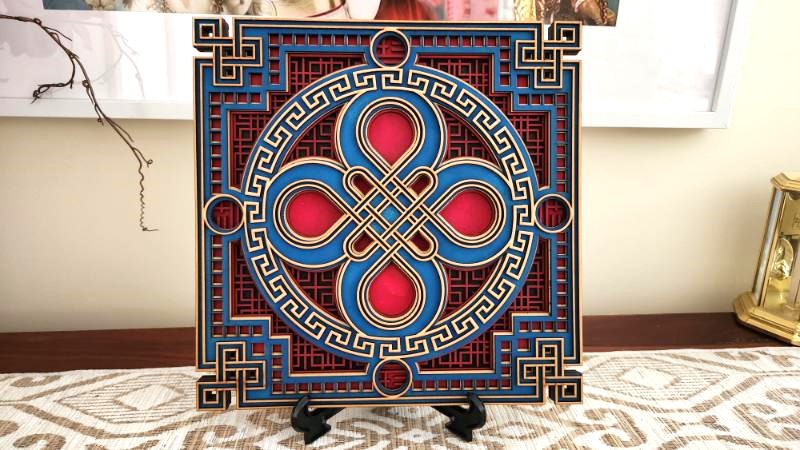
Artistic expression knows no limits, and technology is helping us push those boundaries even further. With the arrival of laser cutting machines, we can now create intricate, multilayered wall art that looks like it belongs in a gallery. In this tutorial, I’ll show you how to make multilayered wall art using the xTool P2 CO2 laser cutter. This was my very first project using the xTool P2, and it turned out perfectly—proving just how easy this laser machine is to use, even for beginners.
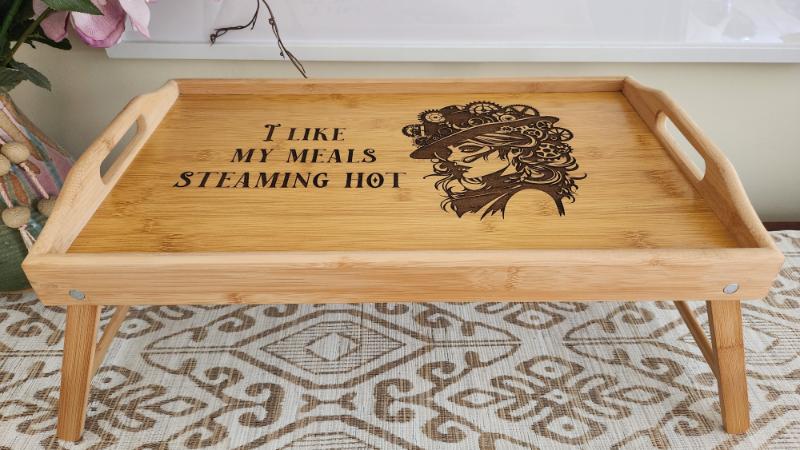
Just before Christmas, I received the xTool P2 CO2 laser cutter and engraver to review, and once the testing was done, I couldn’t wait to dive into a creative project of my own. As a huge steampunk fan, it seemed only fitting that my first personal project would be a Steampunk TV Tray Makeover using the xTool P2 laser. With this new tray, I can now enjoy dinner on the couch in true steampunk style, without having to balance a plate on my lap.
If you are looking for a quick and easy DIY Halloween project, this spooky DIY skull bottle is perfect. Using simple supplies like an old ceramic bottle, serviettes, and a budget plastic skull, you can create a creepy Halloween decoration that looks like it is dressed in clothes. This project is also beginner-friendly for anyone wanting to try mixed media art assemblage without needing expensive tools or advanced skills.