
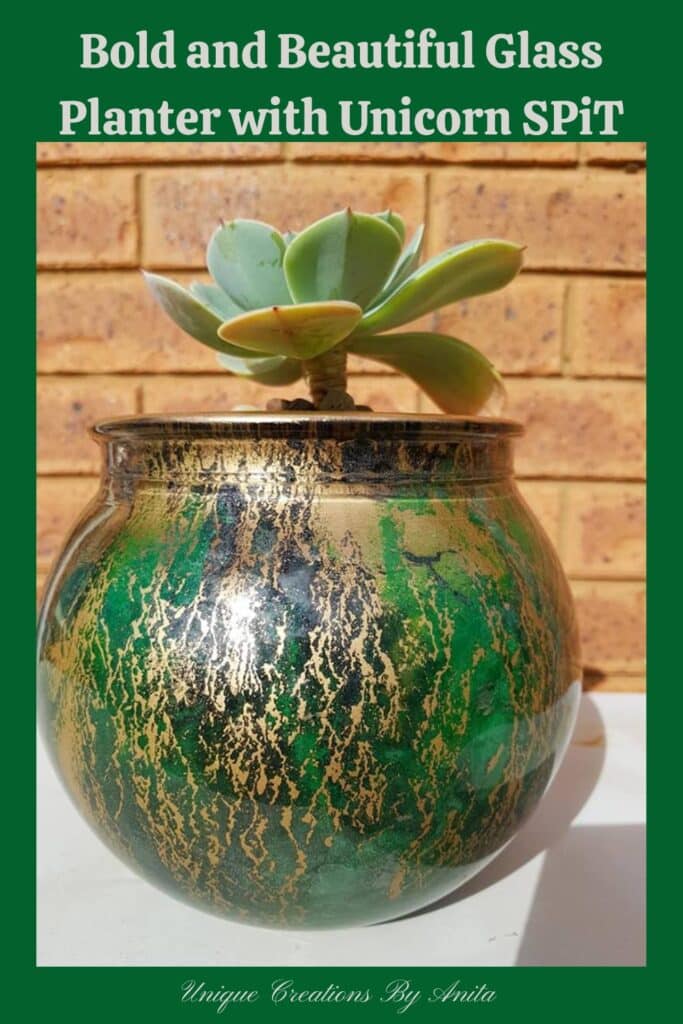
If you’re a fan of Unicorn SPiT like me, you’re always hunting for the next object to transform. That’s exactly how this Unicorn SPiT glass bowl planter came to life. While clearing out my daughter’s old room, I found an empty goldfish bowl tucked away. It was the perfect canvas for a colourful experiment, and although it was meant to become a lamp, it evolved into a striking indoor planter with bold, glass-stained detail.
Unicorn SPiT Gel Stain & Glaze is a vibrant, non-toxic medium that works beautifully on glass—even for beginners. In this tutorial, I’ll show you how to turn an ordinary glass bowl into a shimmering feature planter using simple techniques and a splash of creative chaos.

Before we dive into this tutorial, be sure to subscribe to my bimonthly newsletter to be the first to see my latest projects. You can also follow me on Pinterest and Facebook, where I also include my unique mixed-media art projects.
Turn a Glass Bowl into a Stunning Planter with Unicorn SPiT
**This post may contain affiliate links. This means I earn a small commission on links used at no extra cost to you. Please see my disclosure policy for more information.**
Materials Needed
- Glass bowl or vase (I used a goldfish bowl)
- Unicorn SPiT Gel Stain in Dragon’s Belly (green) and Midnight’s Blackness
- Air compressor or compressed air (optional)
- Spray bottle with water (fine mist setting)
- Metallic gold spray paint
- Spray-on satin polyurethane sealer (exterior grade)
- Plastic pot and takeaway container
- Succulent soil and pebbles
- Fake or real succulents
- Paper towels, gloves, and a drop sheet
Clean and Prep the Glass
Start by cleaning the bowl thoroughly. Remove any oils or residue with soapy water and a splash of vinegar.

If your Unicorn SPiT feels thick, you can thin it slightly with water—but always mix in a separate bottle to keep your original colours strong.

Add Your Unicorn SPiT Colours
I poured small amounts of Dragon’s Belly around the rim, letting it flow naturally down the glass. Then I added Midnight’s Blackness, using it sparingly so it didn’t overwhelm the green.

To speed up the process, I used short, gentle blasts from an air compressor (30cm away). If you don’t have one, use compressed air in a can or blow through a straw. Be warned: my first blast of air blew Unicorn SPiT into my face—thankfully it’s non-toxic!

Let each colour dry between layers. I allowed the green to dry fully before adding the black. You’ll know it’s dry when the finish looks dull and chalky, usually within 20 minutes in full sun. You can also use a hairdryer or heat gun.

Create Cracks and Veins
To get those eye-catching cracks, spray the rim with a fine mist of water after applying diluted black Unicorn SPiT. 2 or 3 fine sprays of water usually do the trick. Turn the bowl upside down on a paper surface and let it dry. The water helps break apart the stain, creating natural vein-like patterns.

Once all the excess Unicorn SPiT has run out, turn the glass bowl over to dry out the inside properly.

Add the Gold Backing
At this point, your bowl will probably look like a hot mess. Trust the process! Spray two coats of metallic gold inside the bowl, letting each coat dry fully. Clean off any overspray from the outer surface.

Seal everything with two coats of Spray Satin Ultra Exterior Polyurethane inside the bowl for added protection.

Prepare for Planting
Since Unicorn SPiT can’t handle water, never plant directly into the bowl. I used a small plastic plant pot inside a takeaway container to hold my succulents. This hidden container system prevents moisture from damaging the stained glass.

Add drainage pebbles, succulent soil, and your chosen plant. Use dry soil around the outer edges of the container to secure it in place, then top with decorative pebbles.

Optional: Try Sparkling SPiT
For an even more wow factor, consider using Unicorn SPiT’s sparkling range. It gives the same colour payoff with added shimmer, perfect for showpiece planters.

More great unicorn Spit Projects
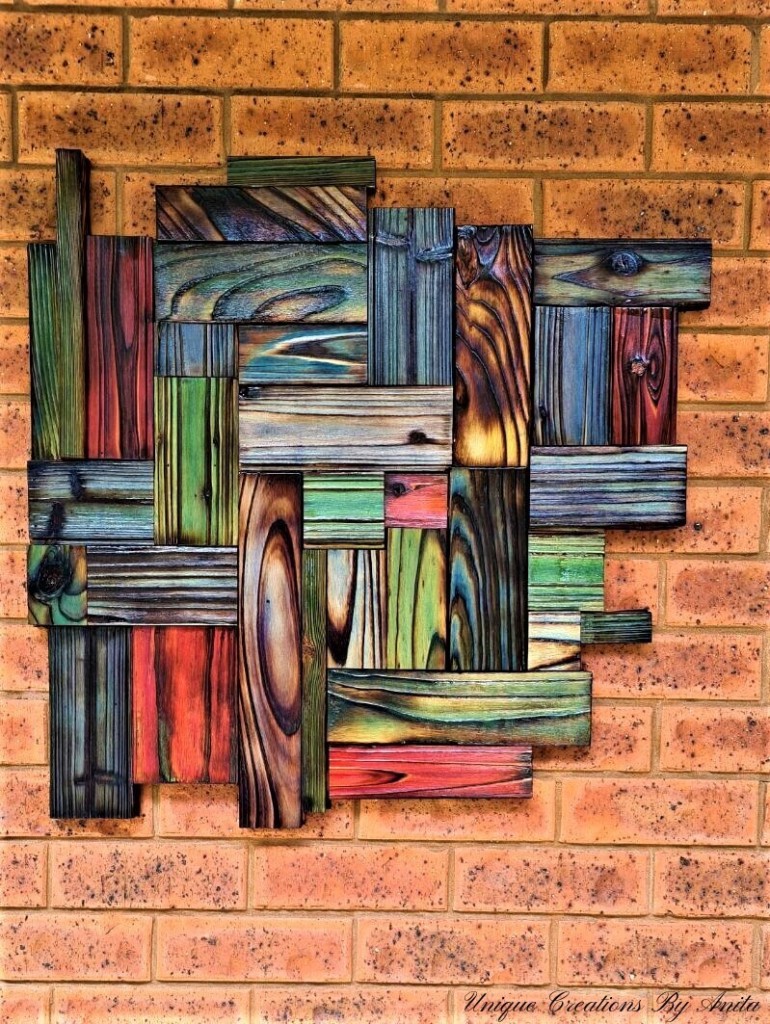
I used Unicorn SPiT to add colour to this scrap wood wall hanging project.
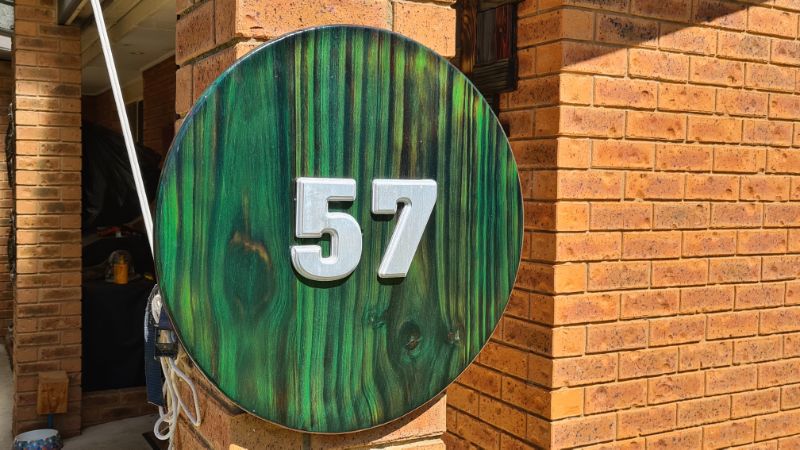
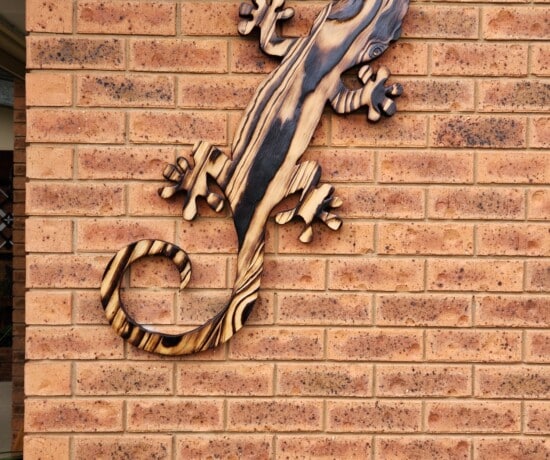
The texture in this house number was created by burning the wood and adding Unicorn SPiT to the surface.

If you’d like to find any of the items used in this project, we’d greatly appreciate it if you used our affiliate links. These links provide us with a small commission at no extra cost to you, allowing us to continue creating and sharing more inspiring projects. We’d also love to hear your thoughts—feel free to leave a comment or share this post!


27 Comments
Steav Smith
August 28, 2018 at 5:49 amIt’s very good and very excellent article. I really enjoyed this post and I hope you will keep posting this kind of post in future.
Jane Christensen
April 29, 2019 at 8:58 pmgreat DIY …. thanks for this information and step by step tutorial.
Anita Holland
April 30, 2019 at 2:23 amThank you and you are very welcome. I have done a few of these projects if you want to see others. Search unicorn spit on my website.
Karen Bredeson
May 5, 2019 at 11:32 pmI have followed your directions trying to make a beautiful bowl/vase like yours but can not get mine to form the fine cracks. I did the water spray and turned it upside down. Nothing, I sprayed more water, nothing.
Does the Unicorn Spit layer have to be quite thin to form cracks?
Any ideas/hints would be much appreciated.
Thank you
Anita Holland
May 6, 2019 at 1:04 amHi Karen, The unicorn spit does need to be able to flow freely. I know some of my colours are thicker than other, you can add some water and give it a good shake. If it is too thick you will not get the cracks you can also try spraying more water inside to dilute the unicorn spit. Let me know if you need any more help.
Vanessa
June 24, 2019 at 1:39 pmThis looks like it would be a gorgeous technique to use on Christmas ornaments! Ooh or garden decor – I think I just got an idea for something… Thank you so much for sharing your project!
Veronica Lee
July 31, 2019 at 6:37 amWOW! What a pretty planter!
Happy Wednesday, Anita!
Anita Holland
August 1, 2019 at 1:11 amThank you so much, so are so easy to paint a child can do them.
Mr Stark
July 31, 2019 at 7:46 amit’s an awesome idea. I think just got an idea for something… Thank you so much for sharing your project!
Anita Holland
August 1, 2019 at 1:11 amThank you so much!
Marie
July 31, 2019 at 4:18 pmWow, this is awesome! Unicorn Spit is on my Must Try list now.
Anita Holland
August 1, 2019 at 1:13 amThank you! It is supposed to be for wood, but I love it more on glass. I have done a few projects and they all turned out great. And so simple to do.
Ann
August 1, 2019 at 10:38 pmYour planter came out beautiful. Thank you for sharing at Party In Your PJ’s!
Anita Holland
August 1, 2019 at 11:32 pmThank you and you are welcome
Cecilia
August 4, 2019 at 3:30 amWhat a fun tutorial! Thanks for sharing at Vintage Charm!
Anita Holland
August 4, 2019 at 9:42 pmThank you and you are very welcome
Michelle
August 7, 2019 at 10:03 pmThat is absolutely fabulous! Pinning!
Anita Holland
August 8, 2019 at 2:48 amThank you for the lovely comment and for pinning.
Mother of 3
August 16, 2019 at 12:07 pmThat is beautiful! I have never heard of Unicorn spit but it sounds like a product I need to try soon. Pinned.
Anita Holland
August 17, 2019 at 10:26 pmThank you so much. It is great stuff and really easy to use and makes your glass look stunning.
Anne/The Cajun Couple
August 16, 2019 at 8:32 pmSuch a pretty and unique planter!
Anita Holland
August 17, 2019 at 10:26 pmThank you so much Anne
Audra @ Renewed Projects
November 17, 2019 at 3:33 amHow pretty!
Anita Holland
November 17, 2019 at 9:55 amThank you so much. 😀
Michelle Leslie
January 23, 2020 at 4:37 amStunning Anita. That green and gold combinations is just sooooooooo beautiful. Unicorn SPiT is the best ever!!!
Anita Holland
January 25, 2020 at 4:50 amThanks, I do love unicorn spit.
Sara
May 31, 2021 at 9:46 pmThis is gorgeous Anita! I’ve never tried Unicorn SPiT, but I need to after seeing this 🙂