
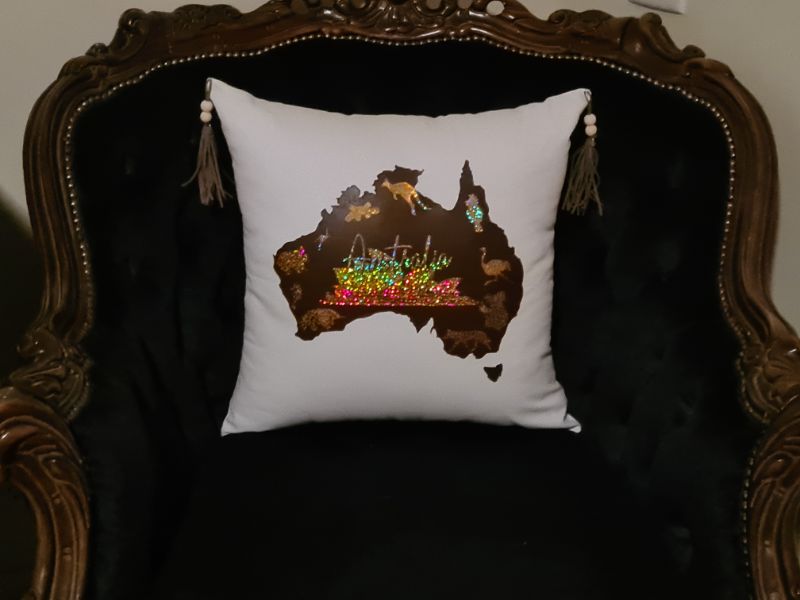
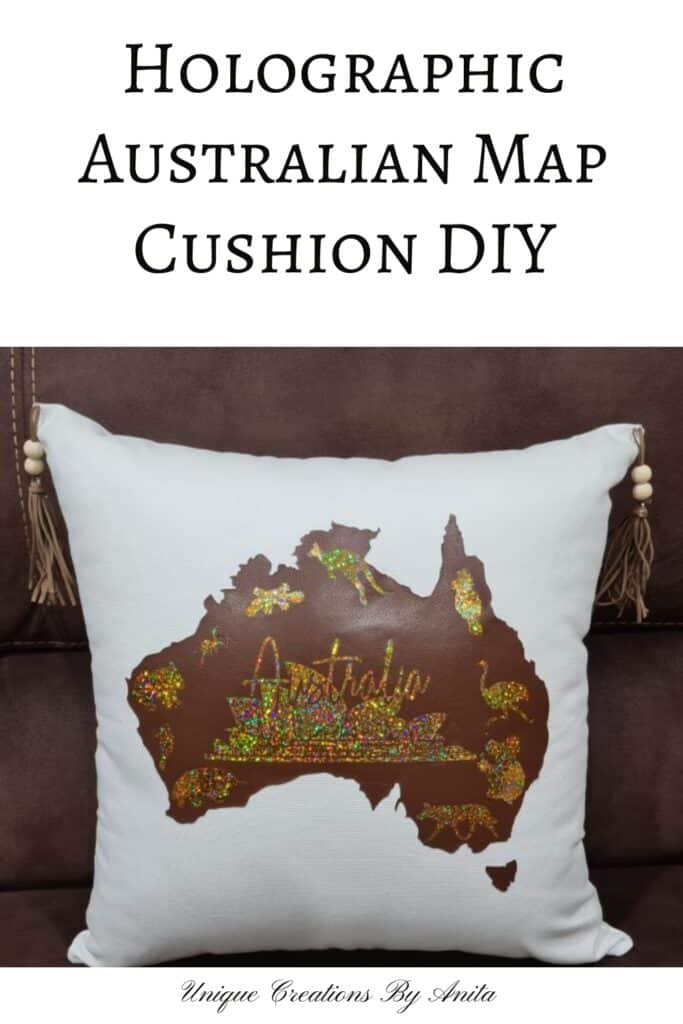
This month’s International Blogger Club (IBC) challenge is all about “Local Love,” so I set out to celebrate Australia in style. My project transforms a simple cushion using my Cricut into a tribute to our sunburnt country by layering a rich brown leather map of Australia with sparkling holographic iron‑on vinyl silhouettes of our native wildlife—kangaroos, koalas, platypuses and more—scattered across the continent like glittering gems.

Before we dive into this tutorial, be sure to subscribe to my bimonthly newsletter to be the first to see my latest projects. You can also follow me on Pinterest and Facebook, where I also include my unique mixed-media art projects
DIY holographic iron‑on vinyl cushion
**This post may contain affiliate links. This means I earn a small commission on links used at no extra cost to you. Please see my disclosure policy for more information.**
Materials Needed
- Cricut Explore Air 2 (or Silhouette Cameo)
- Brown faux leather sheet
- Holographic sparkle iron‑on mosaic vinyl
- StandardGrip (green) mat for vinyl
- StrongGrip (purple) mat for leather
- Household iron or Heat press
- Parchment paper + tea towel
- Tacky glue
- Plain cushion cover (≈45 × 45 cm)
- Leather lace + beads for tassels
Create Your SVG Design
Open Cricut Design Space and import an outline of Australia. Import silhouettes of native animals (koala, kangaroo, platypus, kookaburra, emu). Duplicate the map outline: one copy for leather, one for vinyl placement. Arrange animal shapes atop the second outline. Group and colour‑code layers to separate mats. Ignore the Flag, I left that out in the end.

Hide the vinyl group and change the leather map to a distinct colour so Cricut sorts colours correctly.

Cut the Leather Map
Place brown faux leather on the StrongGrip (purple) mat. Load into Cricut and select “Leather” material setting.

Cut the map outline, then weed away excess leather.

Cut the Holographic Iron‑On Vinyl
Mirror your design in Cricut’s settings! (Essential for text and direction.)

Place vinyl shiny‑side down on the StandardGrip (green) mat. Select “Iron‑On (Holographic)” and cut.

Weed away excess vinyl, leaving only the animal shapes.

Transfer Vinyl to Leather
I made two attempts to transfer the images. For my first try, I simply placed parchment paper between the iron and the vinyl—just as I’ve done successfully before—but the faux leather reacted very differently. The iron’s direct heat was too intense, causing the leather’s adhesive to melt onto my ironing board and ruining both the leather and the cover. I felt it was important to warn you that faux leather needs extra protection from high heat to avoid this mishap.


Lay the leather map flat on your heat‑safe surface, cover with parchment paper, then add a tea towel. Align the vinyl shapes, carrier‑film side up, so they match your design. Set your iron to hot with no steam and press firmly over each section for 30 seconds. Let it cool briefly, then peel back the carrier film slowly. If some pieces don’t adhere, press again for 10–20 seconds.

Attach Leather to Cushion
Originally, I thought about sewing the leather onto the cushion, but the stitching around that intricate map outline felt too bulky. Instead, I reached for tacky glue—an all‑purpose adhesive that dries clear and stays slightly flexible. To prevent any glue seeping through, tuck a sheet of plastic or cling wrap inside the cushion cover behind the leather piece. Spread a thin, even coat of tacky glue across the back of the leather, press it firmly into place on the cover, then lay another plastic sheet over the top. Finally, add some weight, such as books, overnight to ensure every edge bonds securely without wrinkles or gaps.

Add Tassels
To add the tassels, I cut several 10 cm strips of leather lace, threaded a handful of beads salvaged from old costume jewellery onto each strip, then knotted the ends. Finally, I stitched the finished tassels securely to the top corners of the cushion, giving it a playful, textured accent.


Because of the holographic finish, the cushion’s colours shift with every viewing angle, and no photograph can fully capture its iridescent brilliance.
About IBC (International Bloggers Club)
If you follow my blog, you will know I am part of IBC (International Bloggers Club) which is a group of talented bloggers from around the world. We have members from Spain, South Africa, Australia, the United States, and Canada. Each month we come together and create a project in a common theme.
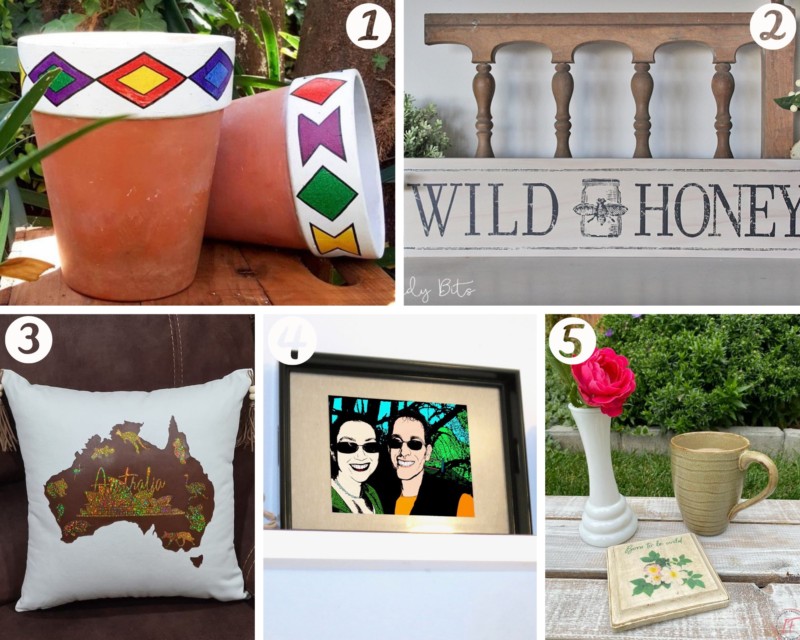
If you missed last month’s “Sands of time” theme here is the link to my upcycled sand timer. The contributions from my fellow bloggers are listed below, please feel free to jump over and give them some love.
- A Crafty Mix| DIY Ndebele planters
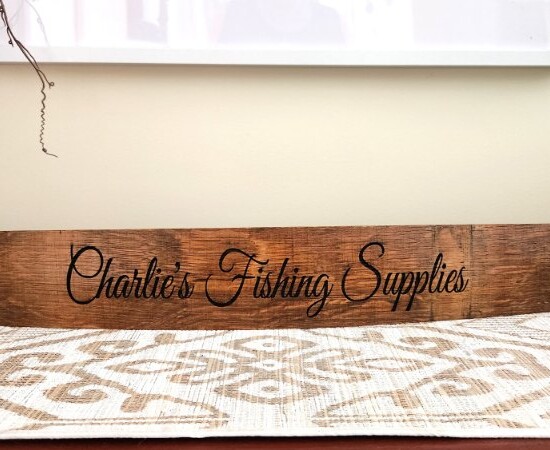
- Raggedy Bits – How to Make A Whitewashed Farmhouse Sign
- Me| Unique creations By Anita
- Birdz of a Feather – Pop Art Serving Tray
- Interior Frugalista – Alberta Wild Rose Decoupage Napkin Coaster
Cricut project ideas
These cool dog bandannas are really easy to make, and you will have the coolest dog in town.

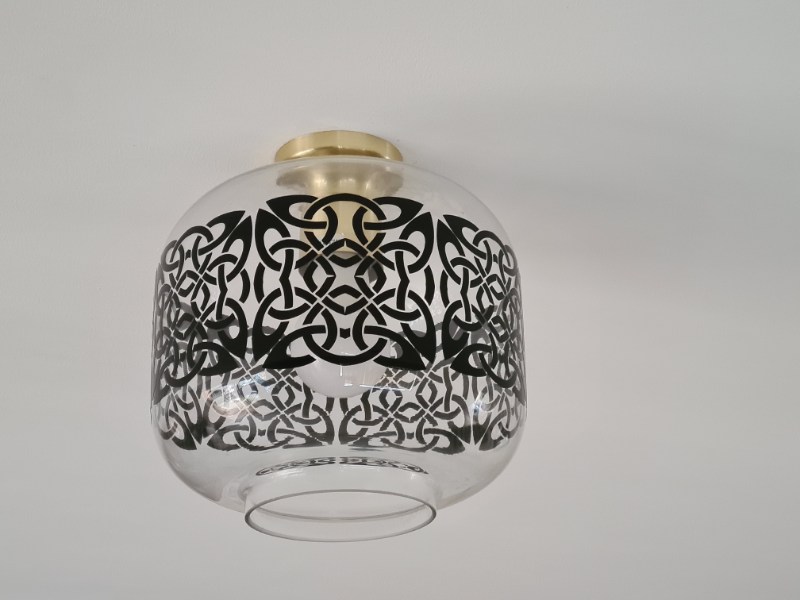
You can use your Cricut or Silhouette to give a plain lampshade a custom vinyl‑decal makeover. You can find more Cricut project ideas HERE

If you’d like to find any of the items used in this project, we’d greatly appreciate it if you used our affiliate links. These links provide us with a small commission at no extra cost to you, allowing us to continue creating and sharing more inspiring projects. We’d also love to hear your thoughts—feel free to leave a comment or share this post!

24 Comments
Michelle Leslie
September 21, 2020 at 11:32 pmOh my word that holographic stuff is beautiful!!!!!! And the brown leathery vinyl is the perfect backdrop too make it pop too. I know I keep on saying this but I really do need to get myself one of those Cricut thingies. The possibilities seem endless and you’ve shared so many adorable projects too.
Anita Holland
September 23, 2020 at 12:26 pmThank you so much Michelle. I can’t praise this machine enough, and no I don’t dell them and get com mission lol
Sara
September 21, 2020 at 11:58 pmThat holographic vinyl is so fun! I’m with Michelle on this; I need one of those cutters in my life too :). I have to show this project to my husband. He was in Australia for far too short a time when he got a call for a job interview back in Canada. He had to cut his vacation short, but he loved it there. Luckily he got the job lol!
Anita Holland
September 23, 2020 at 12:30 pmThank you so much Sara, I love this machine and use it in some way or other in most of my project. I do love it here in Australia, it is a very beautiful country.
Lori Nell
September 22, 2020 at 1:38 amGreat DIY, Anita. I love how that pillow turned out. Just beautiful!!
Anita Holland
September 23, 2020 at 12:31 pmThank you very much Lori.
Deana Landers
September 22, 2020 at 2:07 amAnita, I love this! You create the coolest projects!
Anita Holland
September 23, 2020 at 12:32 pmThank you so much Deanna, this comment just made my day. I do have some “out-there” ideas which luckily turn out most of the time.
Marie
September 22, 2020 at 6:06 amSuch a cool pillow, Anita! I forgot that you can cut leather, fabric, and other things besides permanent vinyl with the cricut machine. Your awesome tutorial taught this newbie several new tips. I have two Aussie friends that I know would love a pillow like this for our annual Christmas gift exchange. Thanks for the help and inspiration! xo
Anita Holland
September 23, 2020 at 12:34 pmThank you so much Marie, I love this machine because I can make my own stencils and embellishments for my mixed media projects. I am glad the tutorial was some help to you.
Kim Purvis
September 22, 2020 at 10:13 amI may need a Cricut!! I had no idea it could cut faux leather. The pillow is so cute! Thanks for sharing!
Anita Holland
September 23, 2020 at 12:35 pmThank you Kim there is so much you can do with this machine, vinyl is just a small part.
Denise/My Home of All Seasons
September 22, 2020 at 10:39 amSo pretty Anita! This is a great tutorial which is so important to those of us whose cricut, I’m embarrassed to say, is still in the box! Thanks so much for the inspiration!
Anita Holland
September 23, 2020 at 12:36 pmThank you so much Denise, I have lots of friends in the same boat as you. They seem to think they are just for cutting vinyl but there is so much more.
Brooke
September 24, 2020 at 12:00 amAnita, this is just perfect. My best friend lives in Sydney and this would be perfect for his new place. Love it!
Anita Holland
September 25, 2020 at 7:14 amThank you so much Brooke.
Lisa | Handmade in Israel
September 25, 2020 at 3:01 amIt looks great! I think I prefer the gold anyway.
Anita Holland
September 25, 2020 at 7:24 amThank you Lisa, the gold has grown on me now. lol
Sam - Raggedy Bits
September 26, 2020 at 2:39 pmThat is so COOL! I love the gold on the brown with all the sparkles and of coarse because it’s Aussie!! Don’t your projects just explode with all the things you can do with a cutting machine!
Anita Holland
September 27, 2020 at 2:31 pmThank you Sam, I really love this machine. I should be a salesman for Cricut the way I promote this machine lol
Naush Samama
September 28, 2020 at 6:51 pmWow Anita !!! I love how creative you are !! Your projects are always fascinating. Thank you for linking at Meraki Link Party.
Naush
Anita Holland
October 2, 2020 at 7:45 pmThank you so much, that is so kind of you to say.
A Crafty Mix | 2 Easy Ways to Make Ndebele Planters - A Crafty Mix
November 27, 2021 at 8:38 pm[…] Mix (that’s us 😉 )2. Raggedy Bits – How to Make A Whitewashed Farmhouse Sign3. Unique Creations by Anita – How to Use Iron on Vinyl4. Birdz of a Feather – Pop Art Serving Tray5. Interior Frugalista – Alberta Wild Rose […]
2 Easy Ways to Make Ndebele Planters - A Crafty Mix
September 6, 2024 at 4:55 pm[…] Mix (that’s us 😉 )2. Raggedy Bits – How to Make A Whitewashed Farmhouse Sign3. Unique Creations by Anita – How to Use Iron on Vinyl4. Birdz of a Feather – Pop Art Serving Tray5. Interior Frugalista – Alberta Wild Rose […]