
I’ve always admired Marilyn Monroe’s timeless style and wanted to try decoupage on furniture. When a friend passed on this vintage‑style dresser—worn, with peeling veneers and dated colours—it was the perfect candidate for a makeover. As part of this month’s International Bloggers Club(IBC) Painted” Furniflips” challenge, I’ve refreshed it with sleek black and copper paint and added Marilyn‑themed decoupage, giving it a modern look that’s ready to sell.

Our International Bloggers Club (IBC) is a global circle of DIY bloggers who, each month—on the third Monday—tackle a shared theme. Scroll down to see links to my friends’ inspiring makeovers.

Before we dive into this tutorial, be sure to subscribe to my bimonthly newsletter to be the first to see my latest projects. You can also follow me on Pinterest and Facebook, where I also include my unique mixed-media art projects.
Marilyn Monroe Decoupage Dresser Makeover
**This post may contain affiliate links. This means I earn a small commission on links used at no extra cost to you. Please see my disclosure policy for more information.**
Materials Needed
- Pre‑owned wooden dresser (with at least three salvageable drawers)
- Orbital sander and discs (120‑grit, 240‑grit)
- Primer (white)
- Black acrylic paint
- Dulux metallic copper spray paint
- Low‑tack painter’s tape and plastic sheeting
- Mod Podge (water‑based decoupage medium)
- Marilyn Monroe paper napkins and eBay poster prints
- Clear water‑based polyurethane (2 coats)
- Rust‑Oleum Clear Gloss spray topcoat (optional)
- Diamond‑style doorknobs
- Plywood (for shelves and mirror backing)
- Wood glue and a nail gun
- Soft cloths, sponge scourer, hot, wet cloth
Finding the Perfect Dresser
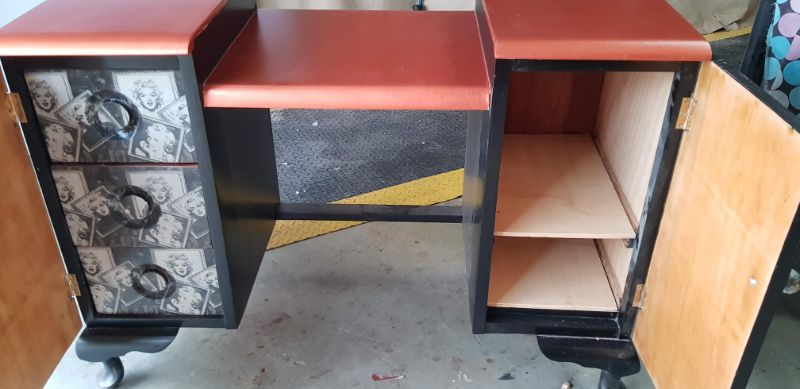
I started with a dresser that, at first glance, looked sturdy, but a closer look revealed its flaws. Two centre drawers were missing, the drawers were warped and falling apart, and several fronts were cracked in half. The mirror’s frame was chipped and worn, giving the whole piece an outdated feel. Rather than focus on restoration—I’ve covered that in past posts—I jumped straight into repairs and refinishing so I could showcase a true decoupage transformation.

Preparing and Painting the Dresser
Repair & Sand: I replaced missing drawer bottoms, glued broken drawer fronts and gave the entire surface a thorough sand (120‑grit to smooth major flaws, then 240‑grit for final prep).

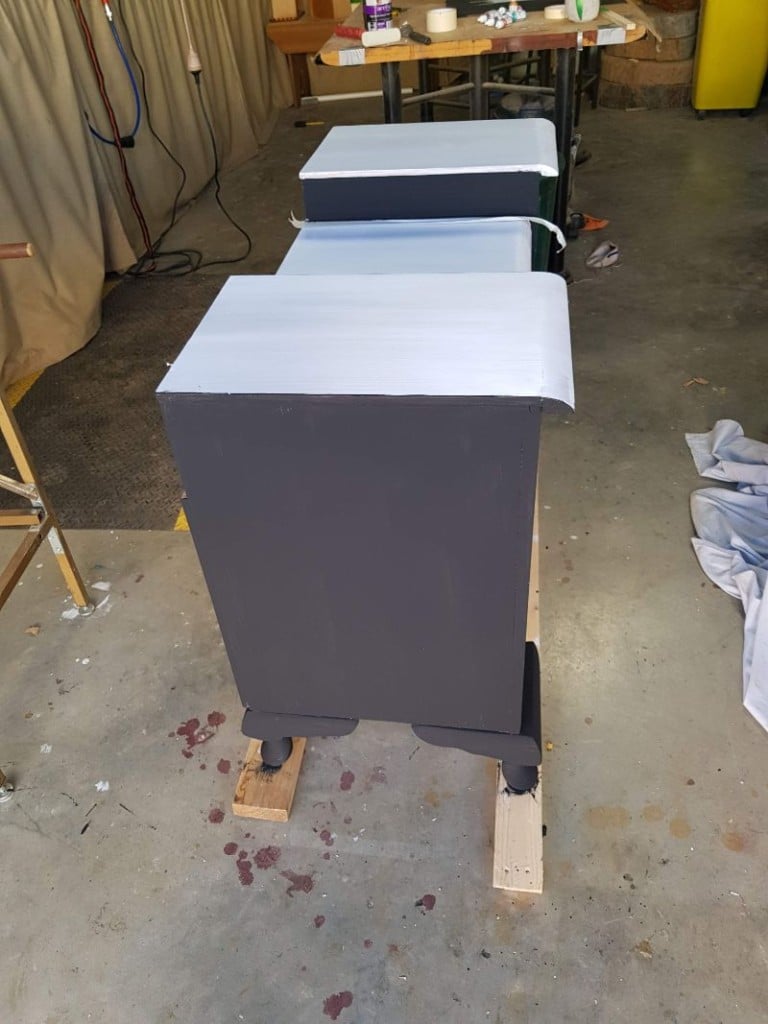
One coat of white, water‑based primer blocked the old wood grain and sealed repairs.

Next, I painted every side of the dresser—except the top—with two coats of black acrylic paint, leaving the top free for my feature colour.
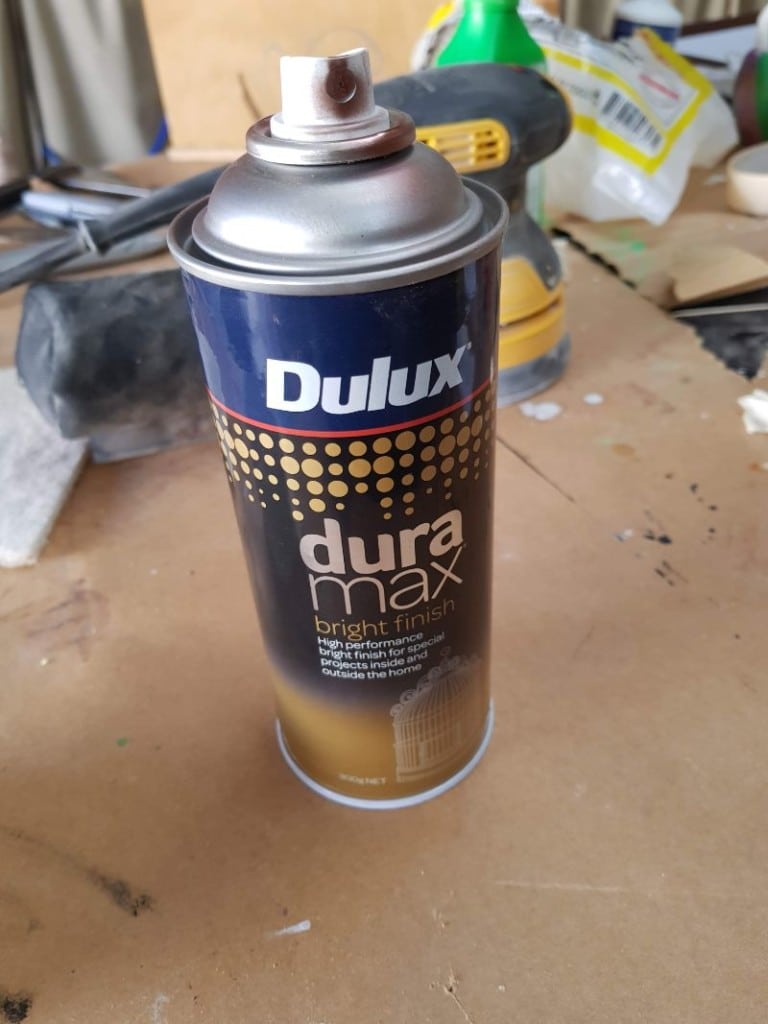
I’d pictured the top in metallic copper but couldn’t find the right shade in a can of pot paint. After some hunting, I settled on Dulux’s metallic copper spray paint, which gave me the perfect finish.
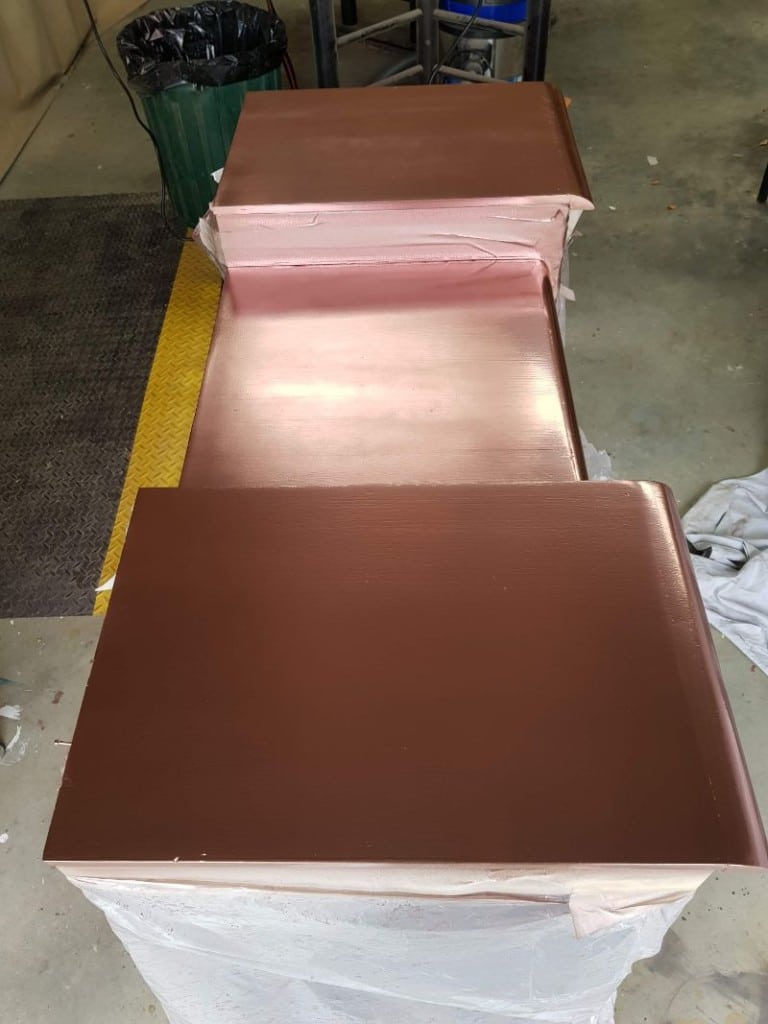
I draped plastic over the black base and secured it with low‑tack tape to catch overspray. High‑tack tape pulled off some paint when removed, but quick touch‑ups covered those spots.
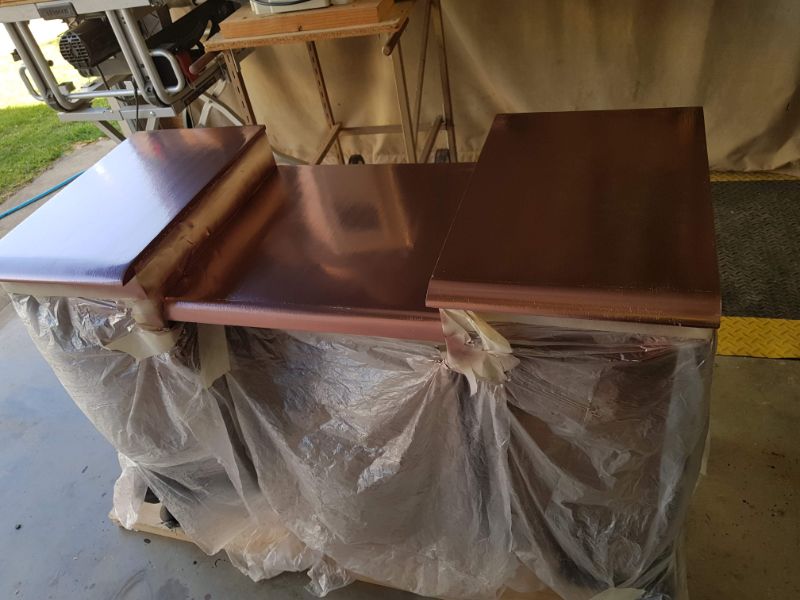
I applied three light coats of copper, letting each dry fully before the next. After the final coat cured for 24 hours, I sealed it with two coats of Rust‑Oleum Clear Gloss spray paint for extra durability, even though the hardware store said it wasn’t strictly necessary.
Restoring the hardware
Even rusty, paint‑covered hardware can be reused—just follow the cleaning method I demonstrated in this project to strip away old paint and corrosion, then reinstall it like new.

Decoupaging the Drawers
Only three drawers survived structurally. To decoupage them:

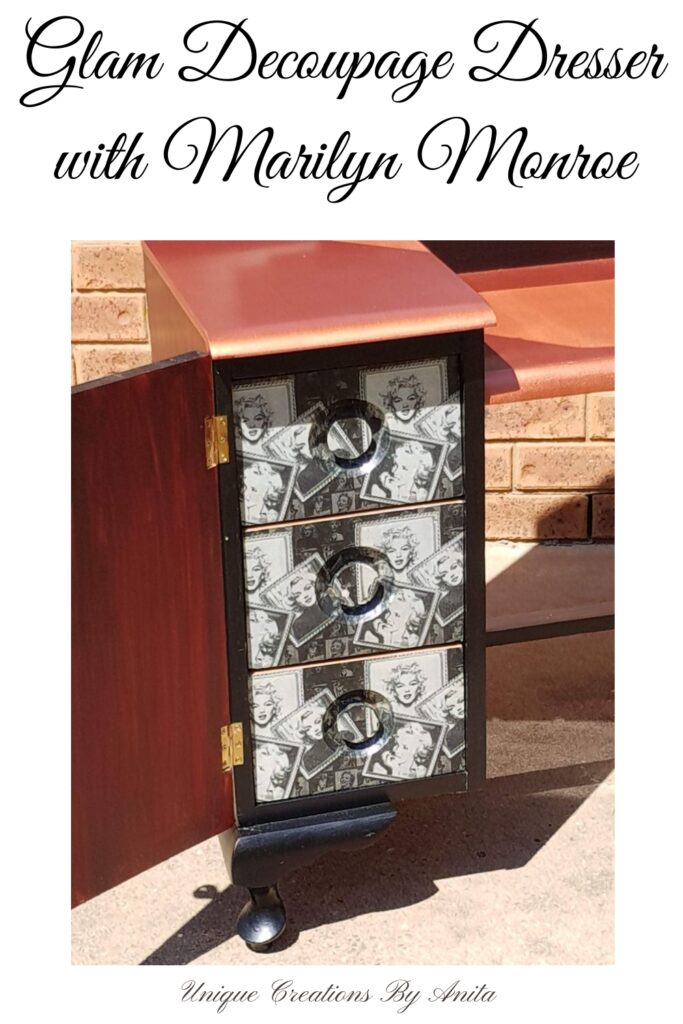
After repairing the damaged fronts, I applied a thick, even layer of Mod Podge and carefully laid the Marilyn Monroe paper napkins on top, smoothing out any bubbles.

Once the glue dried, I noticed the brown wood grain still peeked through and spoiled the look. So I cleaned off the surface and started again.

With a clean surface, I re‑primed each drawer front in white primer to block any remaining brown tint. After the primer dried, I spread another even coat of Mod Podge, positioned fresh napkins, and smoothed them into place. Once the decoupage cured, I sealed everything with two coats of clear, water‑based polyurethane, giving the drawers a durable, glossy finish.

Decoupaging the Doors
I used inexpensive eBay Marilyn Monroe posters on the two doors, following the same Mod Podge method. Next time, I’ll blend edges for a seamless look, but two coats of polyurethane still give solid protection and a glossy finish.

Adding Shelves and Replacing the Mirror
I cut and fitted plywood shelves into the right-hand section, securing them with wood glue and a nail gun for a rock‑solid hold. I then stained the shelves and the compartment interior, which ended up clashing slightly with the rest of the finish. They’re so firmly fixed that I couldn’t remove them for a redo.
To finish off the look, I added “Diamond” doorknobs, because diamonds are a girl’s best friend.

For the mirror, I cut plywood to size, swapped out the battered glass for a new moddern one I repurpose from salvage furniture. and re‑stained the back for a polished result.

I reused the old hardware to attach the mirror back onto the dresser.

Completed Marilyn Monroe decoupage dresser
This Marilyn Monroe dresser went to a huge fan who loved her. I must apologise for the photo quality, my home is too full to take photos of large furniture inside, and my garden died due to the drought. So my tree and washing line were the best I had. Haha

More dresser makeovers you may like
Would you believe the dressers below ended up as good as new? You can see the outcomes in the links above each image?
Tips for restoring an Antique Dresser

Dresser gets a geometric makeover

More about IBC
If you follow my blog, you will know I am part of the IBC (International Bloggers Club), which is a group of talented bloggers from around the world. We have members from Spain, South Africa, Australia, the United States, and Canada. Each month, we come together and create a project with a common theme.
If you missed last month’s “Sweater Challenge ” theme, here is the link to my Steampunk gnome doorstop. The contributions from my fellow bloggers for this month’s challenge are listed below. Please feel free to jump over and give them some love.

Projects
- Meegan Makes| Ikea Marius Stool Makeover
- A Crafty Mix|Melamine Faux Distressed Metal
- Interior Frugalista|Mid Century Modern Nursery Bookcase Makeover
- Me
- Birdz of a feather |Painting Vinyl Fabric

If you’d like to find any of the items used in this project, we’d greatly appreciate it if you used our affiliate links. These links provide us with a small commission at no extra cost to you, allowing us to continue creating and sharing more inspiring projects. We’d also love to hear your thoughts—feel free to leave a comment or share this post!


24 Comments
Sara
April 19, 2021 at 10:31 pmWell done Anita! She’s a real beauty now. Those napkins on the inside turned out awesome in the end. Love your final touch of the diamond knobs: perfect 🙂
Anita Holland
April 21, 2021 at 6:41 pmThank you sara, she was one of my more out-there creations. lol
Michelle Leslie
April 20, 2021 at 2:23 amI’ve said this before, and I’ll say it again, Anita. You sure know how to make something Unique. I don’t think you could have chosen a better name for your website. My niece is crazy for anything relating to Marilyn Monroe and she’s at that age now where a dresser is the ultimate grown-up girl symbol. I would love to try to copy your idea for her. I’ll have to practice my decoupage skills though 😉
Anita Holland
April 21, 2021 at 6:42 pmThank you so much Michelle, She was different even for me. But I did learn how to decoupage.
Marie B.
April 20, 2021 at 4:26 amThis dresser makeover is awesome from the inside out! I love the unique glam girl charm and the glass knobs add to the classy vibe. The missing drawers on the dresser add to the charm because it now looks like a vintage vanity dressing table!
Anita Holland
April 21, 2021 at 6:42 pmThanks Marie, the doorknobs were my favourite part.
Meegan
April 20, 2021 at 11:29 amWhat a transformation! Your attention to detail is stunning. From the outside, in. Thanks for sharing such a beautiful piece to be inspired by.
Anita Holland
April 21, 2021 at 6:42 pmThank you Meegan!
Ikea Marius Stool Makeover - What Meegan Makes
April 20, 2021 at 11:31 am[…] Marilyn Monroe Vanity from Unique Creations By Anita […]
Deana Landers
April 20, 2021 at 12:38 pmAnita this dresser is beautiful. You did such an amazing job. Anything with Marilyn Monroe is timeless.
Anita Holland
April 21, 2021 at 6:43 pmThank you so much Deanna.
Linda Johnston
April 21, 2021 at 11:01 pmWell done! A fun look for this piece.
Anita Holland
April 29, 2021 at 3:01 pmThank you Linda
Rosemary Palmer
April 26, 2021 at 10:48 amLove this – would love to do one with Audrey Hepburn in her Tiffany outfit.
Anita Holland
April 29, 2021 at 3:02 pmThat sounds really great, you cant beat the classics.
Christina Woodcock
April 29, 2021 at 10:14 pmOh my it’s beautiful! Marilyn Monroe fans are going to fall in love with this! ❤️❤️
Anita Holland
May 1, 2021 at 8:36 pmThanks Christina, she will always be popular.
Saturday Snapshots Week Eight - My Home and Travels
May 1, 2021 at 9:50 pm[…] A Marilyn Monroe decoupaged dresser […]
Maria
May 11, 2021 at 11:54 amWow, this is for sure one of my favorite that you have done.
Anita Holland
May 12, 2021 at 9:51 pmThank you so much maria.
Cat Michaels
May 12, 2021 at 12:35 amWow! Very cool mid-century Luxe look, Anita! I can see this sitting in a film museum, too -:D!
Anita Holland
May 12, 2021 at 9:52 pmThank you so much for the awesome compliment Cat, I really do appreciate it.
A Crafty Mix | How to Give Melamine a Faux Distressed Metal Makeover - A Crafty Mix
December 8, 2021 at 2:47 am[…] stunning Marilyn Monroe-inspired redo from the very talented […]
How to Give Melamine a Faux Distressed Metal Makeover - A Crafty Mix
September 6, 2024 at 3:45 am[…] stunning Marilyn Monroe-inspired redo from the very talented […]