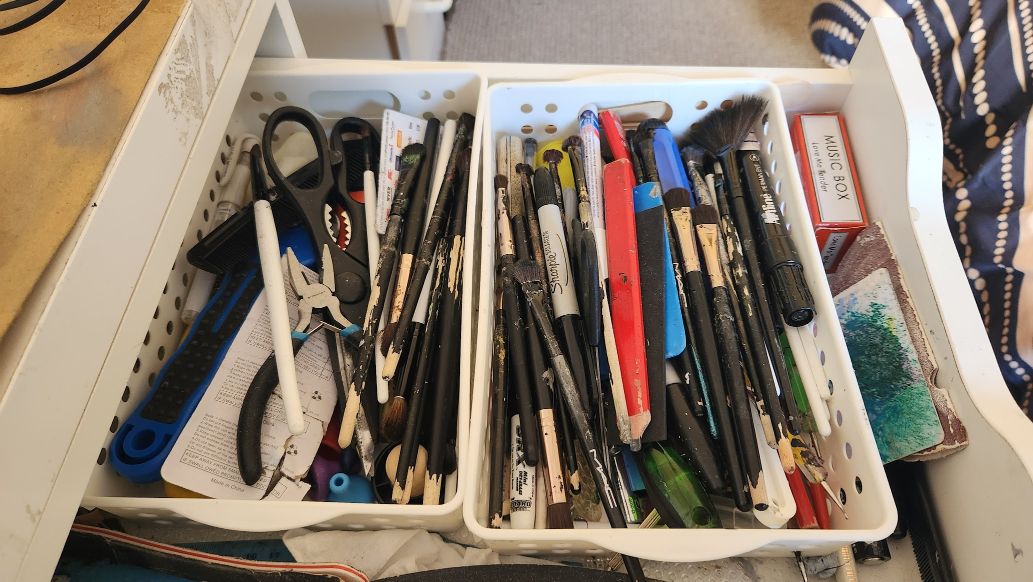
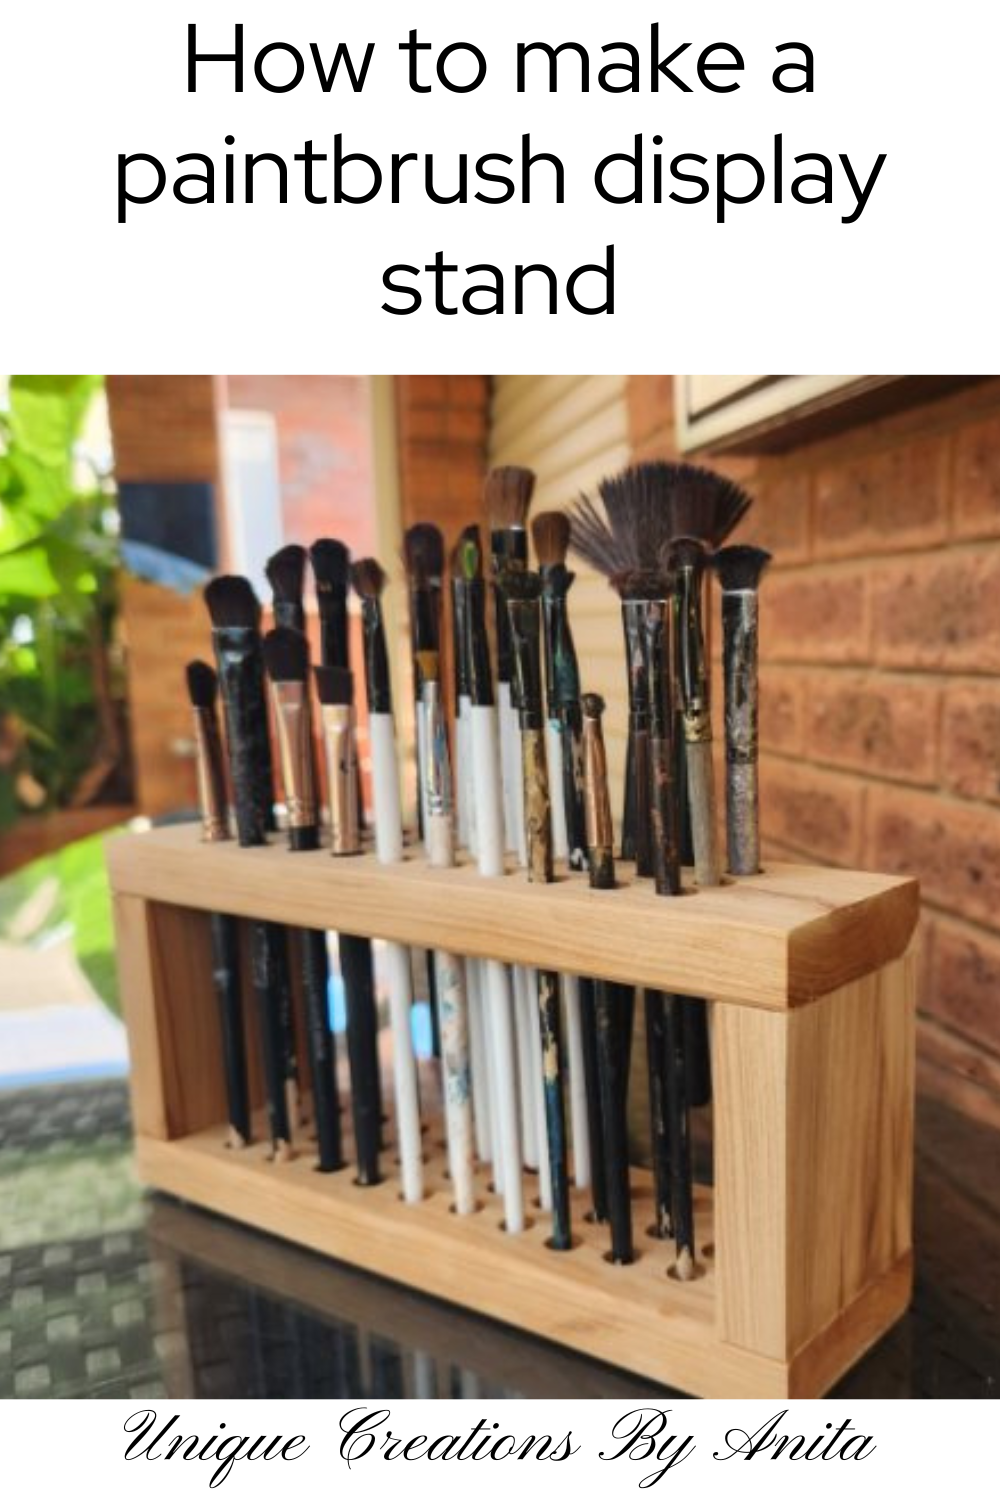
If you’re an artist, crafter, or DIY enthusiast, you’ll know the frustration of searching for the right paintbrush in the middle of a project. Brushes get lost in drawers, tossed in baskets, or buried under other supplies. In this tutorial, I’ll show you how to make a DIY wooden paint brush holder that keeps every brush organised and easy to reach. Not only does it save time, but it also looks stylish on your desk or craft table.
I created this project as part of the International Bloggers Club (IBC) challenge with the theme “Get Organised.” With my growing collection of paint brushes—including makeup brushes I use for applying wax paste—I needed a proper storage solution. This stand keeps everything neat, prevents damage to bristles, and makes it simple to grab the exact brush I need.
Before we dive into this tutorial, be sure to subscribe to my bimonthly newsletter to be the first to see my latest projects. You can also follow me on Pinterest and Facebook, where I also include my unique mixed-media art projects
DIY Wooden Paint Brush Holder for Artists and Crafters
*This post may contain affiliate links. This means I earn a small commission on links used at no extra cost to you. Please see my disclosure policy for more information.**
Materials Needed
- Recycled wood or plywood (cypress pine, pine, or similar)
- Orbital sander and sanding discs (120 grit)
- Pencil, ruler, and tape
- Drill with drill bits to match brush sizes
- Wood glue
- Clamps
- Nail gun (optional)
- Thickness planer (optional, if recycling painted wood)
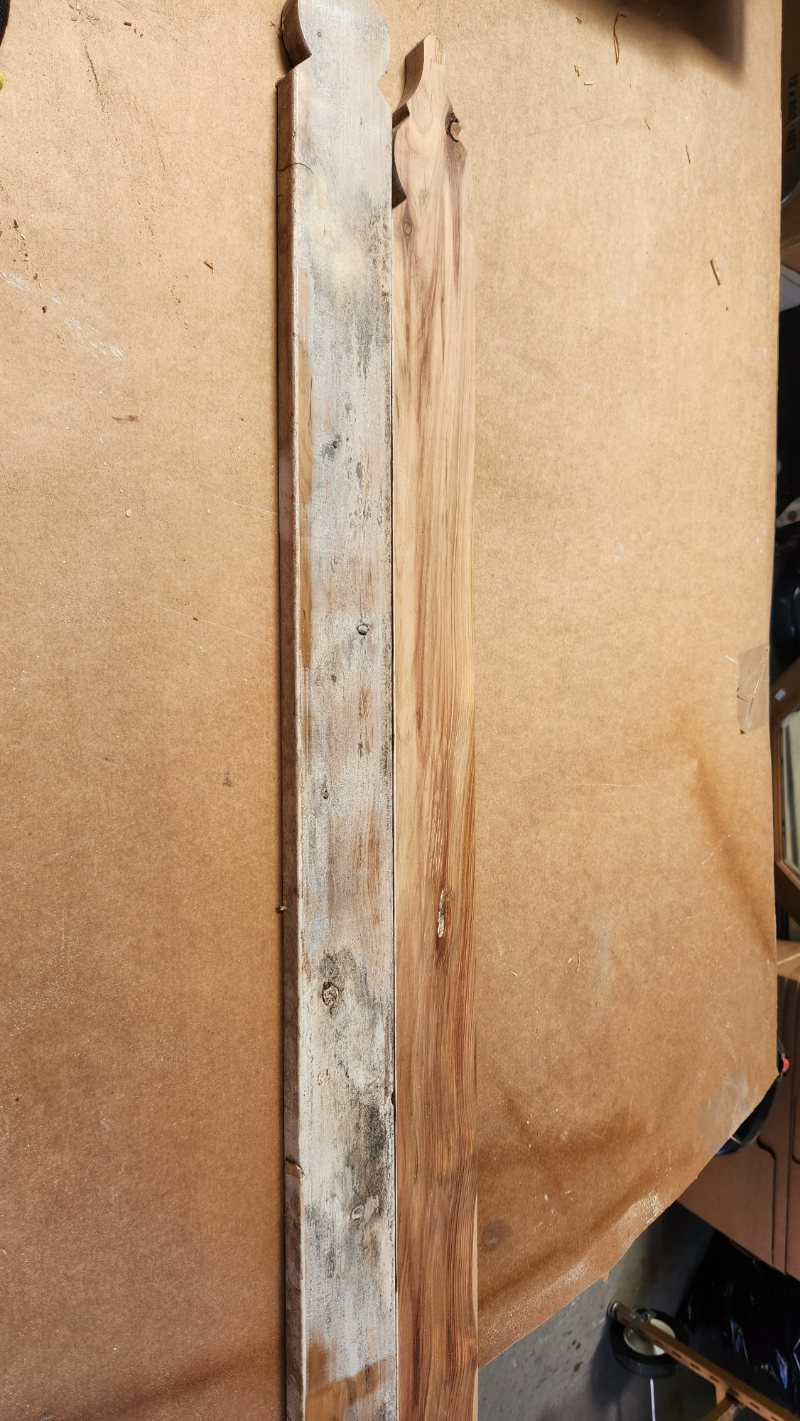
Preparing the Wood
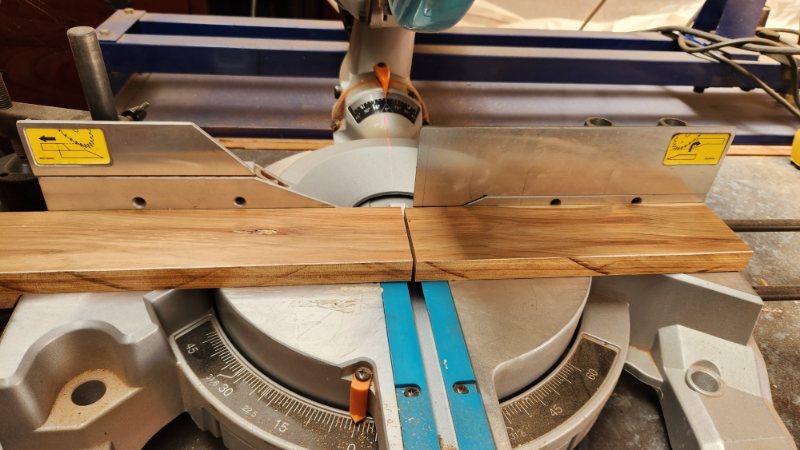
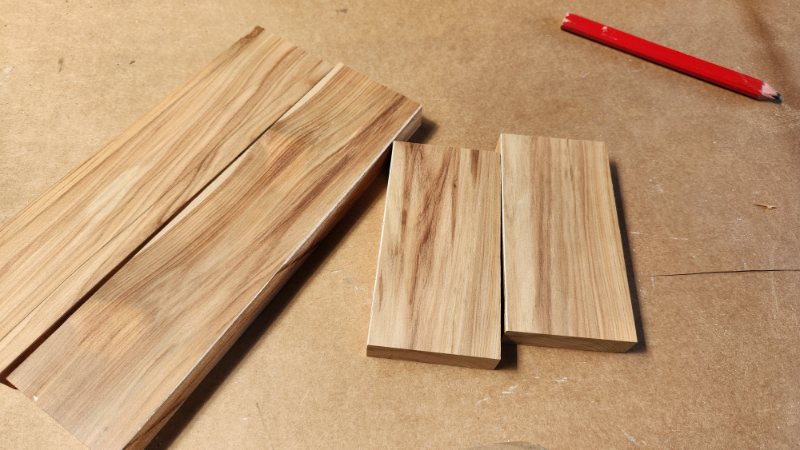
For this project, I recycled old painted picket fence panels. After running them through a thickness planer, I revealed beautiful cypress pine with a fresh surface. The wood was cut into:
- 2 pieces at 25 cm x 6 cm x 2 cm thick
- 2 pieces at 8 cm x 6 cm x 2 cm thick
If you’re working with different wood, adjust the sizes to suit your needs.
Once cut, sand the surfaces to remove paint, smooth rough spots, and prepare for drilling.
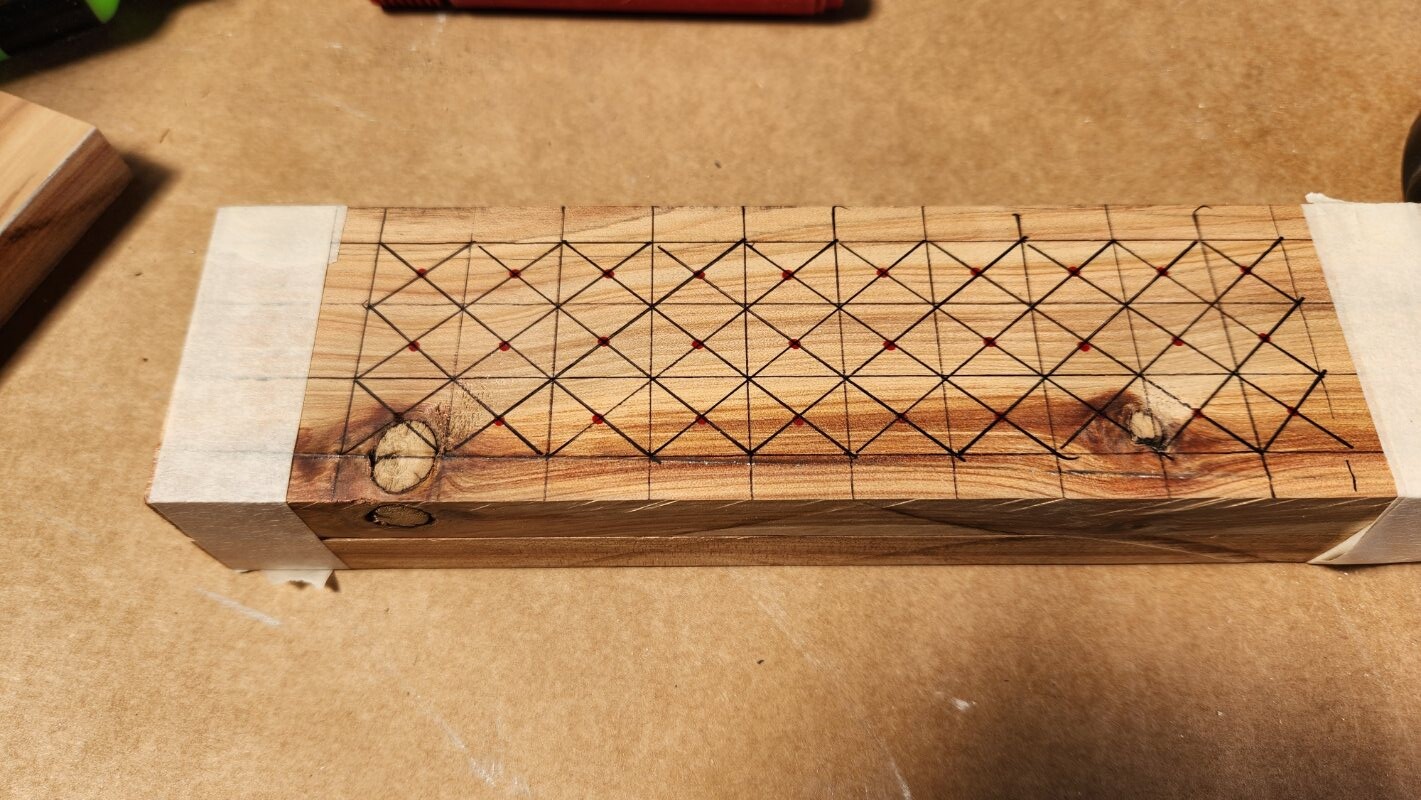
Marking Out the Holes
Measure and mark a grid of 2 cm squares across the top piece, leaving room on the sides for supports. Avoid using wood with knots—drill bits tend to slip across the hard grain, leaving uneven holes.
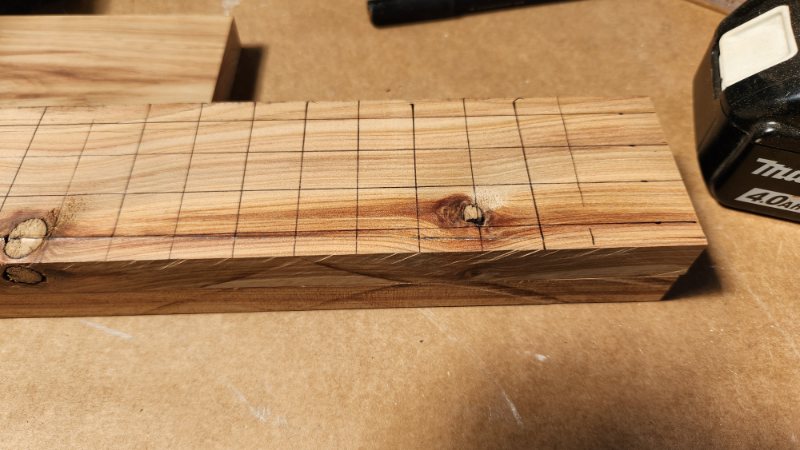
Mark each centre point clearly with a dot to ensure precise drilling.
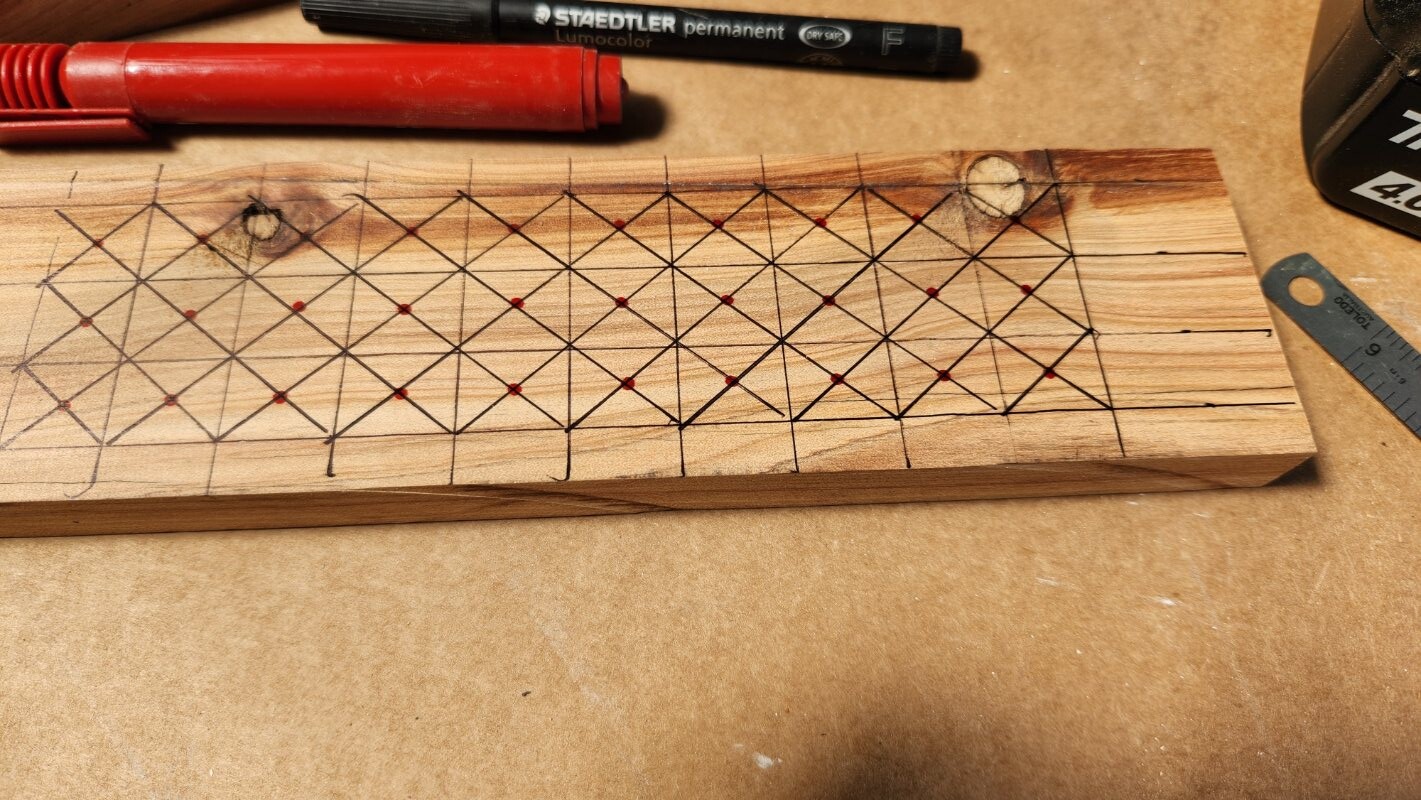
To keep the top and bottom holes aligned, tape the two wood pieces together before drilling.
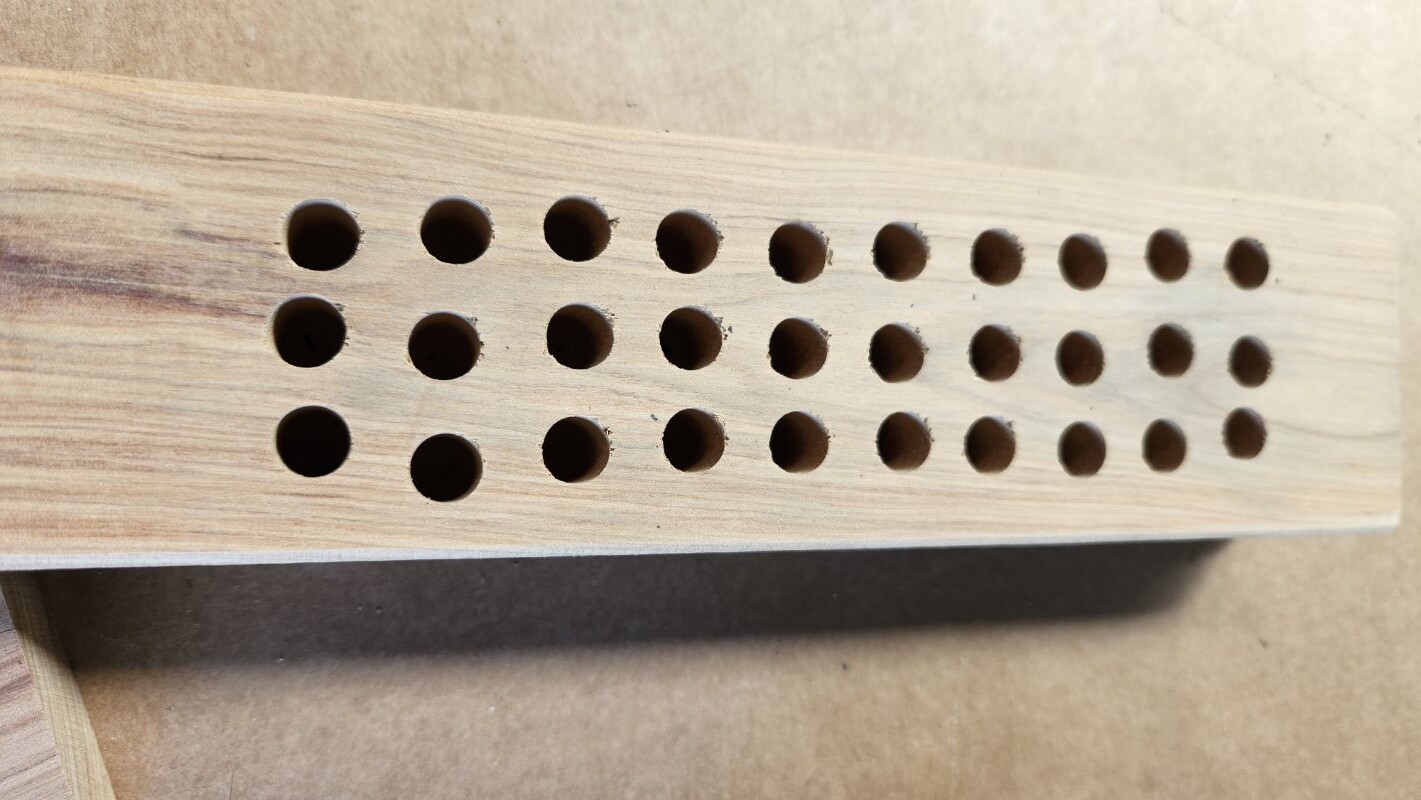
Drilling the Holes
Choose drill bits that match the thickness of your brushes. I prefer makeup brushes, which are softer and create fewer streaks on painted surfaces. They also work beautifully for wax paste. Mark the depth with tape on your drill bit so the holes stay consistent.
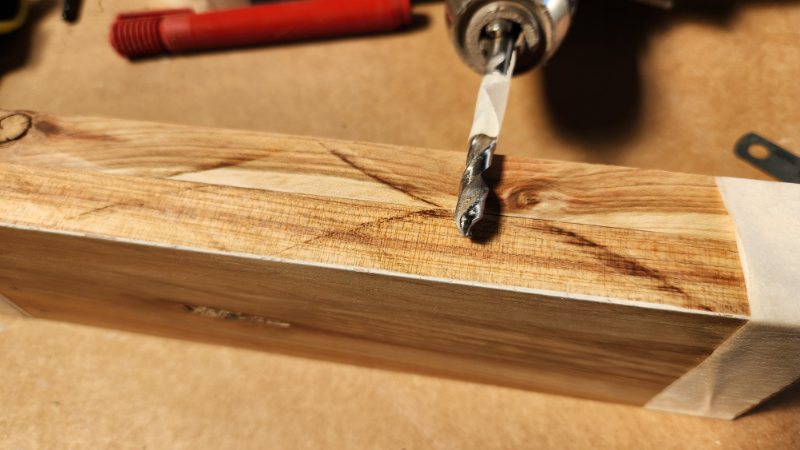
Drill slowly and keep the holes as straight as possible. If you reuse a template, make sure it’s accurate—my first attempt was uneven because I used wood with knots.
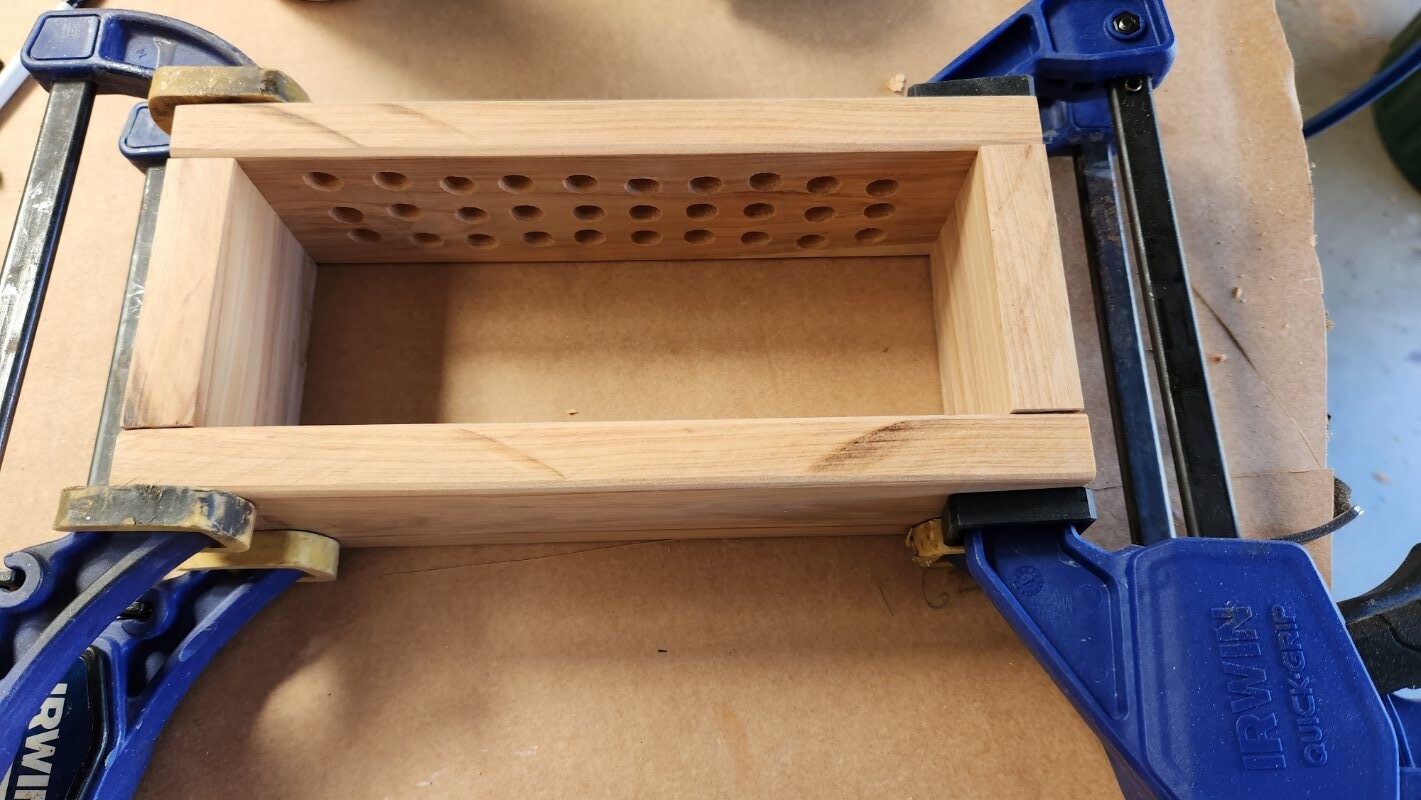
Assembling the Paint Brush Holder
Glue the side supports to the base piece and secure with a nail gun if desired.
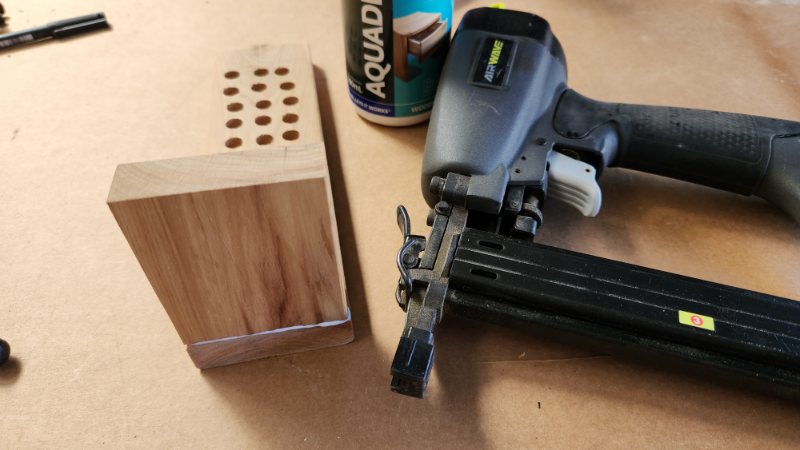
Attach the top section with wood glue, clamp it tightly, and allow it to dry fully.
Once dry, sand the entire holder with 120-grit paper for a smooth finish. Now you’re ready to insert your brushes and admire your new organiser.
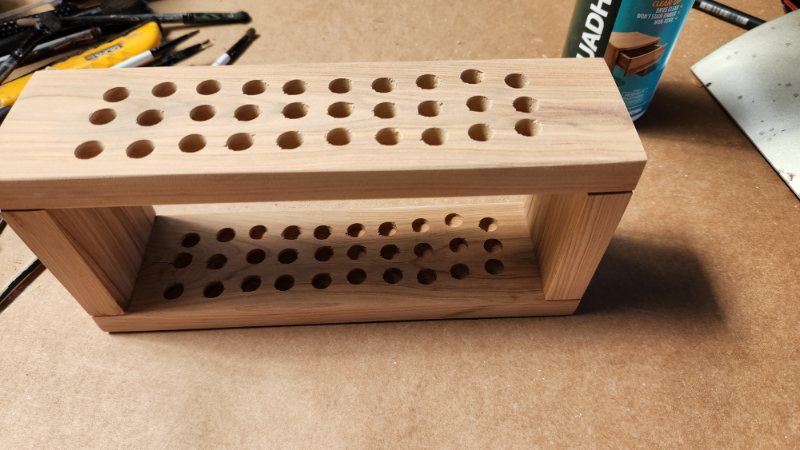
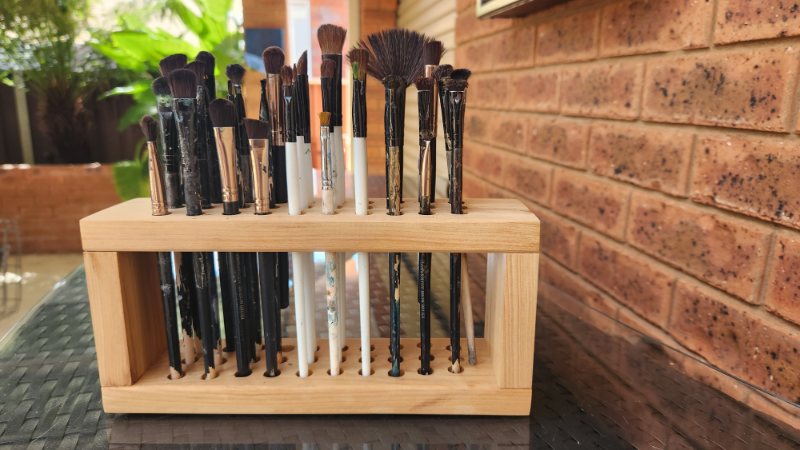
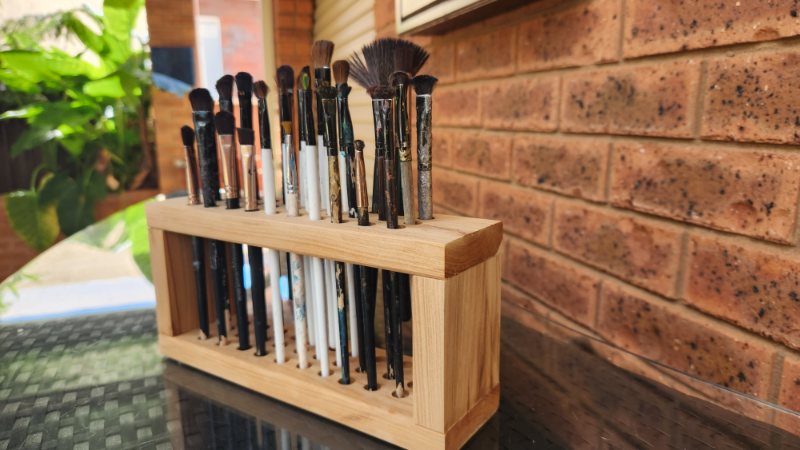
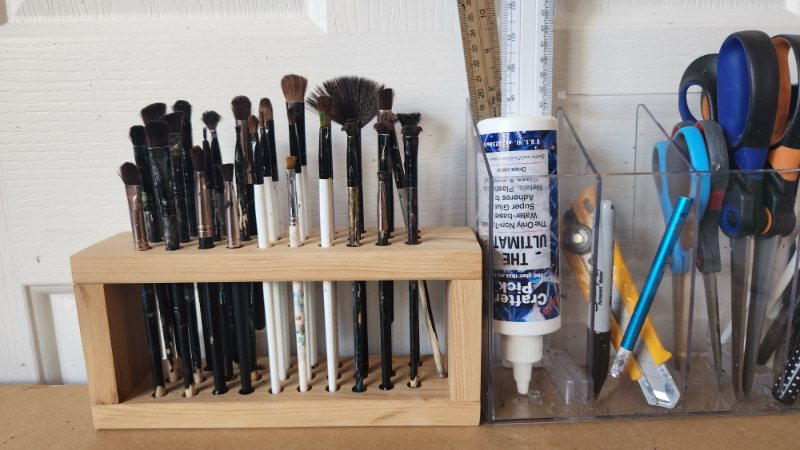
Finished Paint Brush Stand
This handmade wooden paint brush holder not only looks great but also makes painting and crafting so much easier. No more wasting time rummaging through messy drawers—you’ll have every brush neatly stored and ready to go.
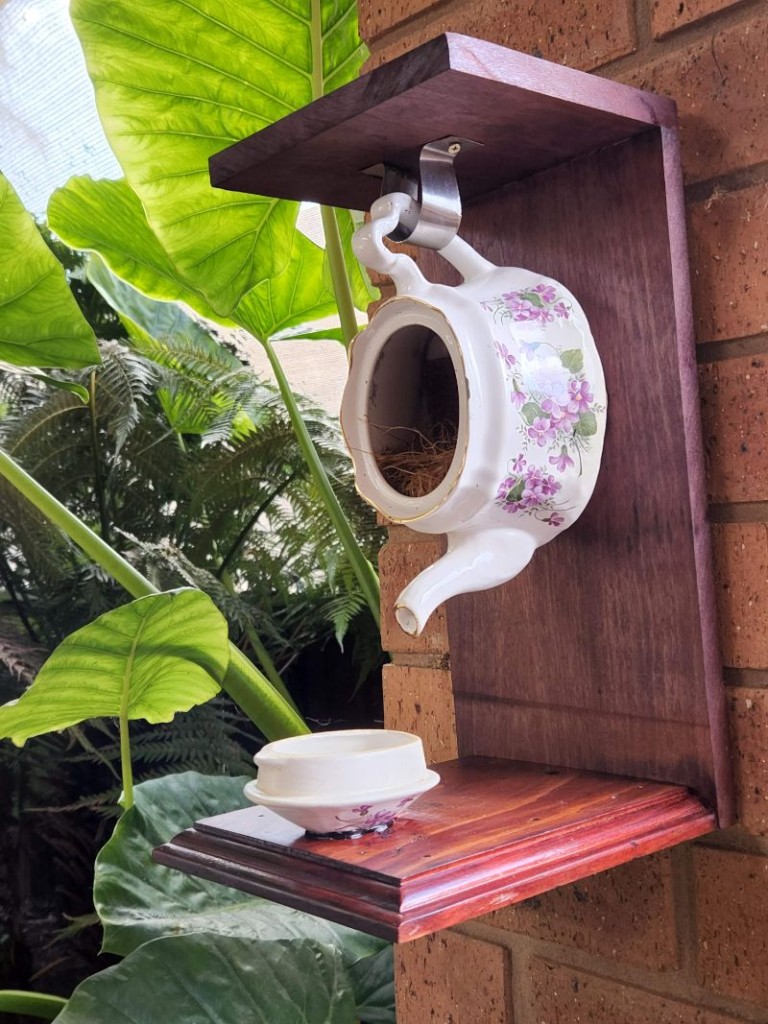
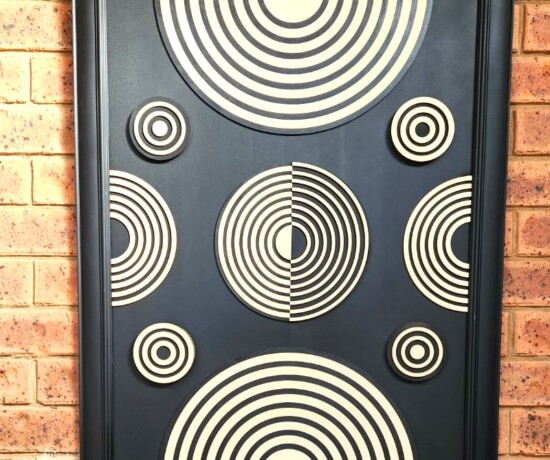
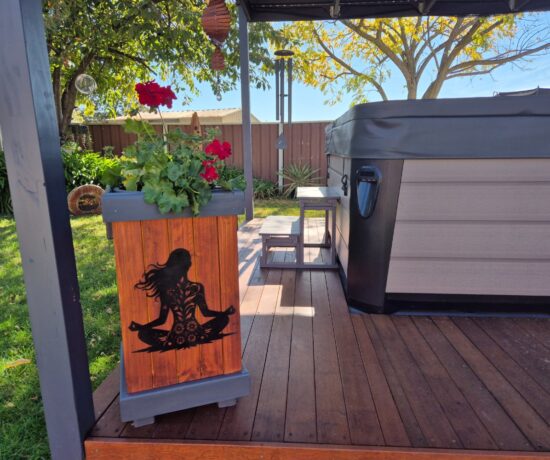
More woodworking projects you may like.
This birdfeeder was made with a recycled teapot and scrap wood.
Create unique wall art for your home using scrap wood offcuts and recycled materials.

More about IBC
If you follow my blog, you will know I am part of the IBC (International Bloggers Club), which is a group of talented bloggers from around the world. We have members from Spain, South Africa, Australia, the United States, and Canada. Each month, we come together and create a project with a common theme.
The “Get Organised” contributions from my fellow bloggers joining us this month are listed below. Please feel free to jump over and give them some love.
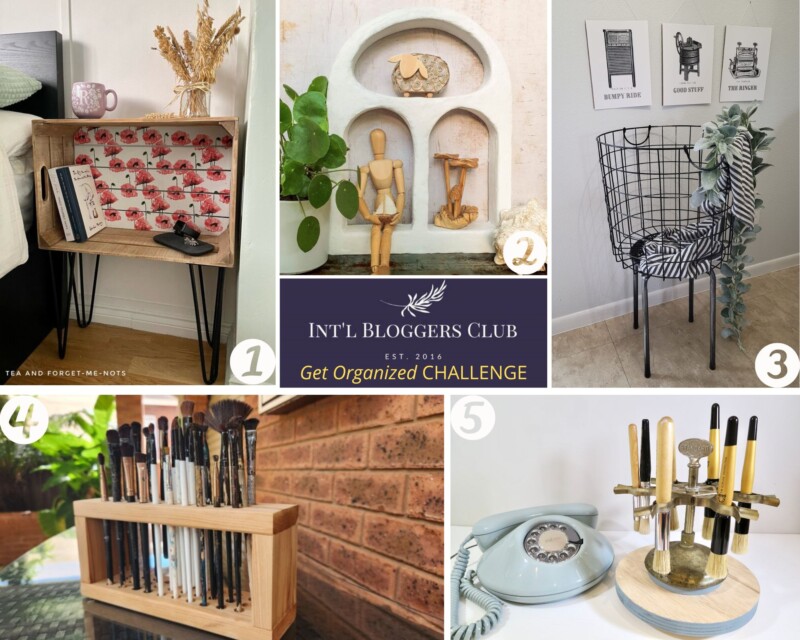
- Tea and Forget Me Nots| Rachel shared this cool bookshelf made from a crate
- A Crafty Mix|Michelle shares this unique Flintstones-inspired concrete shelf
- Fifth Sparrow No More| Kristin shared how to recreate a vintage French laundry basket
- Me
- Birdz of a feather| Sara shared another unique way to store your paint brushes.

If you’re interested in any of the items used in this project, we’d appreciate it if you used our affiliate links. Clicking these links earns us a small commission at no extra cost to you, helping us create more inspiring and exciting projects to share. We’d also love to hear your thoughts—feel free to leave a comment or share this post!
9 Comments
A Crafty Mix | DIY a Unique Flintstone-Inspired Concrete Shelf - A Crafty Mix
March 20, 2023 at 11:01 pm[…] when you can’t find the right bits to repurpose, this wooden one crafted by Anita at Unique Creations is a great […]
Rachel Bowyer
March 21, 2023 at 5:32 pmThis looks great but also achievable even with my lack of woodworking skills. Could definitely do with a space for the small brushes. Thanks for the idea!
Anita Holland
March 22, 2023 at 5:35 pmI am sure you could, it was very easy to make.
Michelle Leslie
March 21, 2023 at 5:37 pmI have got to make one of these this weekend. My paintbrushes are all over the place; half the time, I don’t even remember where I left them either. It drives me nuts. I’ll probably end up making two, so I can keep the oil brushes separate from the general craft ones. Great idea, thanks, Anita
Anita Holland
March 22, 2023 at 5:56 pmThanks Michelle, it was so easy to make I will be making more.
sara allen
March 21, 2023 at 8:33 pmAwesome project Anita! Like MIchelle, I need to make one of these too; I have plenty of brushes. That Cyprus is beautiful; you have all the best toys to pull this off lol.
Anita Holland
March 22, 2023 at 5:55 pmThanks so much Sara. I must be honest, I get more excited over new tools than clothes and other girls stuff anyday. 🤣🤣
Kristin
March 22, 2023 at 1:08 amOh this is the best – I too have paintbrushes spread out from here to there! This is a great way to keep them at hand.
Anita Holland
March 22, 2023 at 5:38 pmThanks Kristin, this is about as organised as I get. And it works really well.