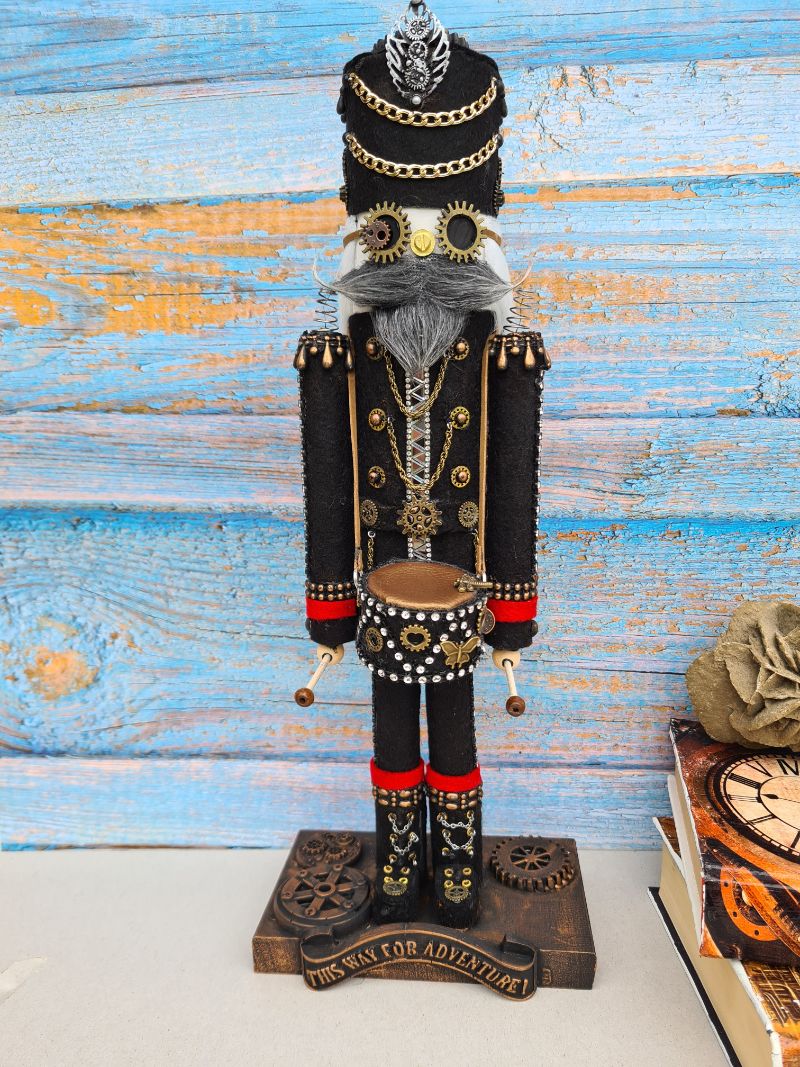
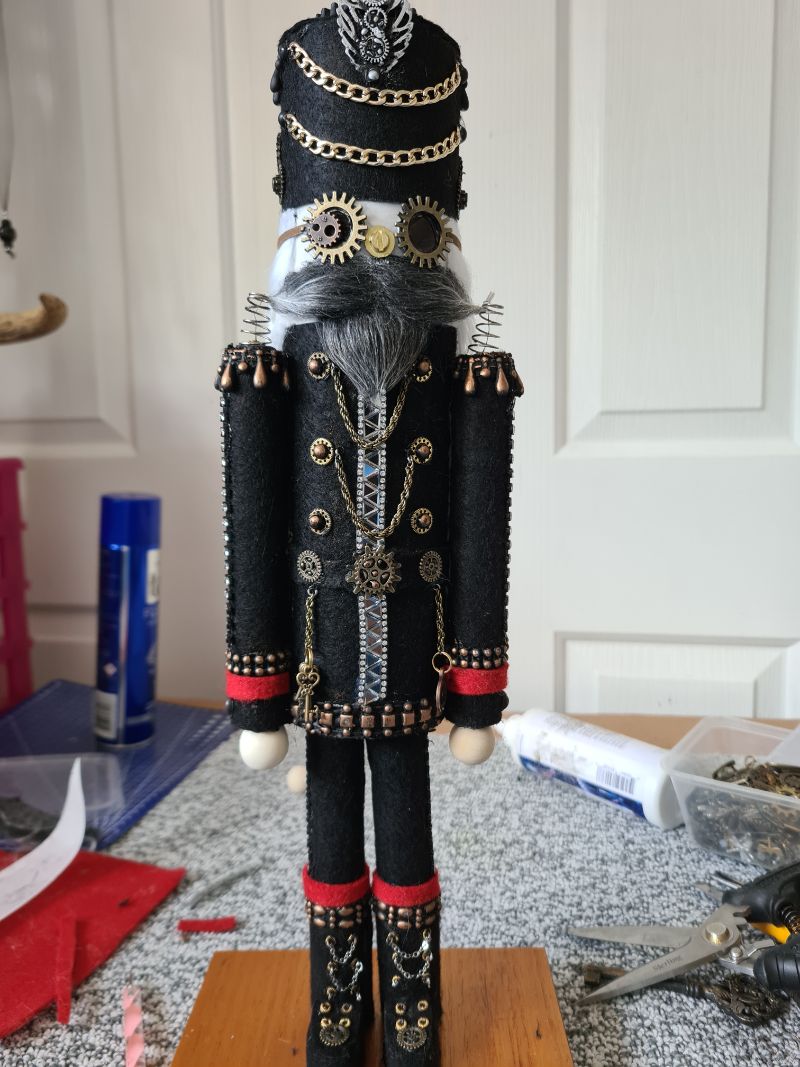
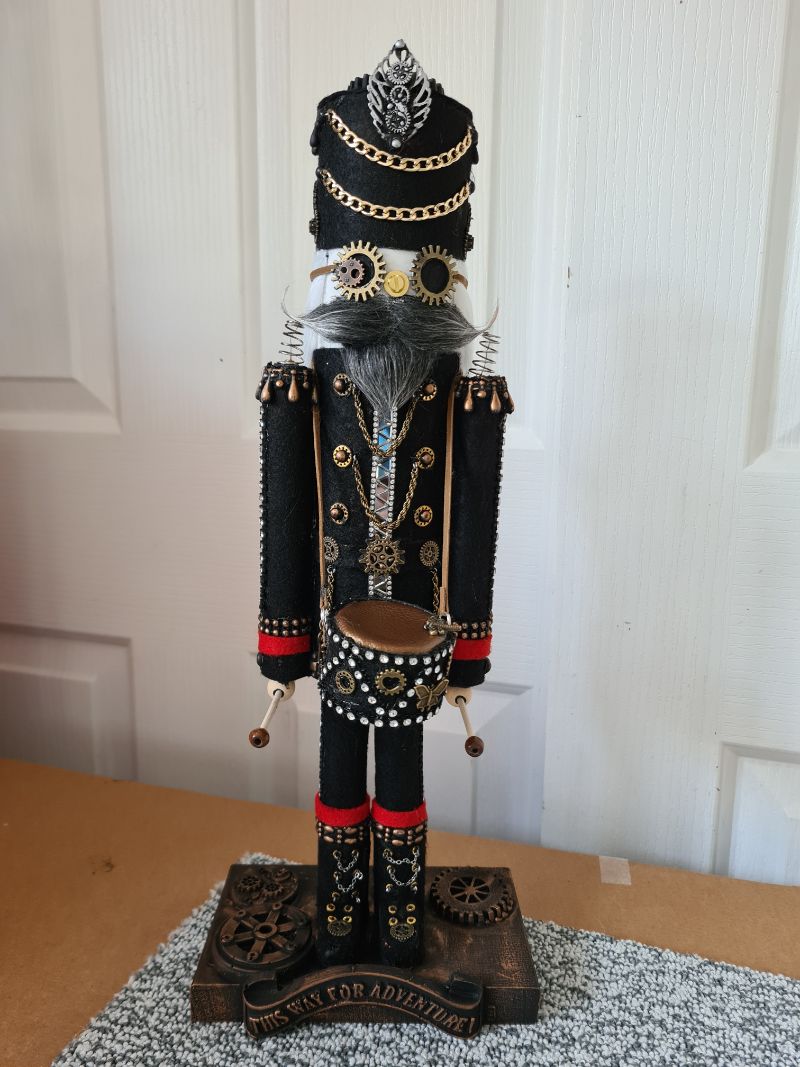
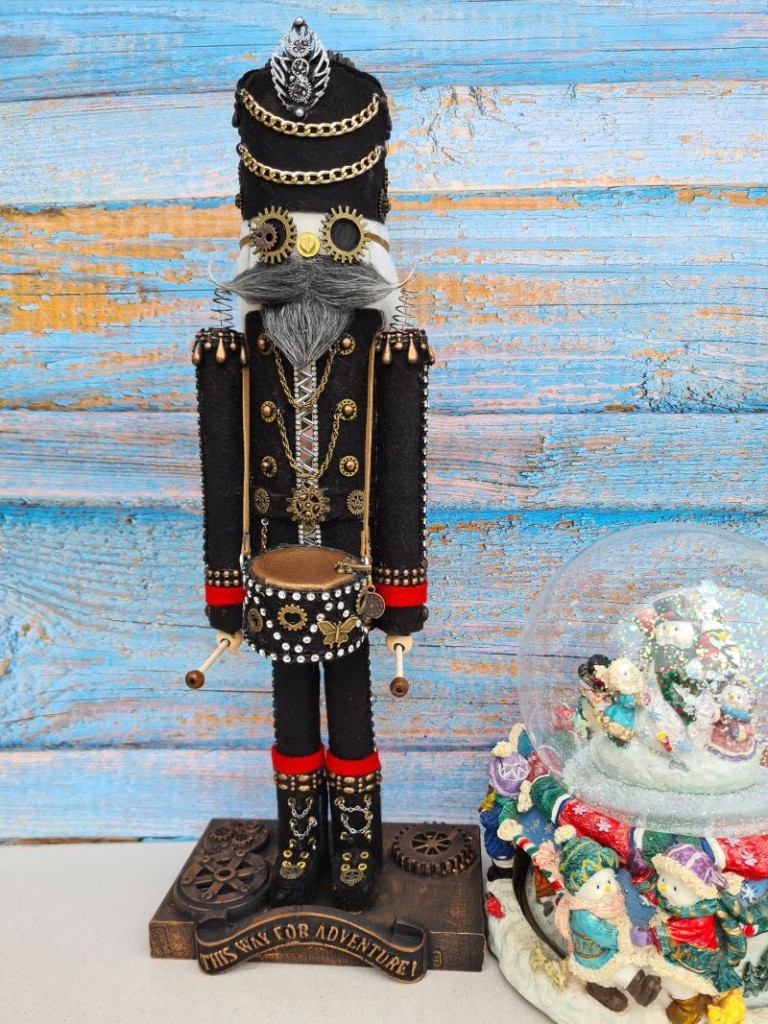
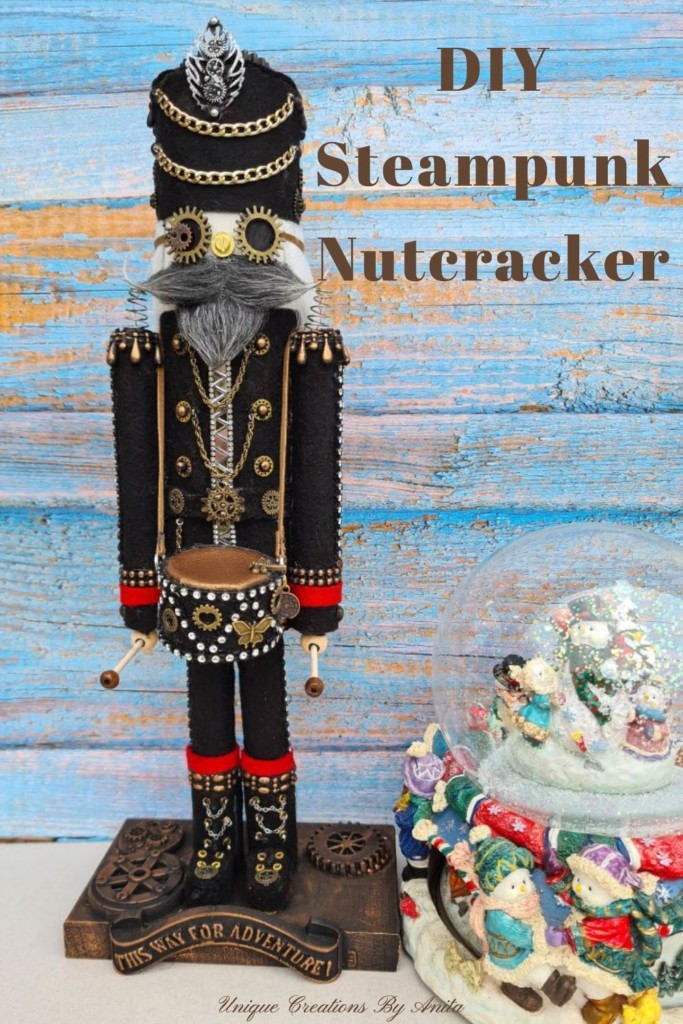
For this month’s International Bloggers Club (IBC) challenge, the theme was “Felted Fixation.” My interpretation was simple: create something using felt. With Christmas just around the corner, this DIY Steampunk Nutcracker came to life.
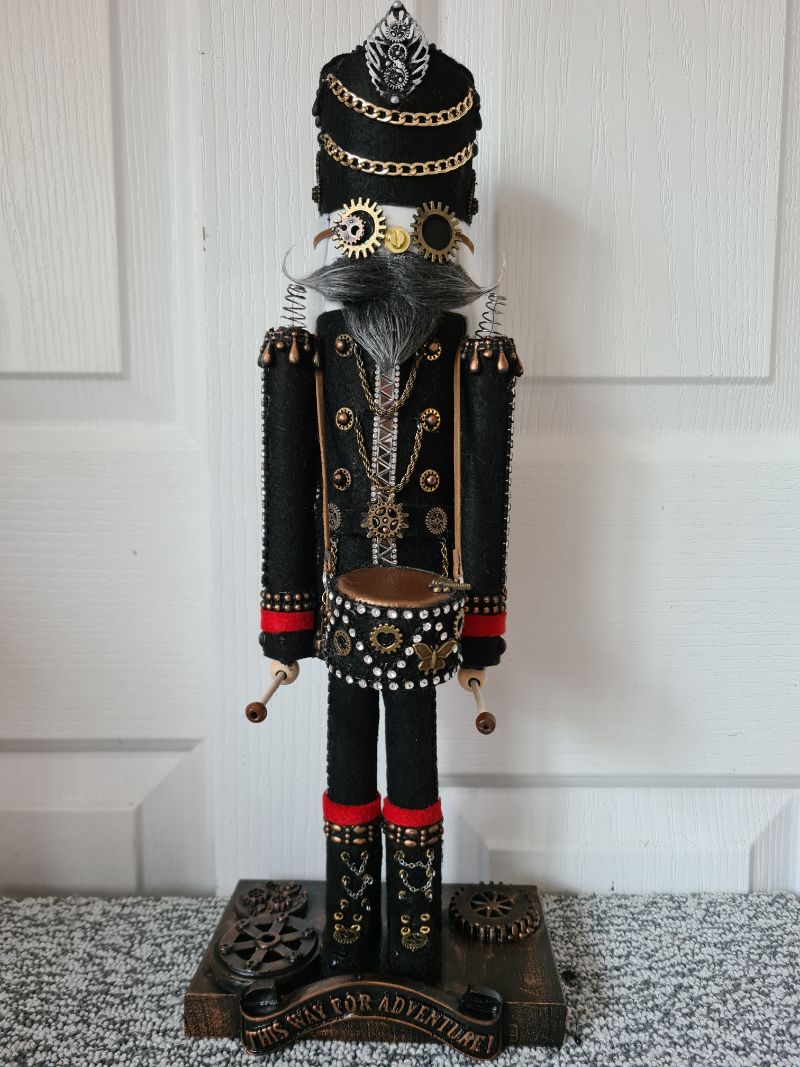
I turned a humble postal tube and scrap dowels into a character-packed nutcracker, finished with steampunk goggles, chains and a faux-fur beard. It’s quick to build, fun to decorate and a great way to use recycled materials you already have. Read on to see how I made the base form in minutes, then layered felt and found bits to create a unique holiday piece that suits your style.

Before we dive into this tutorial, be sure to subscribe to my bimonthly newsletter to be the first to see my latest projects. You can also follow me on Pinterest and Facebook, where I also include my unique mixed-media art projects
DIY Steampunk Nutcracker with Felt — Recycled Christmas Craft
*This post may contain affiliate links. This means I earn a small commission on links used at no extra cost to you. Please see my disclosure policy for more information.**
Materials you’ll need
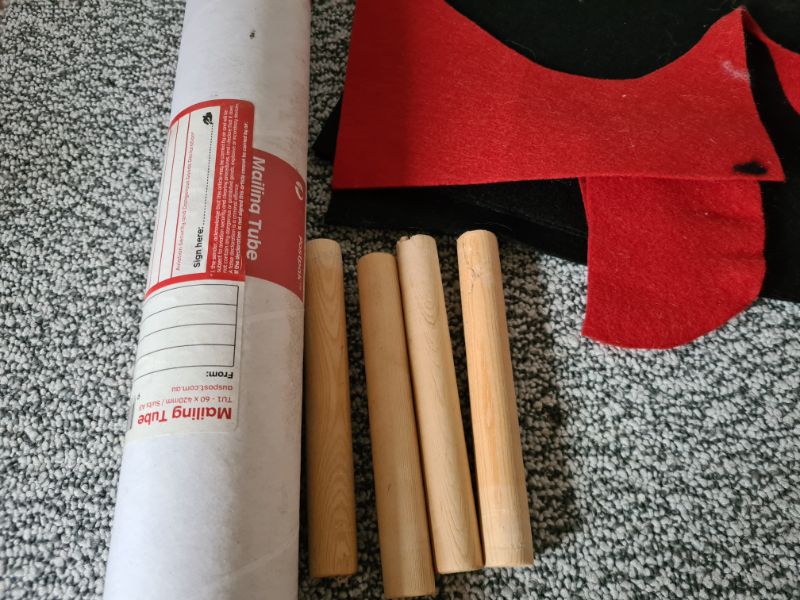
- Postal tube with lid (body), approx. 26–30 cm long
- 4 wooden dowels, 14 cm long x ~2 cm diameter (arms and legs)
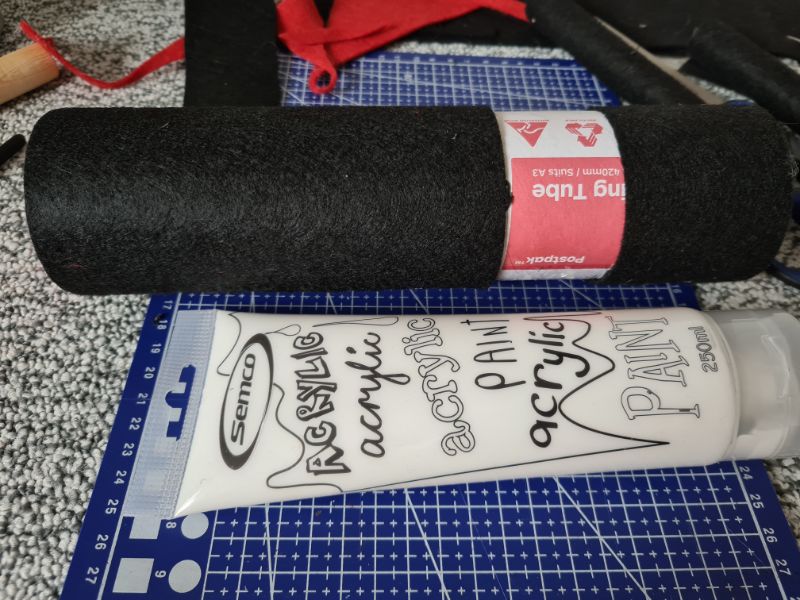
- 2 × A4 sheets of felt (I used black; choose any colour)
- Hot glue sticks and hot glue gun
- Wooden base block, approx. 16 cm × 10 cm × 2 cm
- Screws (for fixing legs and securing to base)
- Faux Mongolian fur offcut (beard and moustache)
- Junk jewellery chains, spacer beads, pearls or trim
- Washers and small gears (for steampunk “glasses”)
- Springs or wire to coil into springs
- Rhinestone mesh/trim (for drum)
- Small paint tub or similar cylinder (drum body)
- Leather lace or cord (drum strap)
- Matchsticks and beads (drumsticks)
- Silicone moulds and casting resin for base embellishments (optional)
Making the nutcracker body
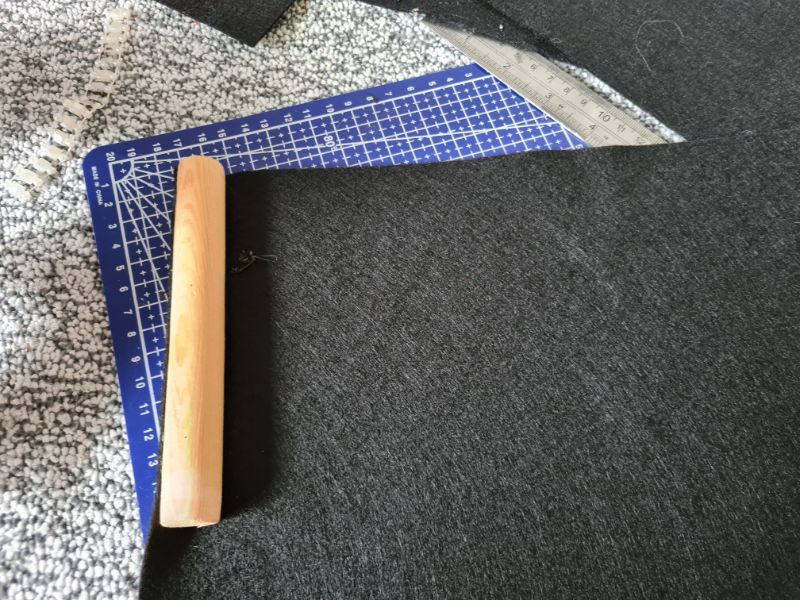
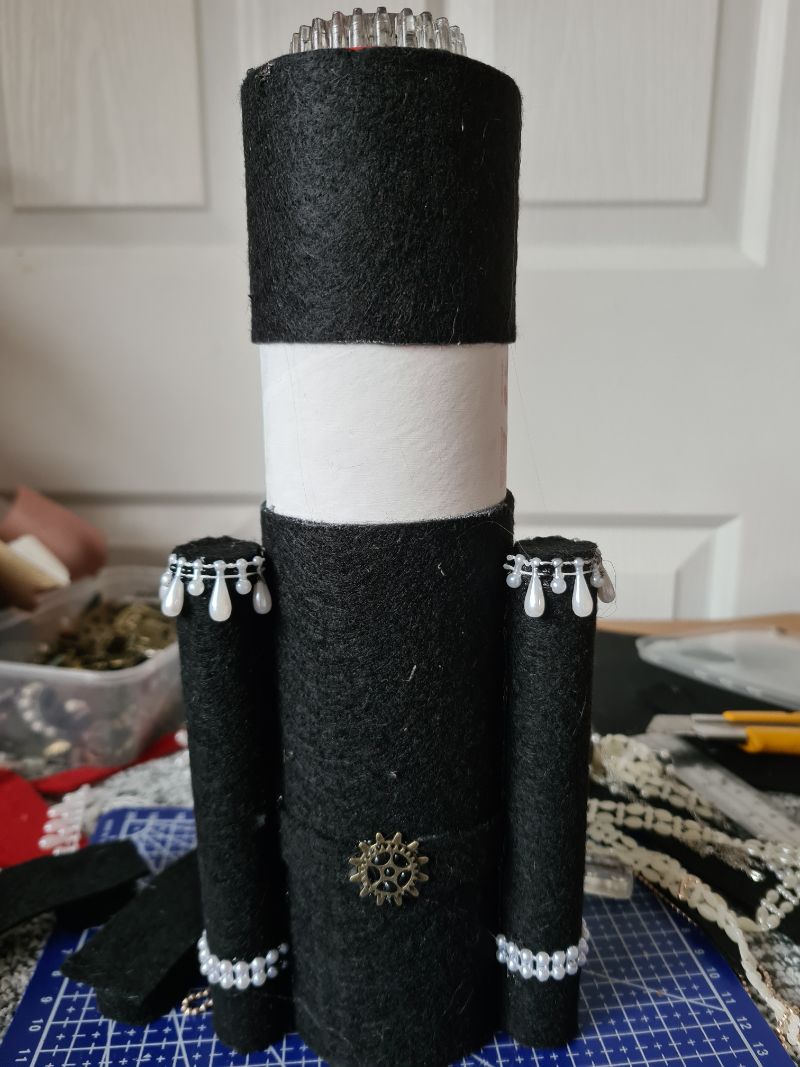
Start by cutting the postal tube to the length you want. Because I used recycled materials, I worked with what I had at home. The dowel pegs came from an old pegboard, so I cut the tube to suit their proportions—26 cm long. You can buy A4 sheets of felt from a budget store for about a dollar; I used two for this project. Using a hot glue gun, attach the felt to the top and bottom of the tube, leaving a gap for the face. Paint that gap with white acrylic to create a clean area for the facial features.
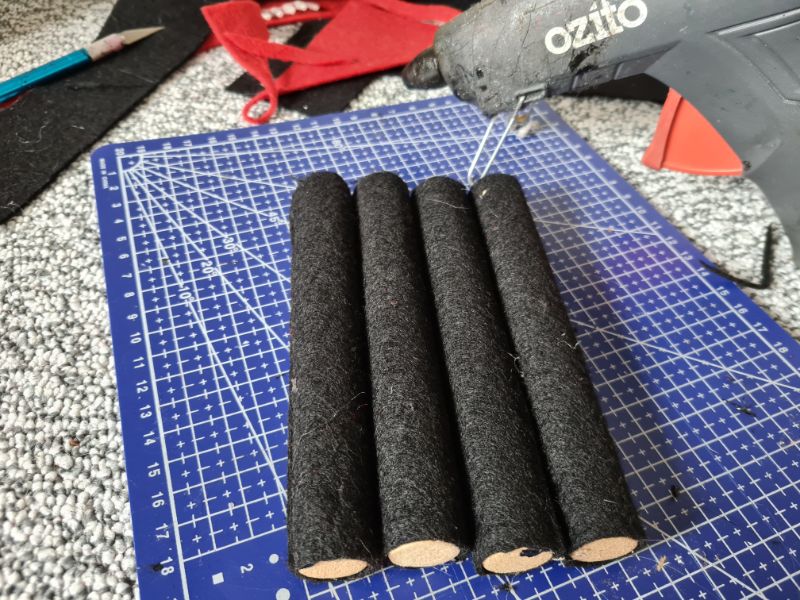
Cover the arms and legs
An easy way to cover the dowels is to run a line of hot glue along the dowel and align it with the edge of the felt.
Then just roll the dowel in the felt until the edges meet, then cut away the excess.
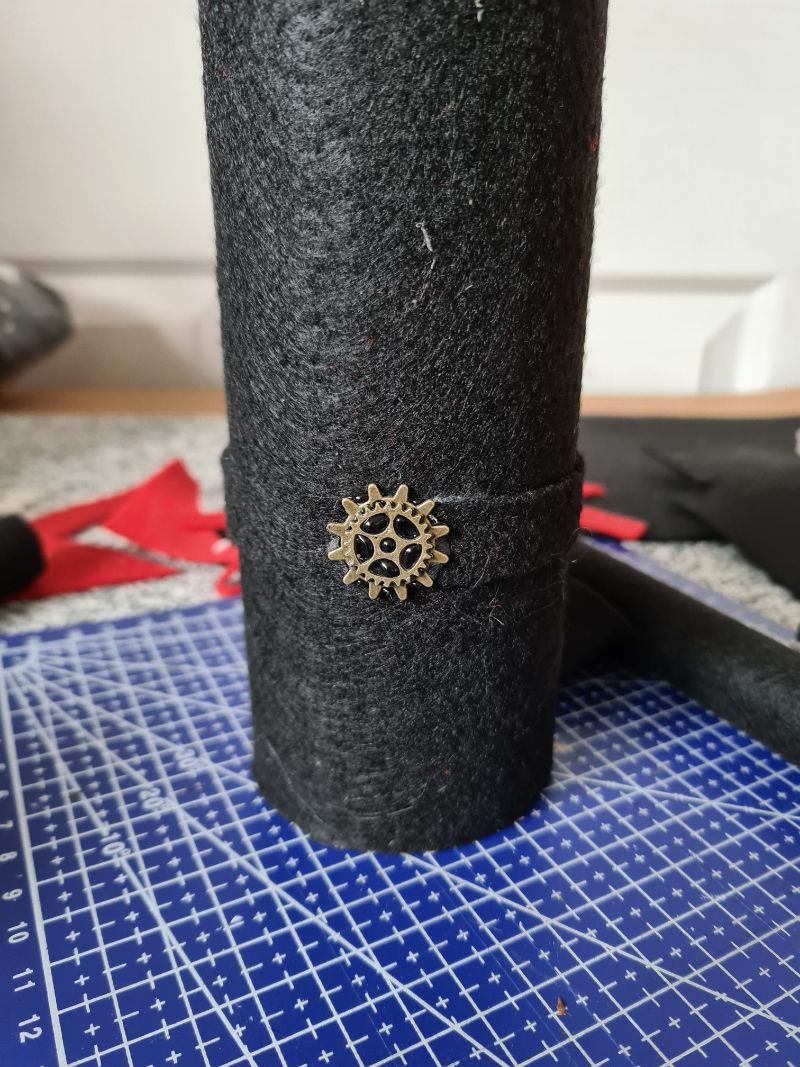
Cut small strips of felt to make some cuffs and a belt for your nutcracker.
I layered the felt so it was clear he was wearing boots.
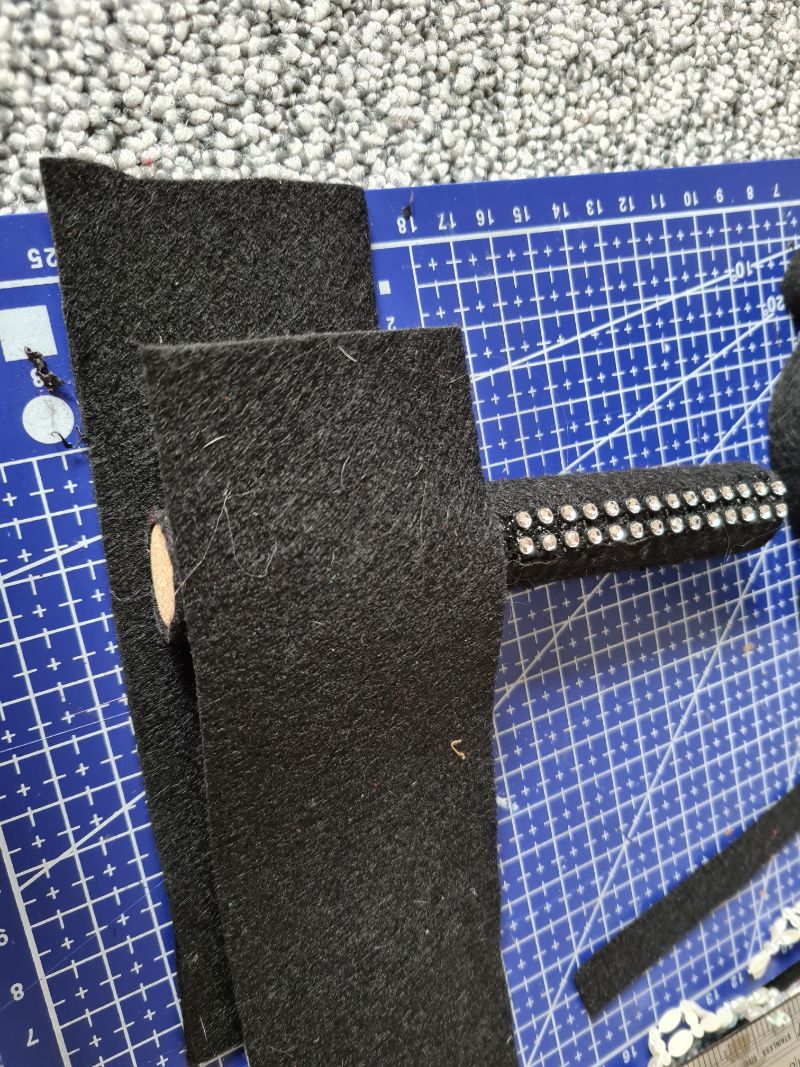
Attach the arms
Dry-fit the arm height so the hands sit just below the waist. If you’re using dark felt, black hot glue hides joints well. Glue each arm to the body with firm pressure and let the glue set.
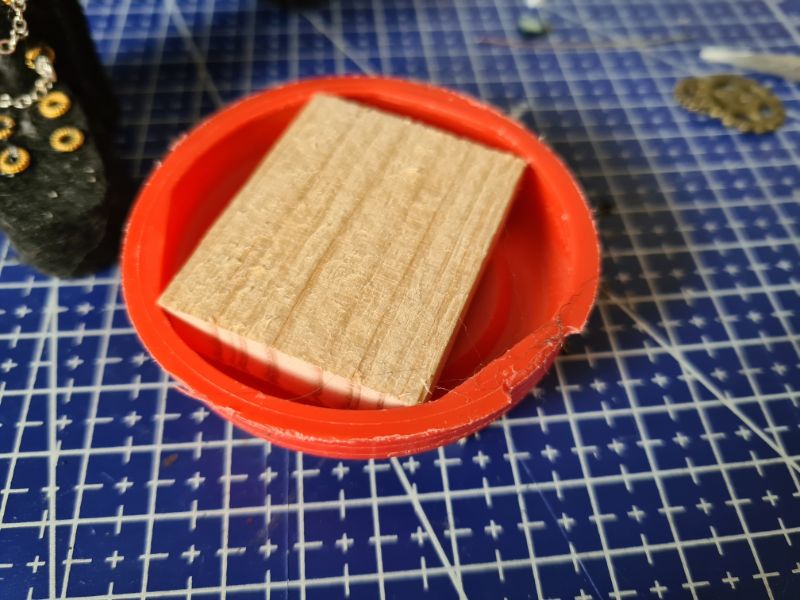
Build stronger legs and fix them to the base
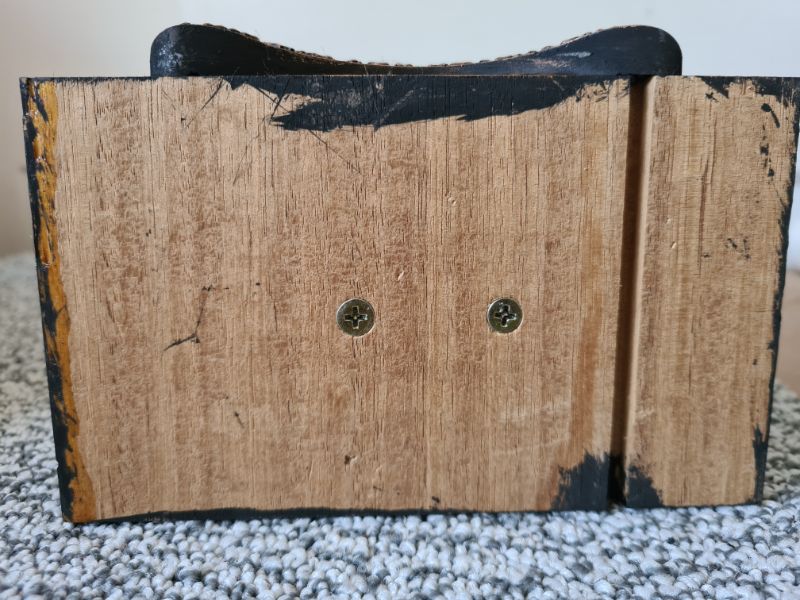
Because the figure is tall, give the legs a mechanical fix: place a small wood piece inside the tube lid and another outside the lid to sandwich it. Drill a pilot hole through both and drive a screw to lock them together. Drill a pilot hole in the top of each leg dowel and screw up through the outer wood piece into each dowel. Glue or press the finished lid back into the tube.
Drill pilot holes in the bottoms of the legs and matching holes in the wooden base block. Drive screws from underneath the base into the dowels. This keeps your nutcracker secure and upright.
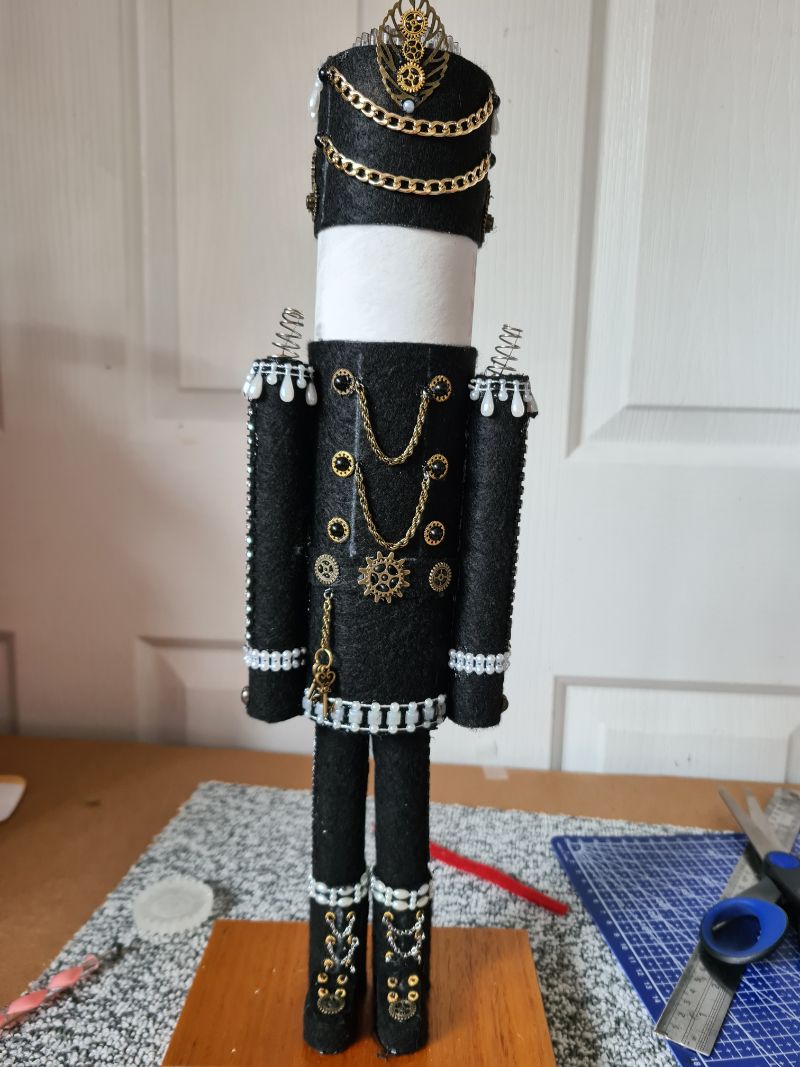
Decorating the nutcracker in steampunk style
Because I chose a steampunk theme, I raided my craft stash for bits and bobs. I do tend to go overboard to make my projects unique, but you can decorate yours however you like. If you want to create one similar to mine, here’s what I used: chains from broken junk jewellery; springs from a busted battery toy (or wrap wire around a pen to make your own); spacer beads from a beaded bracelet for the shoelace eyelets; and pearl trim sold by the metre in lots of designs.
Making the beard and moustache
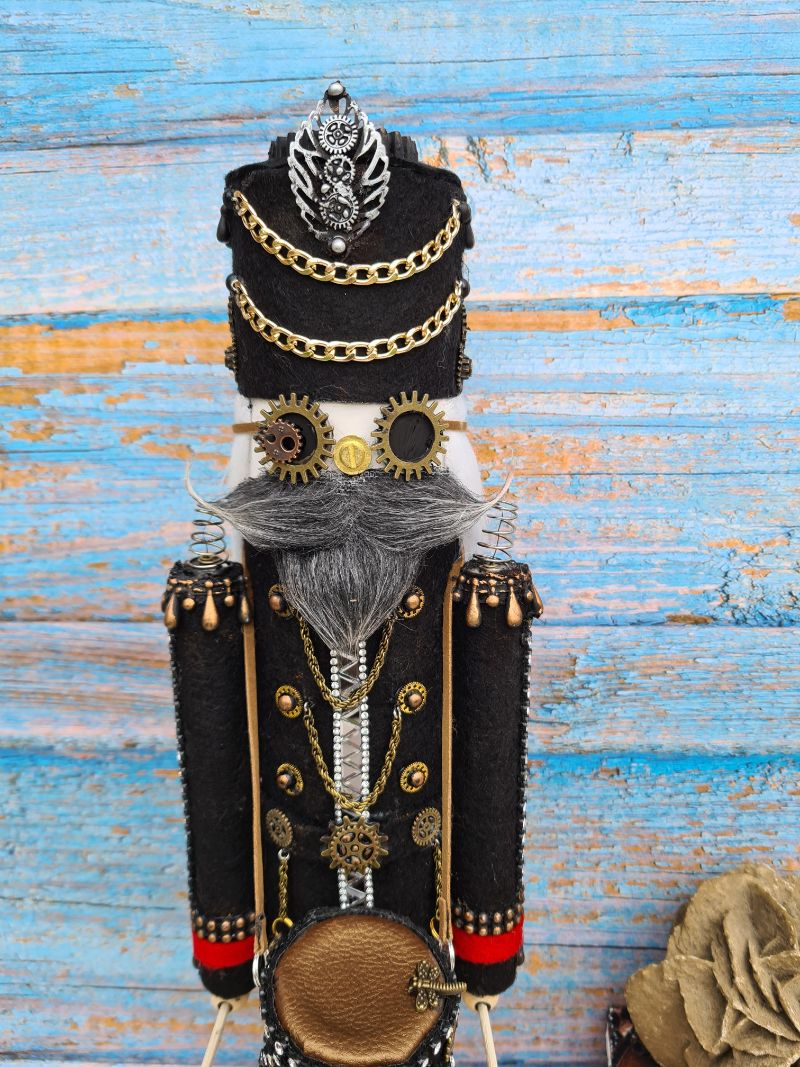
I’m very creative, but I can’t draw to save my life. After a few hideous attempts at sketching a face, I admitted that drawing isn’t my thing. To get around it, I covered most of the face with accessories. I used Mongolian fur to make a full moustache and beard.

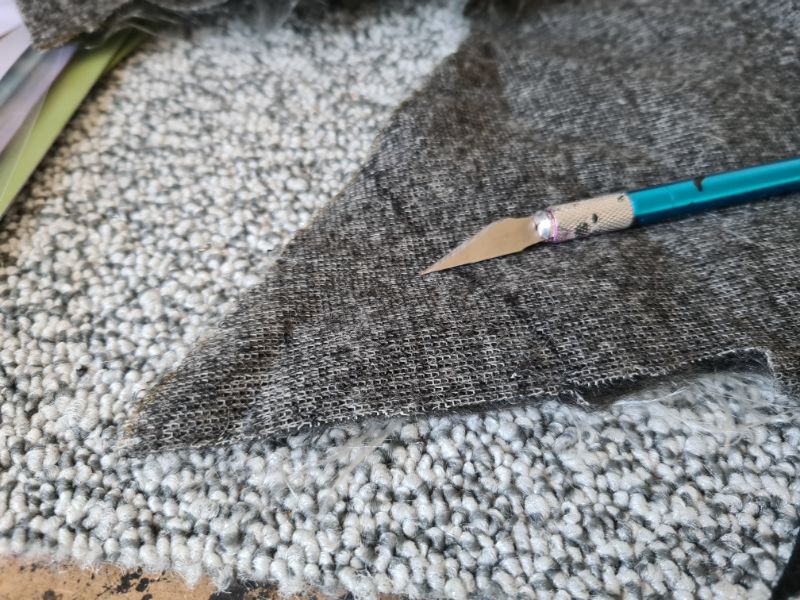
For the beard, cut a small triangle from the faux fur with a craft knife. Flip it over and slice only the backing—this prevents a harsh, straight cut in the pile.
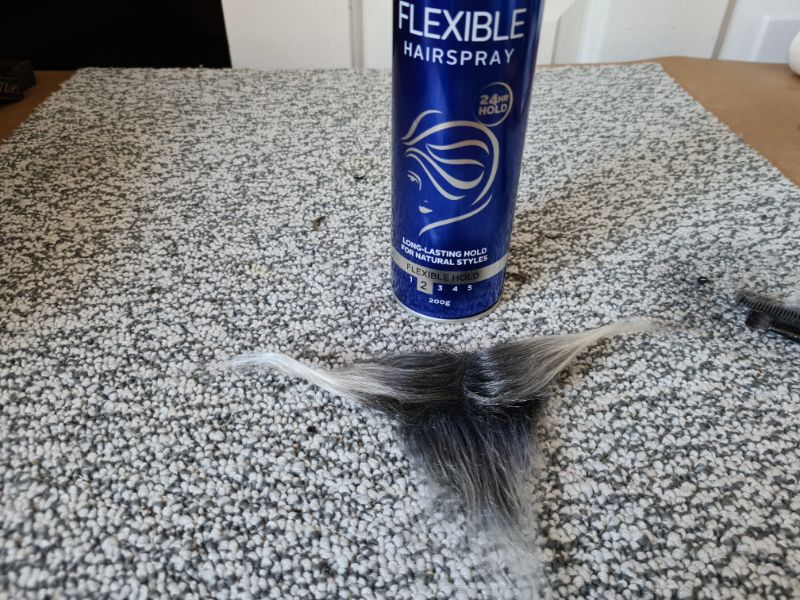
Use a comb to part the beard and moustache. Mine was a bit too bushy, so I trimmed it and set the shape with hairspray.
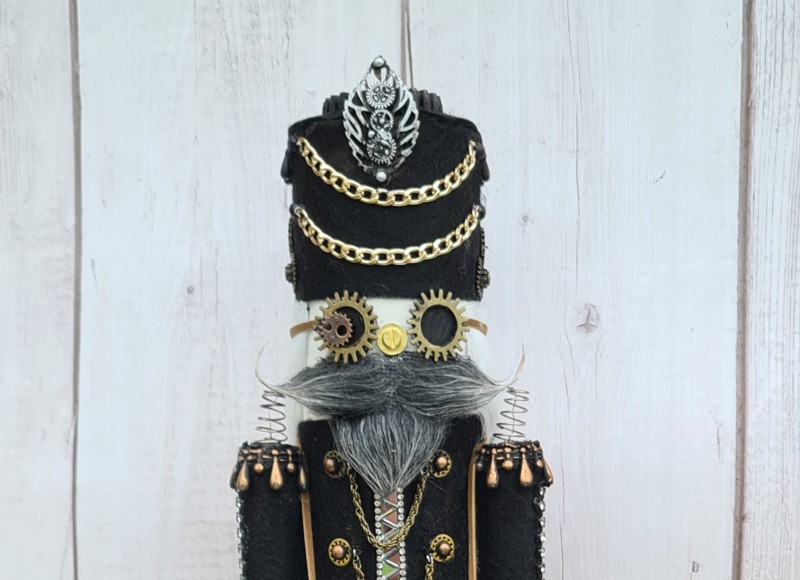
Steampunk glasses were made from washers and gears, with a piece of plastic film sandwiched between and painted black to hide the missing eyes. A screw head became the nose.
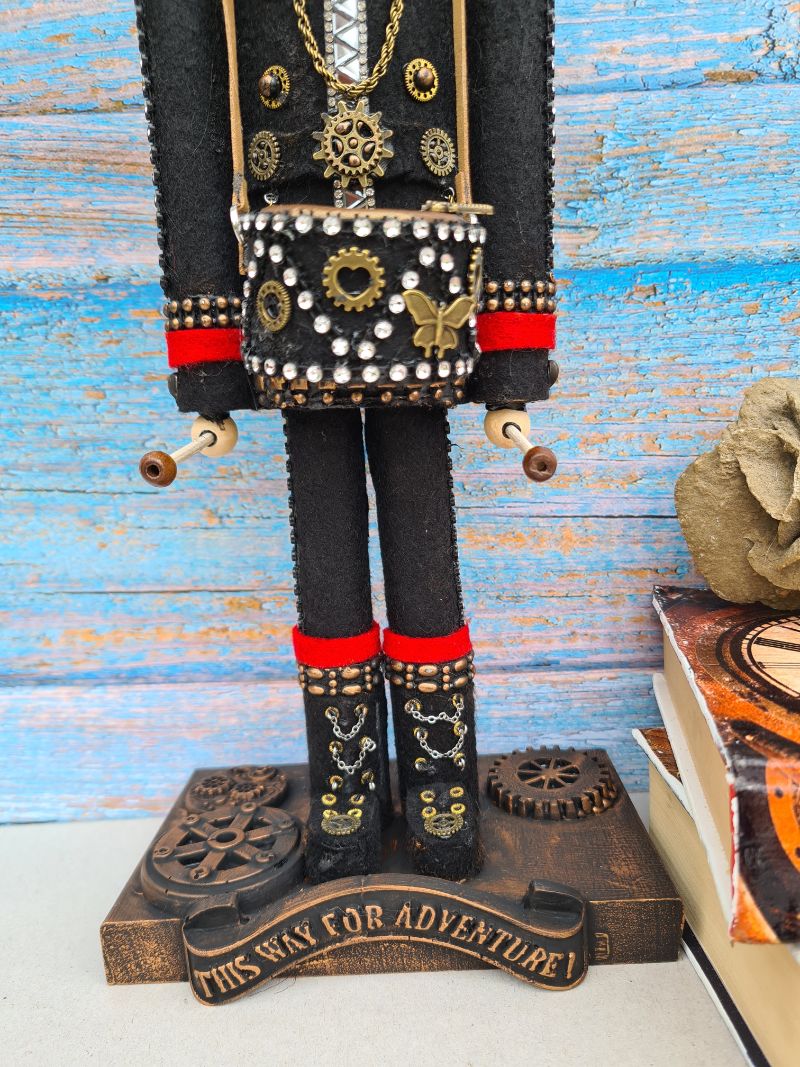
I shaped simple shoes from air-dry clay, but they looked a bit naff. To tidy them up, I wrapped each one in felt—which worked a treat—and hot-glued them to the wooden base.

The hands are wooden beads glued to the ends of the dowels.
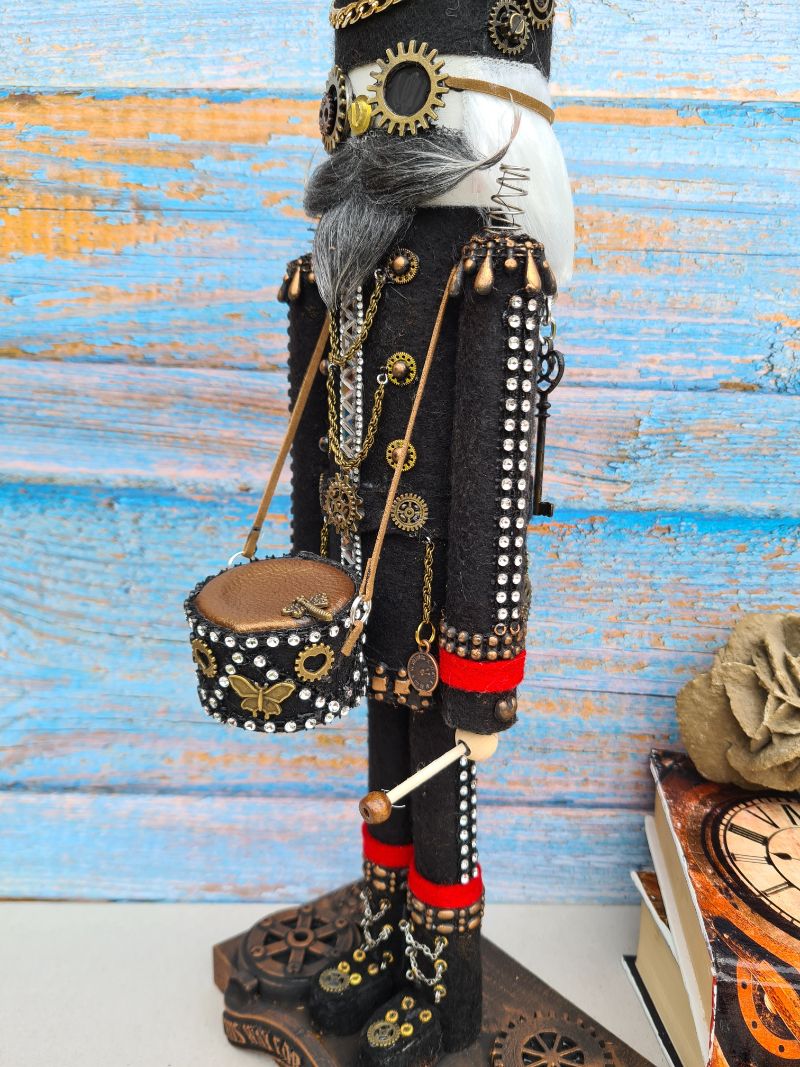
Making the drum
Repurpose a small paint tub as the drum. Wrap it in felt and finish the edges with rhinestone mesh or trim. Thread leather lace for a strap.
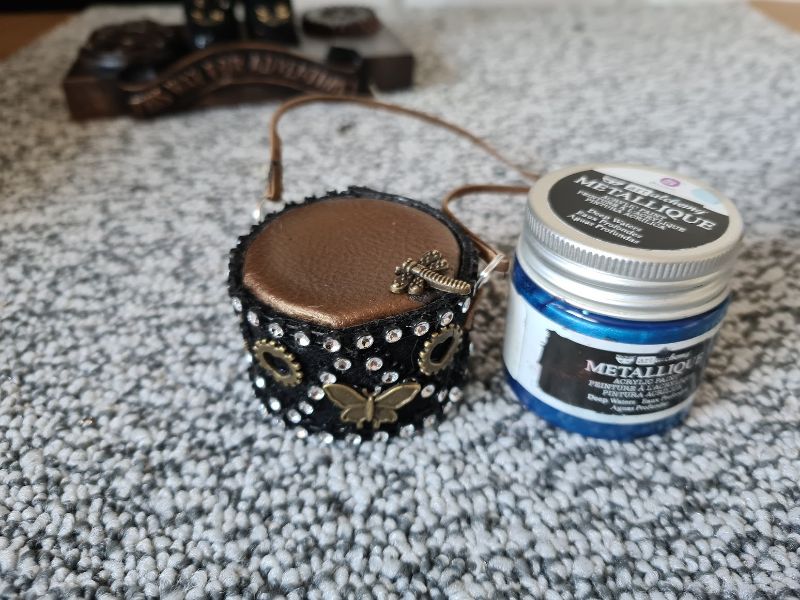
For drumsticks, glue beads to matchstick tips. Cast a small resin plaque in a mould to label the base, then glue it on for a finished look.
Close-up view of details
More Steampunk Christmas ideas
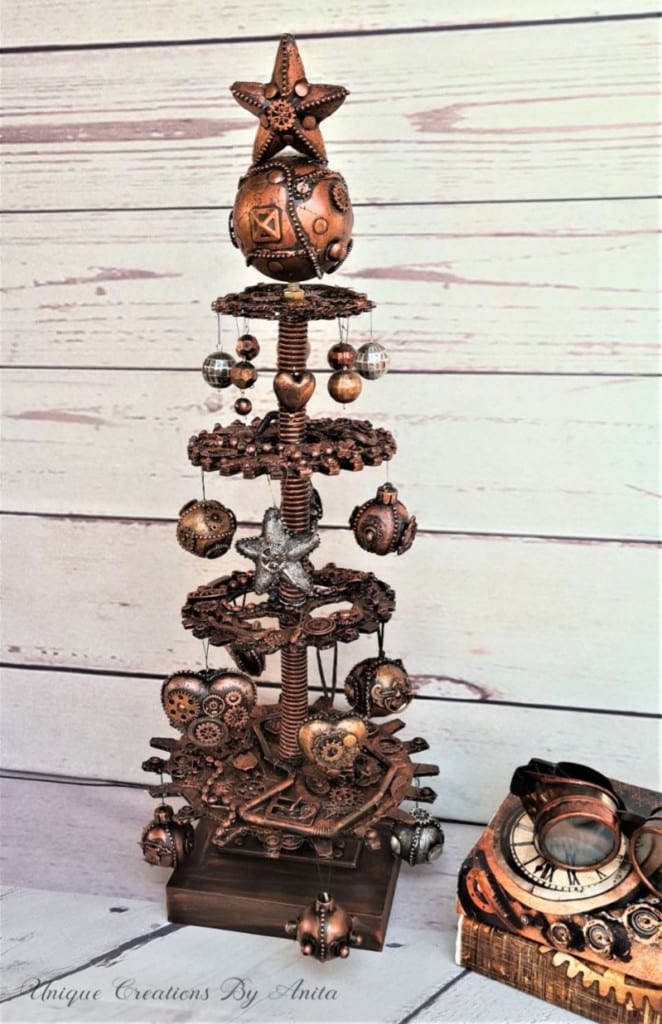
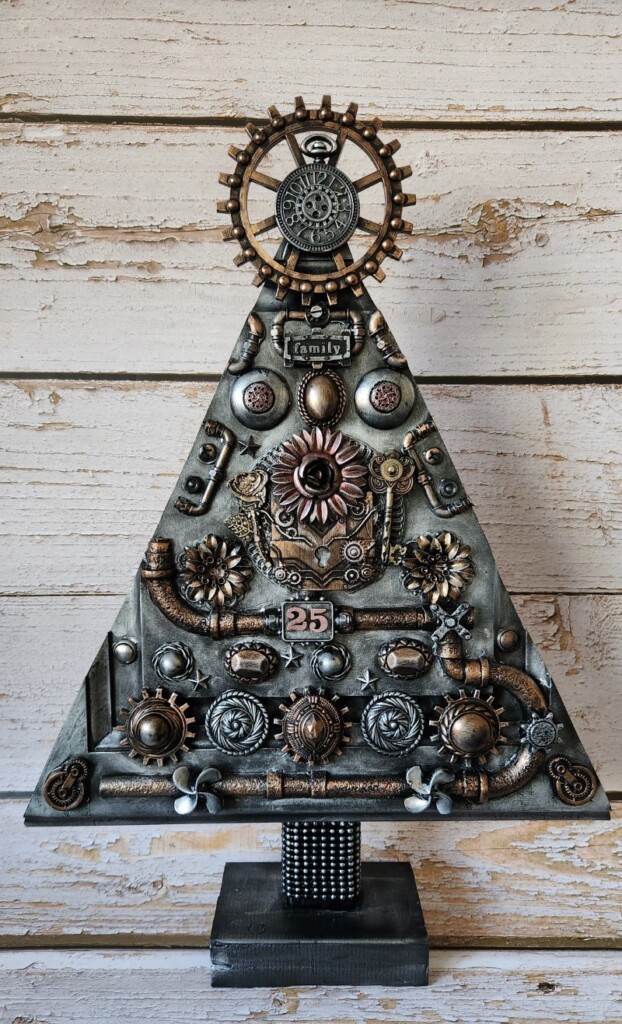
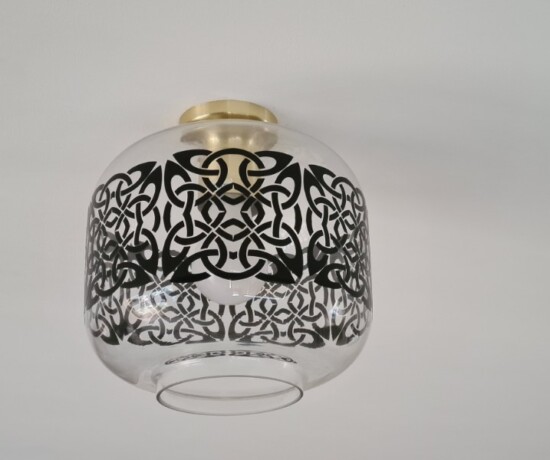
If you’re a steampunk fan, you’ll love these Christmas projects from last year—starting with a steampunk Christmas tree crafted mostly from recycled materials and the other with recycled jewellery.
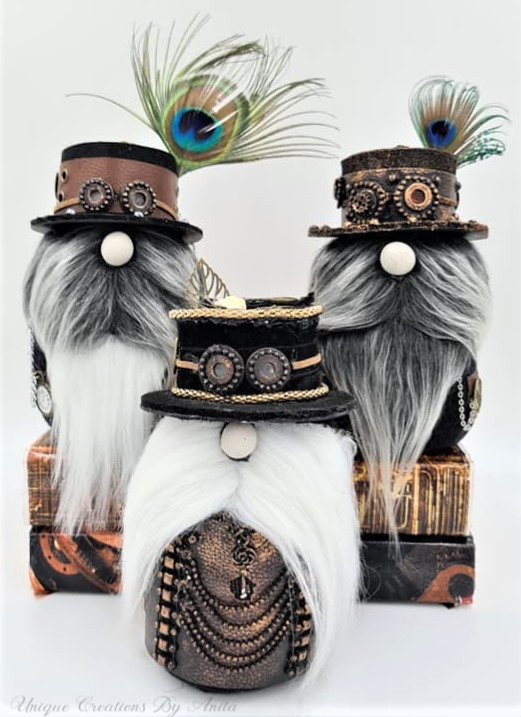
And how cute are these steampunk gnomes? Who can resist having a go at making them?
More about IBC
If you follow my blog, you will know I am part of the IBC (International Bloggers Club), which is a group of talented bloggers from around the world. We have members from Spain, South Africa, Australia, the United States, and Canada. Each month, we come together and create a project with a common theme.
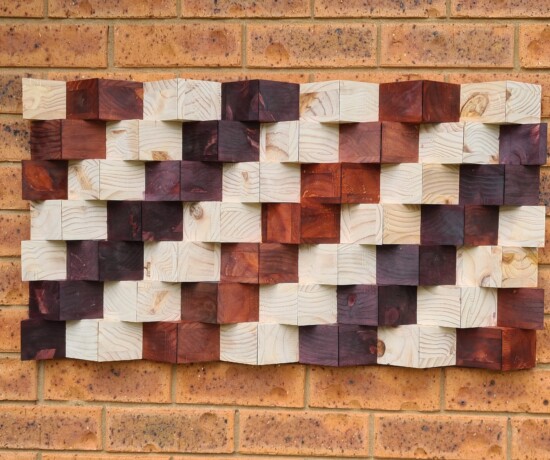
If you missed last month’s “Beads Galore ” theme, here is the link to my Beaded wall hanging. The “Felted fixation ” contributions from my fellow bloggers for this month’s challenge are listed below. Please feel free to jump over and give them some love.
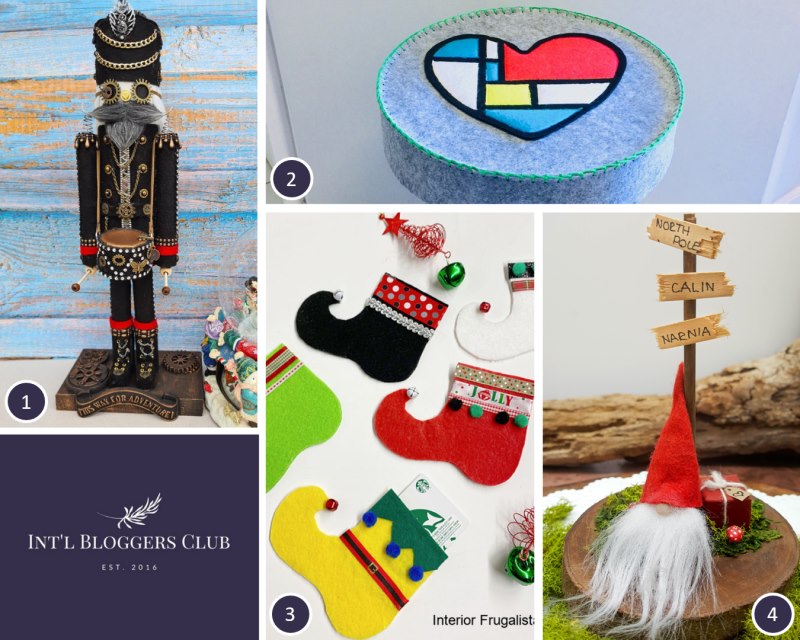
- Me
- Birdz of a feather |Felt Applique
- Interior Frugalista|No Sew felt elf shoe gift cardholders
- A Crafty Mix|Miniature Sock Gnome Place Card-holders

If you’re interested in any of the items used in this project, we’d appreciate it if you used our affiliate links. Clicking these links earns us a small commission at no extra cost to you, helping us create more inspiring and exciting projects to share. We’d also love to hear your thoughts—feel free to leave a comment or share this post!

20 Comments
Kate Rodgers
November 23, 2021 at 12:34 amThis is too cool! So many people have nutcracker collections and this would make a great and unique addition!!
Anita Holland
November 24, 2021 at 6:03 pmThank you so much. He was sold straight away, he will be a Christmas gift for someone this year.
Michelle Leslie
November 23, 2021 at 12:41 amI’m gobsmacked, Anita. When I first saw your gorgeous nutcracker, I thought you’d dressed on up that you bought somewhere, not realizing you made him from scratch with scrap. Flippin brilliant!!! Love, love, love
Anita Holland
November 24, 2021 at 6:04 pmThank you so much Michelle. I was going to do that but it looked so straightforward to make.
Laura Lee Walker
November 23, 2021 at 1:03 amWow, this is amazing. Laura
Anita Holland
November 24, 2021 at 6:05 pmThank you so much.
Sara
November 23, 2021 at 1:30 amThis is beyond incredible Anita 😍! I learned so many valuable tips from this post that I’ll incorporate into my own crafting too! I really REALLY want to try a steampunk craft now.
Anita Holland
November 24, 2021 at 6:05 pmThanks Sara, Steampunk is my go-to when I get stuck because it just comes naturally to me.
Marie B.
November 23, 2021 at 2:12 amWow Anita, your felt steampunk nutcracker is incredible! I think what you did for the face is WAY better than had you painted it on. It has so much character. You know how much I love your steampunk creations. This is definitely one of my favourites!
Anita Holland
November 24, 2021 at 6:08 pmThanks so much Marie. People don’t believe that I am creative but can’t draw or paint. This was the only way I could come up with and I agree he is much cuter. I sold him already he will be a Christmas gift for someone this year.
Linda Johnston
November 24, 2021 at 2:04 amAmazing detail!! Impressive.
Anita Holland
November 24, 2021 at 6:20 pmThank you so much Linda.
Rosemary Palmer
November 25, 2021 at 11:01 pmSo cool – and creative. Was I the only one to think ZZ Top for some of those?
Anita Holland
November 28, 2021 at 8:08 amThank you so much Rosemary. I can see ZZtop too. The looks came out in my gnomes too. lol
brenda
November 28, 2021 at 10:03 amgreat nutcracker and his face has so much character. For other face options for your face hangup-(a) I too have that challenge but a class instructor suggested that i turn my work upside down to see what would be possible. I have no idea why this works but thought you might like to try it.
Anita Holland
November 29, 2021 at 4:44 pmThank you I will definitely try that and see if it works.
A Crafty Mix | DIY Miniature Sock Gnome Place Card Holders - A Crafty Mix
November 30, 2021 at 3:21 am[…] The cutest steampunk themed nutcracker from Unique Creations by Anita. […]
Karina Roeymans
December 4, 2021 at 9:05 pmWonderful nutcracker Anita! I love it so much I want to make it myself. Can you tell me what you put on top of his hat?
Anita Holland
December 4, 2021 at 9:15 pmThank you so much. On the top I added a resin gear. I used a stamperia mould. The item in the front of a metal leaf. Thanks for stopping by. 😍
How to make an upcycled steampunk Nutcracker for Christmas decorating – Recycled Crafts
December 7, 2021 at 12:52 pm[…] 15 minutes to make. But you could get carried away like me when it comes to decorating him. See how to make an upcycled steampunk nutcracker over at the blog Unique Creations by […]